¡Hi friends!

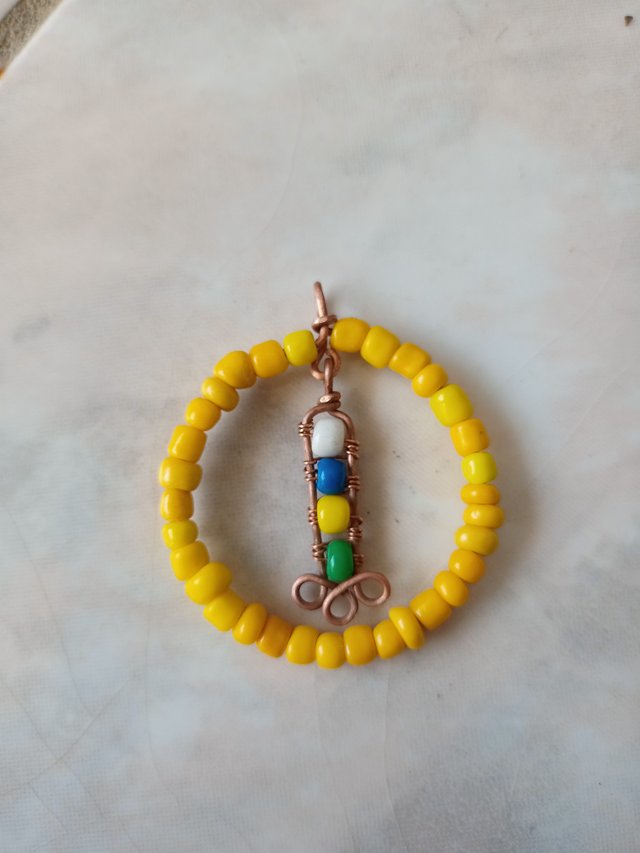
Hello friends of #steemwomenclub, here I show you some beautiful rings made with recycled copper wire from electrical appliance cables, it is an easy and fast way to make our beauty accessories.
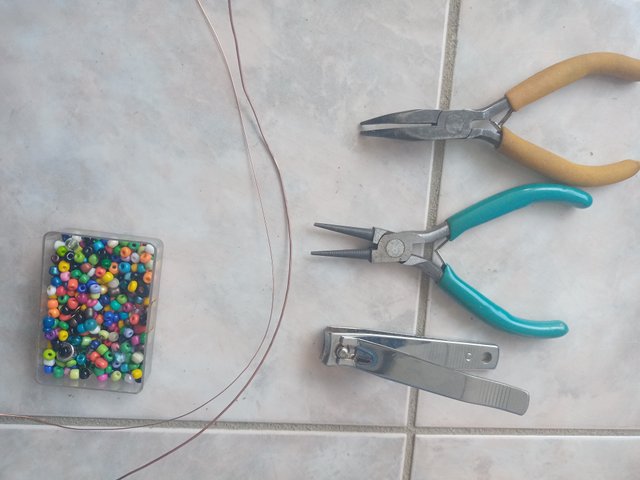
Materials
- Copper wire (cable recycling).
- Jewelery stones.
- Round nose pliers.
- Flat nose pliers.
- Pliers to cut.
Step by step to make these hoop earrings
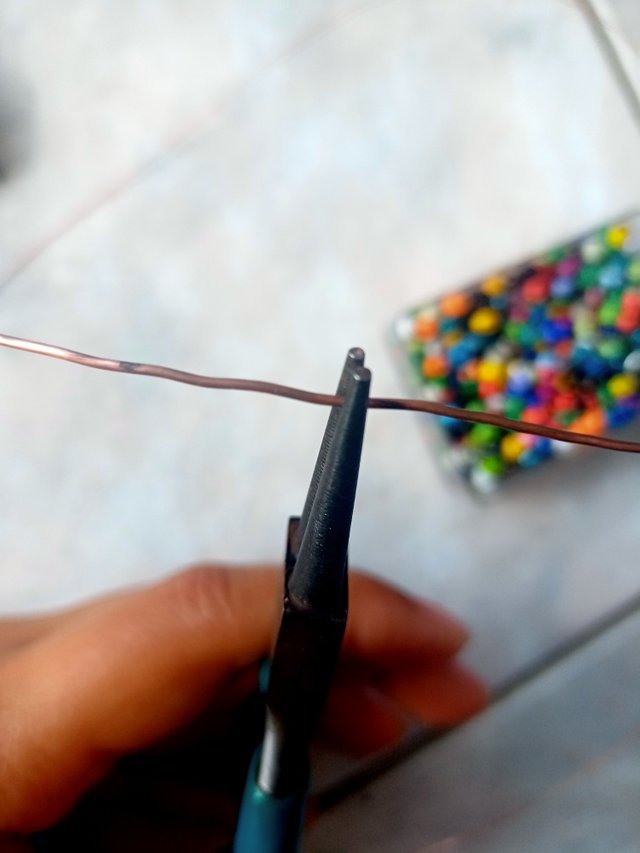
Step 1: The first thing is to cut two pieces of wire, both of the same length, in the center of one of those pieces make a circle, then we will make two more circles of the same size on the sides with the help of the round nose pliers.
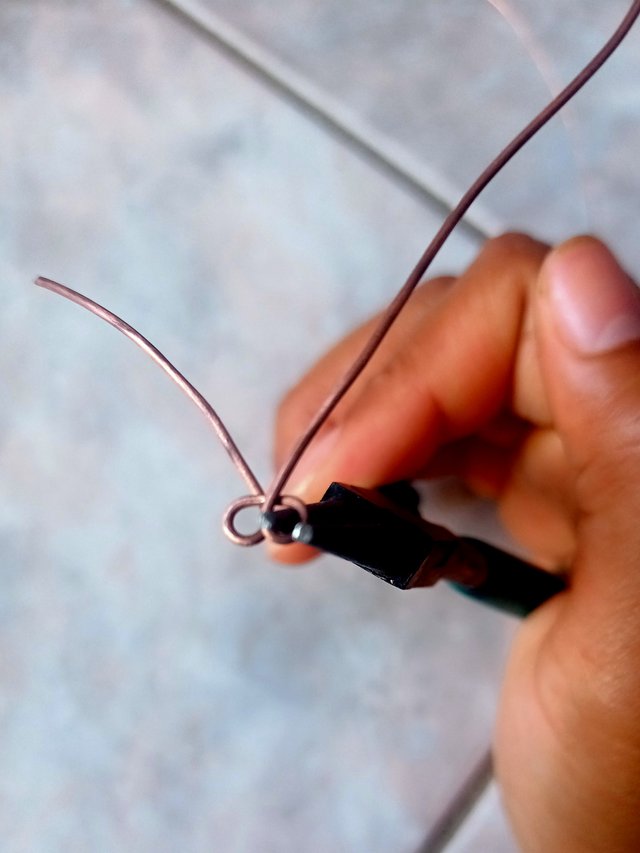
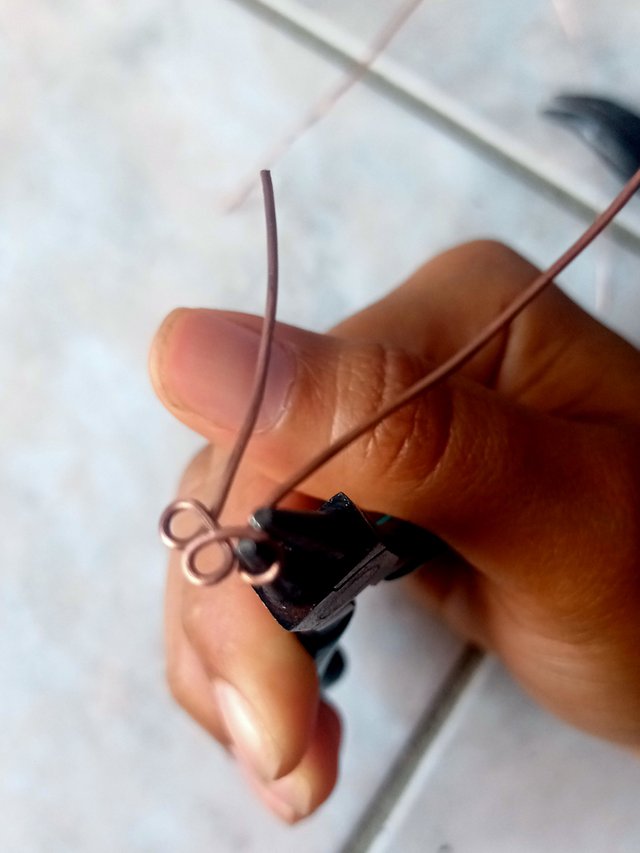
Step 2: With a thinner wire attach to one end of the circles made to be able to decorate with beautiful colored stones.
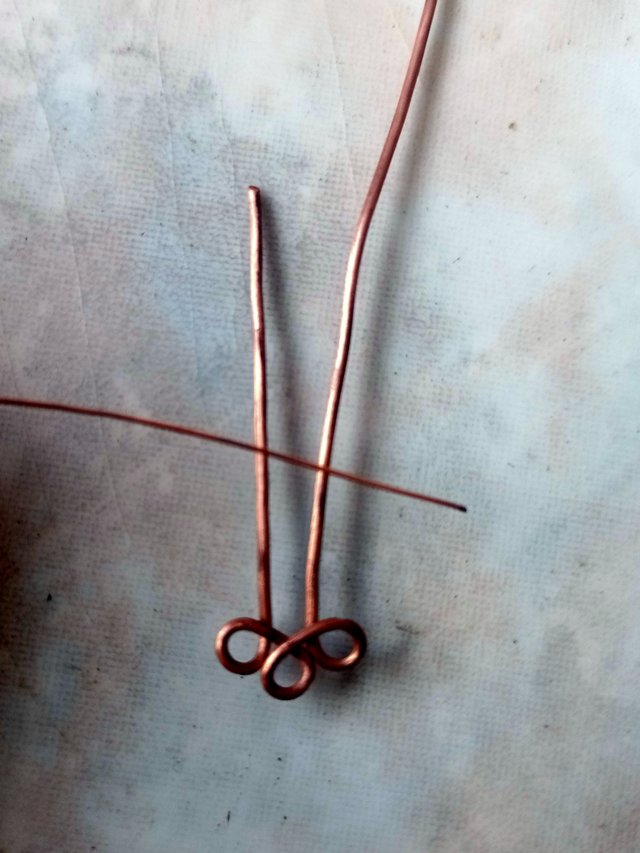
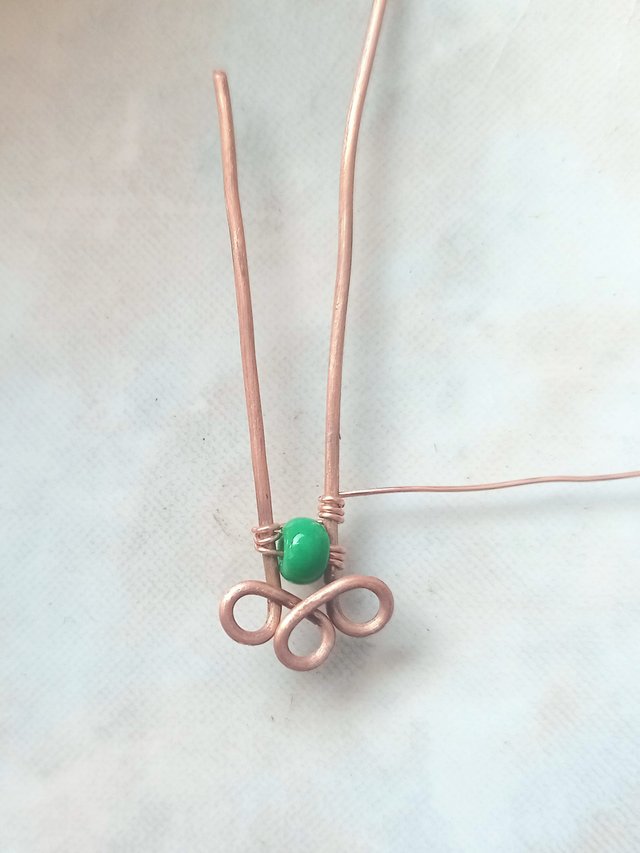
Step 3: bend the wire ends to hold.
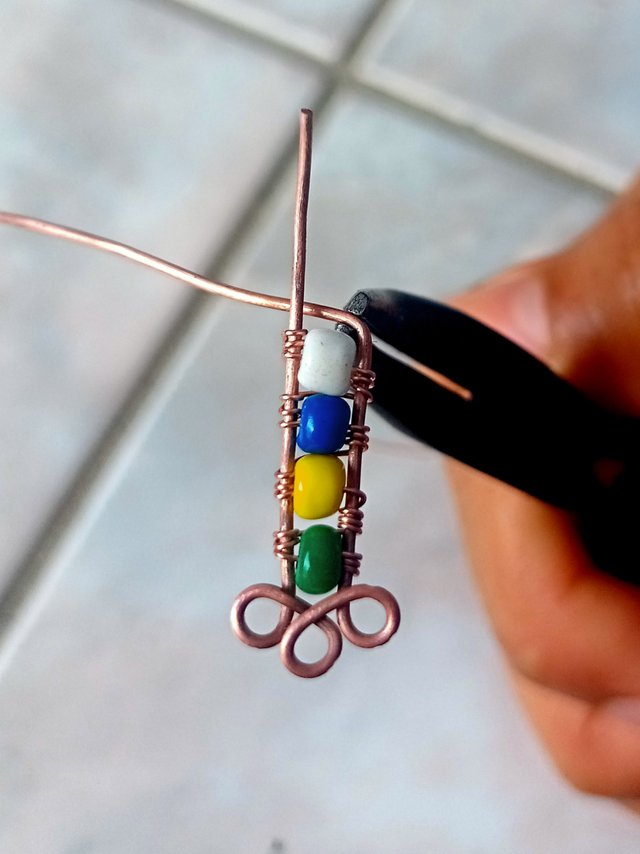
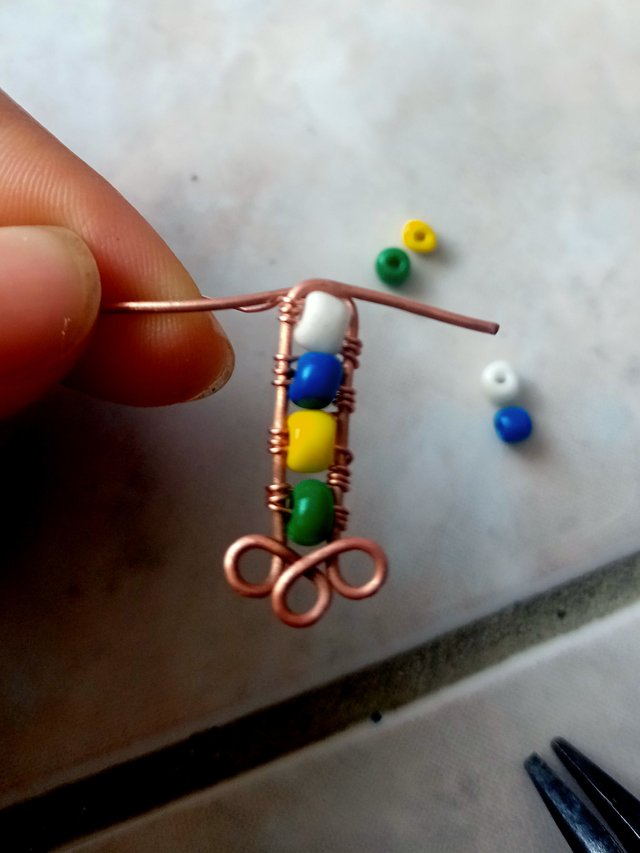
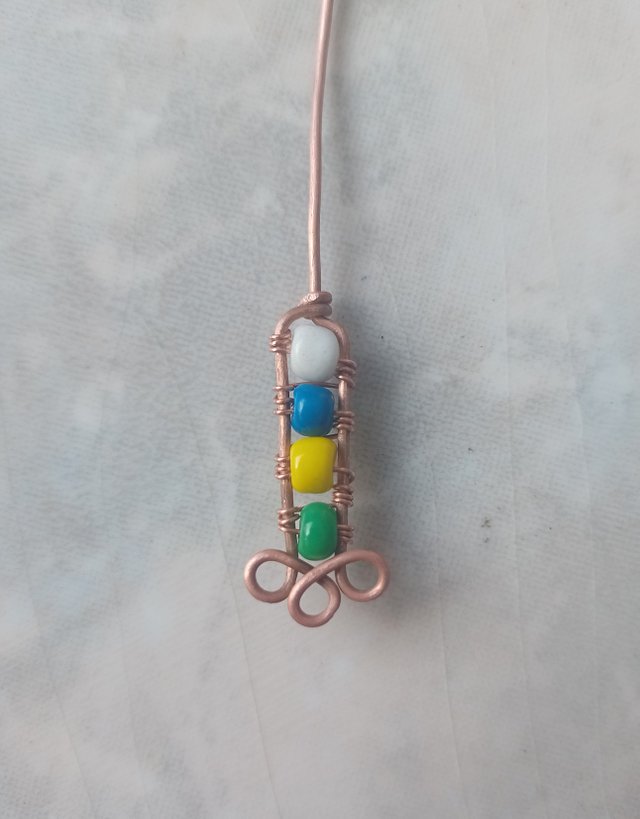
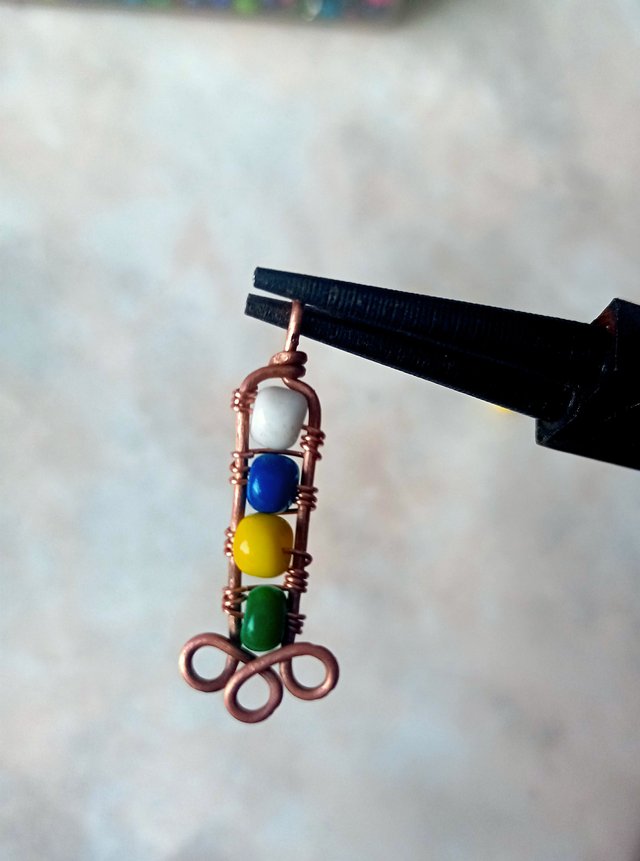
Step 4: With the help of a bottle or tube, make circles for the rings of the desired size.
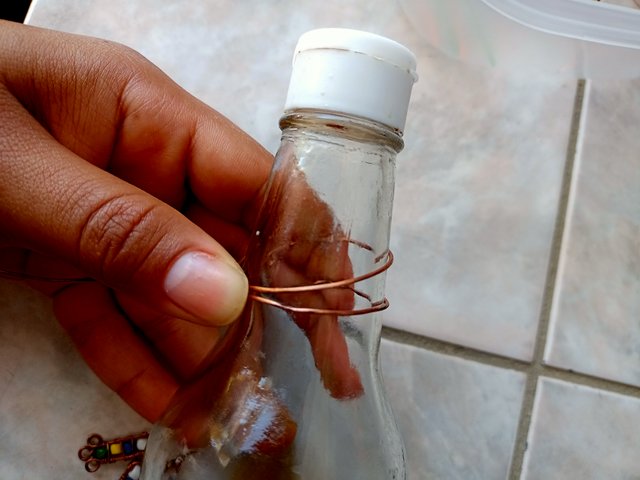
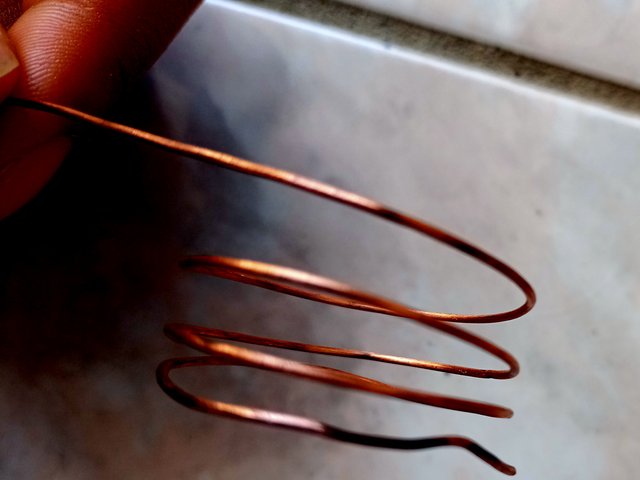
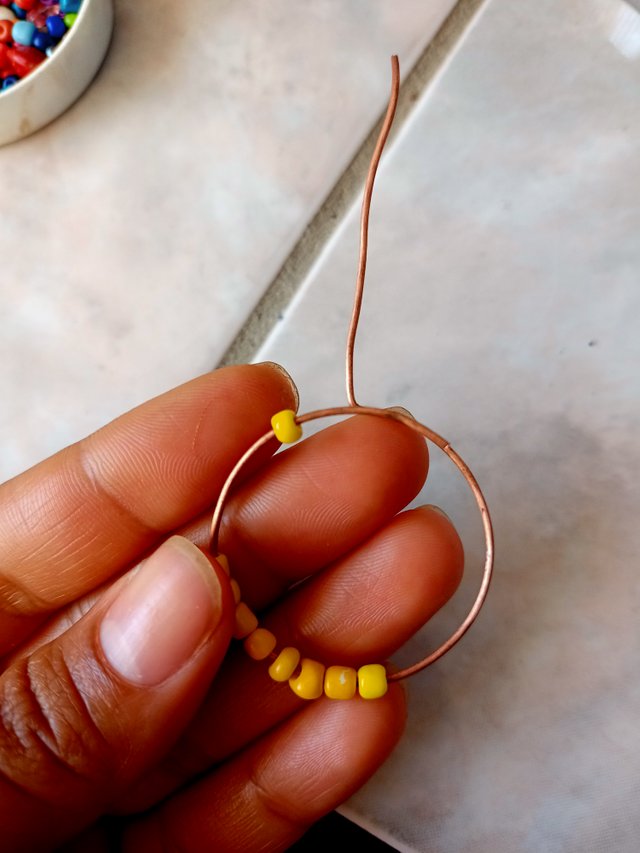
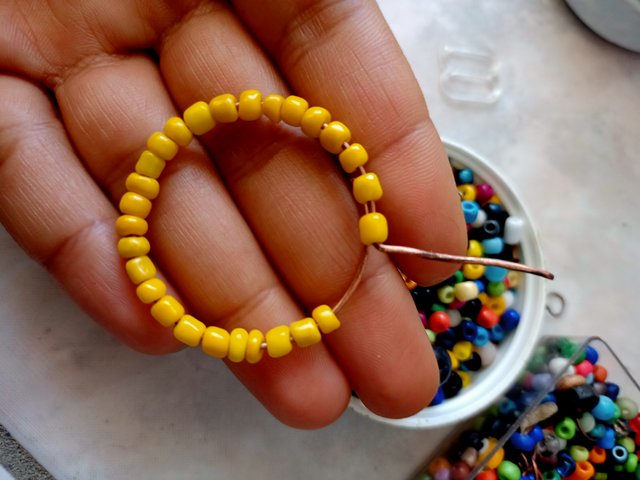
Step 5: Finish the ring with a double on one end of the wire and cut off the excess. With the other end of the wire, make two small circles, one to hold the ring and the other to hold the decoration we make.
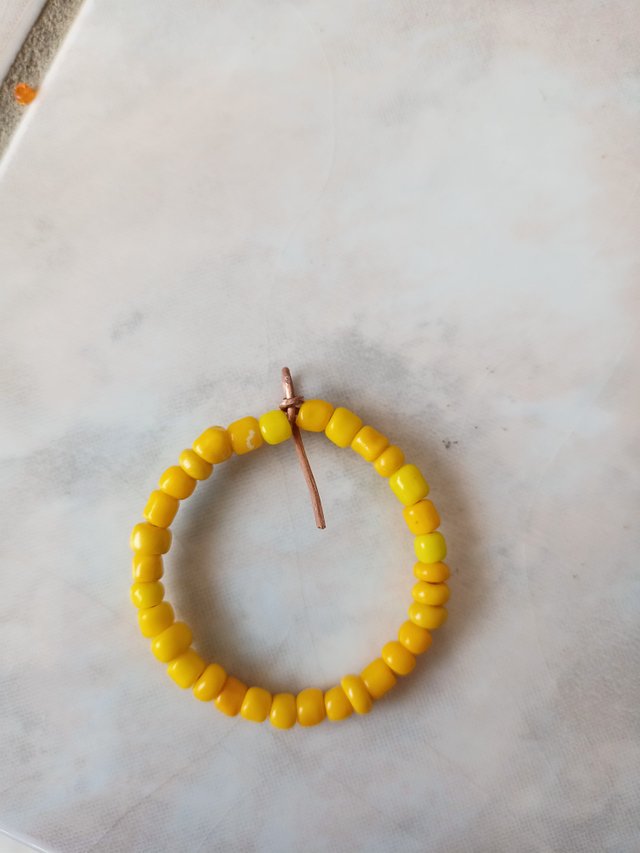
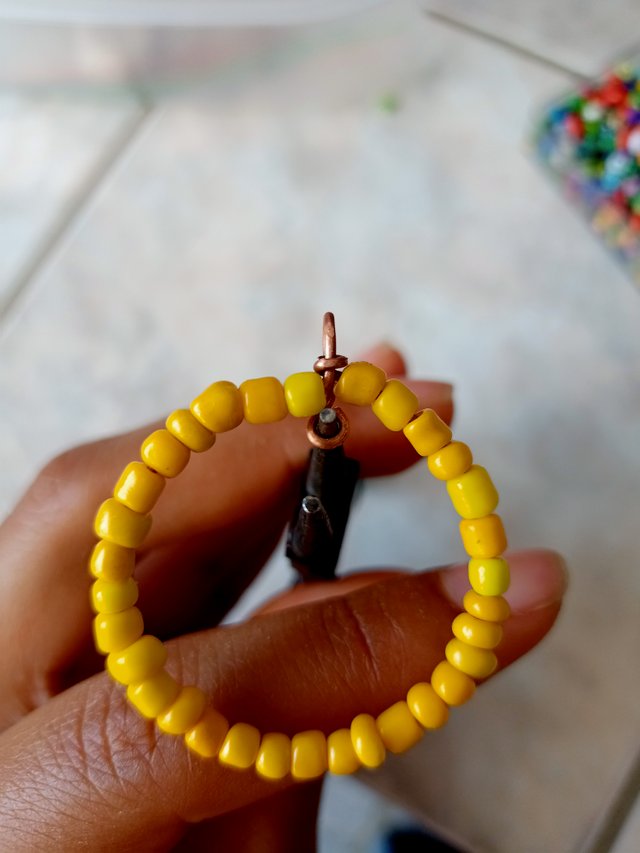
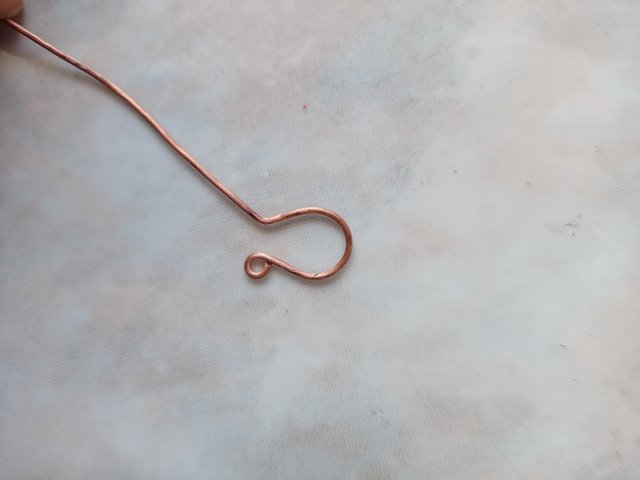
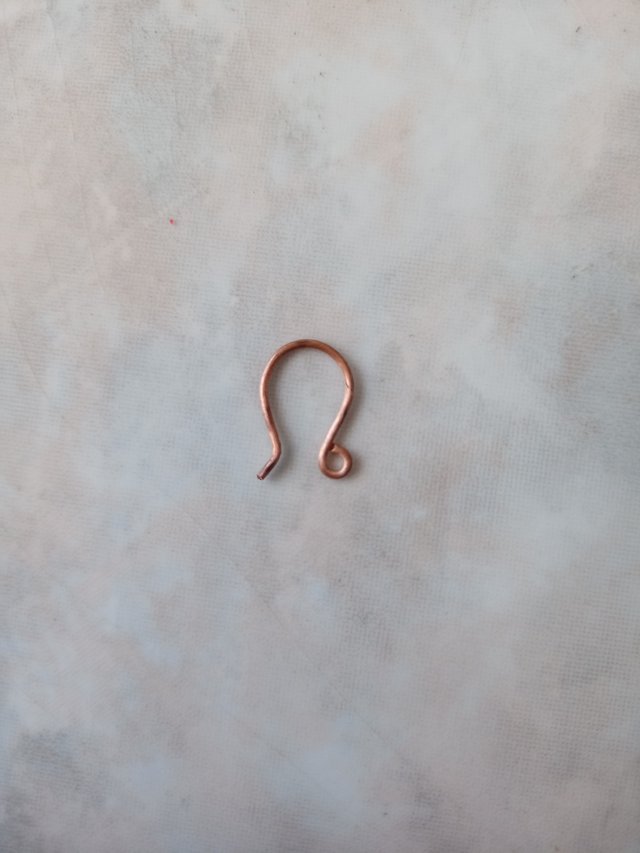
Step 6: Make the clasp to hold on the ear.
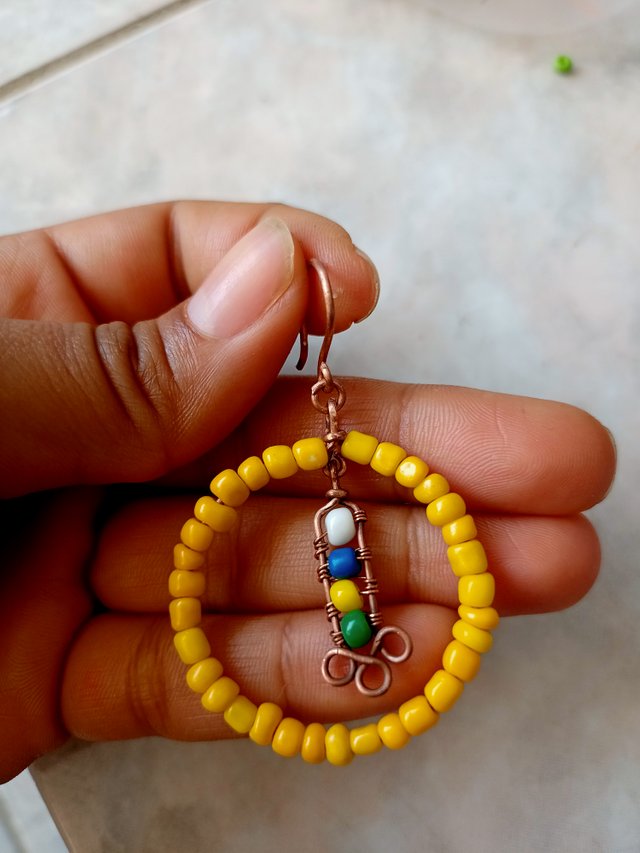

Thanks to my friend @floresf for inviting me to participate in this wonderful #steemwomensclub contest. I invite my friends @oneidaa @oneidaurbaez to participate.
Wow amazing creativity. Love this ring
Downvoting a post can decrease pending rewards and make it less visible. Common reasons:
Submit
Hello, I approved your participation in the contest. Thank you very much for posting on the community. We are always here to support you. Good luck :)
Downvoting a post can decrease pending rewards and make it less visible. Common reasons:
Submit
Excelente explicación, te quedaron geniales esos aretes parece increíble que los realizaste con tus propias manos.
Downvoting a post can decrease pending rewards and make it less visible. Common reasons:
Submit
Muchas gracias @mjmarquez4145 me alegro que te haya gustado, saludos! 😃
Downvoting a post can decrease pending rewards and make it less visible. Common reasons:
Submit