 Captured and edited With Galaxy-A15
Amplifier Circuit Design
An amplifier is a circuit that takes in a weak signal, works on the signal, and gives out a more powerful version of the same signal.
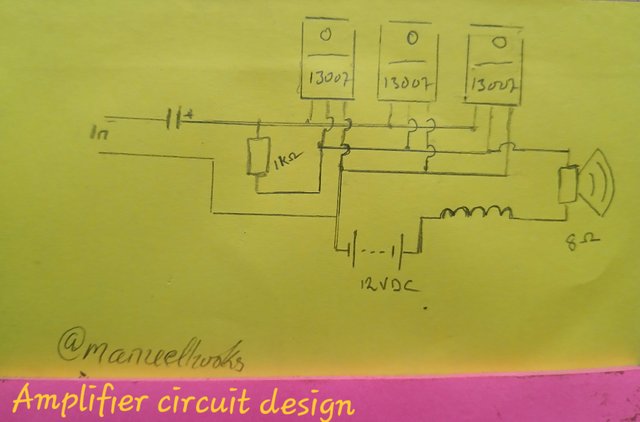
In this homework task, i will be building an amplifier using the schematics above.
Workshop [Task 1]
Choose one of the diagrams above and build the amplifier, presenting the step by step, tutorial style.
Needed materials
I will be working on diagram 4, and to make the amplifier in diagram 4, I will need:
Transistors
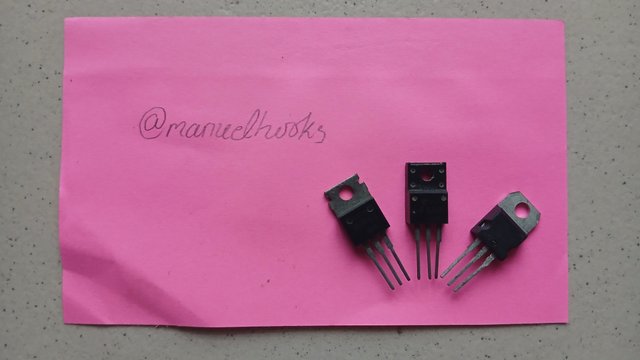
I will be using three 13003 transistor, which will be responsible for the main amplification
Speaker
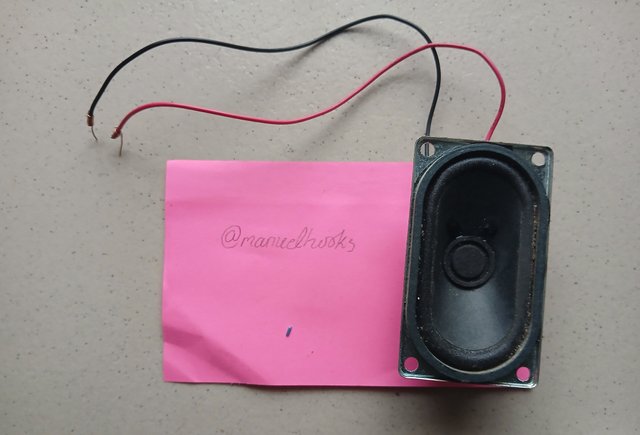
For this exercise, I will be using an 8 Ohms 5 watts speaker i salvaged from a wraked television.
Audio plug
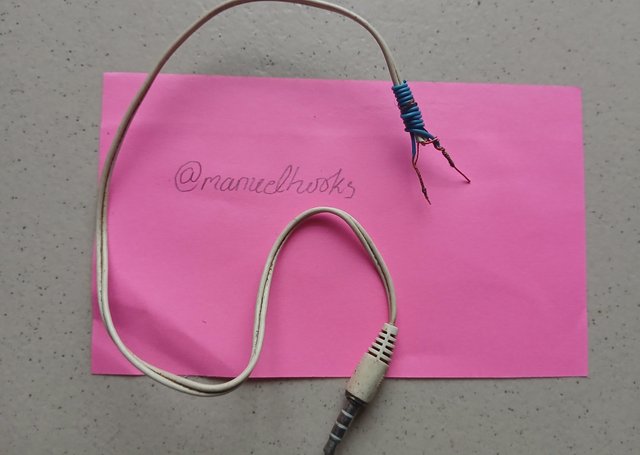
The audio plug I will use here is a sterio plug with a microphone facility, wich I will not use. it is ideal because it makes a better interface with the phone.
1 k resistor
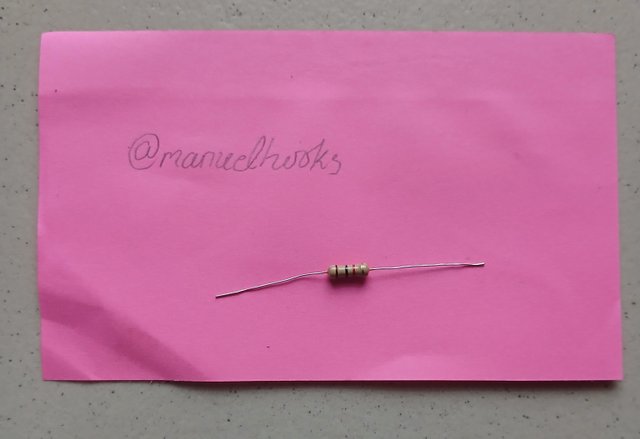
This project requires only one resistor with a 1000 Ohms resistance.
Capacitor
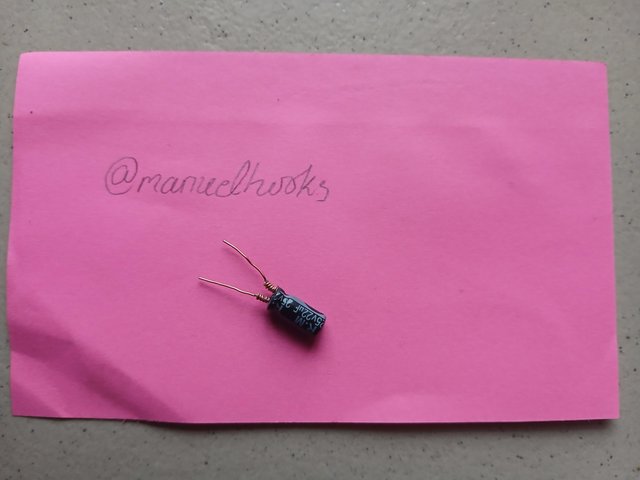 I will need one capacitor, with a rating of 25v and 22 micro farad.
Battery
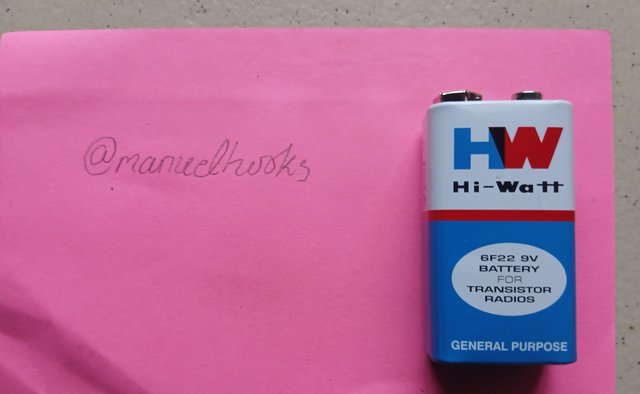 This project needs a 13 volt power source, but i will attempt it with a 9v.
Project board
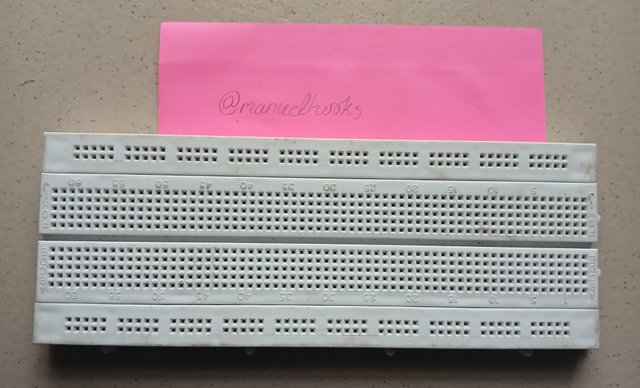
I will use a project board to compensate for a lack of electricity in my area.
Copper wires

I will use this wire for my connections.
Task one procedure
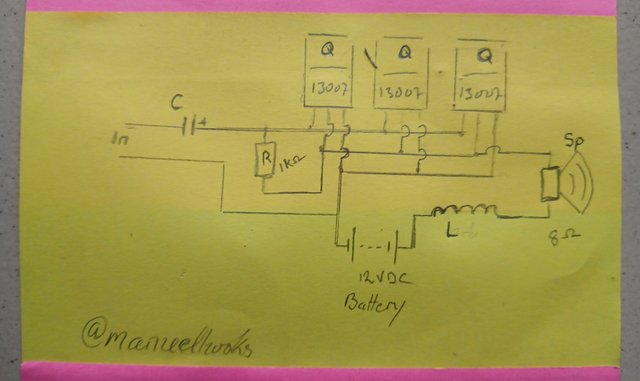
Where
Q = Transistor [13003]
C = Capacitor [22micro farad]
R = Resistor [1000 Ohms]
Sp = Speaker
L = Inductor
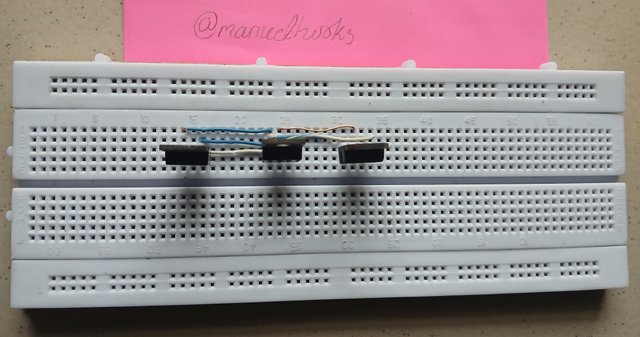 I connected all three transistors in parallel, as shown in the schematics
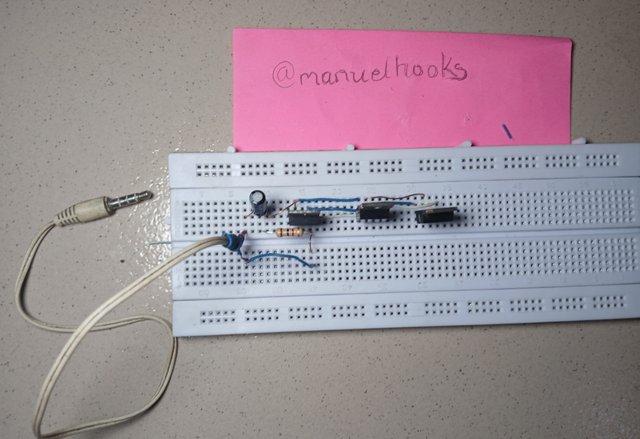
I connected the input audio plug, the input filtering capacitor and a 1k resistor
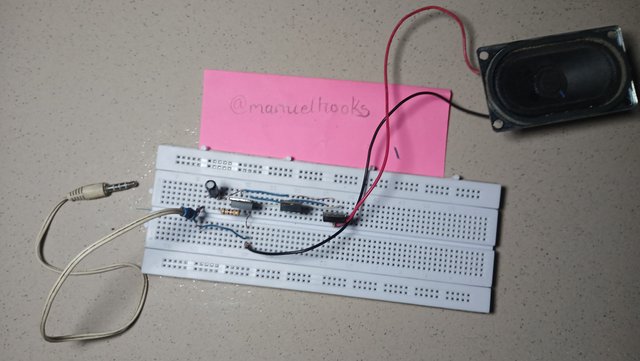
At this point, I connected the output speaker to the setup.
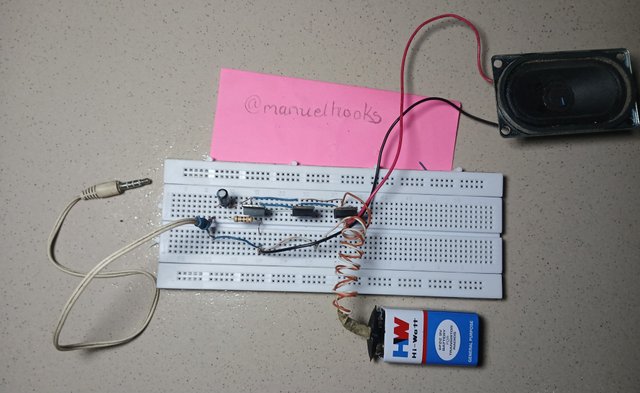
It is time to power up the amplifier with my DC source.
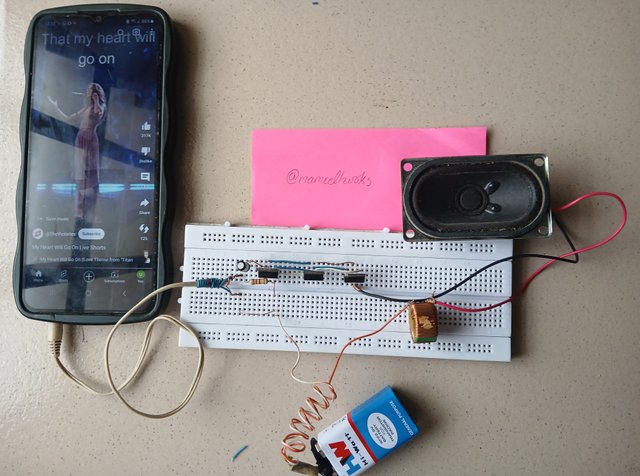
Observation.
| After supplying the input audio, the amplifier produced an output which i believe would be even louder if I used the prescribed 12 volte. The amplifier worked, but the output was not as loud as I had expected. I know it worked because once the battery is disconected, the soud dies off completely |
|---|
Workshop [Task 2]
Carefully touch the transistor and explain: why do you think this phenomenon occurs?
Present it in the best possible way, be creative...
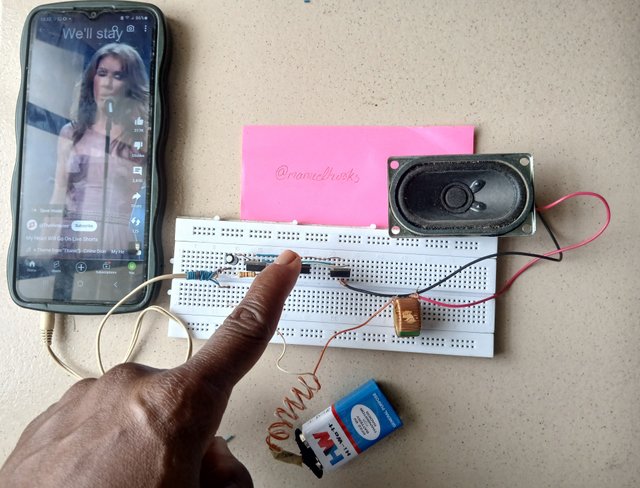
Observation.
| when touching the transistor, i was expecting to get a sound that Hum each time i touch it, i had to touch the input plug too but got no sound ad feedback. |
|---|
The hum come when the amplifier's ground is not good. Some times it is due to electromagnetic interference from us.
Workshop [Task 3]
Show a video of your favourite song playing on the amplifier you just built, as we would like to celebrate the success of your assignment with music.
"That's the Way It Is" is a song by Celine Dion, that was released in 1999.
As you reflect on the past 6 weeks of classes, how proud are you of what you've been able to create and accomplish using the knowledge and skills you've gained? With the knowledge and skill I have aquired in the past six weeks, I have better in electronics. I have added practical identification of components and the use of datasheet to the theory based electronic I had. Though my amplifier did not meet my expectations, I am happy i could do my best. Conclusion: Thank you to the Electronic Eagles Team for the training, instructions, and corrections. Invitation to contestWorkshop [Task 4]
A big thank you to the steemit team for the support and encouragement and for organizing this training. I wish this could continue, and more educational opportunities like this could be open in electronics and other areas.
I am inviting @bossj23, @jozzie90, @josepha and @oasiskp
#electronicss19w6 #steemexclusive #nigeria #burnsteem25 #learnwithsteem
#electronics #club5050
Upvoted. Thank You for sending some of your rewards to @null. It will make Steem stronger.
Downvoting a post can decrease pending rewards and make it less visible. Common reasons:
Submit
THE QUEST TEAM has supported your post. We support quality posts, good comments anywhere, and any tags
Downvoting a post can decrease pending rewards and make it less visible. Common reasons:
Submit
Estoy muy contento con tu tarea, completaste con éxito el circuito.nte invito a seguir trabajando en el, no te quedes con ese sonido distorsionado.
Busca mejorarlo, el amplificador emite un sonido limpio, agradable que te deja sorprendido.
Prueba con la fuente de 12v. Verás que el sonido va a mejorar.
Sabés!! Yo he rescatado parlantes portátiles a los que se le quema el amplificador adaptando uno de estos fabricados. Los clientes quedan satisfechos porque pude solucionar.
Esta es la idea del Equipo Águilas de la Electrónica. Que ustedes desarrollen esa visión de solucionar problemas utilizando todo el material eléctrico que esté a su alcance, que reduzcan más la compra de componentes en tiendas y combinen, conocimiento con reciclaje.
Recuerda que un artefacto electrónico tiene una carcasa que lo embellece, en su interior solo habrá circuito y quien busca una reparación, no juzgará lo que hay dentro porque no sabe de qué se trata. Solo busca que su aparato vuelva a funcionar y si es más duradera la reparación, te seguirán buscando como técnico.
No dejes de aprender, comparte con nosotros tus tutoriales de reparaciones o de proyectos, estaremos anciosos de verlos.
Downvoting a post can decrease pending rewards and make it less visible. Common reasons:
Submit