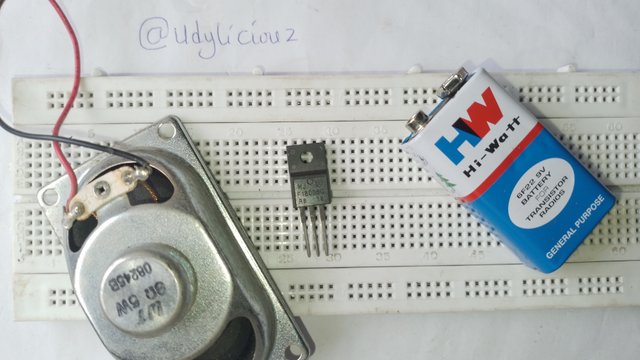
 Snapped with Galaxy AO3
F18006G Amplifier circuit design
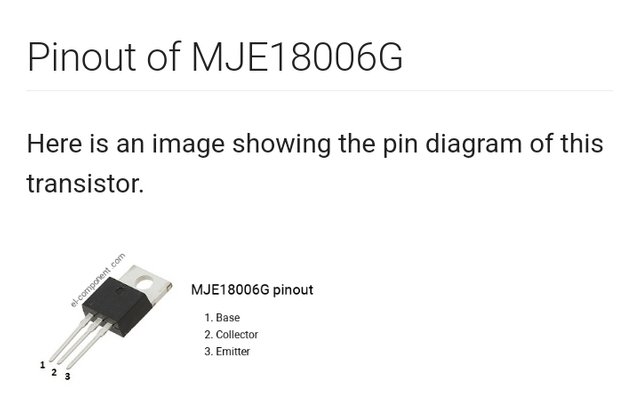
This screenshot from el-component shows the pin position of an 18006 trandistorday to all electronics students and instructors.
The 18006 is a BJT- NPN type transistor often used for:
- Switching Circuits
- Amplifier Circuits
- Driver Circuits
- Power Supply Circuits
- And other general-purpose uses.
You can replace the MJE18006G with the 2SC3056A, MJE18006, MJE18008, MJE18008G, MJF18006, MJF18006G, MJF18008 or MJF18008G.
Failed attempt
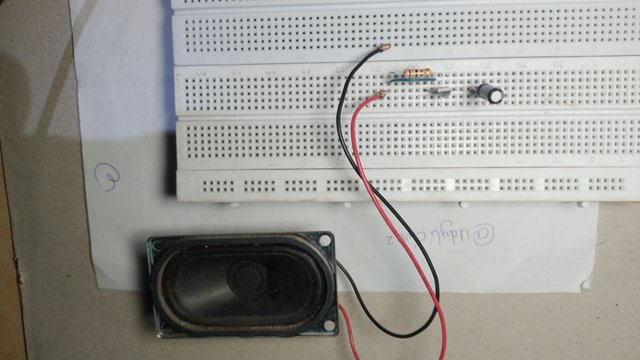 I tried constructing diagram 2. The trandistor got too hot and i had no output on the speaker.
Task 1
Designing Diagram 1
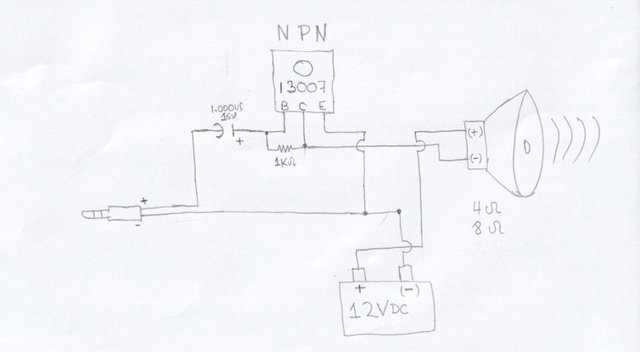 Source
[Step 1]
interpret circuit and collect component
List of components and their quantity
| Component | Specification | Quantity |
|---|---|---|
| Transistor | 18006 | 1 |
| Speaker | 8Ω | 1 |
| Audio plug | stereo | 1 |
| Resistor | 1kΩ | 1 |
| Capacitor | 50v 22μf | 1 |
| Battery | 12v | 1 |
| Project board | 1 |
[Step 2]
Component assembly
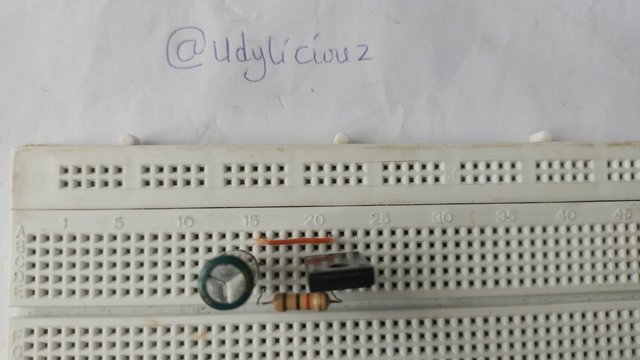 I have connected transistor, resistor and capacitor with a few items to add to this board.
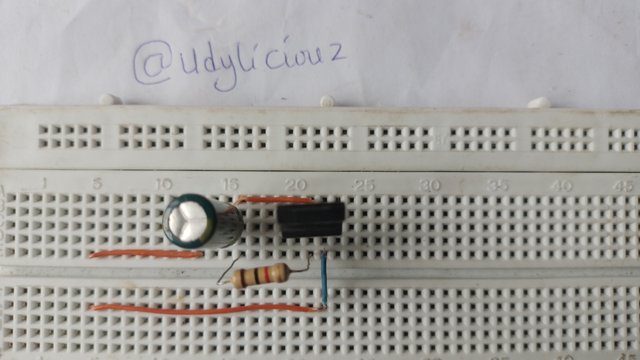 I added wires to make the connection.
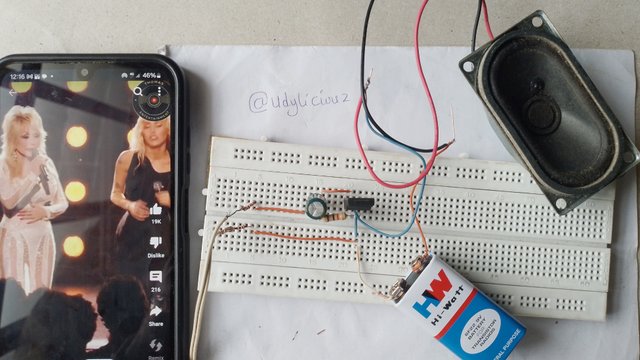
Task 2
Testing the Amplifier
Test observation
I lost sound when I shaked some components but besides that, I did not notice anything else during the test. I am just happy that it is singing.
Task 3
Playing a song on the Amplifier
Enjoy this clip from Dolly Parton, a highly acclaimed American singer, songwriter, actress, and philanthropist. Who is well known for her iconic voice and hair style. I love her Country Music.
Task 4
As you reflect on the past 6 weeks of classes, how proud are you of what you've been able to create and accomplish using the knowledge and skills you've gained?
I have turned small scraps and few components into something that can play music. I belive spending more time with the Electronic Eagles Team will make me create amazing things.
Thank you to all my instroctors and I wish this could continue. The whole training stoped when it bacame extra intresting.
I am inviting @jozzie90 and bela90 and @lusciouslucy
Thank you, friend!


I'm @steem.history, who is steem witness.
Thank you for witnessvoting for me.
please click it!
(Go to https://steemit.com/~witnesses and type fbslo at the bottom of the page)
The weight is reduced because of the lack of Voting Power. If you vote for me as a witness, you can get my little vote.
Downvoting a post can decrease pending rewards and make it less visible. Common reasons:
Submit
Upvoted. Thank You for sending some of your rewards to @null. It will make Steem stronger.
Downvoting a post can decrease pending rewards and make it less visible. Common reasons:
Submit
Saludos, que bueno ver que participaste en todas las clases del taller de electrónica, esto es algo que debemos celebrar, porque demuestras interés en aprender.
Nos señalas que el transistor se calentó mucho y después dejó de emitir sonido.
He observado que invertiste la polaridad de los parlantes, puede ser que no te guiaste bien del diagrama.
Fíjate que el polo positivo de la batería lo colocaste en el cable positivo del parlante y no es así, el cable positivo de la batería iba conectado directamente al cable positivo de la corneta.
Por esa razón no obtuviste sonido y el transistor se calentó excesivamente. Supongo que solo escuchaste un ruido en el parlante.
Puedes hacer la corrección y vuelve a intentarlo.
Otro detalle es que los cables de sonido deben raparse para que puedan conducir, porque ellos están cubiertos con barniz, un aislante. Sí no los raspaste, aunque le coloques un alambre de cobre alrededor, no conducirá.
Downvoting a post can decrease pending rewards and make it less visible. Common reasons:
Submit