Tutorial - What are websockets? Today we are going to create a basic example using websockets with Node.js /¿Que son los websockets? Hoy vamos a crear un ejemplo básico usando websockets con Node.js
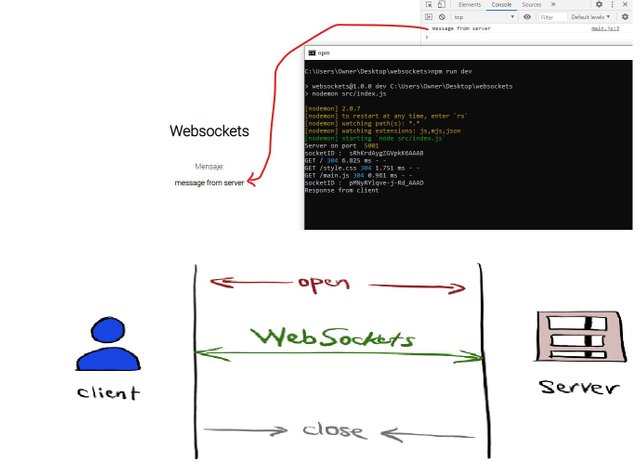
Que son los websockets?
Son una herramienta que nos permite poder agregar funcionabilidad de tiempo real a nuestras aplicaciones web usando código ya escrito, hoy vamos a ver por encima lo que se puede lograr con websockets usando una biblioteca llamada socket.io
Para iniciar abriremos la consola/terminal de nuestro equipo (en mi caso windows) aprentando las teclas Windows + R
, y escribimos cmd, seguido navegaremos al escritorio escribiendo en la consola cd Desktop
Creamos la carpeta con el siguiente comando
mkdir websockets
Nos movemos dentro de la carpeta con
cd websockets
una vez dentro de la carpeta procedemos a crear un proyecto de node con el siguiente comando:
npm init --yes
Procederemos a instalar los modulos necesarios para nuestro ejemplo
npm i express morgan socket.io
Escribimos en la consola code . para abrir nuestro proyecto con nuestro editor de codigo -> visual studio code:
code .
Vamos acrear una carpeta src/ y dentro crearemos nuestros archivos para tener mas orden
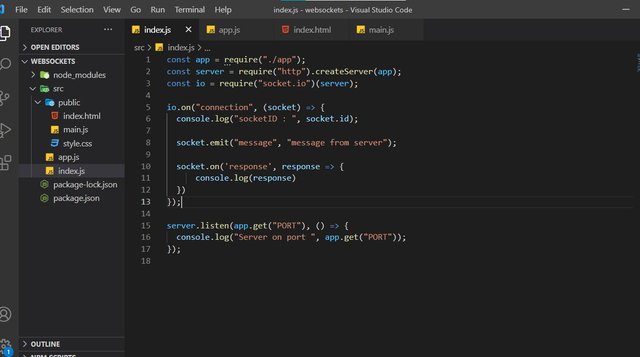
src/index.js
const app = require("./app");
const server = require("http").createServer(app);
const io = require("socket.io")(server);
io.on("connection", (socket) => {
  console.log("socketID : ", socket.id);
  socket.emit("message", "message from server");
  socket.on('response', response => {
      console.log(response)
  })
});
server.listen(app.get("PORT"), () => {
  console.log("Server on port ", app.get("PORT"));
});
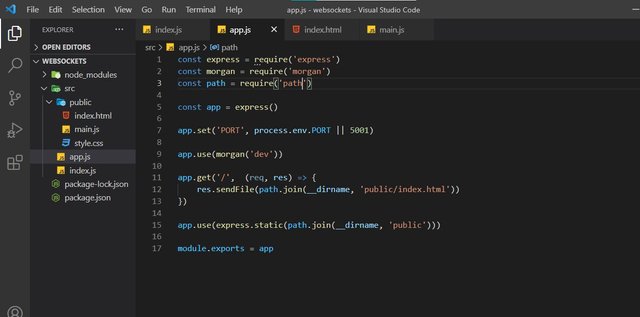
src/app.js
const express = require('express')
const morgan = require('morgan')
const path = require('path')
const app = express()
app.set('PORT', process.env.PORT || 5001)
app.use(morgan('dev'))
app.get('/',  (req, res) => {
    res.sendFile(path.join(__dirname, 'public/index.html'))
})
app.use(express.static(path.join(__dirname, 'public')))
module.exports = app
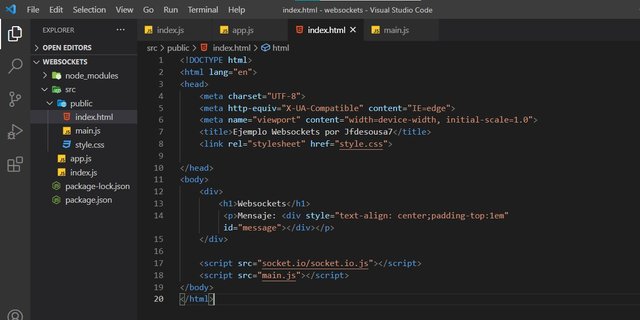
Crearemos una carpeta public/ y alli colocaremos nuestros archivos estaticos del frontend
<!DOCTYPE html>
<html lang="en">
<head>
    <meta charset="UTF-8">
    <meta http-equiv="X-UA-Compatible" content="IE=edge">
    <meta name="viewport" content="width=device-width, initial-scale=1.0">
    <title>Ejemplo Websockets por Jfdesousa7</title>
    <link rel="stylesheet" href="style.css">
</head>
<body>
    <div>
        <h1>Websockets</h1>
         <p>Mensaje: <div style="text-align: center;padding-top:1em" id="message"></div></p>
   </div>
    <script src="socket.io/socket.io.js"></script>
    <script src="main.js"></script>
</body>
</html>
public/main.js
const socket = io()
socket.on('message', (data) => {
    console.log(data)
    document.querySelector('#message').innerHTML = `${data}`
})
socket.emit('response', 'Response from client')
Capturas:
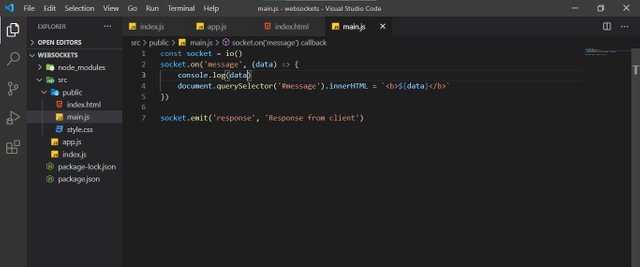
Y con esos amigos llegamos al final del tutorial, espero que lo hayan disfrutado y ¡hasta la próxima! |
Si deseas contratar mis servicios como programador puedes escribirme al whatsapp al +58 412 825 6644
Visite mi sitio web oficial para presupuestos y mucho más
ENGLISH
What are websockets?
They are a tool that allows us to add real-time functionality to our web applications using already written code, today we are going to see above what can be achieved with websockets using a library called socket.io
To start we will open the console / terminal of our equipment (in my case windows) pressing the keys Windows + R
, and we write cmd , then we will navigate to the desktop by typing in the console cd Desktop
We create the folder with the following command
mkdir websockets
We move inside the folder with
cd websockets
once inside the folder we proceed to create a node project with the following command:
npm init --yes
We will proceed to install the necessary modules for our example
npm i express morgan socket.io
We write code. to open our project with our code editor -> visual studio code:
code .
We are going to create a src / folder and inside we will create our files to have more order
src/index.js
const app = require("./app");
const server = require("http").createServer(app);
const io = require("socket.io")(server);
io.on("connection", (socket) => {
  console.log("socketID : ", socket.id);
  socket.emit("message", "message from server");
  socket.on('response', response => {
      console.log(response)
  })
});
server.listen(app.get("PORT"), () => {
  console.log("Server on port ", app.get("PORT"));
});
src/app.js
const express = require('express')
const morgan = require('morgan')
const path = require('path')
const app = express()
app.set('PORT', process.env.PORT || 5001)
app.use(morgan('dev'))
app.get('/',  (req, res) => {
    res.sendFile(path.join(__dirname, 'public/index.html'))
})
app.use(express.static(path.join(__dirname, 'public')))
module.exports = app
We will create a public / folder and there we will place our static frontend files
public/index.html
<!DOCTYPE html>
<html lang="en">
<head>
    <meta charset="UTF-8">
    <meta http-equiv="X-UA-Compatible" content="IE=edge">
    <meta name="viewport" content="width=device-width, initial-scale=1.0">
    <title>Ejemplo Websockets por Jfdesousa7</title>
    <link rel="stylesheet" href="style.css">
</head>
<body>
    <div>
        <h1>Websockets</h1>
         <p>Mensaje: <div style="text-align: center;padding-top:1em" id="message"></div></p>
   </div>
    <script src="socket.io/socket.io.js"></script>
    <script src="main.js"></script>
</body>
</html>
public/main.js
const socket = io()
socket.on('message', (data) => {
    console.log(data)
    document.querySelector('#message').innerHTML = `${data}`
})
socket.emit('response', 'Response from client')
Prints:


And with those friends we reached the end of the tutorial, I hope you enjoyed it and until next time! |