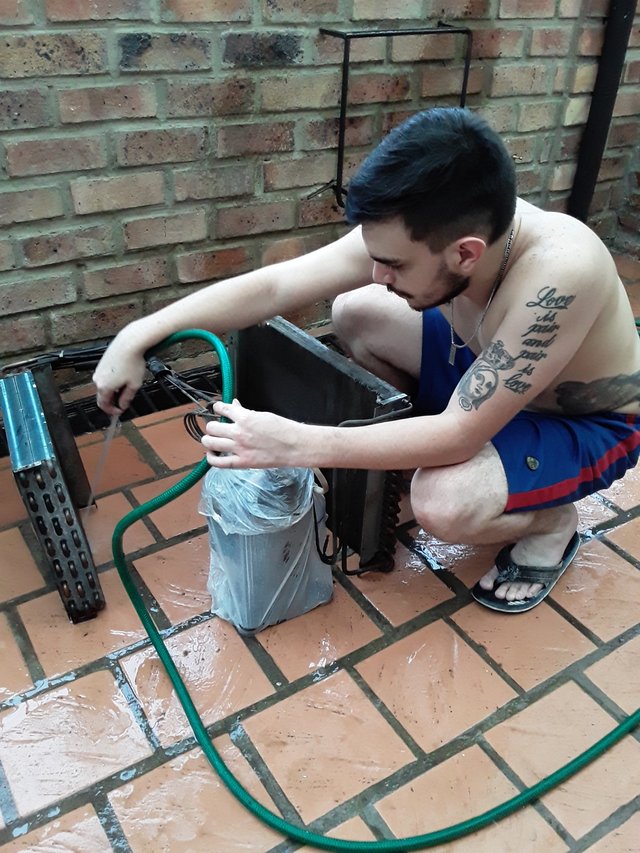
En esta oportunidad les traigo como le hice mantenimiento a mi aire acondicionado, es un proceso bastante demorado pero que no tiene gran dificultad cuando aprendamos a hacerlo, solo debemos tener cuidado con las partes eléctricas de no dañarlas.
El mantenimiento lo hice porque el aire acondicionado se estaba congelando, tenia el desagüe tapado y siempre es importante hacerle revision en general, por lo menos una vez al año, tampoco es bueno manipularlo mucho para no perjudicar nada, en esta ocasión tambien lubrique las piezas mecanicas para alargar su vida.
Hello friends how are you?
This time I bring you how I did maintenance on my air conditioning, it is a rather time-consuming process but it does not have great difficulty when we learn how to do it, we only have to be careful with the electrical parts not to damage them.
I did the maintenance because the air conditioning was freezing, the drain was clogged and it is always important to check it in general, at least once a year, it is not good to manipulate it a lot so as not to damage anything, this time also lubricate the parts mechanical to extend its life.
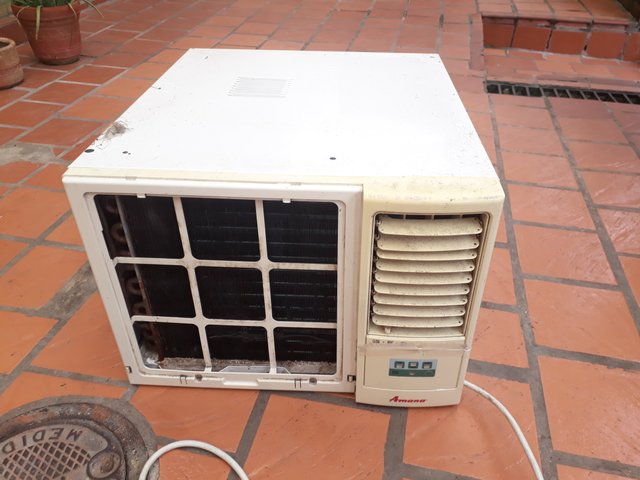
una vez quitemos la caja que cubre toda la unidad podremos ver todos los componentes de esta, antes de desarmar cualquier cosa tomar muchas fotos para dejarlo exactamente igual al momento de armar.
As you can see here we have the console, the first thing we will do is examine it and remove all the screws, I recommend looking for a container to throw them in and take photos to see how they are fitted; Once we remove the box that covers the entire unit, we will be able to see all the components of it. Before disassembling anything, take many photos to leave it exactly the same when assembling.
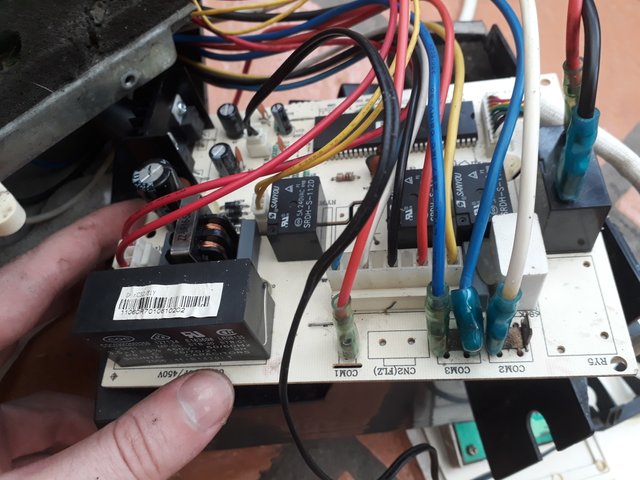
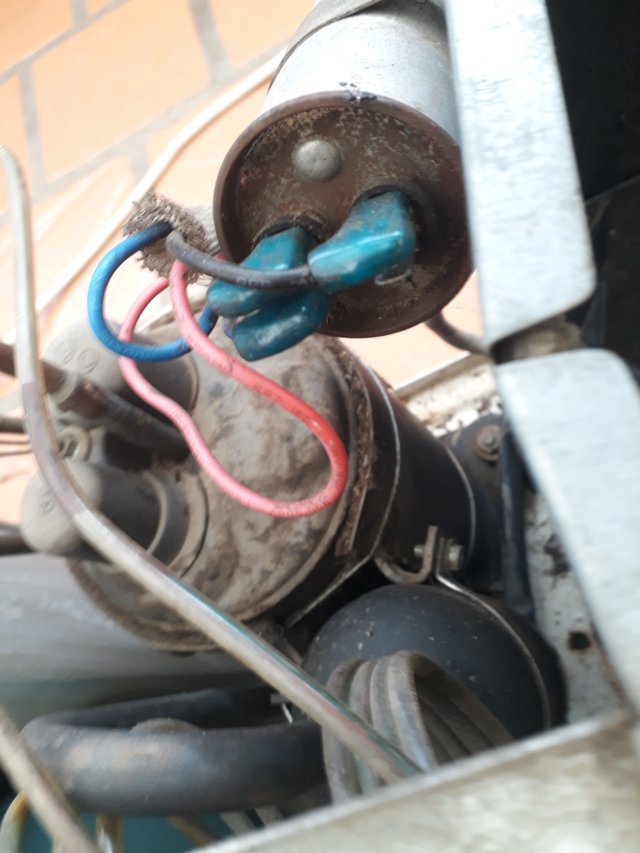
En la parte media encontramos el capacitor, el compresor y el motor del ventilador, estos por nada se pueden mojar, yo al igual que con la tarjeta les tomo foto para saber como van conectados o por lo menos los que se vean mas complicados.
Here I present in my opinion, the most important photos! With these photos we can see how all the cables are connected to the card, although the console must have an instructions on how they are connected at the top, it is better to take photos.
In the middle part we find the capacitor, the compressor and the fan motor, they can get wet for nothing, I, as with the card, I take a picture of them to see how they are connected or at least the ones that look more complicated.
a mi me gusta quitar exactamente todo para que sea una limpieza profunda y no tengamos conflictos de que quede alguna suciedad que perjudique nuestro aire.
Once we release everything electrical we can proceed to remove all the fixed parts, always being careful with the screws and remembering how everything is going for the moment of assembly; I like to remove exactly everything so that it is a deep cleaning and we do not have conflicts that there is some dirt that damages our air.
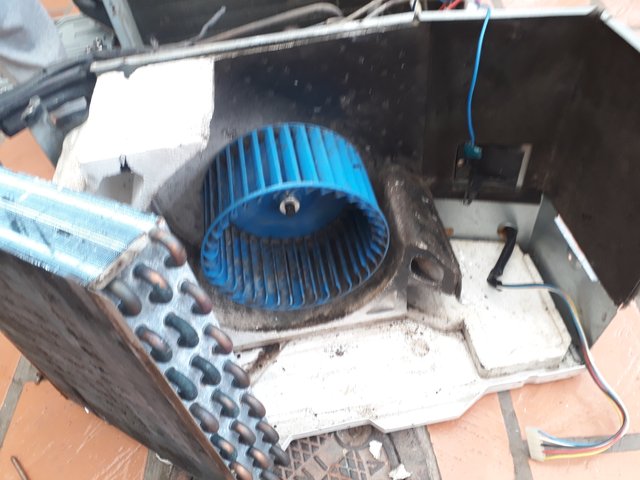
para este proceso le puse bolsas plasticas al compresor para que no se moje, a este no le puede caer ni un poco de agua, para terminar solo debemos ponerle presion de agua a las rejas y listo, yo lavo todas las piezas una por una para que quede mucho mejor.
In this step to wash the radiators we must be absolutely careful, the compressor cannot be separated from them because the gas escapes and we do not want that to happen, the copper tubes can be bent a little although it is not highly recommended to bend these. just for precaution; For this process I put plastic bags on the compressor so that it does not get wet, not even a little water can fall on it, to finish we just have to put water pressure on the bars and that's it, I wash all the pieces one by one to make it look much better.

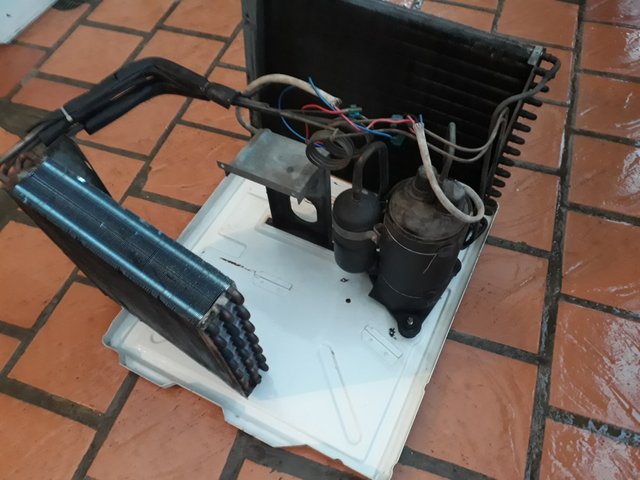
Aqui pueden ver se me hizo de noche, por eso dije que es un proceso que demora, no es dificil pero hay que tener sumo cuidado.
As you can see, I washed the floor of the console too well, where the drains go and then I began to install the components, I put the radiators with the compressor first and from there the other things; They will think it is complicated but it is not, there are guides on the tin that tell you where everything is going.
As you can see, it was done at night, that's why I said that it is a process that takes time, it is not difficult but you have to be very careful.
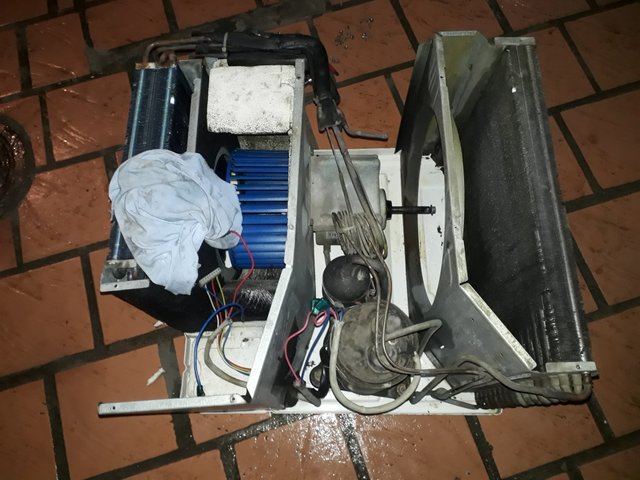
Aqui les queda el final ya listo, espero les haya gustado este proceso, si tienen alguna pregunta pueden hacerla, el aire lo puse en su lugar y sirvió a la perfección.
Once I put everything together and saw that there was nothing left, I was able to put it back in its protective box.
Here is the final ready, I hope you liked this process, if you have any questions you can ask, I put the air in its place and it served perfectly.
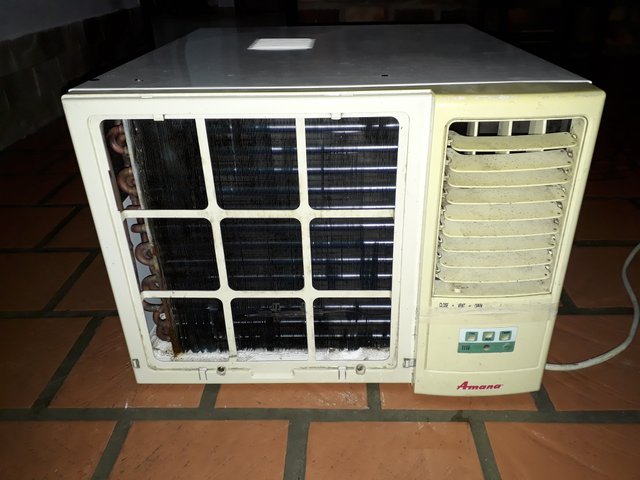
Thanks for getting here, have a happy day!!
Congratulations, your post has been upvoted by @dsc-r2cornell, which is the curating account for @R2cornell's Discord Community.
Enhorabuena, su "post" ha sido "up-voted" por @dsc-r2cornell, que es la "cuenta curating" de la Comunidad de la Discordia de @R2cornell.
Downvoting a post can decrease pending rewards and make it less visible. Common reasons:
Submit