With reference to Skillshare Community's post Steem SkillShare Community Map. Newcomer guide.
which outlines the types of contents to be published in this community, I'm hereby with a tutorial or weaving a local key holder which I believe will be of extra ordinary worth to some members.
Preamble
Weaving a key holder using Plastic sutli
I wish to carry out a step by step tutorial on simple local craft for key holder using plastic sutli or anything of such nature . This tutorial is simple yet presumably creative to most of the people. We are know how a single key is likely to get lost if not on a key holder but at times there is an absence of the key holder this is due to either the key holder holds bunch of other keys or so. This local key holder is also likely for those who may wish to separate a single key for privacy.
Materials to use
- Plastic sutli &
- Knife
Step 1 Provide your plastic sutli
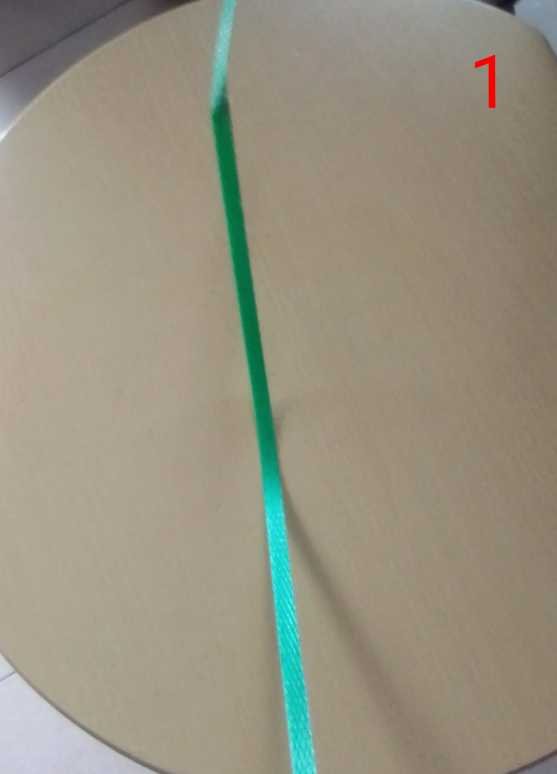
like I said earlier, it shouldn't necessary be Plastic sutli but anything of such nature. It can be of whichever length depending on your choice, the longer the length, the longer your final weaving will be.
Step 2 Cutting your Plastic sutli
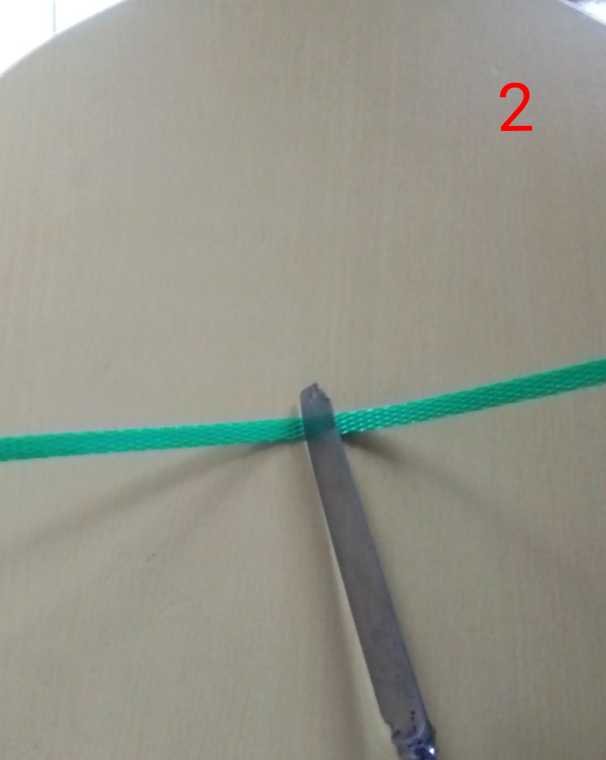
With the help of a razor blade or knife🔪 cut into two your Plastic sutli. Note that, there are different colors of Plastic sutli and as such, you can weave with two different colors for more beautification.
Step 3 Join your plastic sutli
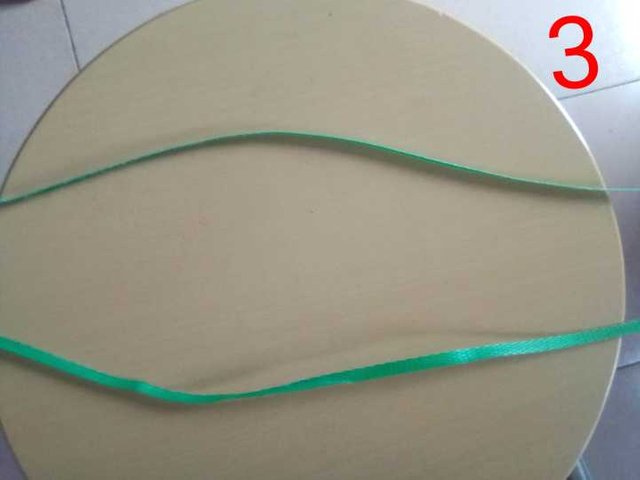
Make sure they are of the same height before you can start weaving.
Step 4 Start By crossing
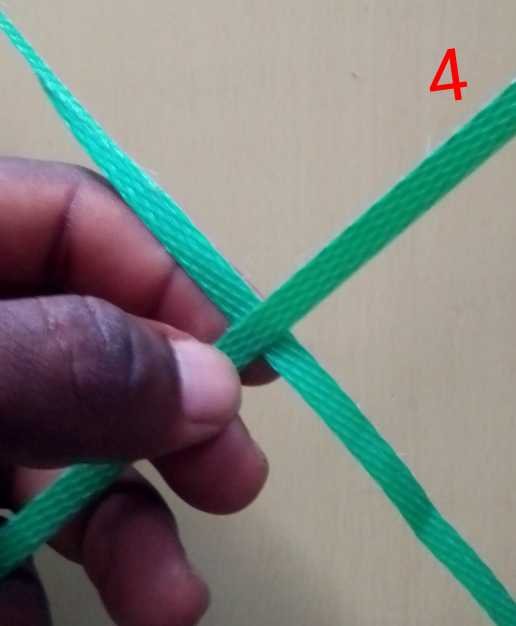
This is basically the first step of weaving as the previous steps are actually for Introduction. You will have to cross the two already cut Plastic to start weaving.
Step 5 Use one end to cross both sides
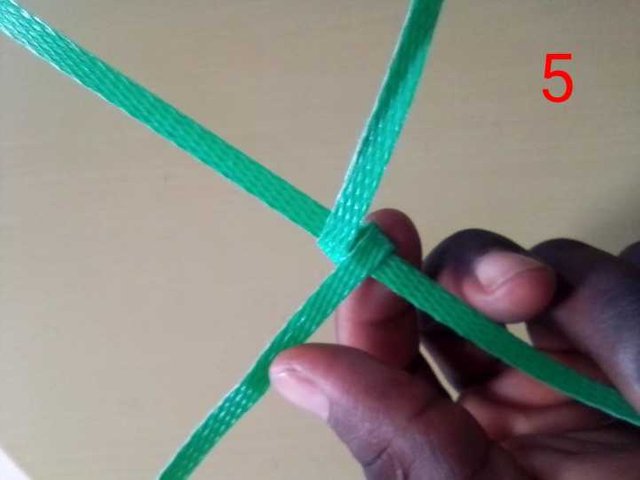
Carefully zoom this step to see. there is absolutely nothing complicating here, all you have to do is to use on part of the plastic sutli to below and upward the other part. Make sure to press it very well so that it won't scatter.
Step 6 cross both ends
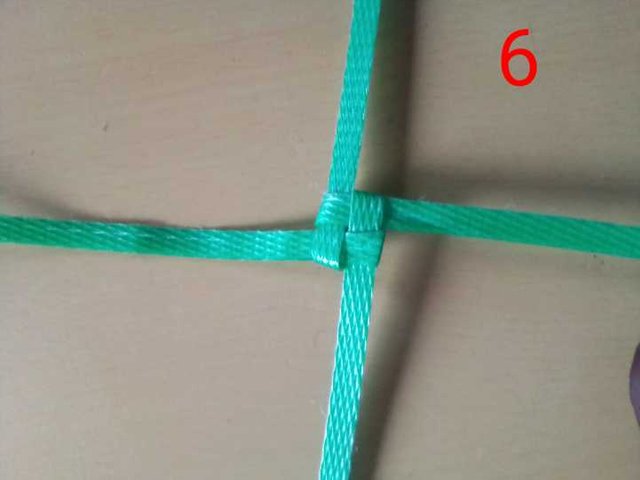
Here in step 6, you'll need to cross both ends of the plastic sutli, by simply and carefully exchanging both ends from leftward to rightward and vice versa. This should be the most focused step though it's simple.
Step 7 Results
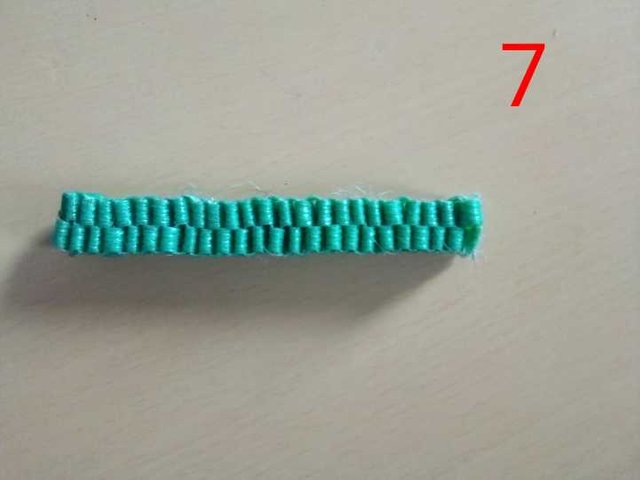
Once mastered the previous steps the results is assured with good results. while weaving, you'll be fulfilled and never wish to stop weaving.
Step 8 Your single key on the holder
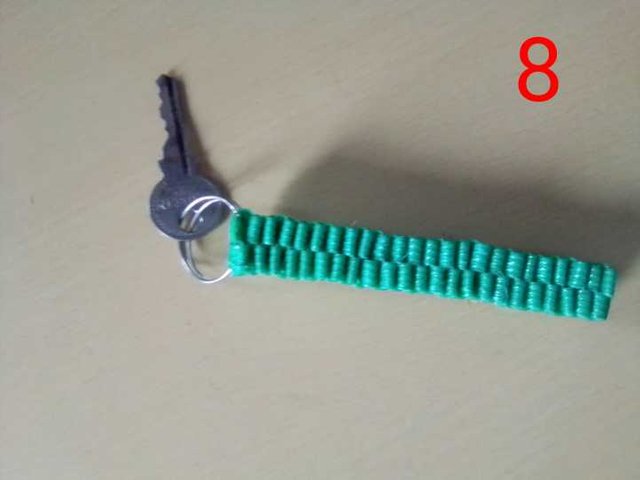
Kudos for your locally weaved key holder. Now you can just place your key on your new holder .
Conclusion
In one way or the other I think this will really be of help to someone. This weaving isn't necessary for key holder but also an artistic creation of aesthetic value (art work) for those who has passion for art.
You can keep it in a museum as well.
Quick notice 📝
| -- | -- |
|---|---|
| Blog type | Weaving tutorial |
| Device name | Itel A33 |
| Source(s) | Nill |
| Author | @barnabie |
All pictures and text is mine except properly cited.
ABOUT ME
Too Blessed To Be Stressed because I'm Blessed By The Best ✔️
Thank you big to all those reading me.
Hey,
According to the new rules on Steemit platform we are allowed to reward with booming support only #club5050 members. To join #club5050 you have to power-up more than you withdraw in the last 30 days.
Your withdraw: 17.8 STEEM
Your power-up: 0 STEEM
If you want to get a chance for the booming support, please power-up the difference and use #club5050 tag
Booming support is not guaranteed, but you have a chance to get it.
Downvoting a post can decrease pending rewards and make it less visible. Common reasons:
Submit