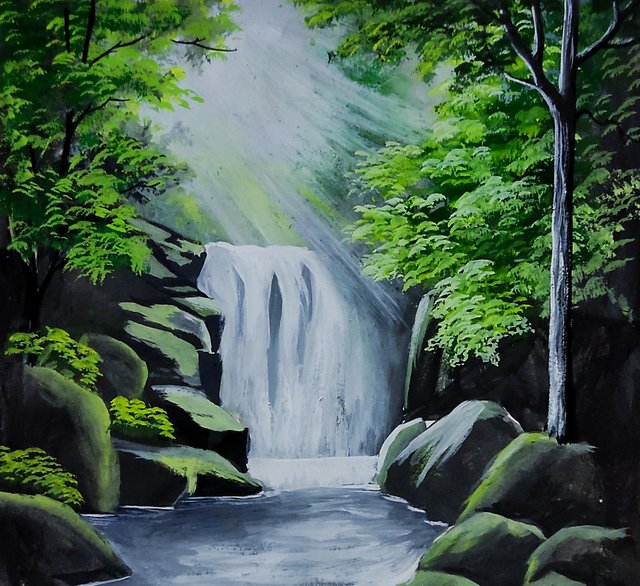
Hi all my steemit friends.
Actually I'm getting more inspiration from the community @steem.skillshare, so I'm being able to make better drawing and content. And I'm keeping continuously to create more tutorial to teach you all about any kind of drawing tutorial. Now I'm going to share another beautiful tutorial post here.
To make a beautiful poster colour painting, you must need some important instrument.
- art paper
- drawing brush
- colour mixing plate
- poster colour shades
- water
- graphite pencil
- ruler
Now I'm going to explain how did I completed the drawing process stape by stape ..
At the first stape I collected all the instruments. Then I took an art paper, a ruler, and a graphite pencil and draw the border line on the paper. Then I took a flat brush and and some black colour on the plate.. And at the time I started to draw some black spot around the paper.
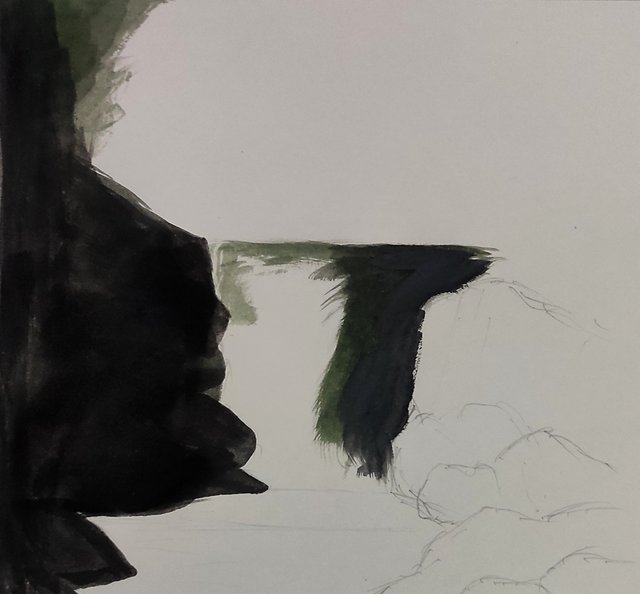
Then I draw some more black spot by black colour and were I will draw some big stone. I used here black colour because on the black spot you can draw any light coloured object and it will be more highlighted and realistic.
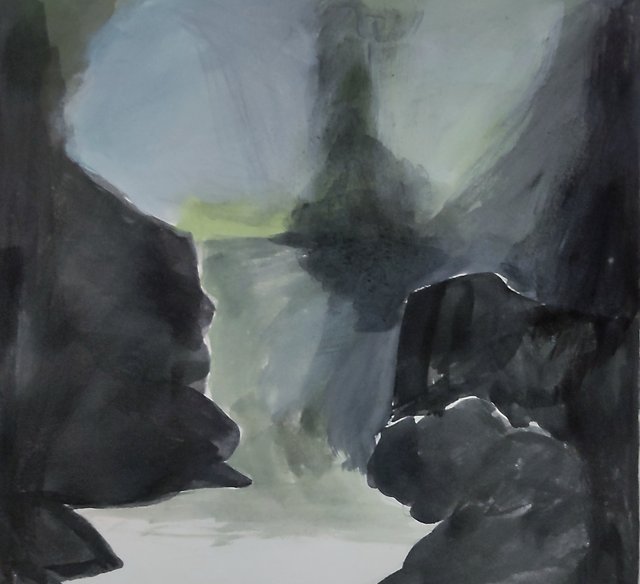
In the third stape I draw the big stones besides the falling water was flown. I took some white colour with a little bit yellow colour. Then I mixed them as well and I applied on the dark spot and made the shape of the stone. On the upside I made a foggy background with some gray trees. As the trees are situated in the long distance. So I made them nebulous.
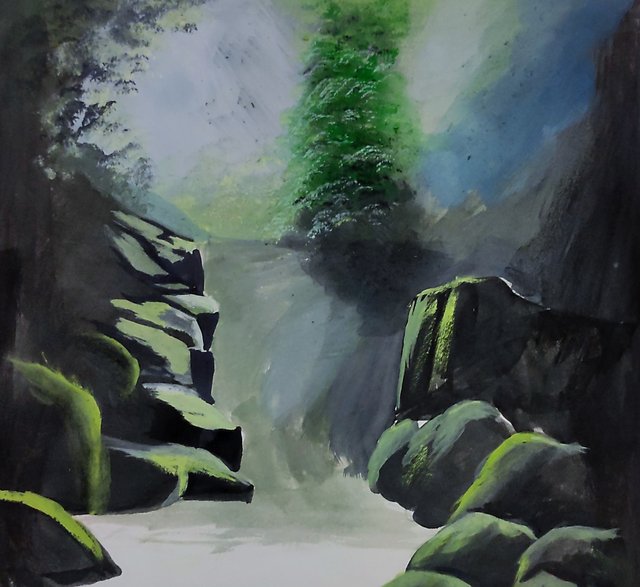
In the fourth stape I draw the falling water on the gray background. Here I used white colour by the flat brush. Then I draw the little rill. Where the water was flowing. After that I started to draw the tree to the left side of the painting. At first I used deep green colour on the spot and then I applied light green colour on the deep green colour. Thus the trees are looking so realistic.
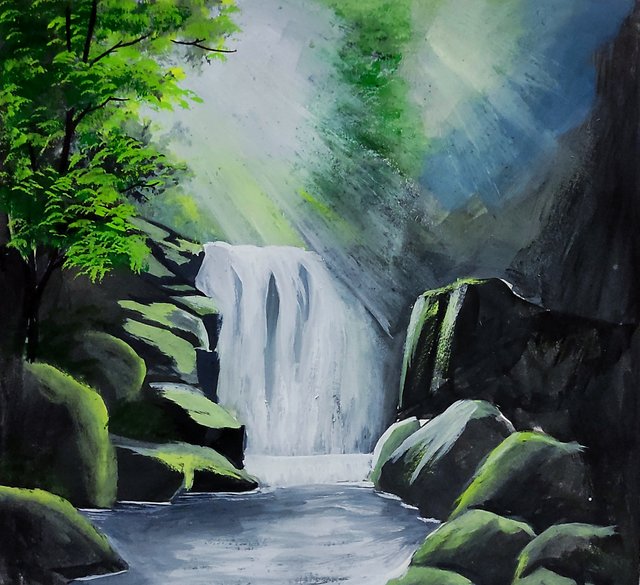
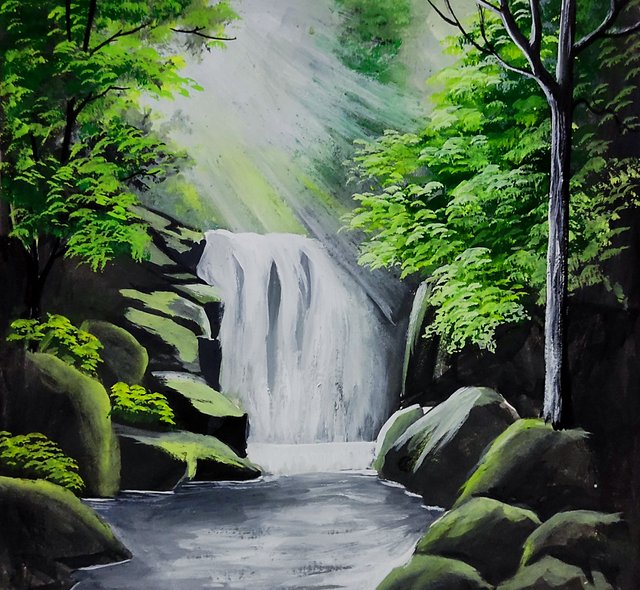
At the last stape I draw more trees to other side of the painting with the same way. Here I use more light green colou to the top of the leaf by filbert brush. Because the sunlight is falling on the leaf directly.
And then I draw a long tree beside the rill by black colour. Then I used white colour to make highlighted of the tree. Thus I completed the drawing process.
Thanks all for visiting my post and supporting me.
If anyone want to buy my artwork and any portrait drawing. He/she can contract me in discord.
discord I'd : mdriart#0766
| Category | price |
|---|---|
| Poster colour drawing | 0.7sbd |
| Colour pencil drawing | 0.5sbd |
| Human portrait ( black & white) | 0.7sbd |
great art work brother
Downvoting a post can decrease pending rewards and make it less visible. Common reasons:
Submit
How beautiful 🤗
Downvoting a post can decrease pending rewards and make it less visible. Common reasons:
Submit