Hello everyone, trust we are keeping well??
Alright here is a lovely ruffled head band which is worn on the head for any occasion at all.. trust me you will love it.
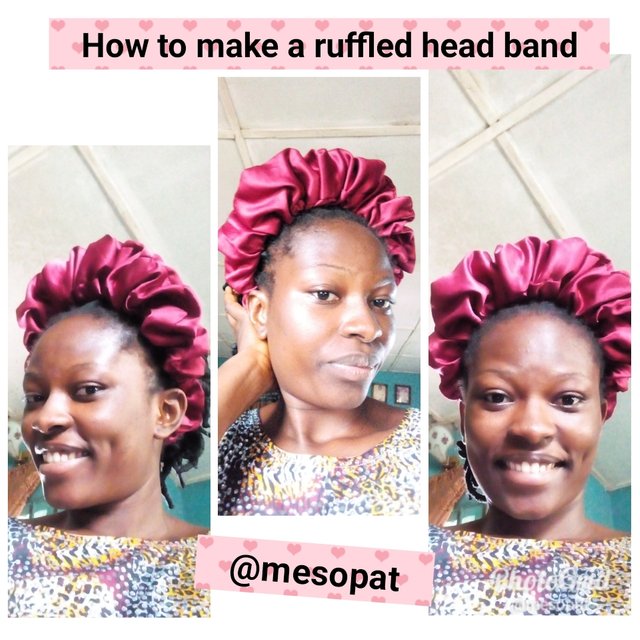
I will be teaching us step by step on how to achieve it and I hope it helps someone.
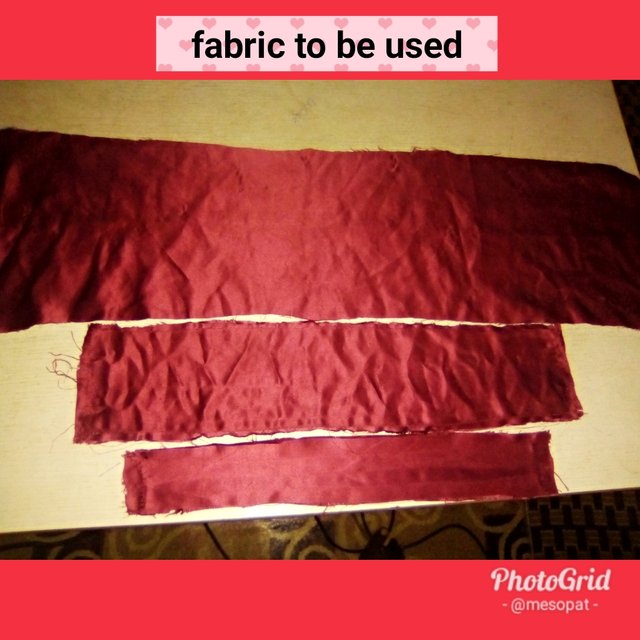
Get the pieces of fabric of measurement
•44inches length and 8 inches width.
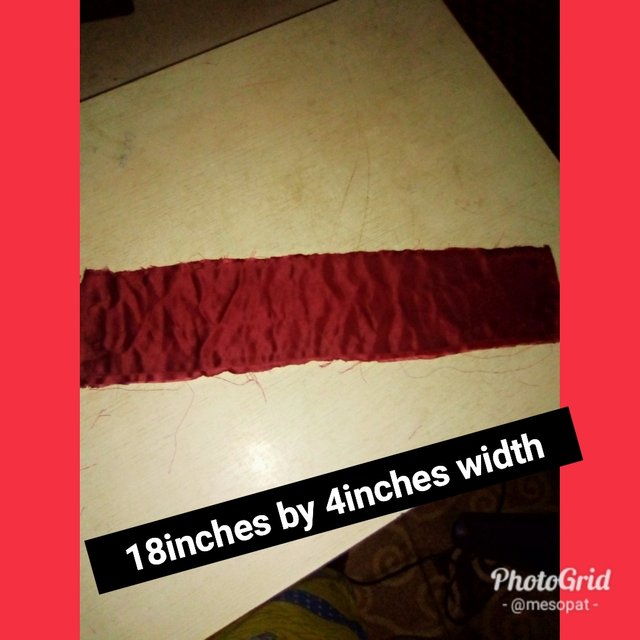
•18inches length and 4 inches width
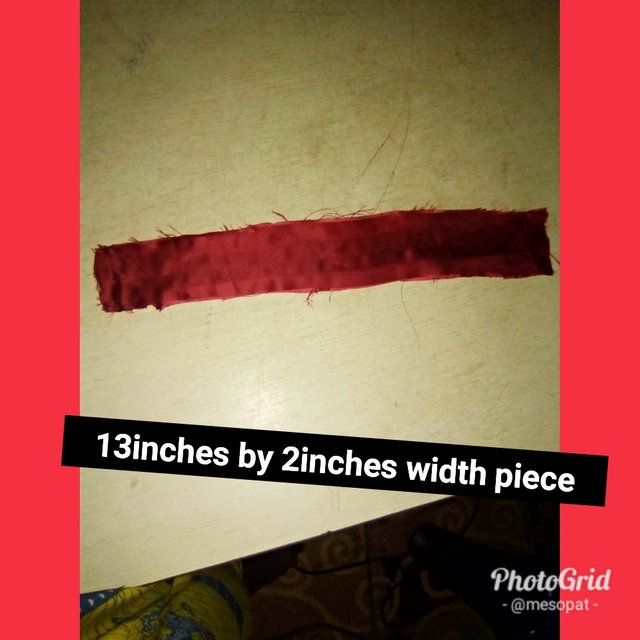
•13 inches length and 2 inches.
Pick the biggest of the fabric (44inches) and fold into 4 and curve the edge of the fabric by marking 2inches inward on the width and 7 inches downward on the length as shown in the picture.
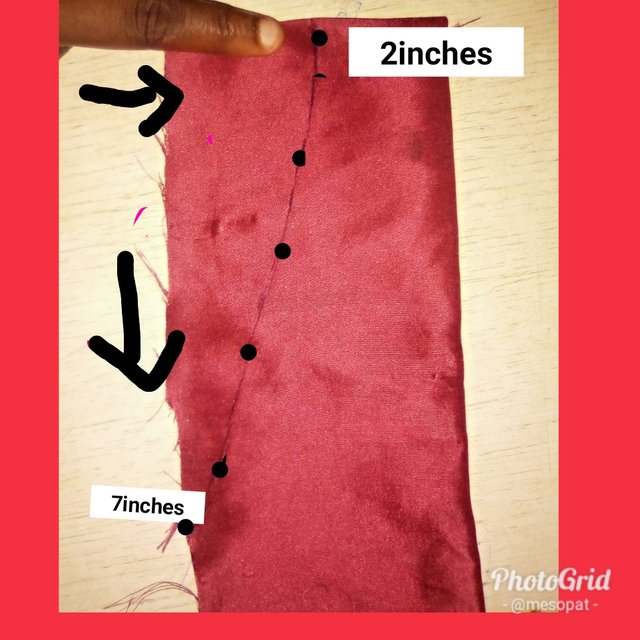
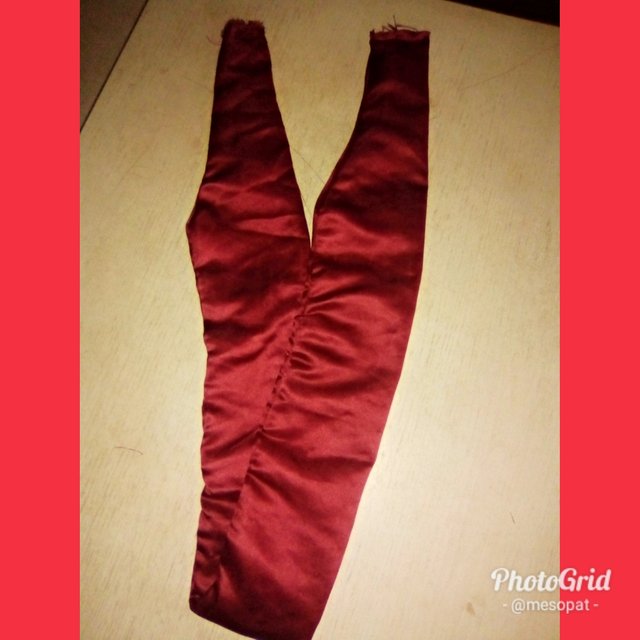
Cut out the curve line, and this is what it should look like after cutting it.
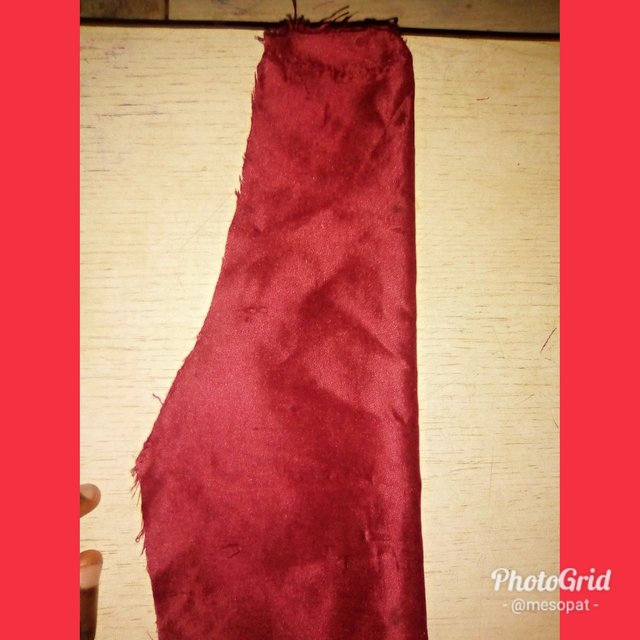
Join the fabric together length wise using sewing machine ( you can as well make use of needle and thread) and leave the edges open.
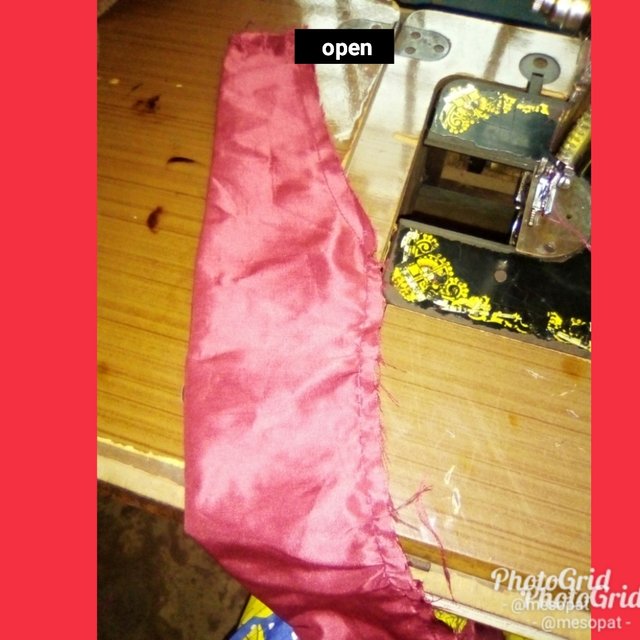
•After joining, turn out the fashion side of the fabric.
This is 13 inches by 2 of fabric which will be used to ruch the 44 inches of fabric.
•create your ruffles by passing the small pieces into the big fabric through the open edges
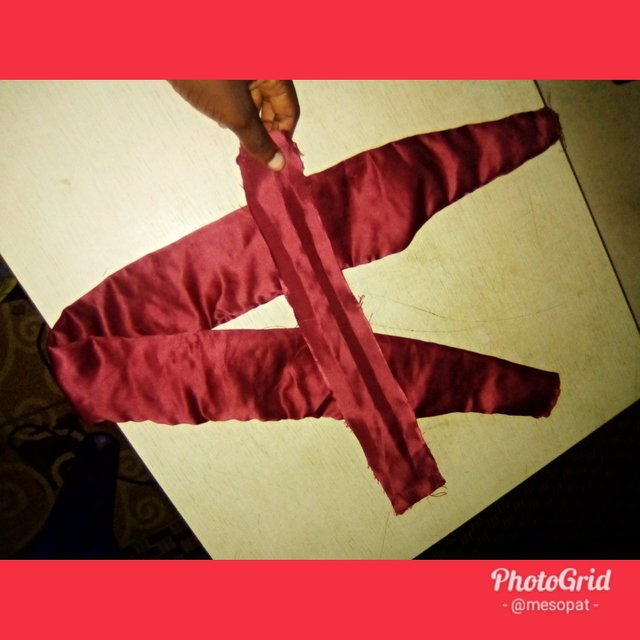
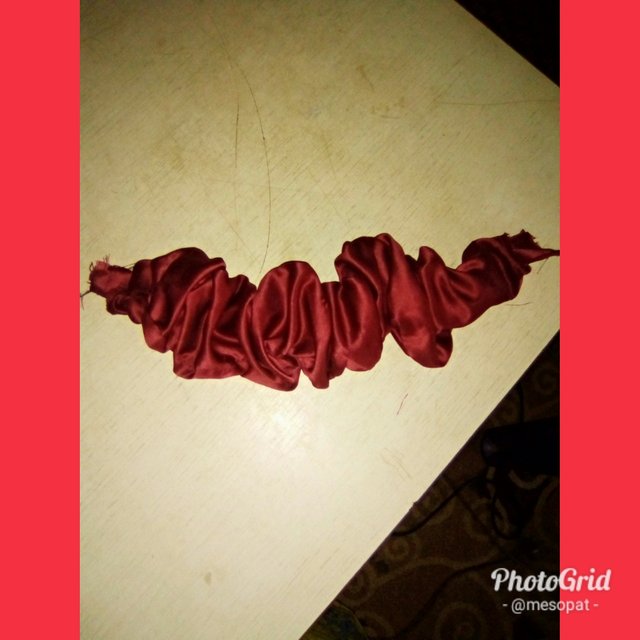
•This is what the outcome should look like after you are done runching.
This is the 18 inches length by 4 width fabric which will be used as elastic casing.
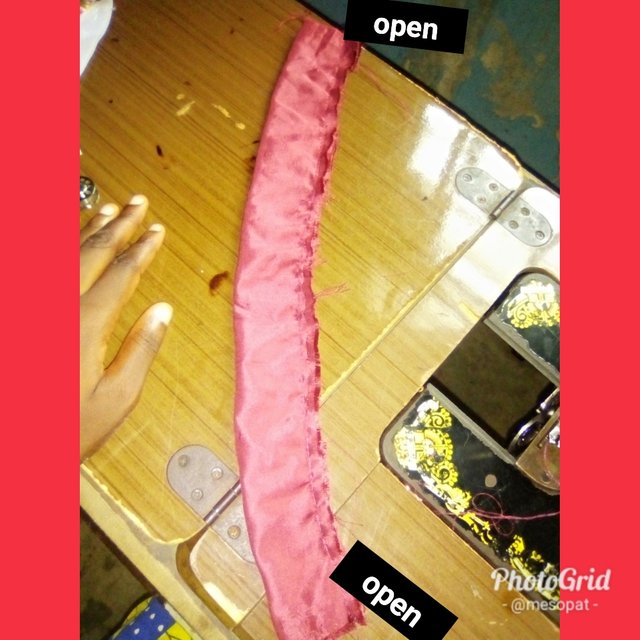
•Fold the width into two and sew length wise leaving the edges open.
•After sewing, then turn out the fashion side of the fabric.
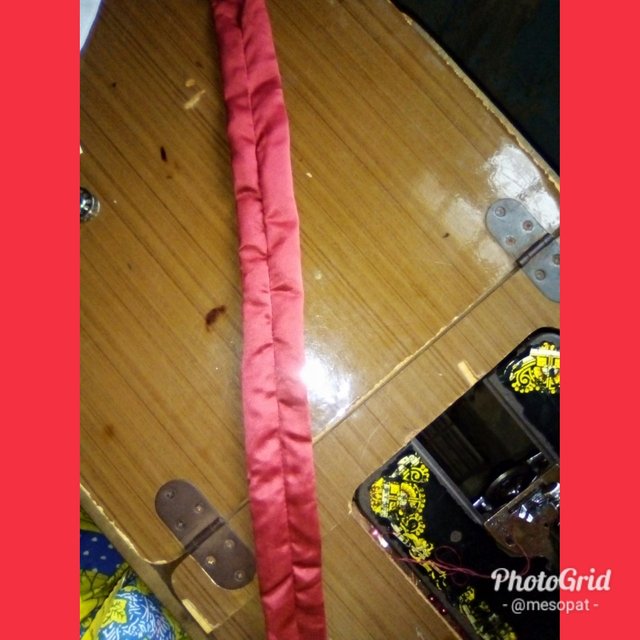
This is 7 inches elastic, use a safety pin to pass the elastic into the fabric.
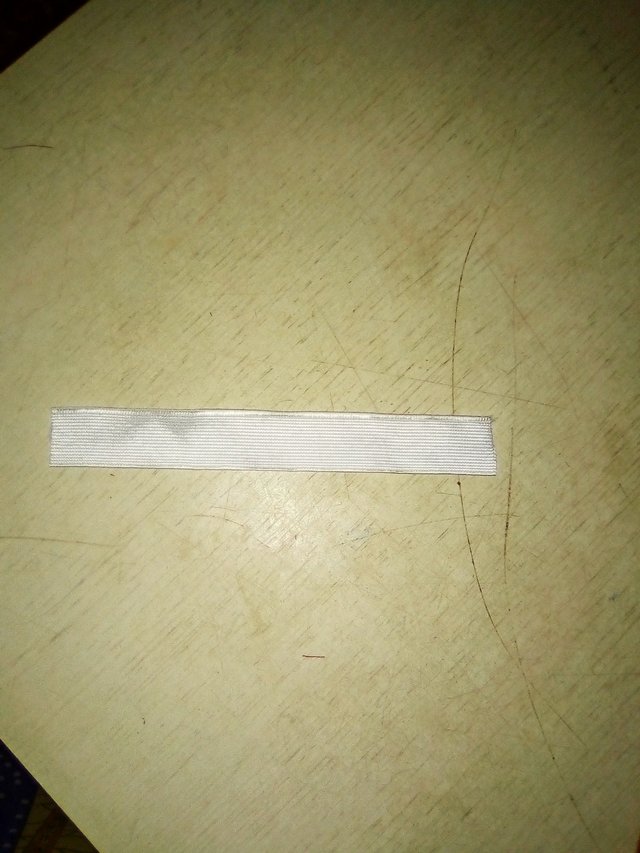
•This should be the outcome after passing the elastic into the casin.
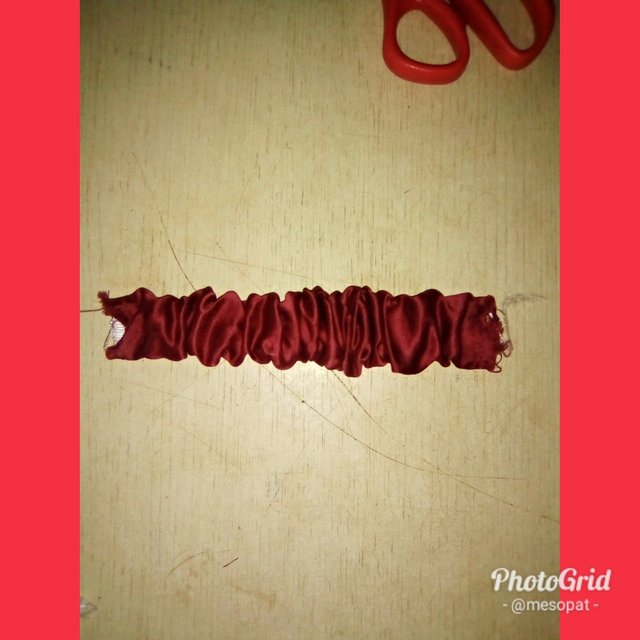
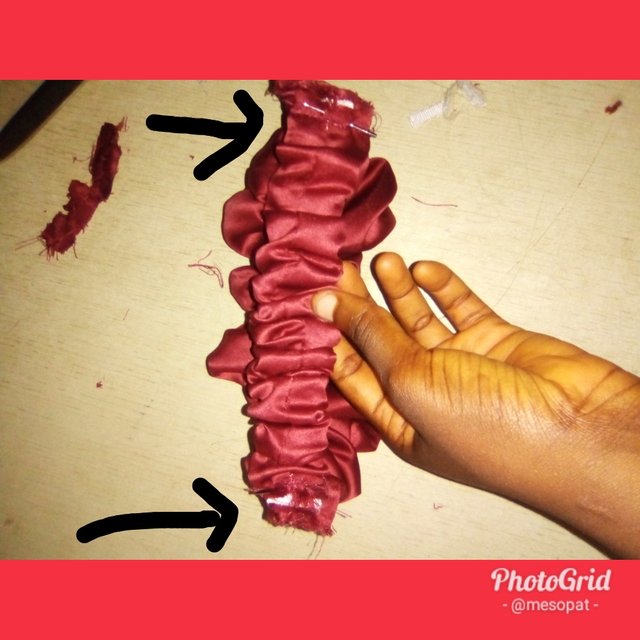
Join the elastic casin to the ruffles, make sure you share the excess evenly on both side of the casing.
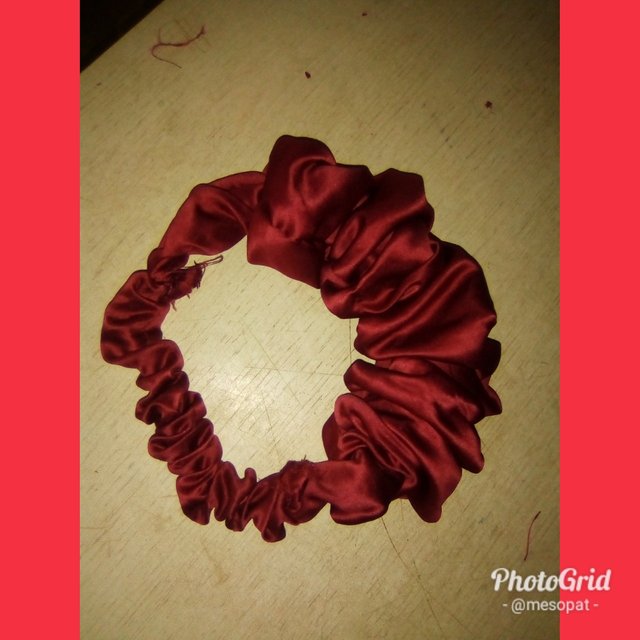
Final result
This is what the outcome should look like after sewing it together and turned out.

Hope this helps. Have a nice day fam😀