Hello great people of Steem
I greet you all this morning, how do you all spend your night, I have it was peaceful and restful. It really move me to share with you all another great tutorial on how I reupholst a Lexus front seat. In this post I will try to make the it real and very simple to understand .
Upholstery is just the process of changing the leather and the foam or reproducing everything new of the car interior . But in this one since it is and existing car seat we are reproducing it.
Material/tools needed
Sucker spanners
Ring spanners
Flat Screw driver
Star screw driver
Sewing machine
Tread
New leather etc
Here is the finished seat
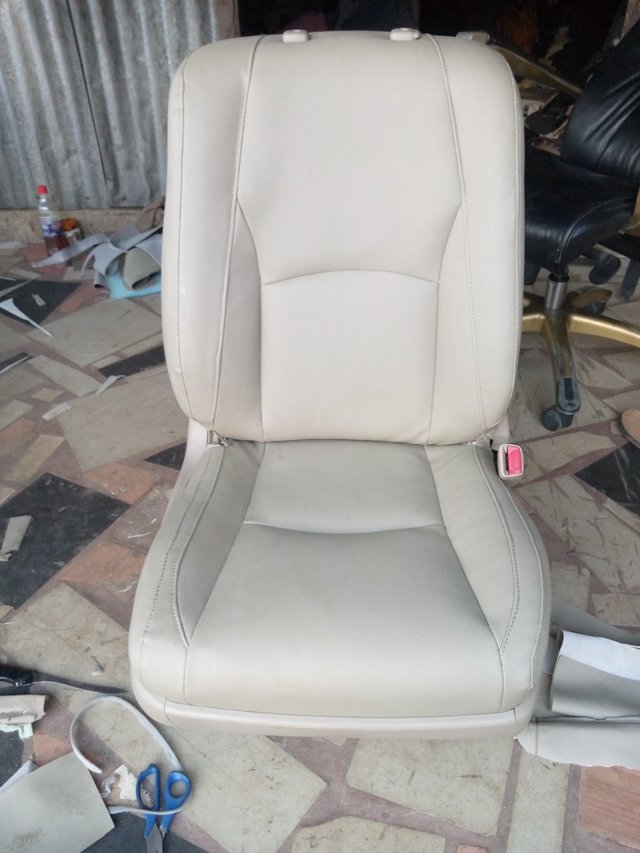
Let see some simple steps I follow to make this beautiful seat.
Step 1
Before making any seat you need to use some basic tools and loose the seat out from the car to where u want to perform the upholstery work ie workshop
I loose the seat to my shop
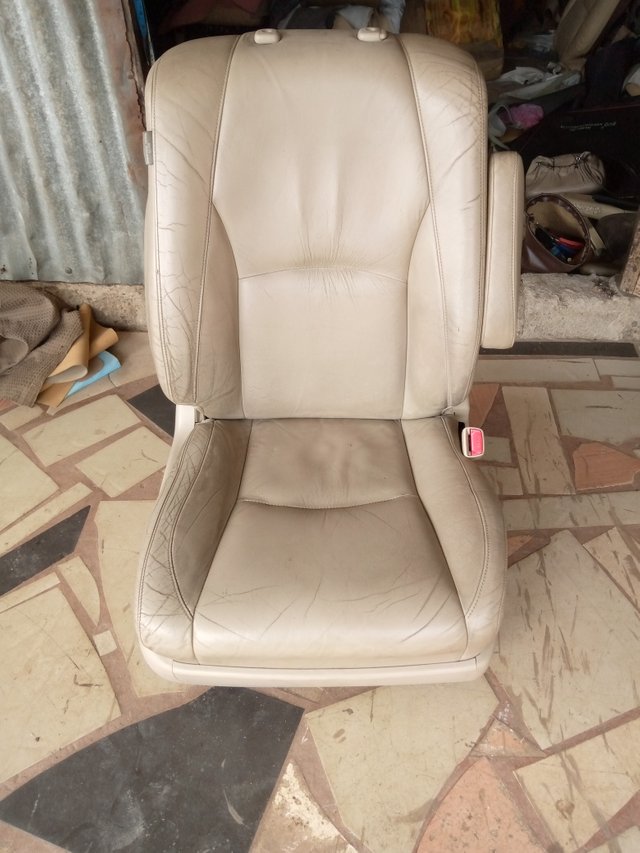
Step 2
After loosing the seat to my shop I Know seperate the main seat from the back for easy measurement and reupholster
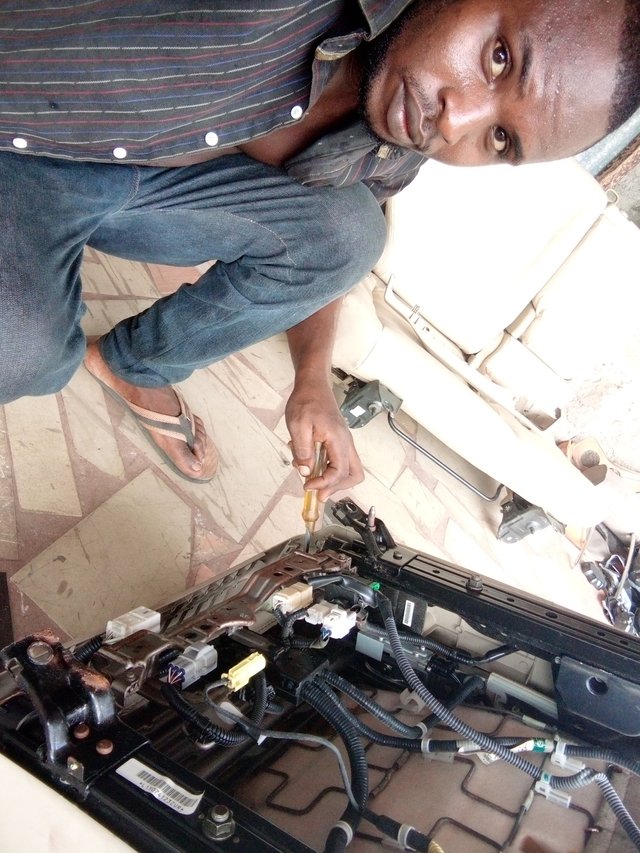
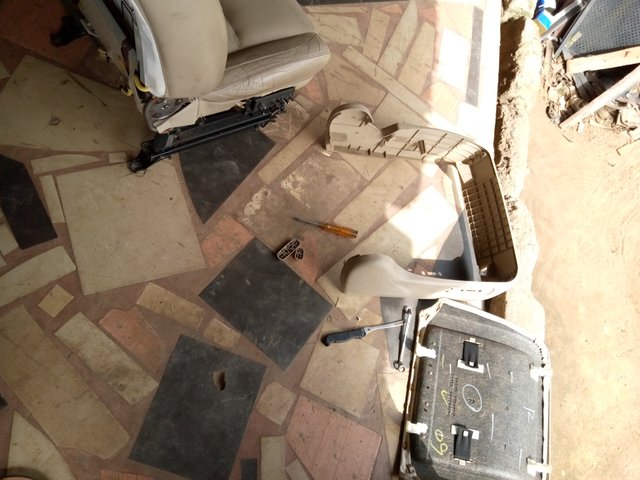
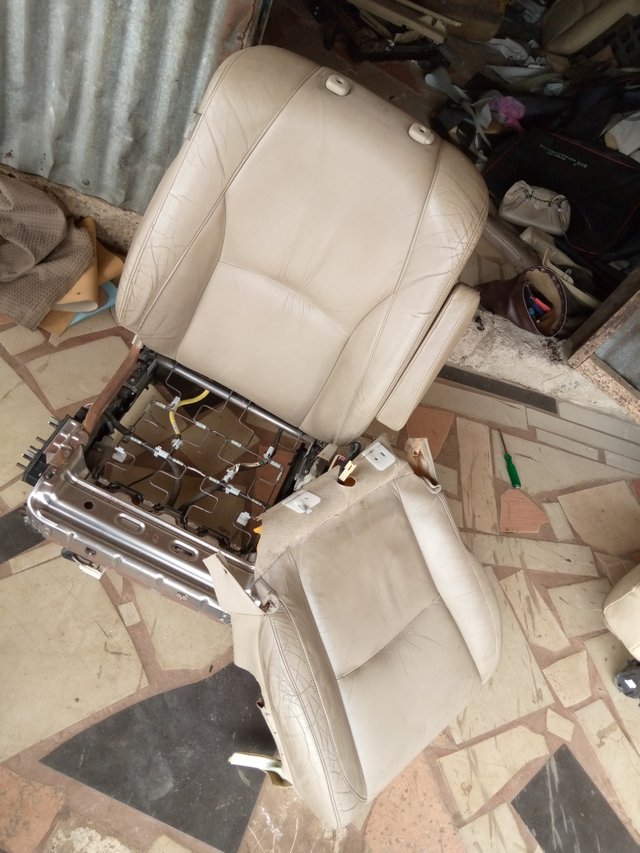
Step 3
I now select the material I want to use that matches the old colour.
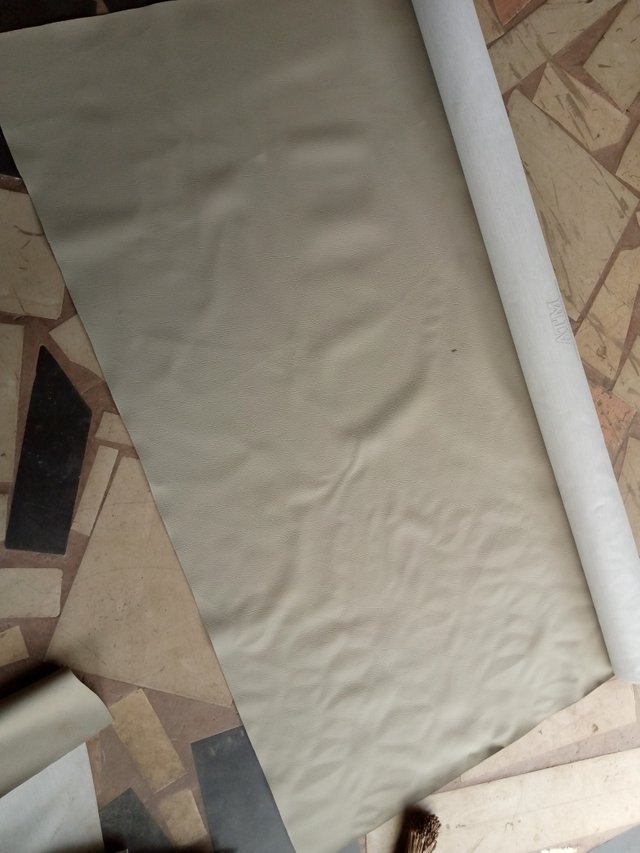
After that I now use my tape to take the measurement of each shape of the seat or not vertical and horizontal measurement and then write it out in my old seat
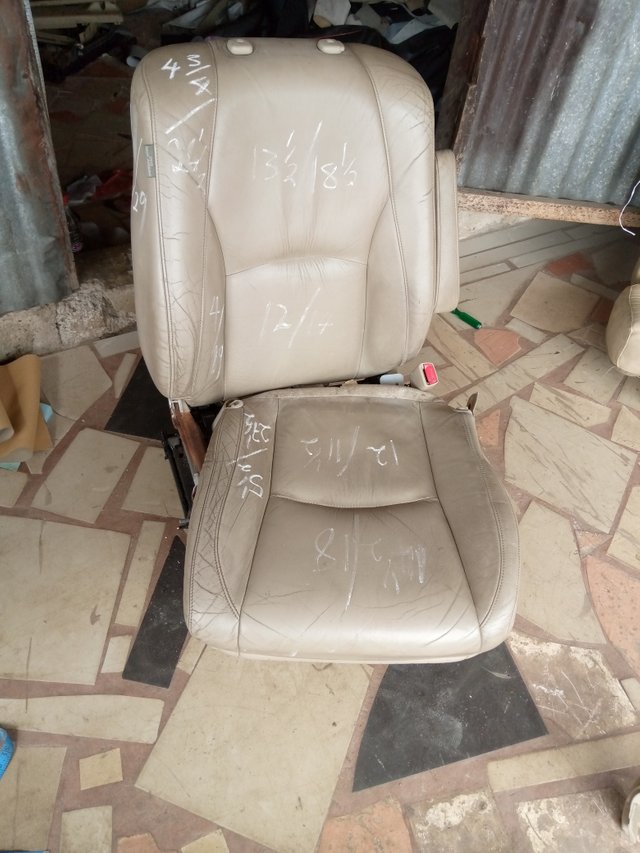
Step 4
I now transfer the measurement to my new leather and then cut it out
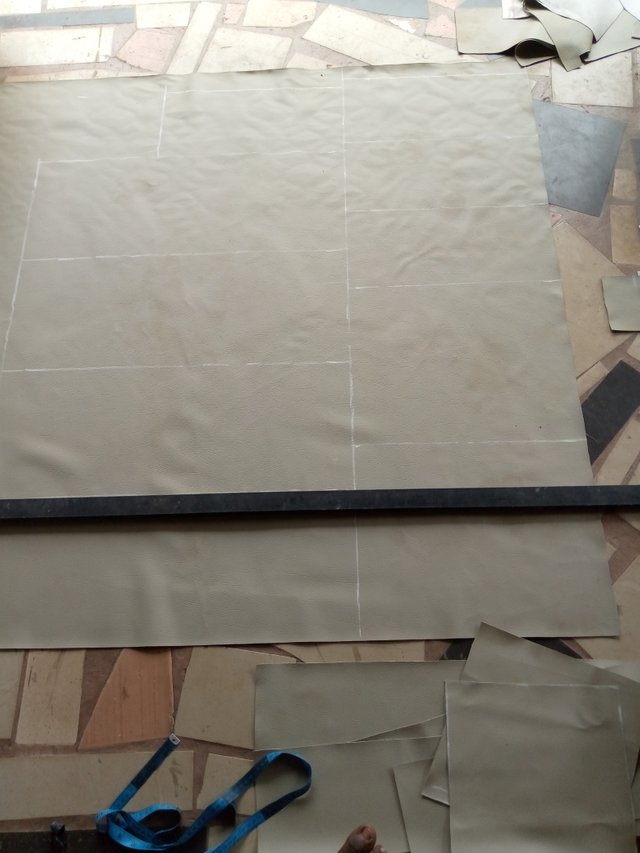
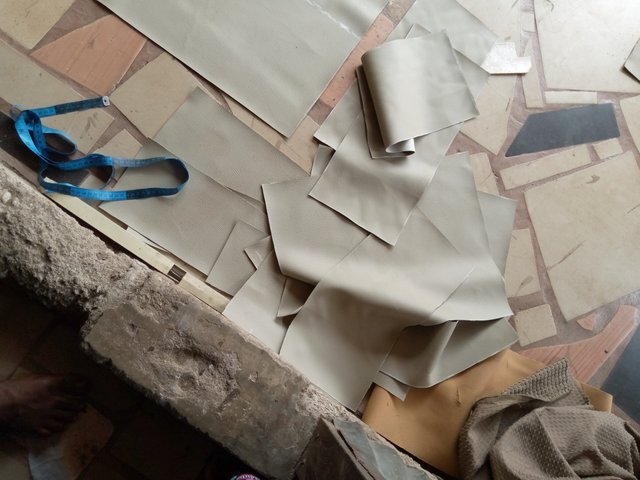
Step 5
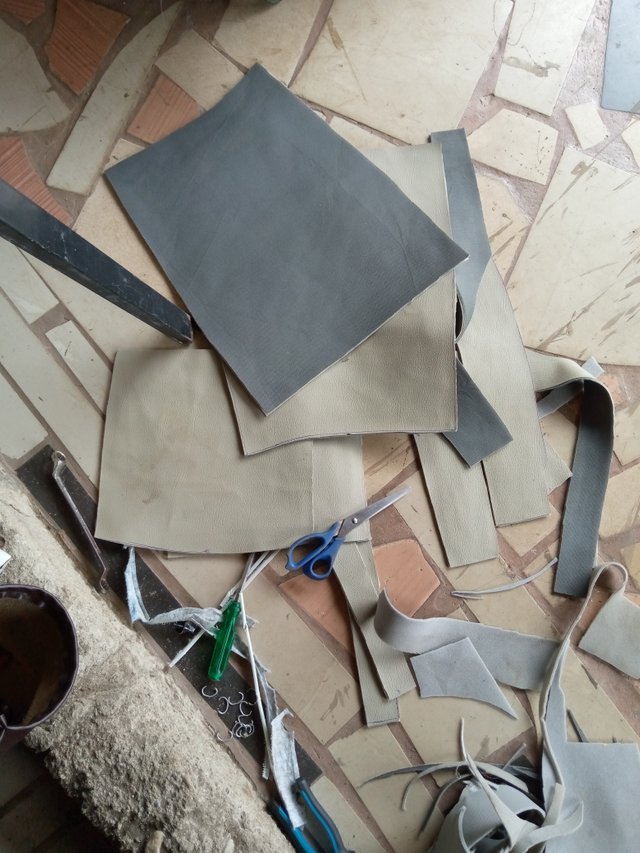
I now place the new leather on the old seat with the help of maker and draw out the shape of it after that I cut it out and the place it on a roof material and gum it together later I now cut it out. See photos below
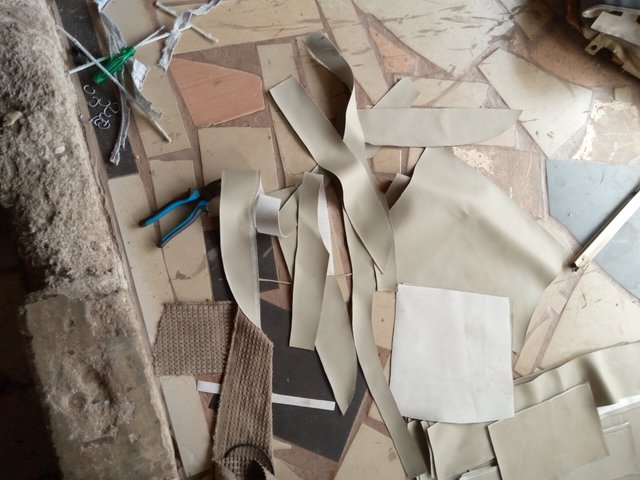
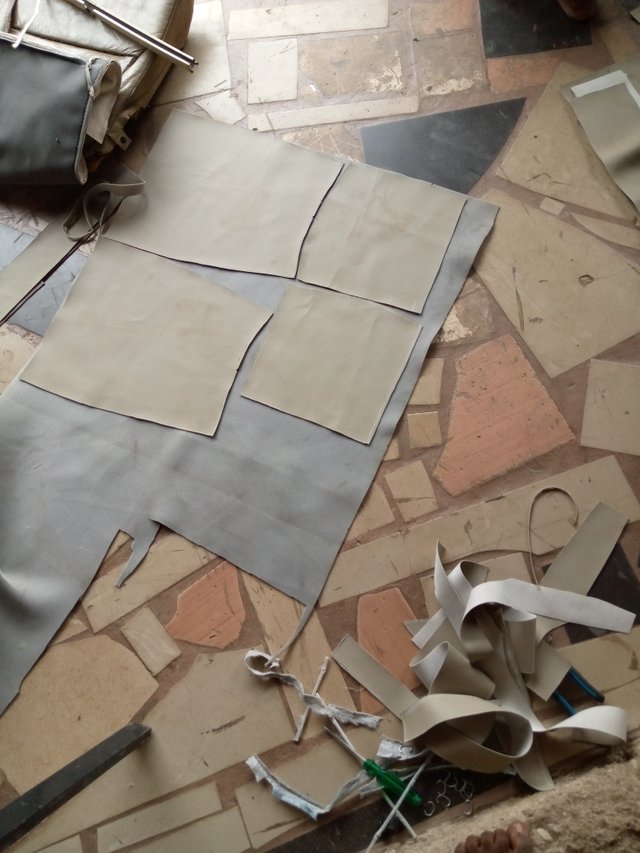
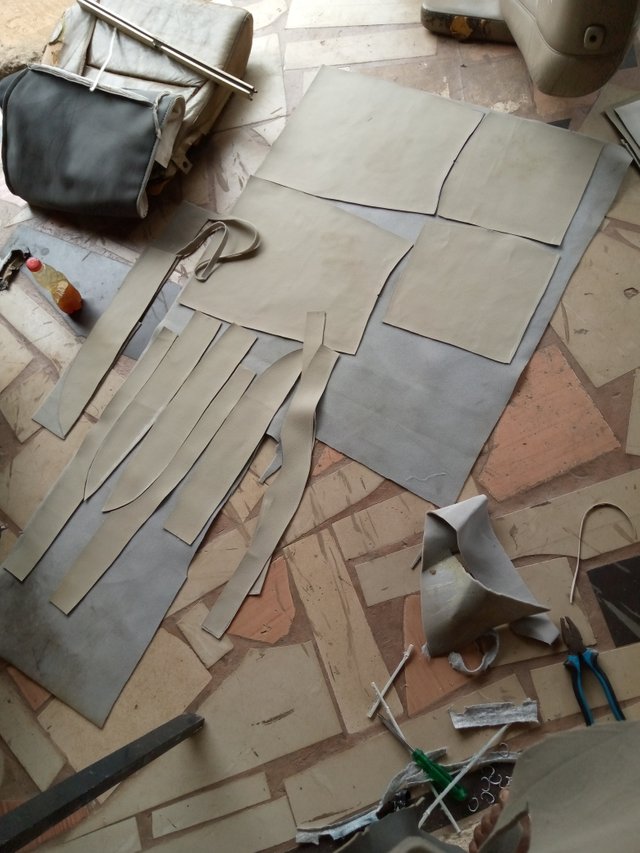
Step 6
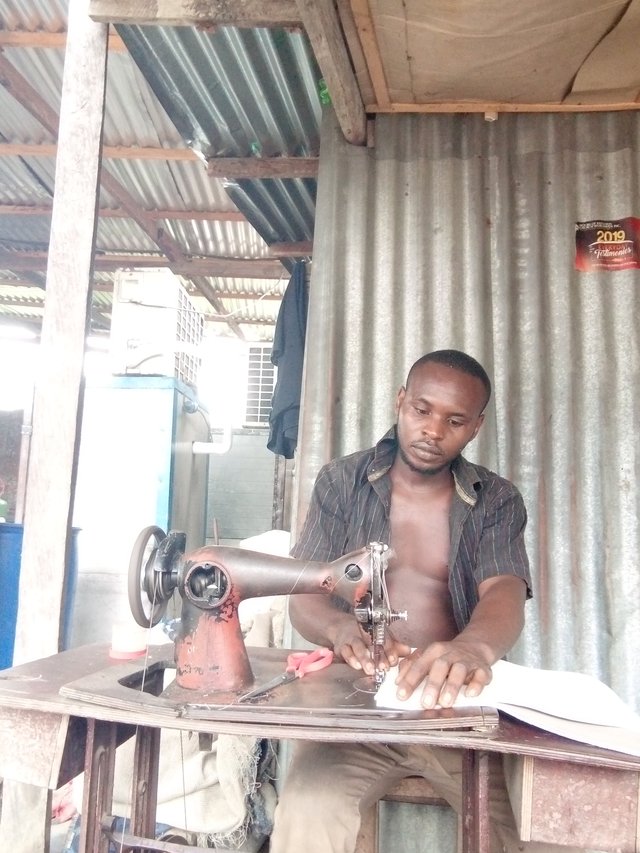
The sewing process, with the help of my sewing machine I now join the material exactly has it is in the old seat and then join all the necessary things has it is in the old seat.
Step 7
The upholstery process, after sewing it I now replace the sewing material to my old seat and clip it together
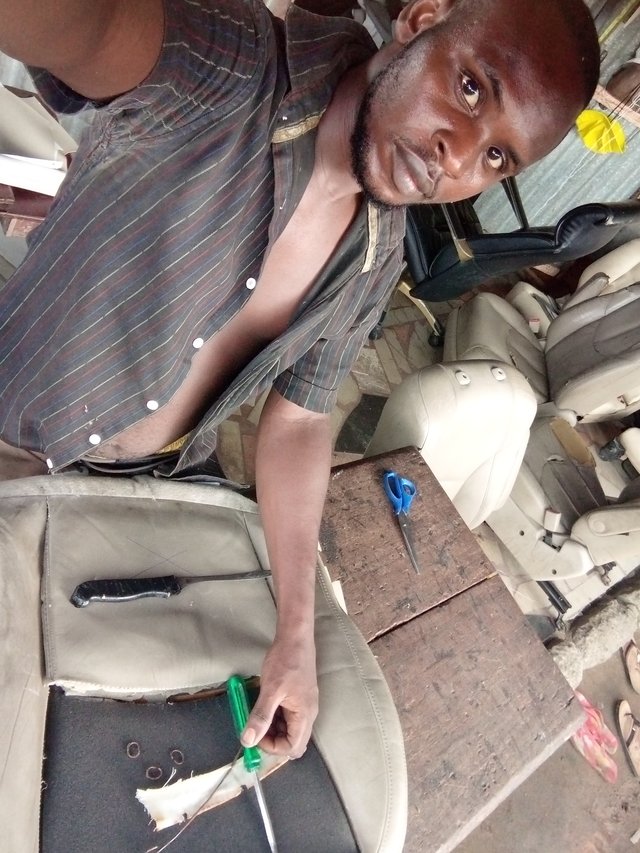
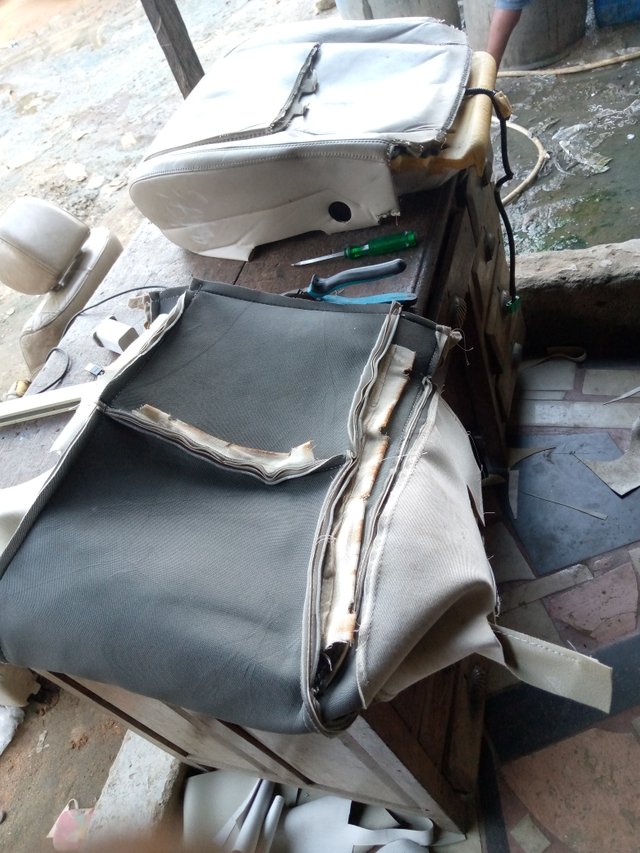
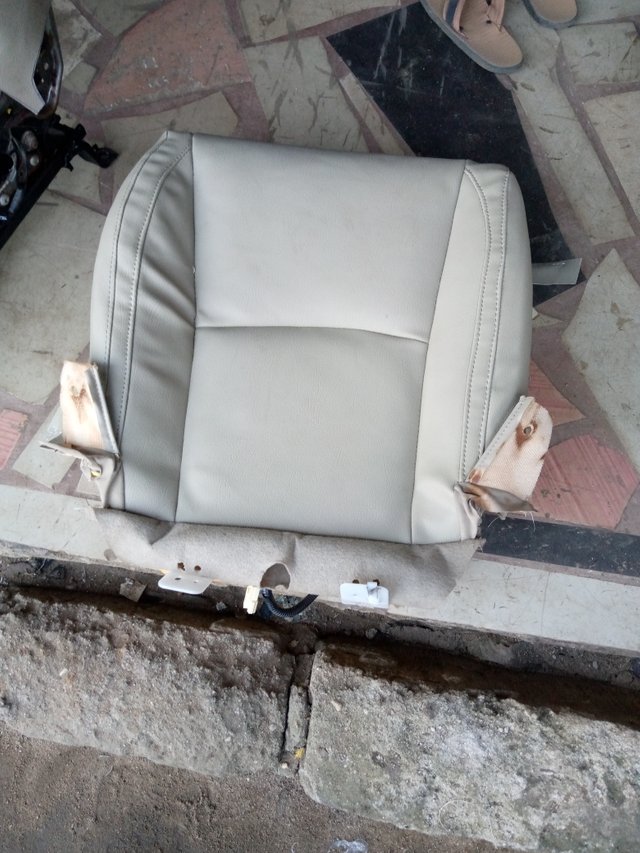
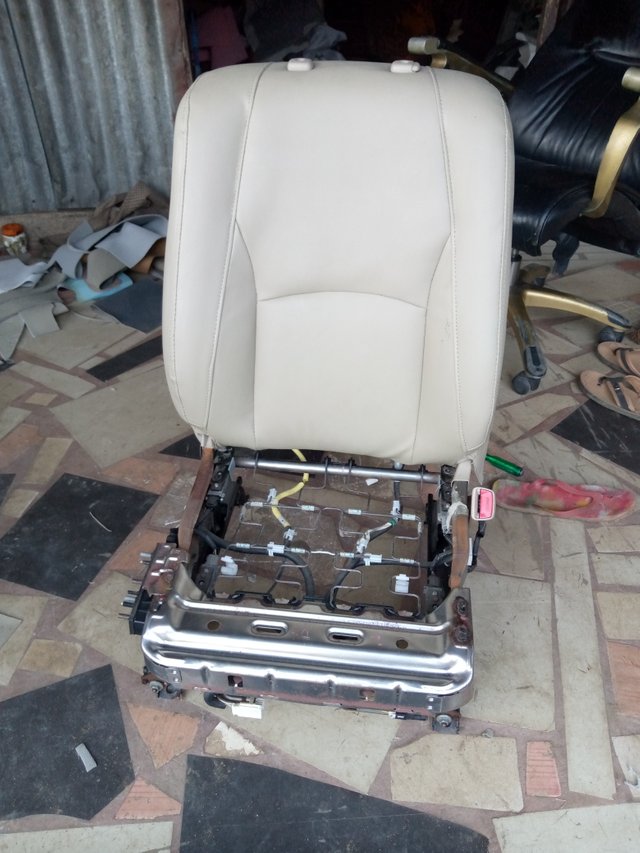
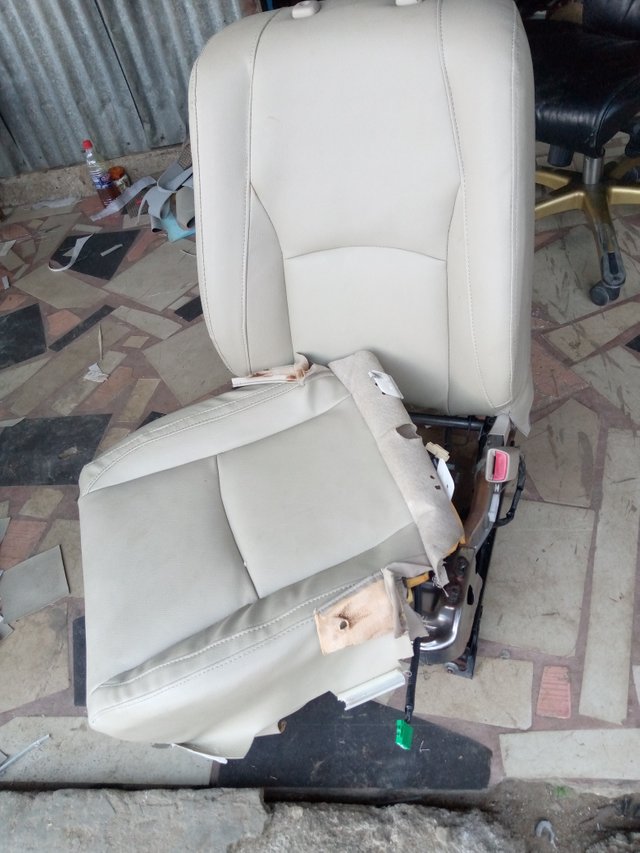
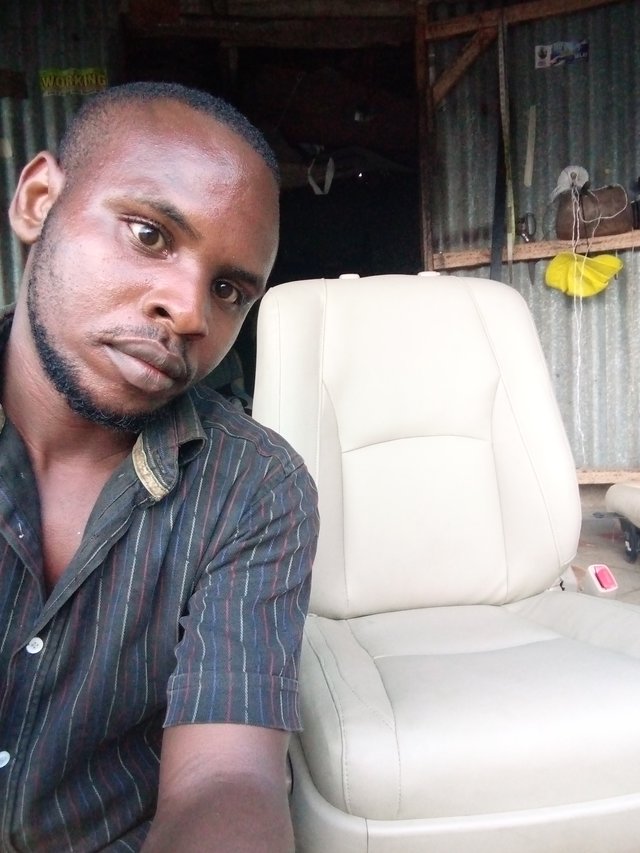
Finally my seat is ready wow. This is really beautiful
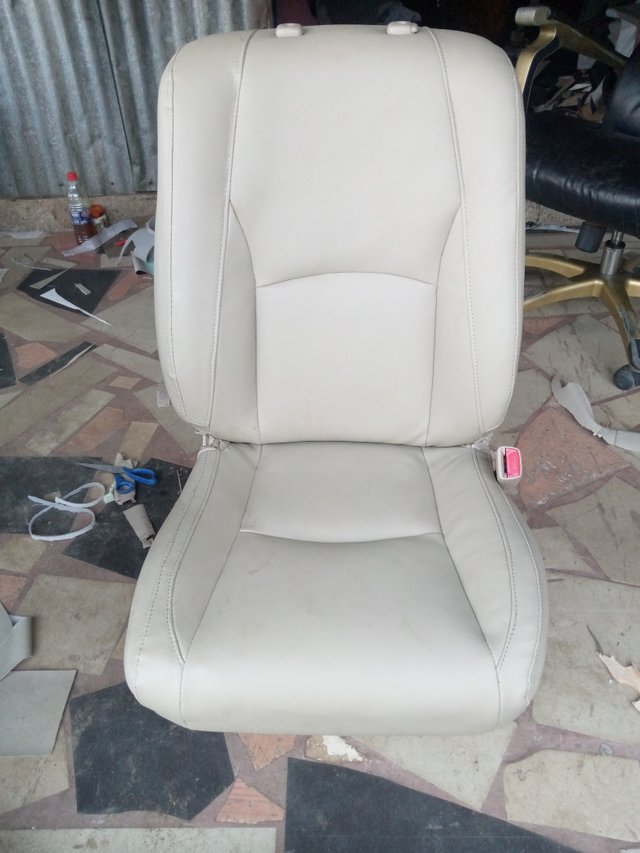
I took a picture with the new seat
Thanks for your time Remain bless @mosman
Congratulations 🎊
Your post has been upvoted by The PERFECT seven - Arts Team member @eliany using steemcurator04 account, your efforts is appreciated keep making quality art posts, using #art
Downvoting a post can decrease pending rewards and make it less visible. Common reasons:
Submit
Congratulations 🎊
Your post has been upvoted by The PERFECT seven - Arts Team member @eliany using steemcurator04 account, your efforts is appreciated keep making quality art posts, using #art
Downvoting a post can decrease pending rewards and make it less visible. Common reasons:
Submit
Congratulations, your nice post has been upvoted by the steem.skillshare curation trail!
please check out this post:
steem.skillshare curation trail post to get infos about our trail
Downvoting a post can decrease pending rewards and make it less visible. Common reasons:
Submit
Thank you so much for your support on my post
Downvoting a post can decrease pending rewards and make it less visible. Common reasons:
Submit