Good day all
A Router
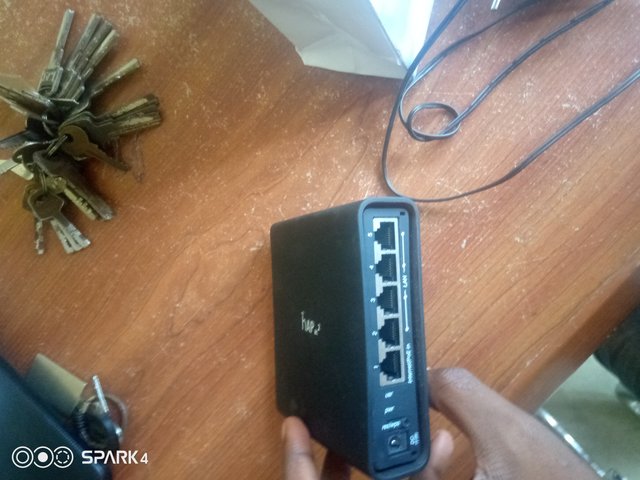
A router is a device that share, receive and analysis network packet. The router is a of network hardware device that connects LAN to the internet.
A Packet Tracer

A Packet Tracer is a software that help network engineer to virtually perform some networking activities like configuration of router, switch and other networking device.

How to connect a wireless router to a Pesonal device
Area of Concentration
Part 1: Connection of the system to a wireless router.
Part 2: Configure the Wireless router
Part 3: Connect Wireless Clients to an Access Point
Part 1: Connect pc0 to a Wireless Router
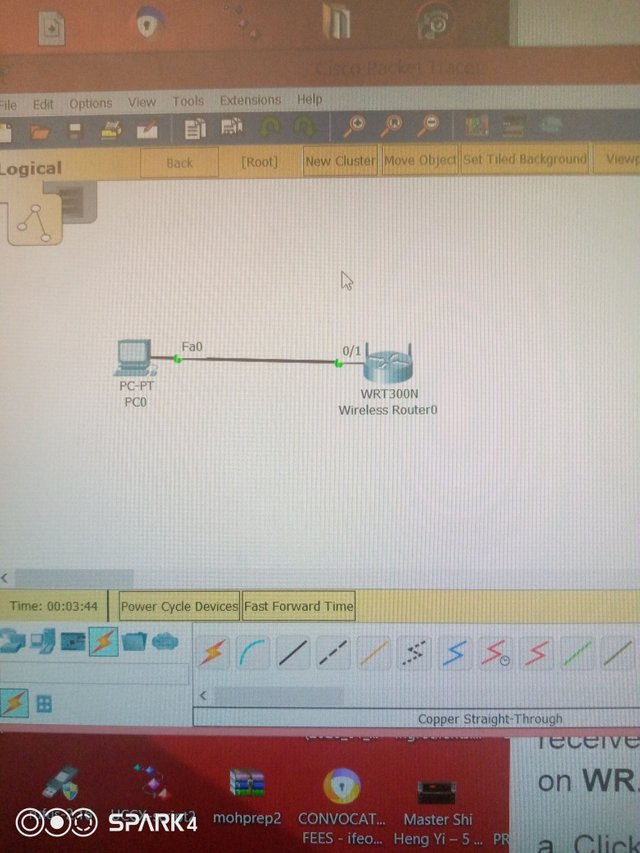
Step 1: Connect a system a to wireless Router.
-Connect pc0 to wireless router using a straight-through cable through any ethernet port on the router.
Note: If no green light are shown then it is wrongful connected or the router is still booting. To fasten the booting process click "alt" and "D" . If it not working reconnect your cable
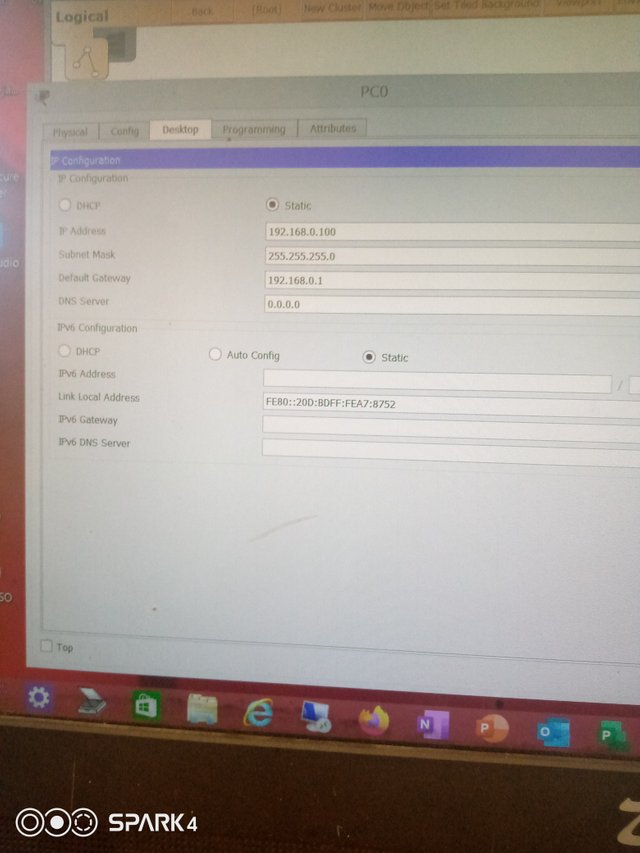
Step 2: Configure pc0 to make Use of DHCP.
Wireless router do have DHCP server, and note that DHCP server is enabled by default.
- Click pc0, and select the Desktop tab, then click IP Configuration and select DHCP.
Step 3: Connect to the wireless router Web Interface.
In the Desktop tab on pc0 , choose Web Browser as shown on the image.
- Input 192.168.0.1 as the URL to open the web
configuration of the wireless router. - Use "Admin" as it password and username

Step 4: the Internet Port configuration of wireless router.
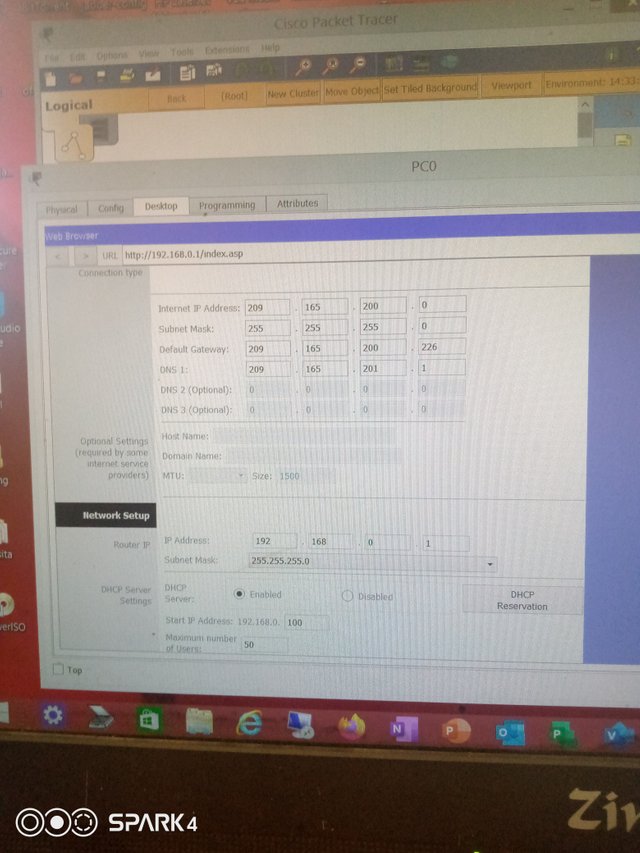
- Go to the Internet Setup shown above the Basic Setup page, change the Internet IP address method from Automatic Configuration from DHCP to Static IP.
Internet IP Address: 209.165.200. 0
Subnet Mask: 255.255.255.0
Default Gateway: 209.165.200.226
DNS Server: 209.165.201.1
Scroll down to click the Save button.
- Confirm by opening a new web browser and input www.cisco.pka server on the search menu and search.

Part 2: Configure the Wireless Router Setting.
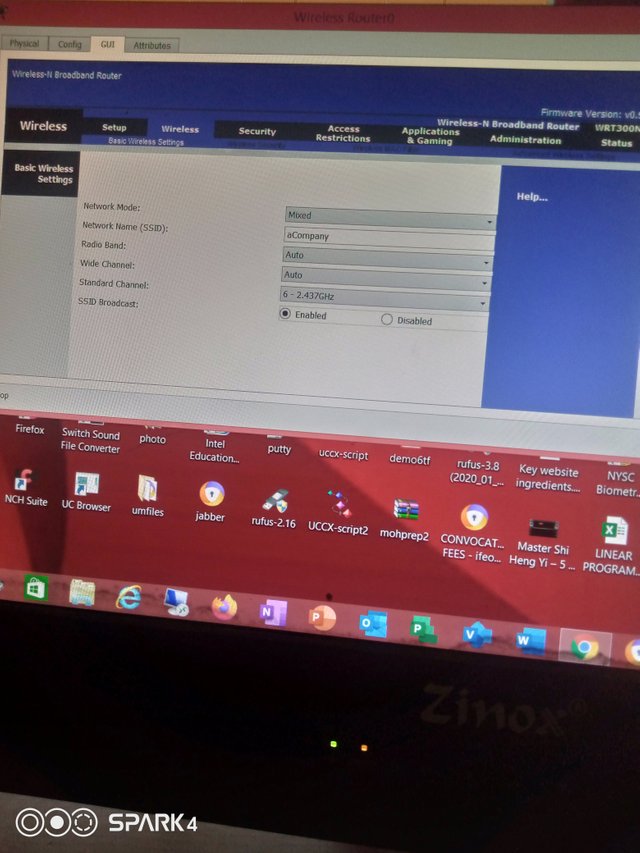
Step 1: Configure the wireless SSID.
- Go to Wireless Basic then go to Wireless Settings.
- replace Network Name (SSID) to aCompany.
Note: the SSIDs are case-sensitive.
- The Standard Channel should be 6 – 2.437GHz.
For this activity, disable all the 5 GHz frequencies. Leave the rest of the settings unchanged then save.
Step 2: Configure wireless security settings.
- First of all go to Wireless then go to Wireless Security.
- below the 2.4 GHz heading, select WPA2 Personal for the Security Mode.
- In the Encryption field, keep the default AES setting.
- In the Passphrase field, enter Cisco123! as the passphrase.
- Click Save Settings.
Step 3: Connect the Wireless Clients.
- Open Laptop . Select Desktop tab. Click PC Wireless.
- Select the Connect tab.
Select the Wireless Network Name aCompany. - input the passphrase configured previously.
- Input Cisco123! In the pre-shared key field and - then Connect.
Close the PC Wireless window.
Open a web browser to check that you can navigate to www.cisco.pka server.
Connect Wireless Clients to an Access Point
Step 1: Configure the Access Point.
-Connect a port of the laptop0 to an ethernet port of wireless router using a straight-through ethernet cable.
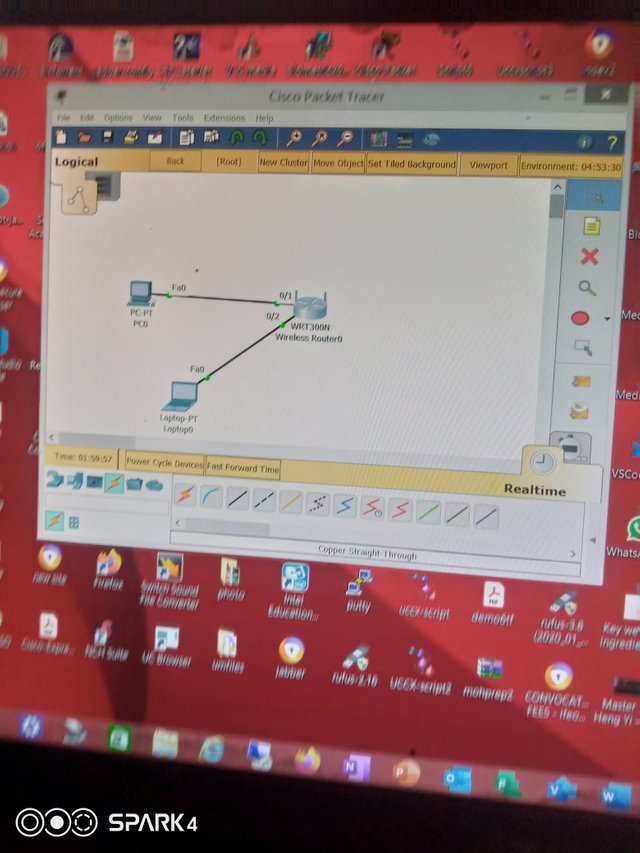
- Choose the Config tab.
- Below the interface heading, choose Port 1.
- Input aCompany in the choose WWPA2-PSK.- - - Input passphrase as Cisco123, In the Pass Phrase field.
- Leave AES as the default Encryption Type.
Step 2: Connect the Wireless Clients.
- Using Laptop01. Select Desktop tab. Click PC Wireless.
- Choose the connect tab.
- Then refresh.
- Choose the Wireless Network Name aCompany with the stronger signal and click Connect.
Check a web browser and confirm that you can access to www.cisco.pka server.
For further questions and more tutorials please contact me on my discord account
Discord
@steem.skillshare
@digital.mine
@milakz
@enveng
@saule.sara
@natulya21