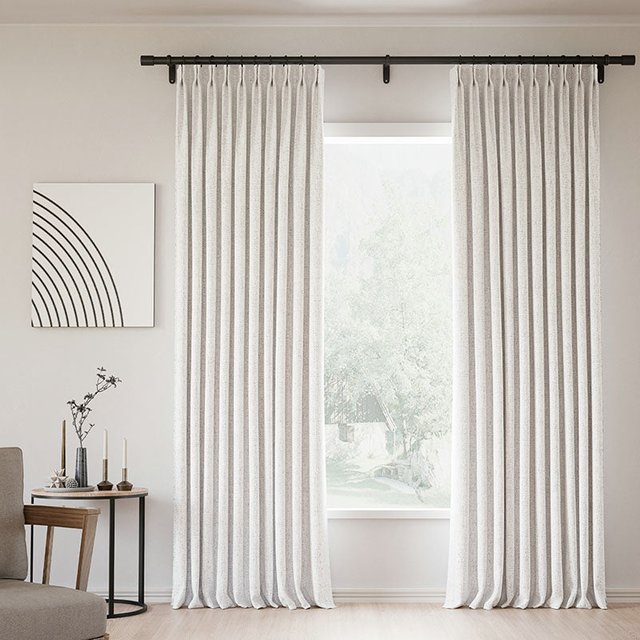
No matter the color of your existing curtains, it's possible to convert them into blackout curtains by adding blackout curtain linings. This can be achieved by either hanging the linings separately and then adding your existing curtains in front, or by attaching the linings onto your existing curtain rod. In professional spaces like offices or hospitals, white is the most commonly used color for blackout linings, as it blends in well and helps to create a professional ambiance.
You have a passion for colors and patterns, and if you can't find the perfect color for your blackout curtains in stores, don't worry! You can create your own, and you don't need to be a DIY expert to do it.
Making blackout curtains is easy and can be done with minimal sewing or even without sewing. Let's guide you through the process of creating blackout curtains in the colors you love.
Here's a list of materials you'll need to make your own blackout window curtain:
Fabric: Approximately six yards of fabric in your chosen color and type, accounting for the size of your windows. Add about six extra inches to accommodate hems.
Blackout lining: Opt for medium to heavy-weight lining to effectively block out light. You can test the opacity by using your phone's flashlight app to backlight the fabric before purchasing.
Straight pins: Use these to secure the fabric in place before sewing.
Measuring tape: Essential for accurately measuring the fabric.
Handheld iron: Use this to remove any creases from the fabric for a smooth finish.
Scissors: High-quality, heavy-duty scissors are necessary for cutting the fabric.
Marker or pencil: Use this tool to mark the fabric if needed.
Steps Involved:
Step 1. First, use a measuring tape to measure the width and height of your window from the curtain rod to the floor. Then, add an extra eight to ten inches to account for the curtain hem.
Step 2. Use a marker to indicate where you will begin and end cutting the fabric.
Step 3. Repeat the previous steps for the blackout liner, skipping the measurement of the hems.
Step 4. Iron the fabric to remove any wrinkles and fold the hemlines, reinforcing the creases with the iron.
Step 5. Arrange your materials flat on the floor, with the right side facing down. Insert the blackout lining inside the fabric, making sure the right side is facing up.
Step 6. Fold the hem over the blackout lining and pin it in place around the corners and edges.
Step 7. Sew all the edges together to attach the lining to the curtain. If you prefer not to sew, use the small clips that come with the liner to attach it to your curtain. Then, cut the liner to fit the fabric and use hemming tape instead of sewing, bonding it with an iron.
