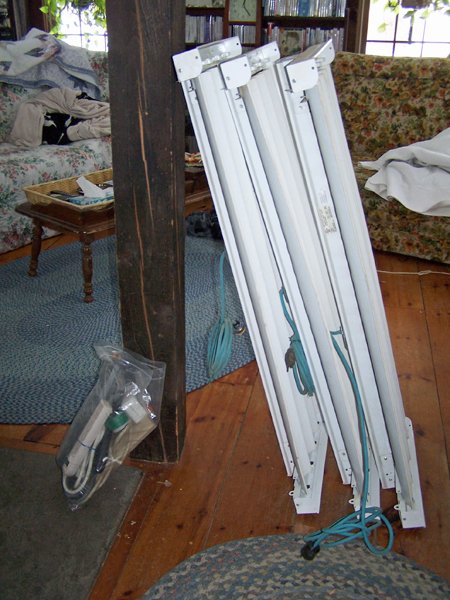
My 4’ x 2’ seed starting T5 light fixtures
On Wednesday my intern returned after over a month of not coming due to me, or her, being sick. We picked up where we left off.
We started planning the small seed starting I’m doing this year, and tested the brooders at the same time.
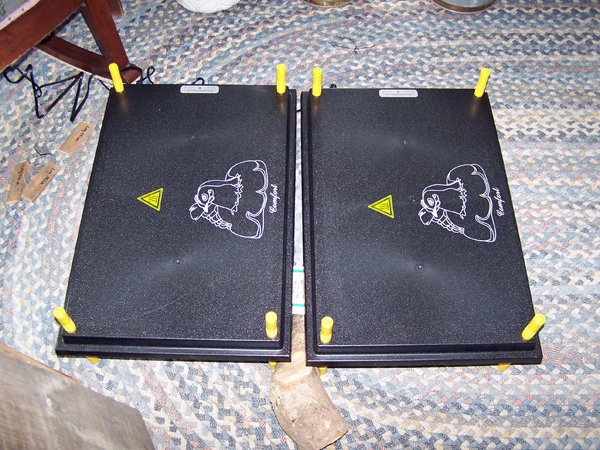
The brooder instructions were pretty vague, and required chicks present to use. As I have no chicks until May 3rd, and wanted to know how to use this before that, we winged it.
The instructions said it took an hour to warm up. It said the LED light on top would come on. Well, the light came on alright, but blinking. No instructions on what blinking meant, but we could feel the units slowly heating, so we set them up and left them for an hour.
We found a log support for the thermometer that put it roughly at chick back height. We set the controllers at 5, of 7 marks. Then we went out to work on the seed starting charts.
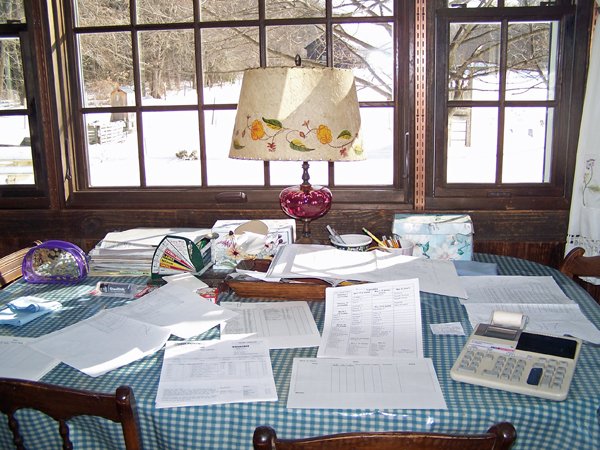
There were only going to be 2 seed startings, instead of my normal 6. Two week later than usual, on March 15th for the first, and on April 1st for the second. It’s just the way the seeds I’d selected preferred to be started, not by design.
But it’s very convenient to have it all out of the way because I must be moving gardens as early as I can this year, due to the construction.
We checked the brooders after an hour but they were only 82F. The light was no longer blinking, indicating it blinks when heating up. Day old chicks require 95F for the first 5 days. So we turned the controller to mark 7 and gave it another ½ hour.
Once we’d finished that, we moved onto designing an entirely new set-up in the living room for the seed starting lights. No plants could be started in the kitchen this year, because both windows will be moved at some point.
We went down to my gardening storage area and started hauling up all the equipment for seed starting. The living room was soon a disaster.
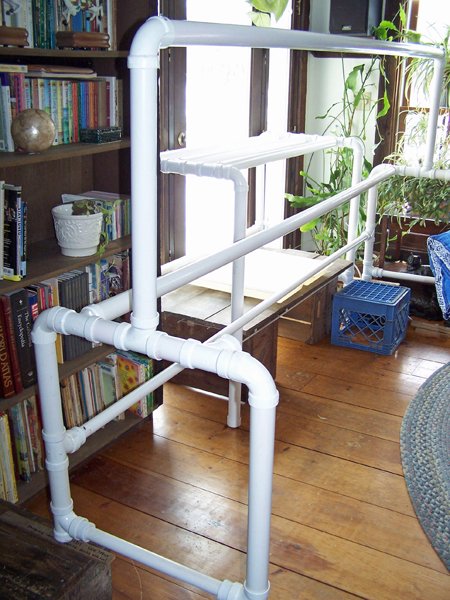
This was our first attempt. It seemed a good idea to put the small support in the smaller area, and the larger one in the larger area. But the problem was, once the lights were hung I could not reach the smaller area. Hmmmm, that wasn’t gonna work.
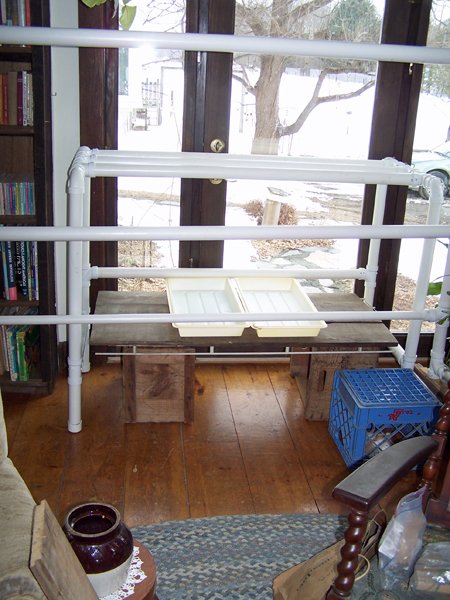
By now, it was lunch time so we quit. Have to rethink this one….
We checked the brooders and they were at 89F. So we will have to turn them all the way up, and perhaps provide supplemental heating the first week, then slowly turn them down as needed. So now we know how they work.

With the brooder plates, I wonder if the chicks body heat will up the temperature too, particularly if there's a lot of them.
Posted using Partiko Android
Downvoting a post can decrease pending rewards and make it less visible. Common reasons:
Submit
It should providing the cold room is not. :)) The cold room is super insulated, so we can heat it some if we need to.
For now, they look like they will work just fine, but we will see...
Downvoting a post can decrease pending rewards and make it less visible. Common reasons:
Submit
This post was shared in the Curation Collective Discord community for curators, and upvoted and resteemed by the @c-squared community account after manual review.
@c-squared runs a community witness. Please consider using one of your witness votes on us here
Downvoting a post can decrease pending rewards and make it less visible. Common reasons:
Submit