Windsor Knot
The original, the standard! Sometimes called the double Windsor or full Windsor. The most popular tie knot in the world. Yet, even after being around for 100 years and around the necks of practically ever influential person or world leader of the last 50, there are still people who can't, or dont know how to tie it! Not everyone can tie it like this:

Why is that?
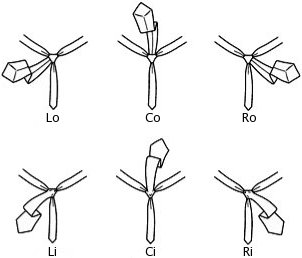
Well, it could be that there are only a certain few that want to learn, and they end up tying the knots for everyone else. But a more reasonable explanation is that it's just so stinkin' hard to learn! What, with charts like this:

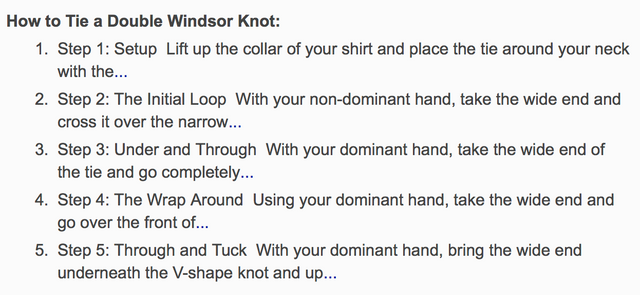
Now, who can read that trash? Really? I wear ties 300+ days a year, I tie 7 different knots regularly, 3 of which I invented myself. I can't even understand those instructions and I tie that knot in 10 seconds with my eyes closed! But it's not just this one image, EVERYTHING on the web seems to be confusing, telling you different things; it's maddening!!
Everywhere you look there's some new and crazy way to tell you how not to tie a tie.

.....what? It sounds like legal documents. Nobody has time to make sense of that. Might as well be doing story problems.
Okay, two trains are headed toward each other at different speeds, when will they intersect at this certain point?
I'm just trying to tie a tie! Give me a break!
So, here's the thing
I'm gonna make this really simple for you. Because tie tying is a lost art and I hope to bring back the gentleman look. If your a gal and not a guy, maybe you wear ties, (I dunno), but if nothing else, theres some really nice pictures in this post:)
The Problem
How to get this

to look like this

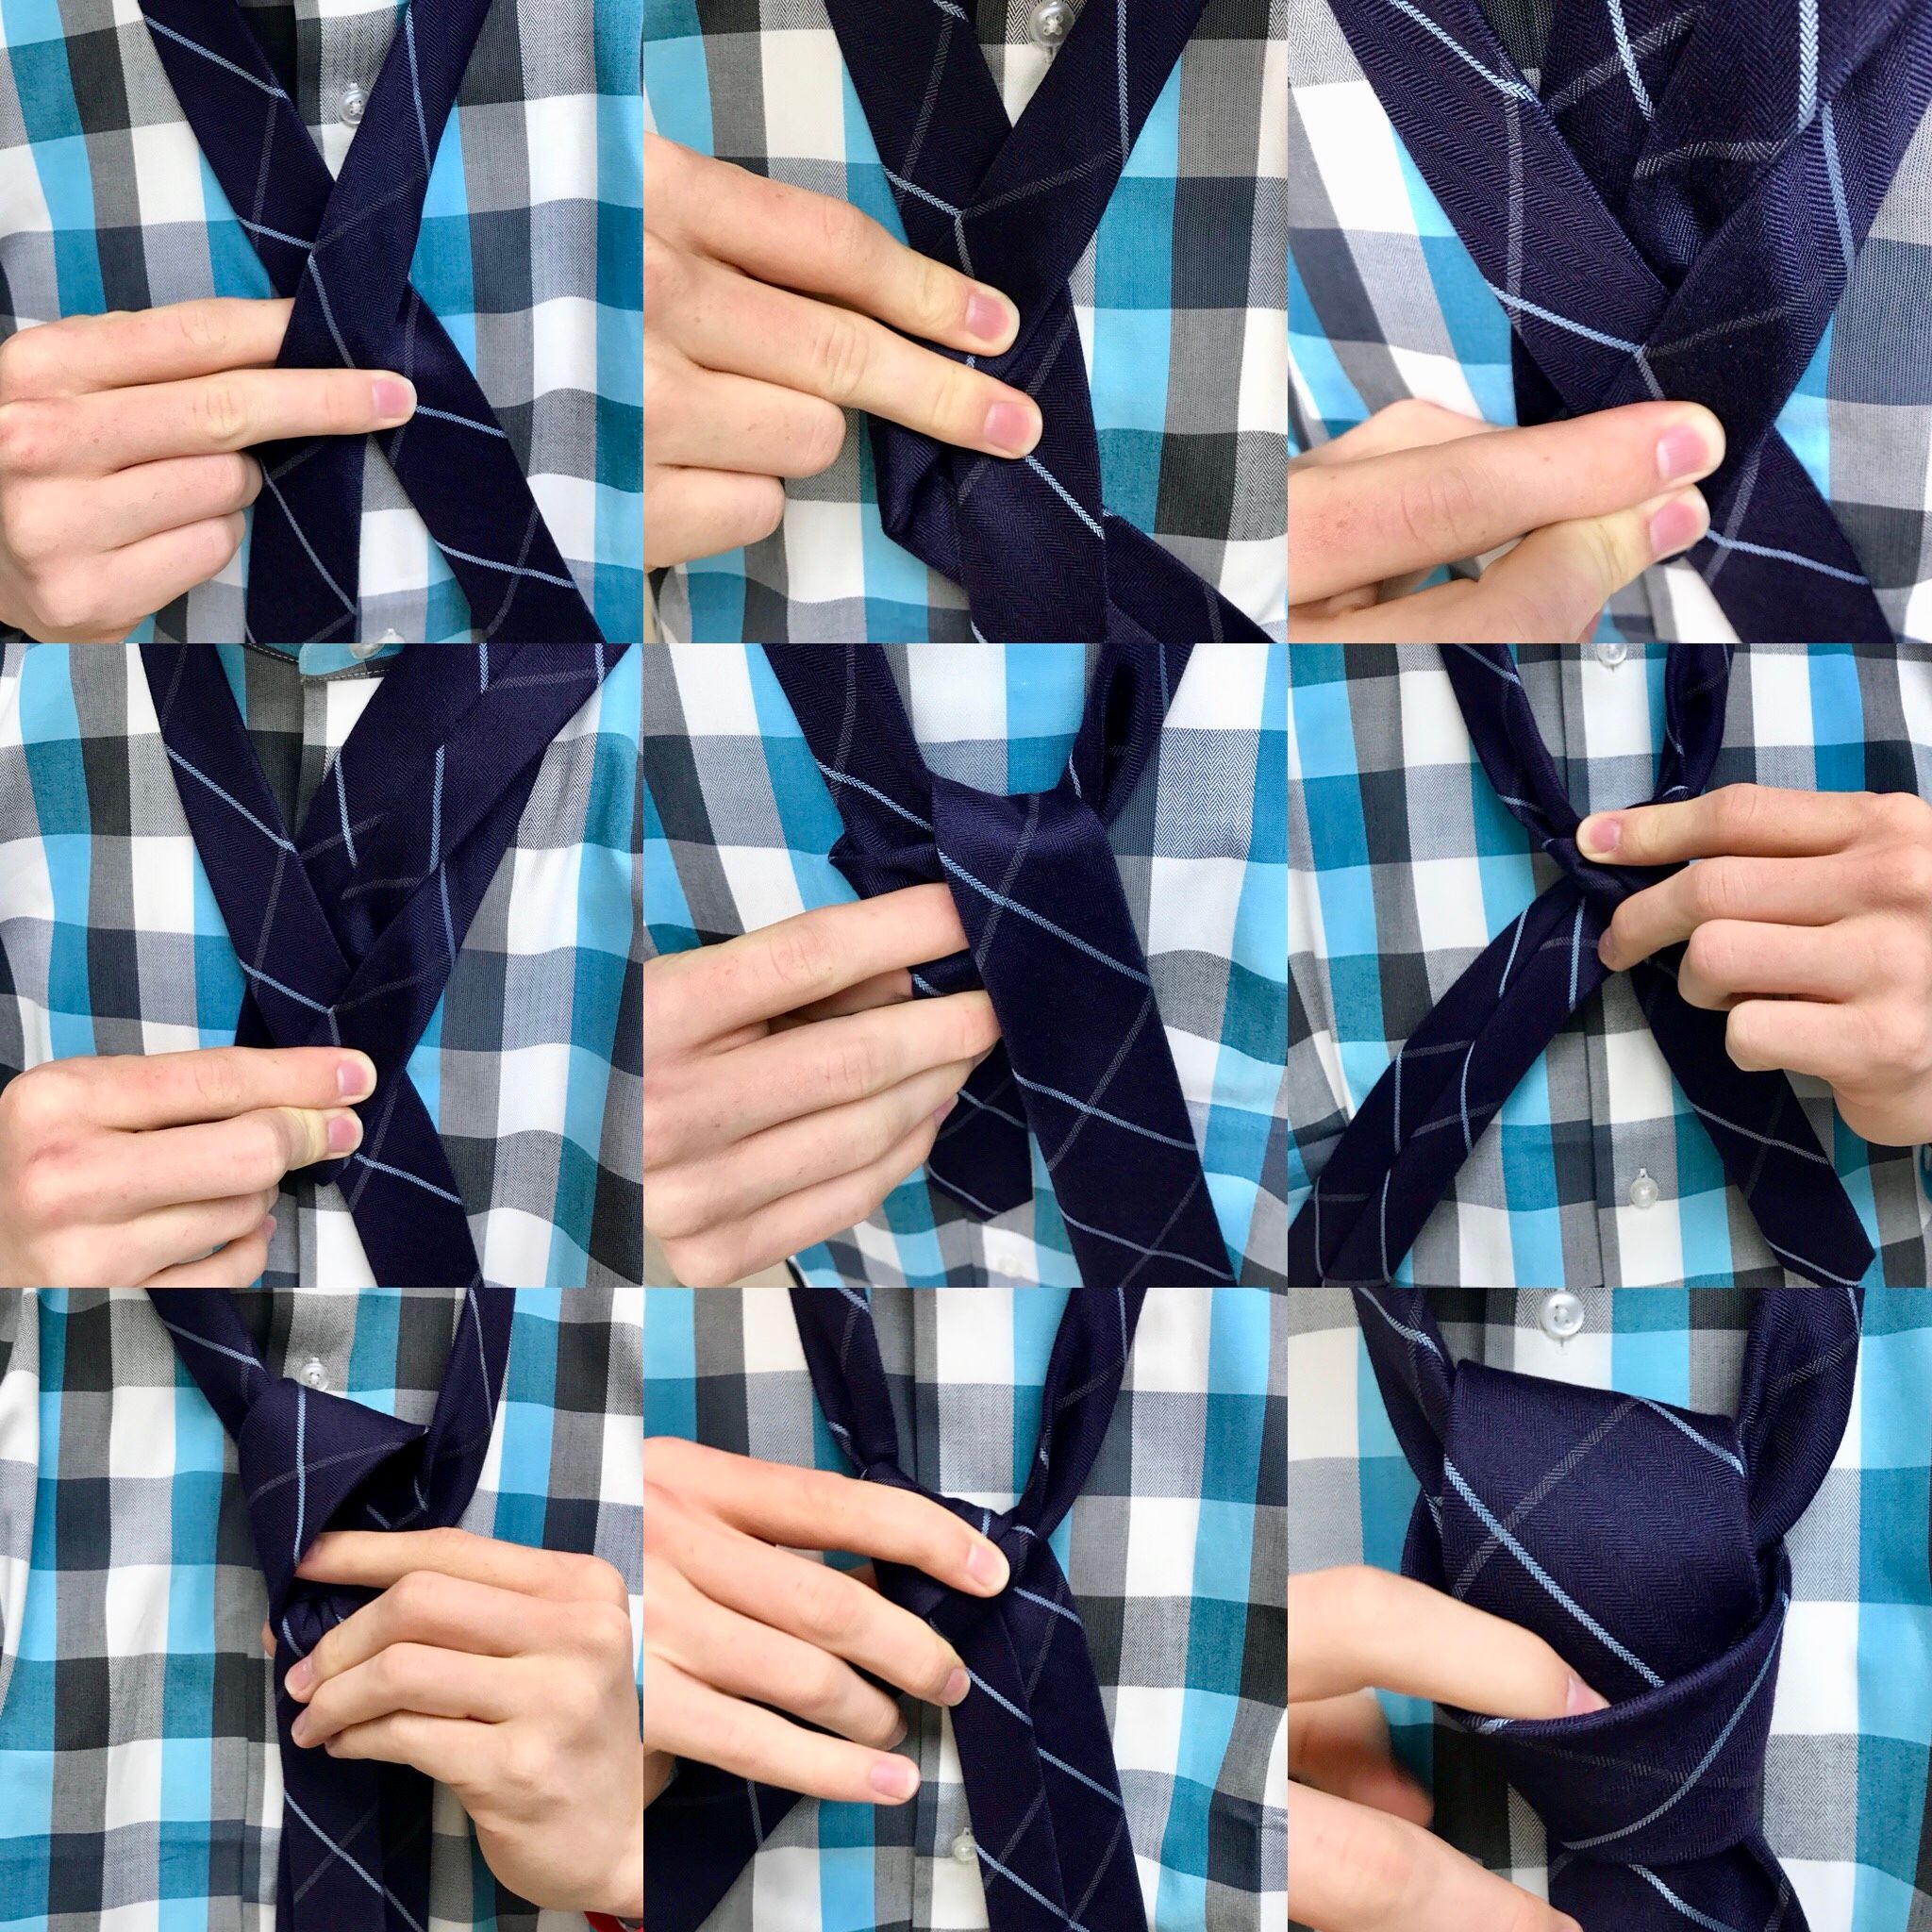
Seems a little difficult at first glance, but pay close attention to these simple steps and photos and you'll be an expert in no time!
Step 1

Start by lifting your collar and hanging the tie around your neck. Before you begin tying anything, line up the thin end to the tie in between your 3rd and 4th button on your shirt. This will vary depending on how long you want the tie to be, but as a good general rule, in-between the 3rd and 4th button.
Step 2

Cross the longer and fatter end over the top of the shorter and thinner end. Good! That wasn't too difficult.
Step 3

Now that you've got the longer end crossing in front of the shorter end, loop the long end behind the short end and pull it away to the opposite side. (Note: the back of the long end should be showing.)
Step 4

From this position, take the long end which is currently flipped over, (you should see the seam), pull it up behind the cross section of the two ends as shown.
Step 5

Pull the long end through that section out in front of the cross section and down to the same side it came up through. (Note: The long end should now be flipped the correct way.)
Step 6

Now that we've got the long end back down and facing the correct direction, pull it over behind the knot to the other side.
Step 7

Take the long end and loop it up to the crossing of the two ends.
Step 8

Bring it down and pull to the the opposite side of the knot. (Note: the long end should once again be upside-down.)
Step 9

Now bring the long end around the front of the knot. (Note: the long end should be forward facing as it is brought across the front.)
Step 10

This is mostly repetition. You're going to take the long end up to the crossing, this time behind the knot.
Step 11

Now that you've got the long end up, behind the knot, make a pocket of the fold in the front of the knot and drop the long end through it.
Step 12

Pull to tighten. You can additionally tighten by pulling on that pocket and then pulling the long end down more. If you followed all of the steps correctly, you should have a lovely, triangle-shaped knot. This is a Windsor knot! You did it! Congratulations!
Finished

--Stay classy
Congratulations @ejaredallen! You have completed some achievement on Steemit and have been rewarded with new badge(s) :
Click on any badge to view your own Board of Honor on SteemitBoard.
For more information about SteemitBoard, click here
If you no longer want to receive notifications, reply to this comment with the word
STOPDownvoting a post can decrease pending rewards and make it less visible. Common reasons:
Submit