The Apache HTTP server is one of the most widely-used web server currently in the world. Apache provides many powerful features including dynamically loadable modules, robust media support, and extensive integration with other popular software.
So In this guide, we'll discuss how to install an Apache web server on your Ubuntu 16.04 server.
Step 1: Login to the server
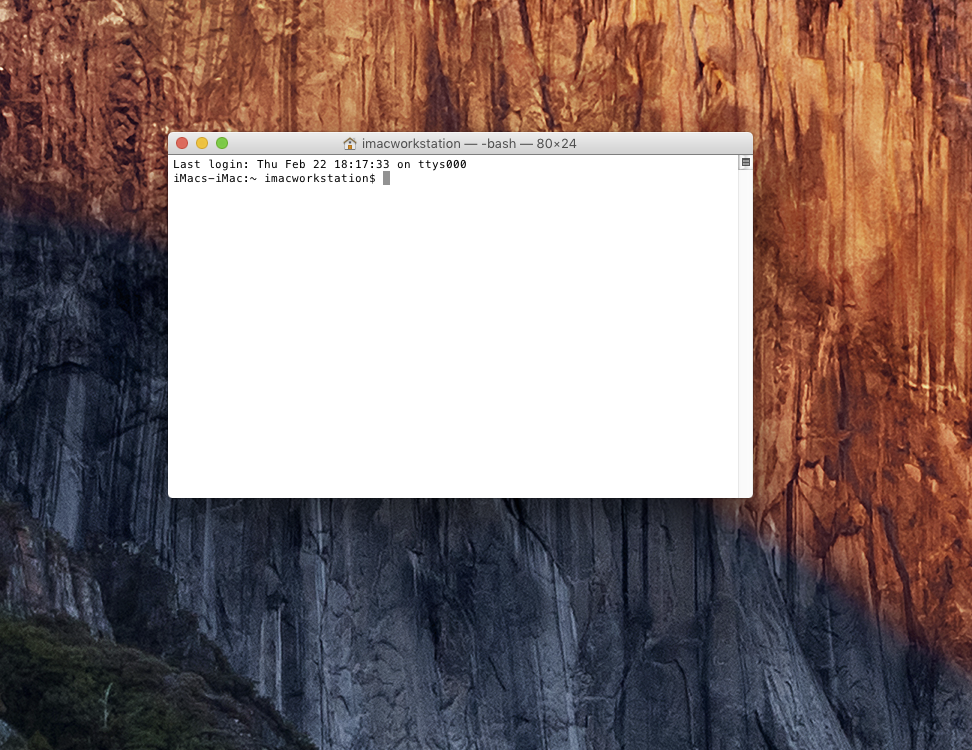
Open your SSH client / Terminal Window - Windows, MacOS, Linux
Type:
OR (IP address version)
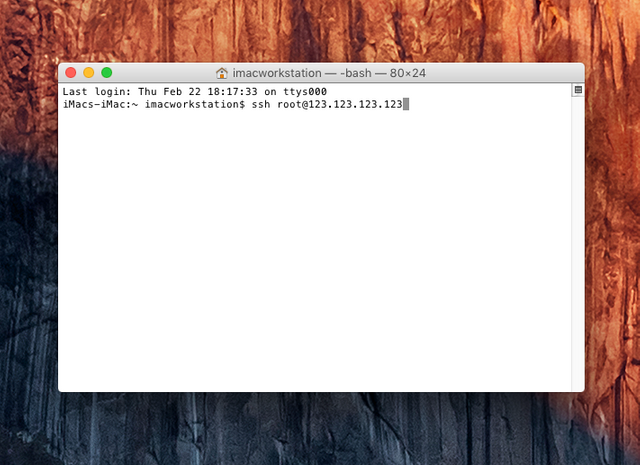
ssh [email protected]
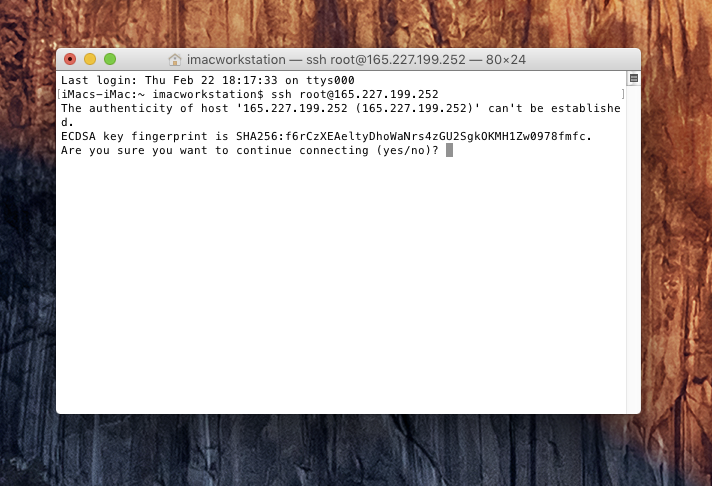
If this is your first time connecting to the server from this computer, you will see the following output. Accept the connection by typing "yes."
The authenticity of host 'example.com (123.123.123.123)' can't be established.
RSA key fingerprint is 3c:6d:5c:99:5d:b5:c6:25:5a:d3:78:8e:d2:f5:7a:01.
Are you sure you want to continue connecting (yes/no)?
choose yes
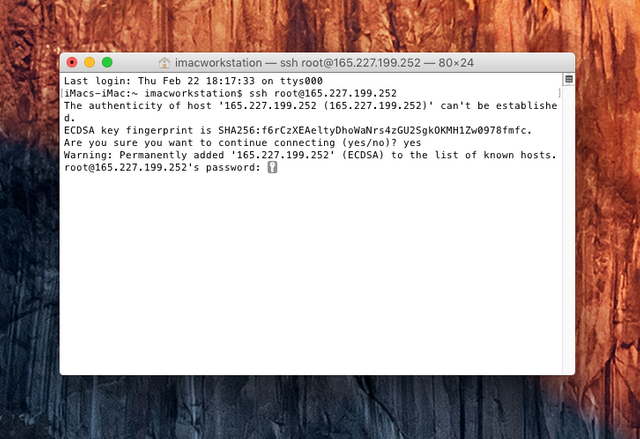
You will now be prompted to enter your password. Please note that you will NOT see your cursor moving, or any characters typed (such as ******) when typing your password. This is a standard Terminal security feature. Hit enter
You can also copy and paste, using Command+V to paste.
Password:
You are now logged into your server via SSH. You should see output like this:
Last login: Thur Feb 22 15:43:16 2018 from 103.223.313.123
############################################################
(mt) shortcuts
############################################################
Step 2: Install Apache
Apache is available within Ubuntu's default software repositories, so we will install it using conventional package management tools.
We will begin by updating the local package index to reflect the latest upstream changes. Afterwards, we can install the apache2 package:
sudo apt-get update
sudo apt-get install apache2
Step 3: Adjust the Firewall
During installation, Apache registers itself with UFW to provide a few application profiles. We can use these profiles to simplify the process of enabling or disabling access to Apache through our firewall.
Assuming that you followed the instructions in the prerequisites, you should have a UFW firewall configured to restrict access to your server.
We can list the ufw application profiles by typing:
sudo ufw app list
You should get a listing of the application profiles:
Output

Available applications:
Apache
Apache Full
Apache Secure
OpenSSH
As you can see, there are three profiles available for Apache:
Apache: This profile opens only port 80 (normal, unencrypted web traffic)
Apache Full: This profile opens both port 80 (normal, unencrypted web traffic) and port 443 (TLS/SSL encrypted traffic)
Apache Secure: This profile opens only port 443 (TLS/SSL encrypted traffic)
For our purposes, we will allow incoming traffic to the Apache Full profile by typing:
sudo ufw allow 'Apache Full'
You can verify the change by typing:

You should see HTTP traffic allowed in the displayed output:

As you can see, the profile has been activated to allow access to the web server.
Step 4: Check your Web Server
At the end of the installation process, Ubuntu 16.04 starts Apache. The web server should already be up and running.
When you have your server's IP address or domain, enter it into your browser's address bar:
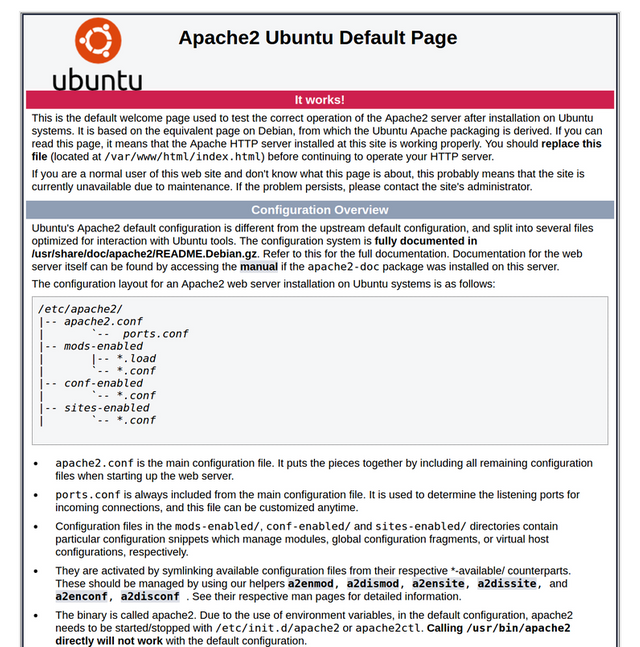
You should see the default Ubuntu 16.04 Apache web page, which should look something like this:
Conclusion
Now that you have your web server installed, you have many options for the type of content to serve and the technologies you want to use to create a richer experience.
Let me know if you would like to see more howto's like this!
Hi! I am a robot. I just upvoted you! I found similar content that readers might be interested in:
https://www.digitalocean.com/community/tutorials/how-to-install-the-apache-web-server-on-ubuntu-16-04
Downvoting a post can decrease pending rewards and make it less visible. Common reasons:
Submit
Thanks for the heads up!
Downvoting a post can decrease pending rewards and make it less visible. Common reasons:
Submit