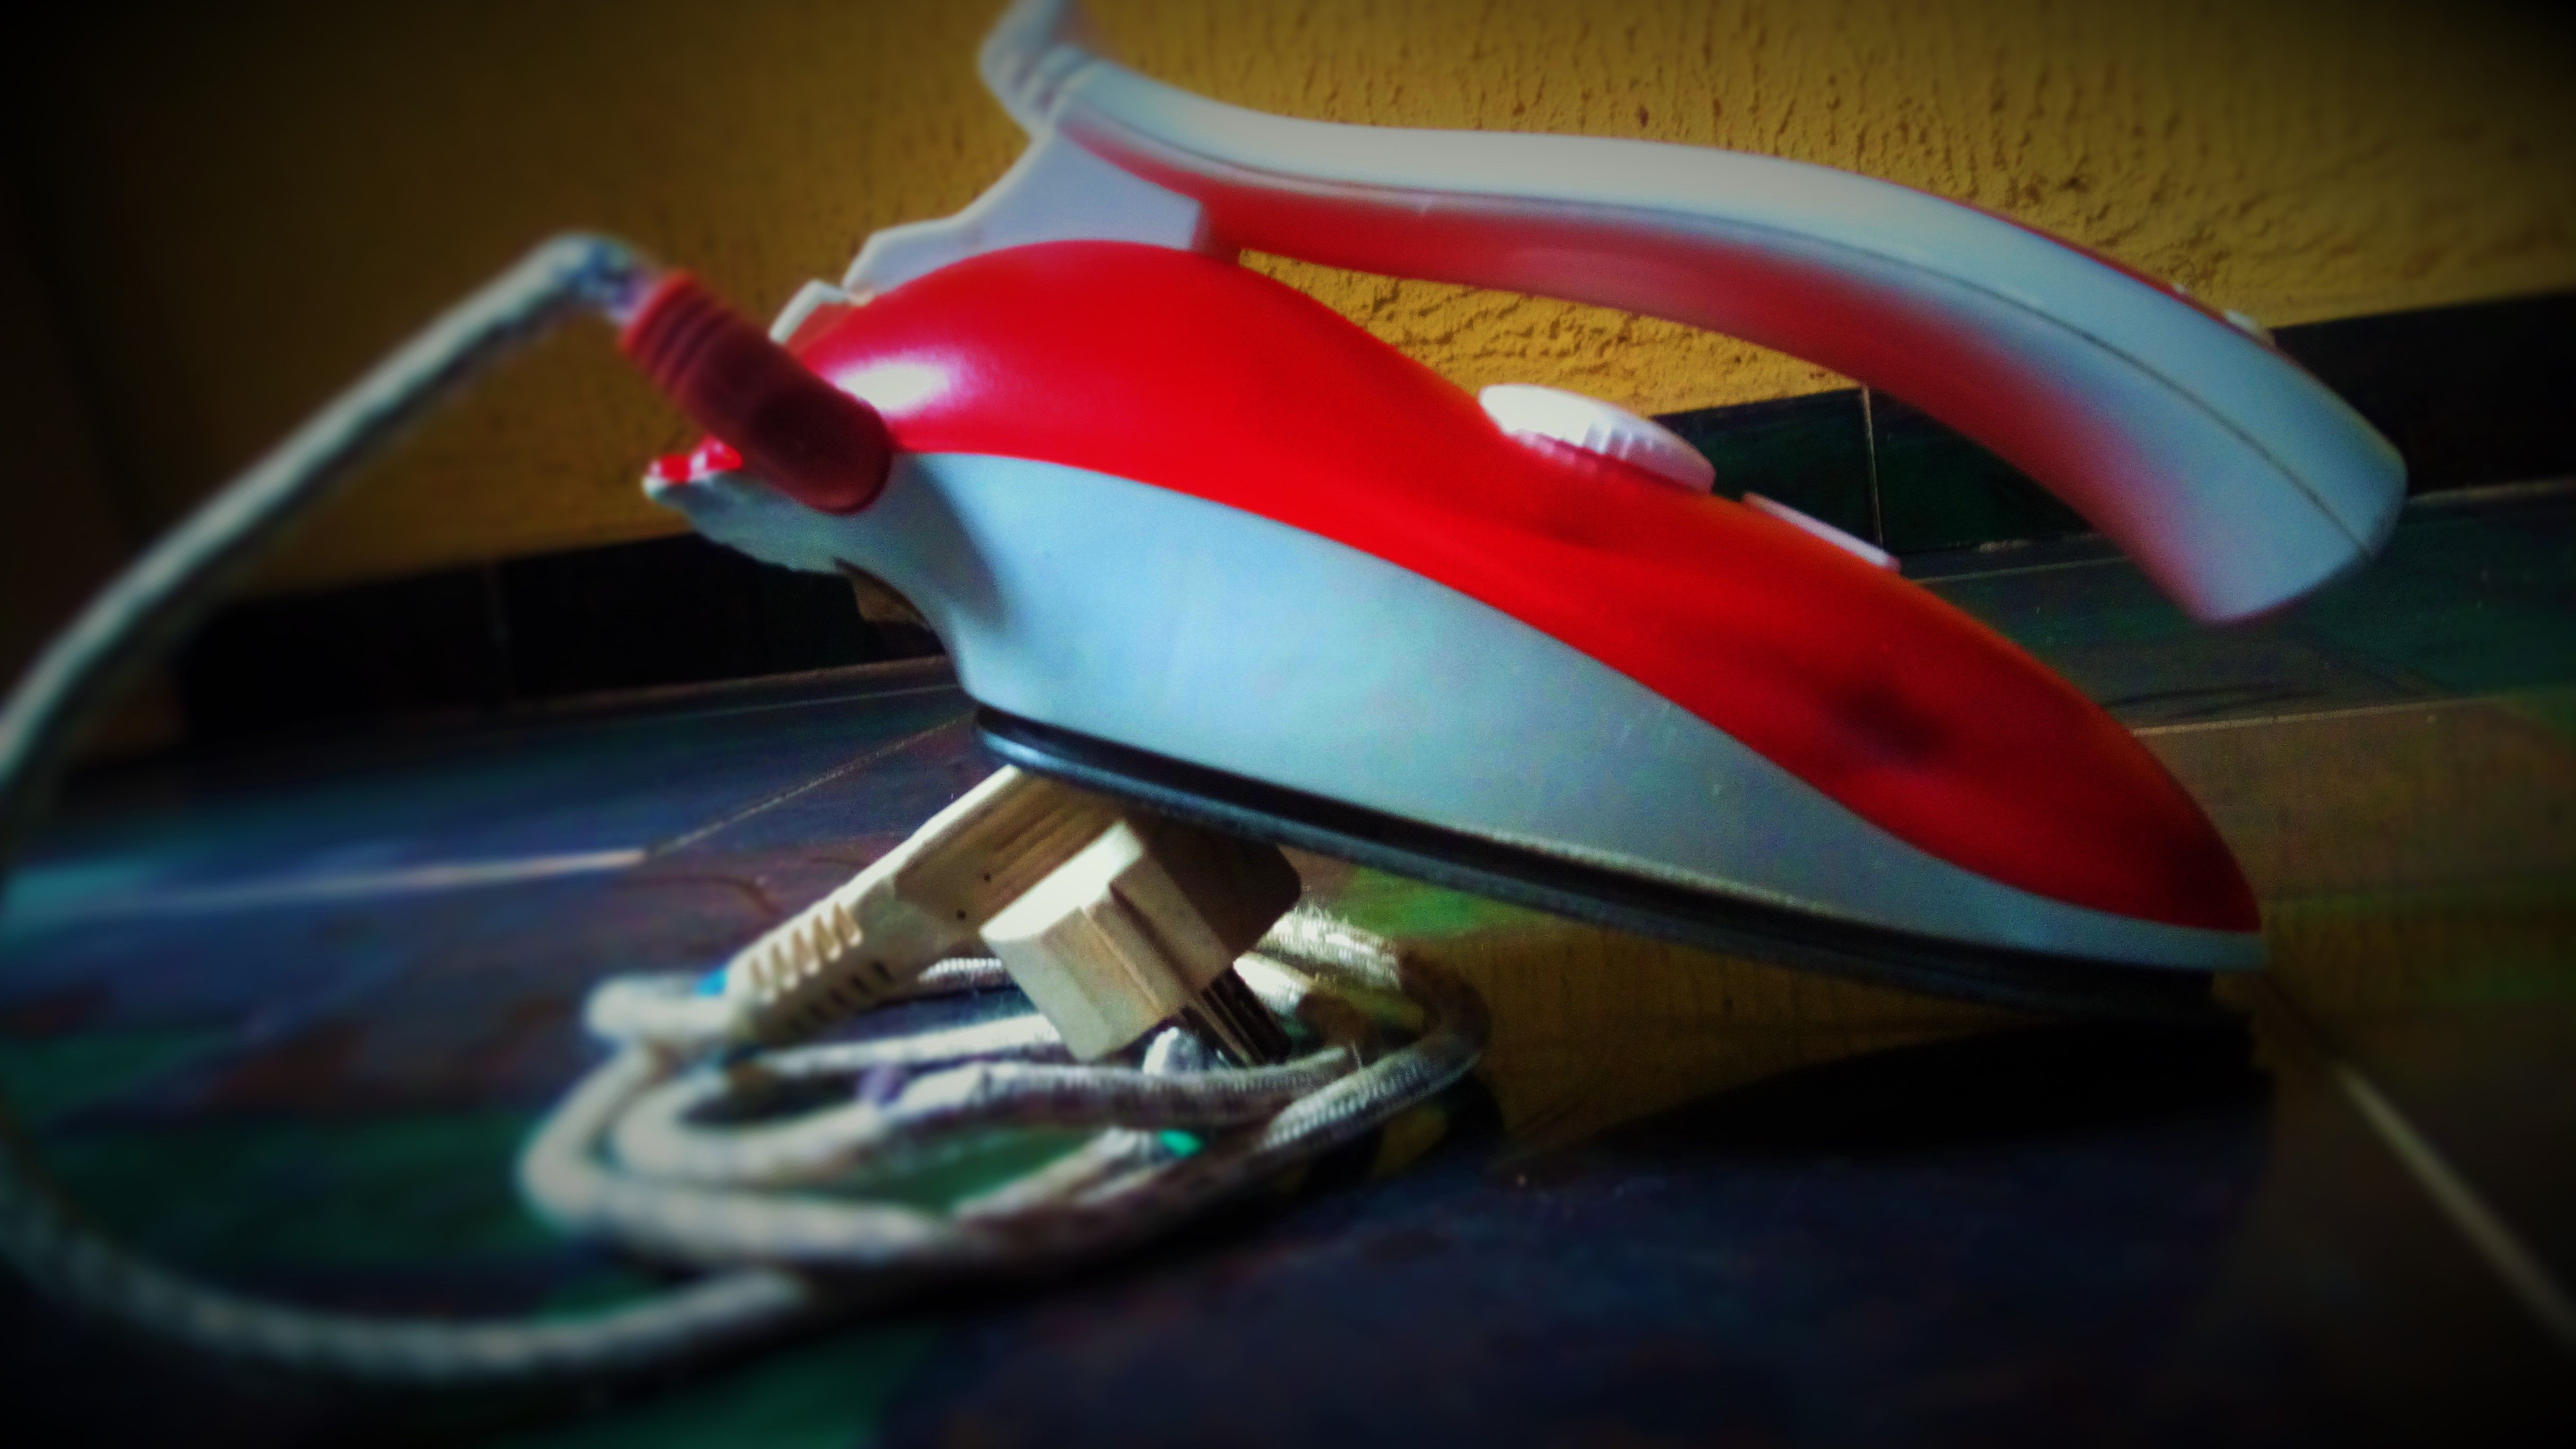
Hello guys welcome to my first 3mins tutorial, what a man can do, a woman can do better. in today’s tutorial I will be educating all steemians on the working principle of a pressing iron and how to adjust the thermostat to your desired temperature. The pressing iron is one of the basic home appliances that you find in all homes, it is basically used to straighten out wrinkled clothes by applying weight and heat which causes the intra-molecular bonds in between the polymer molecules in the fibers of our clothes to loosen.
Working principle
The electric iron is one of the electrical appliances with simple electric circuit, it has a very simple working principle which obeys the law of conservation of energy by simply converting electrical energy into heat energy through a heating element (conductor). The automatic switching of the pressing iron when overheating or otherwise is however done by a sensor known as a thermostat.
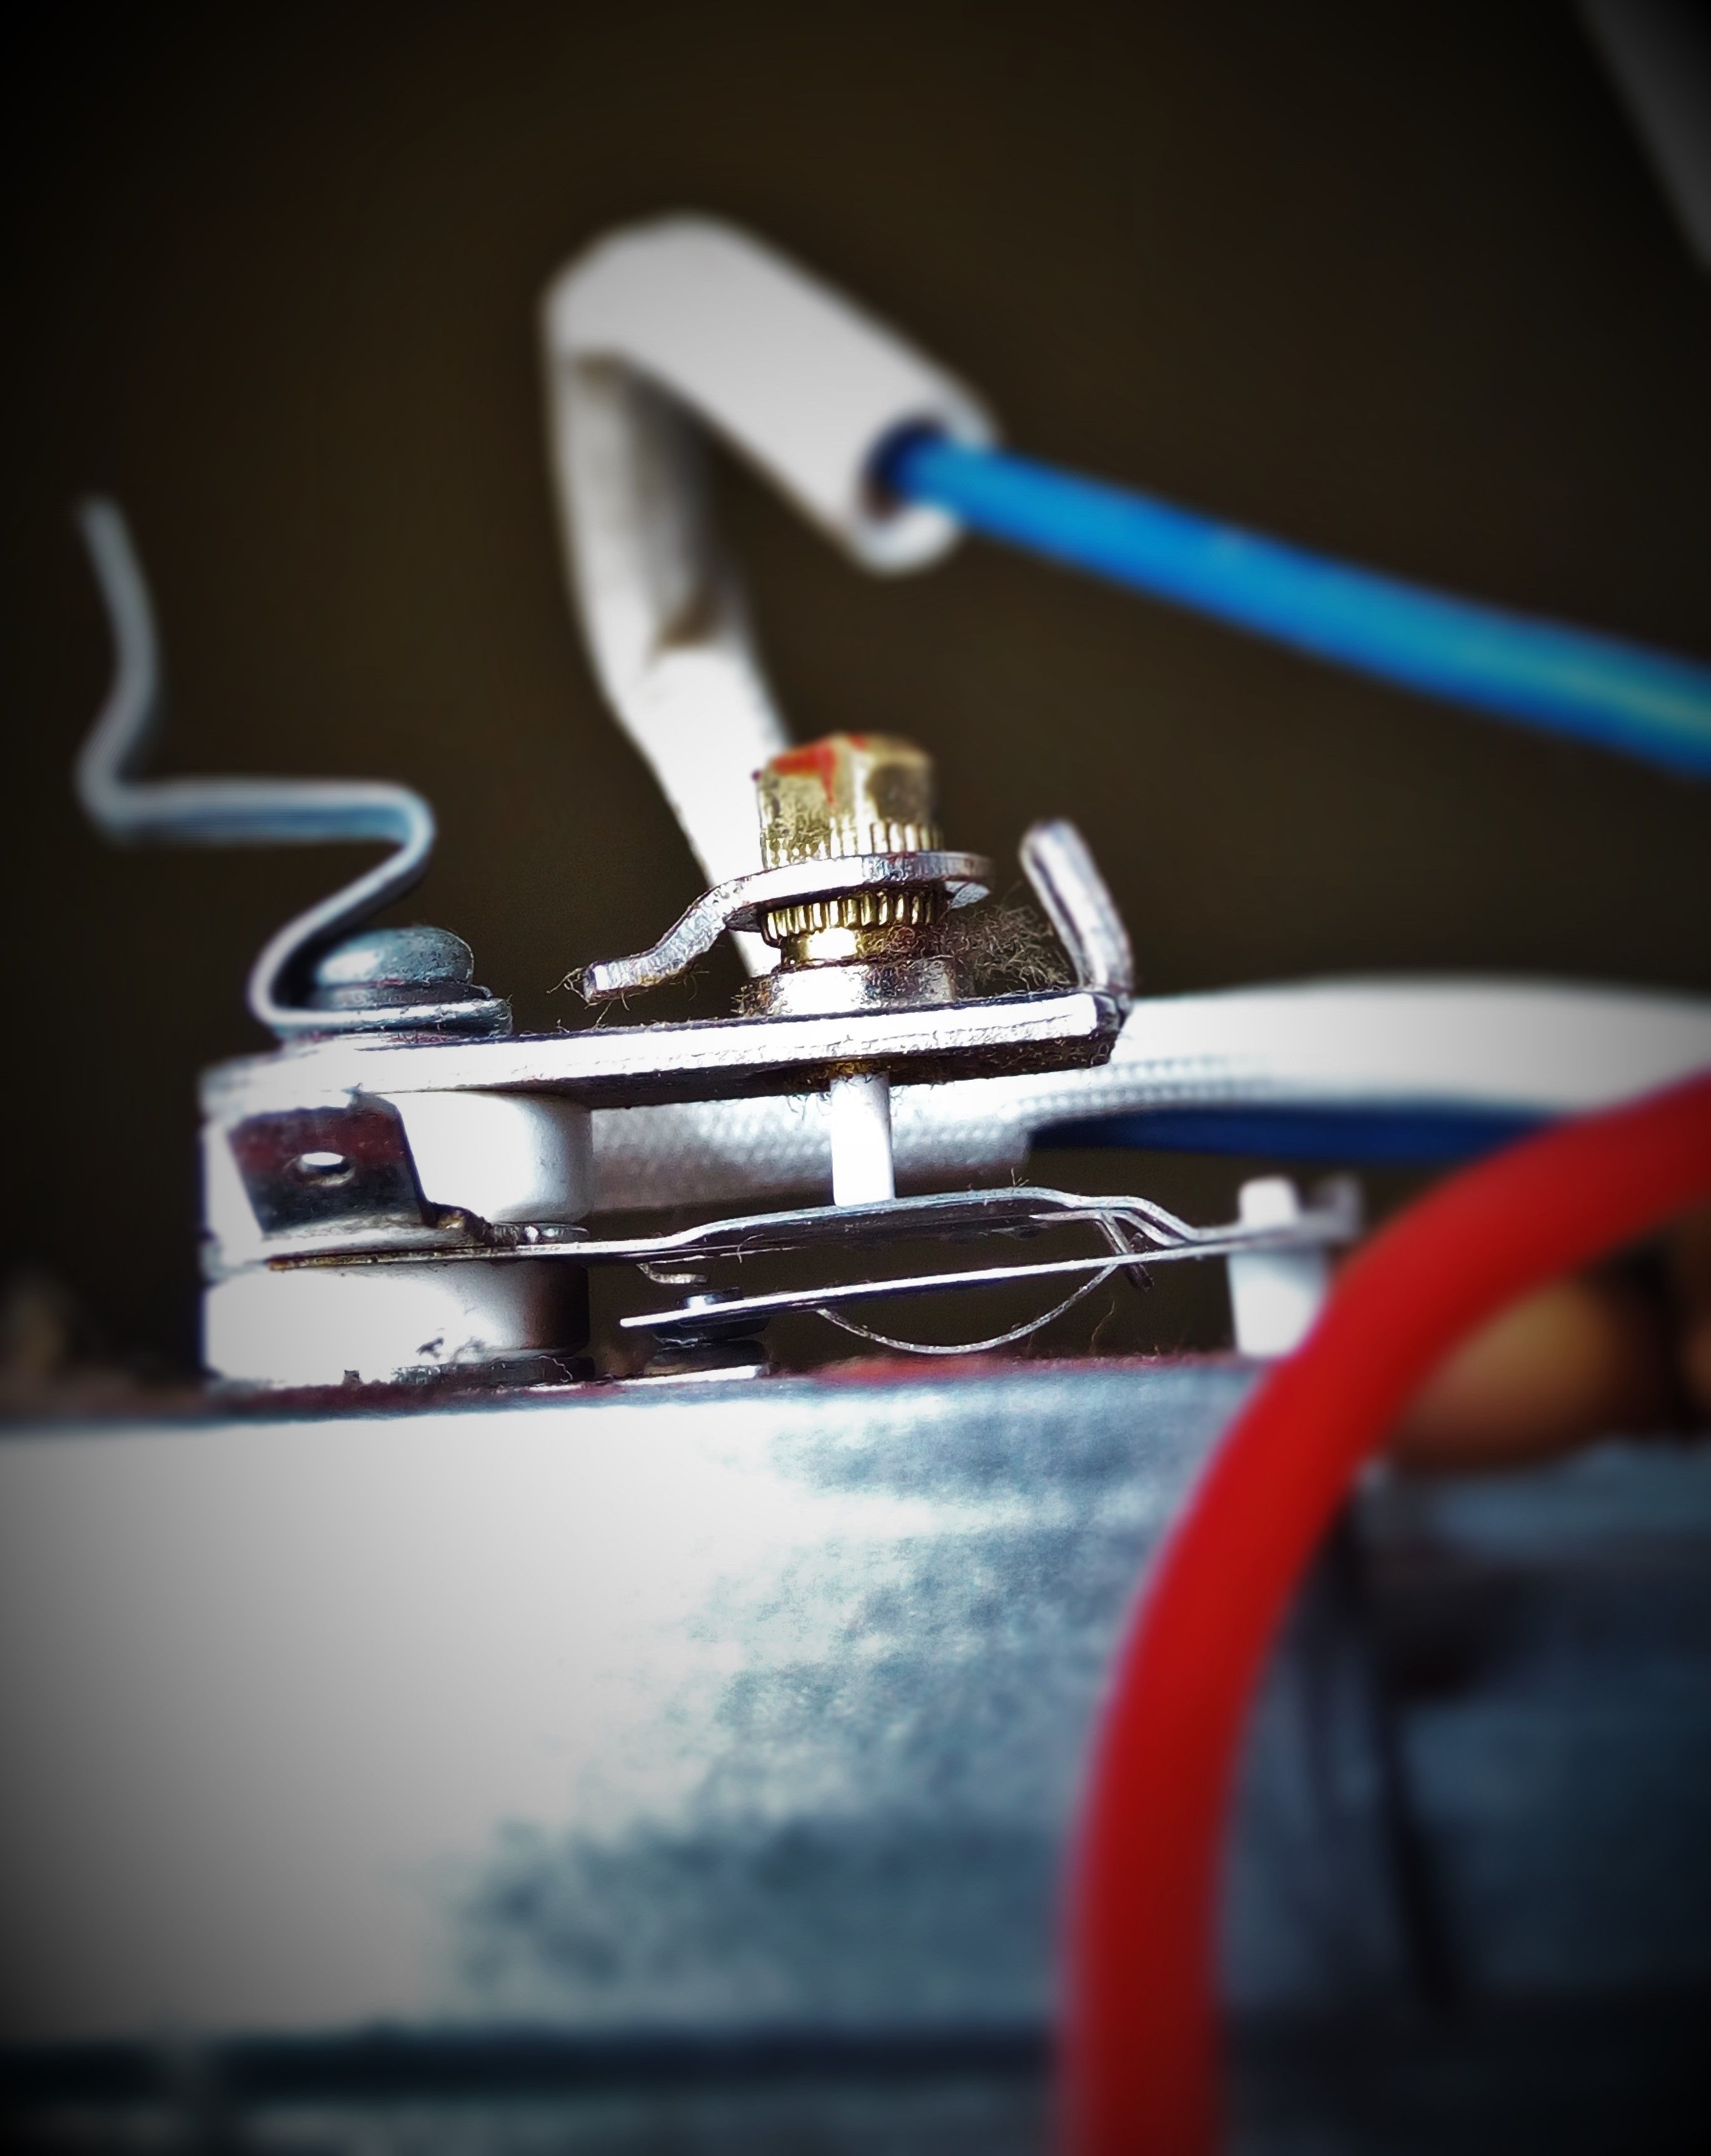
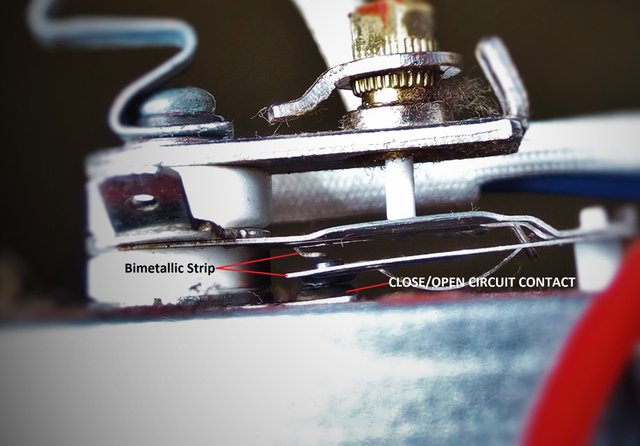
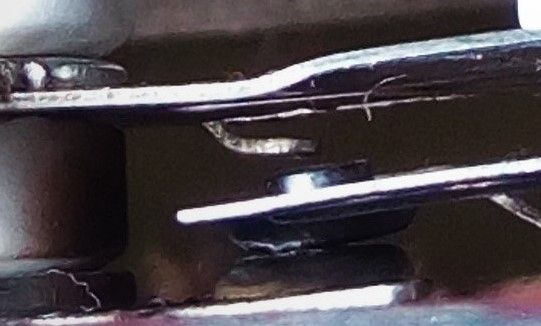
The thermostat of a pressing iron is usually made of bimetallic strips-metals with slight difference in thermal property, the thermostat like I said earlier acts like a switch thus the only a single live wire is connected to it thus, a thermostat has one input and one output just like a single switch, depending on the manufacturer, the input from the electrical source can be connected to the bimetallic strips and the output connected to a separate connector vice-visa, hence, when turned on and regulated to max, the bimetallic strip move to close circuit, when the temperature increases with respect to the thermal property of the bimetallic strip it moves away from the connector thus, opening the circuit.
How to adjust the thermostat to desired span
It eventually gets to a point where your pressing iron doesn’t get as hot as required or it doesn’t stay hot for long before reducing in temperature vice-visa, this challenge is usually common with people in areas where low/high voltage is supplied. Well if this is your challenge then you are viewing right post, the solutions to all challenges mentioned above is simply the reduction or increase in space between the bimetallic strip and the contactor. So for it to remain hot for a long period of time (those in low voltage AREA), you simply increase the distance between the bimetallic strip and the contactor, and if you desire otherwise (those in high voltage area) simply reduce the distance.
How do you located the thermostat of a pressing iron?
Like I said earlier the electric pressing iron has a very simply electric circuit thus, I am going to be using my personal pressing iron to explain how to locate the thermostat so that you can do your necessary adjustment.
Steps
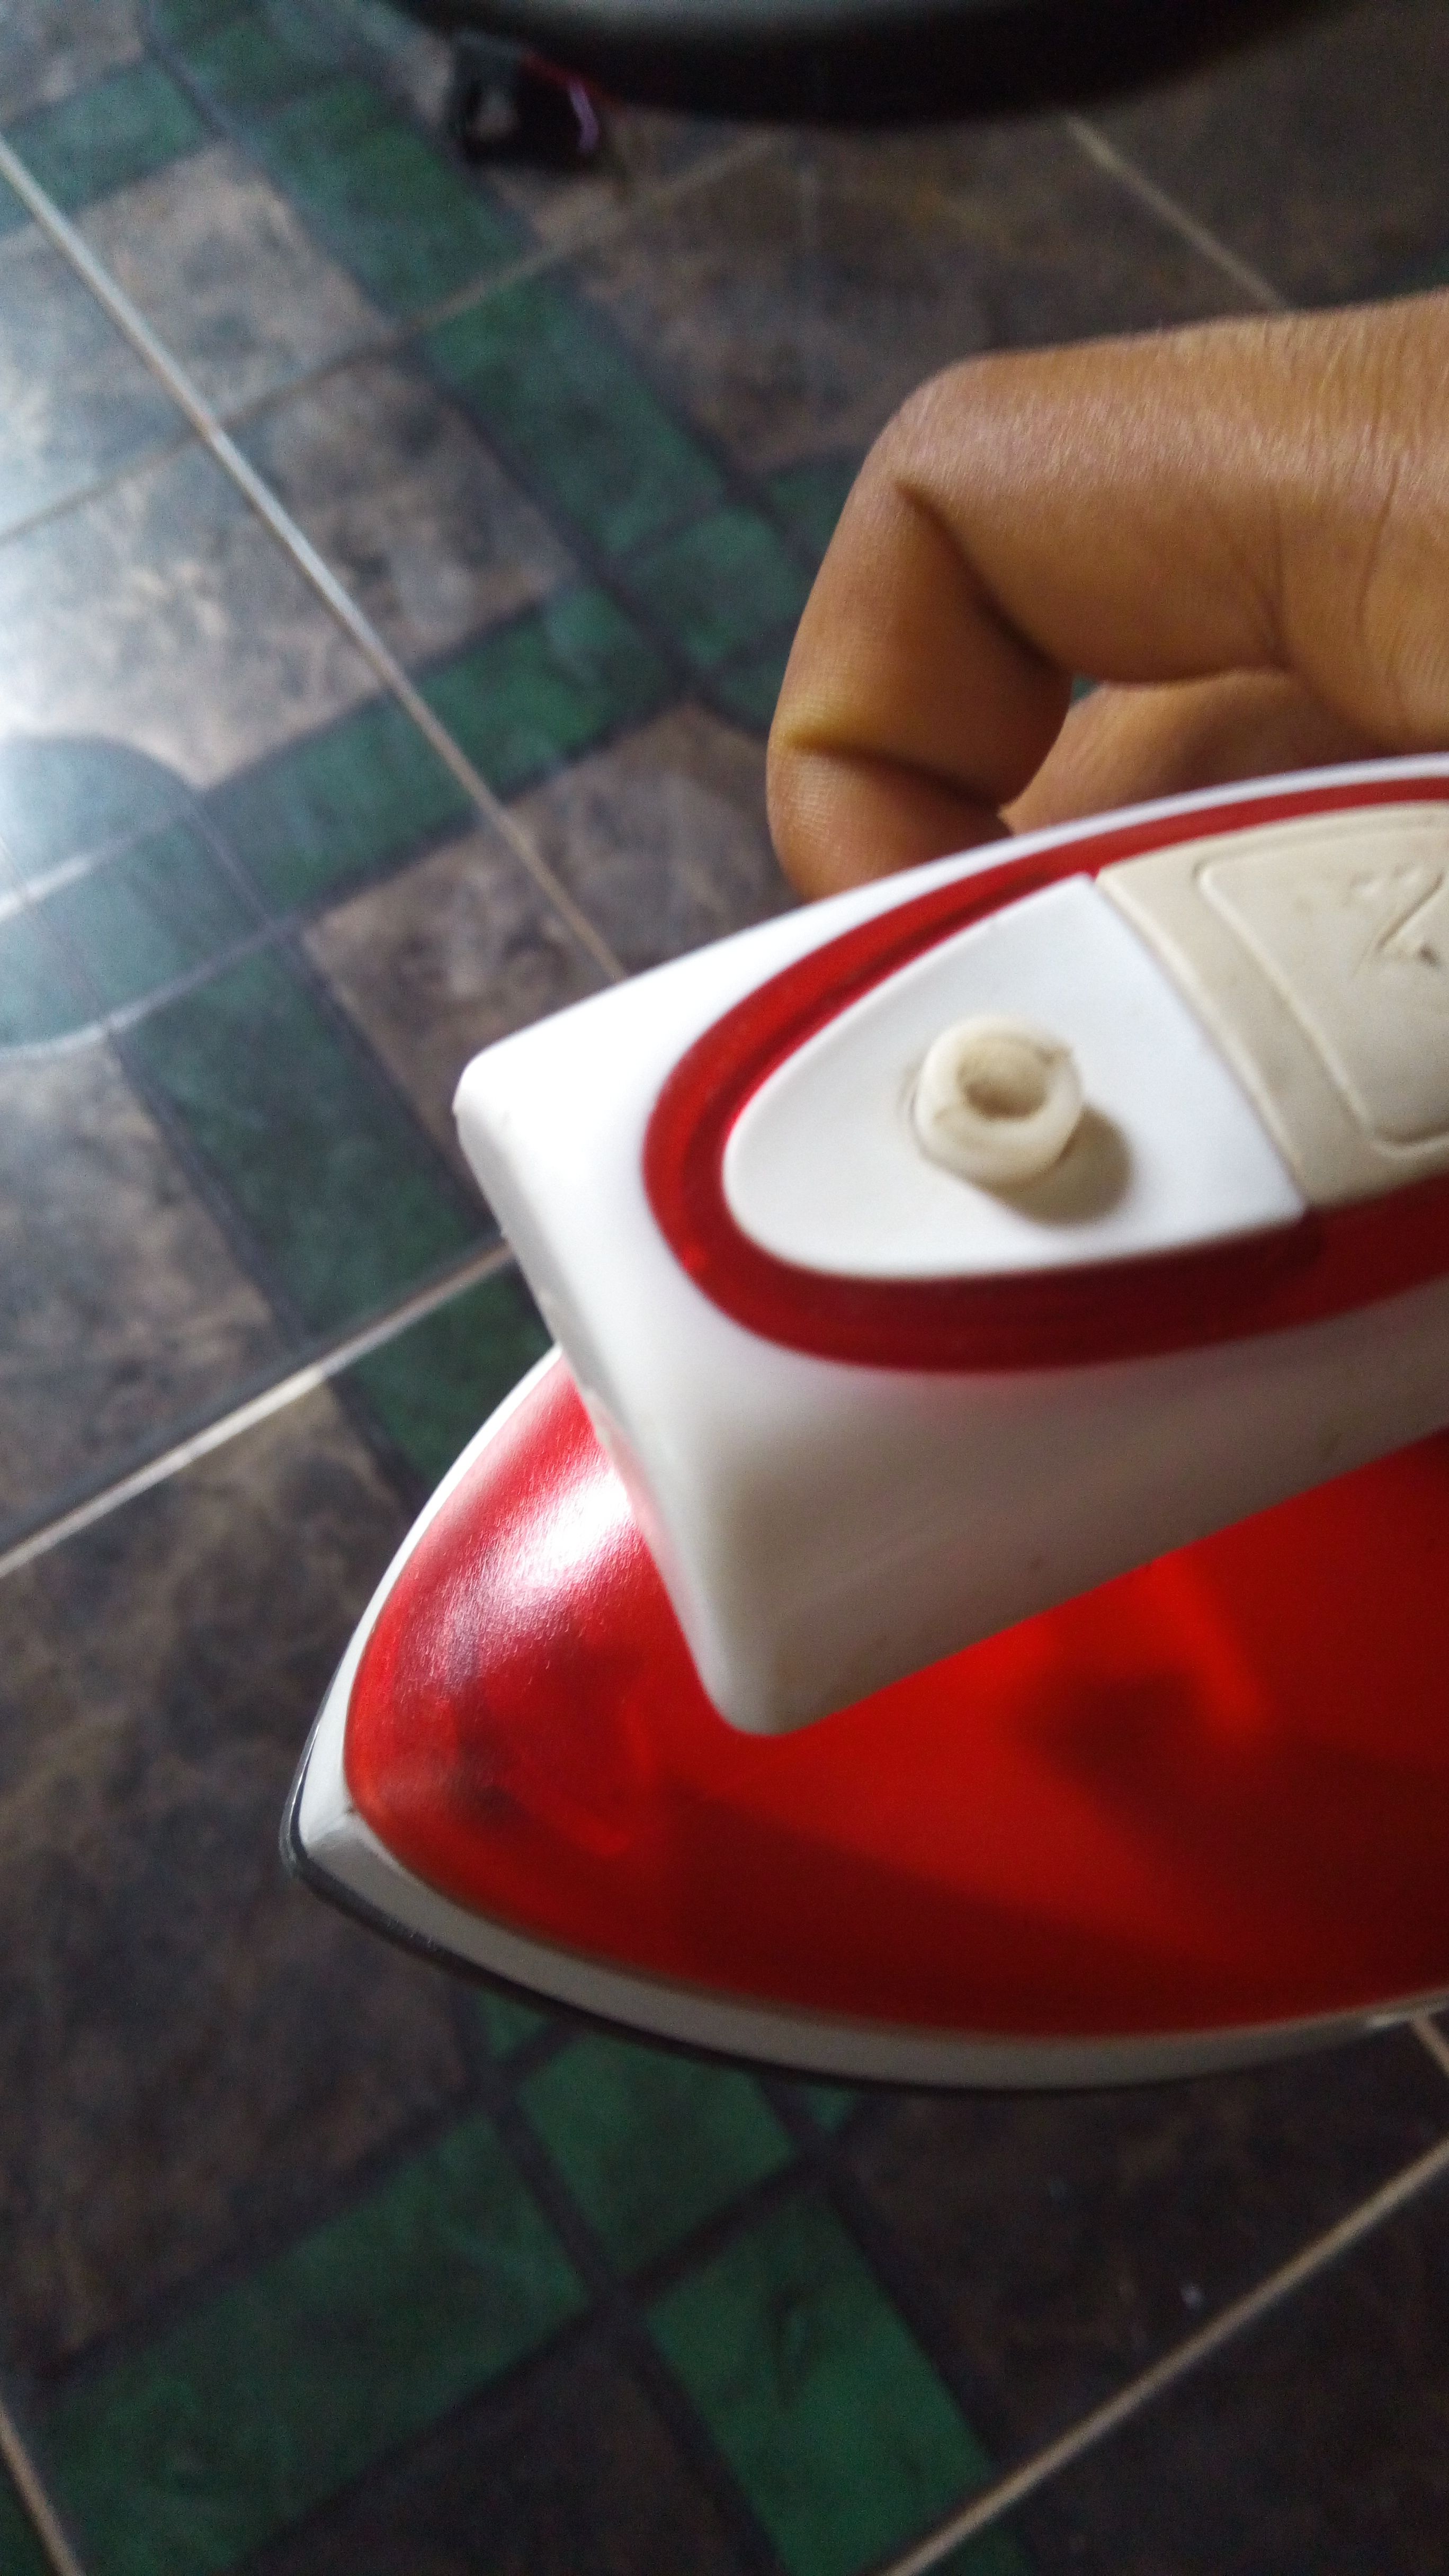
gently unscrew the screws of the pressing iron
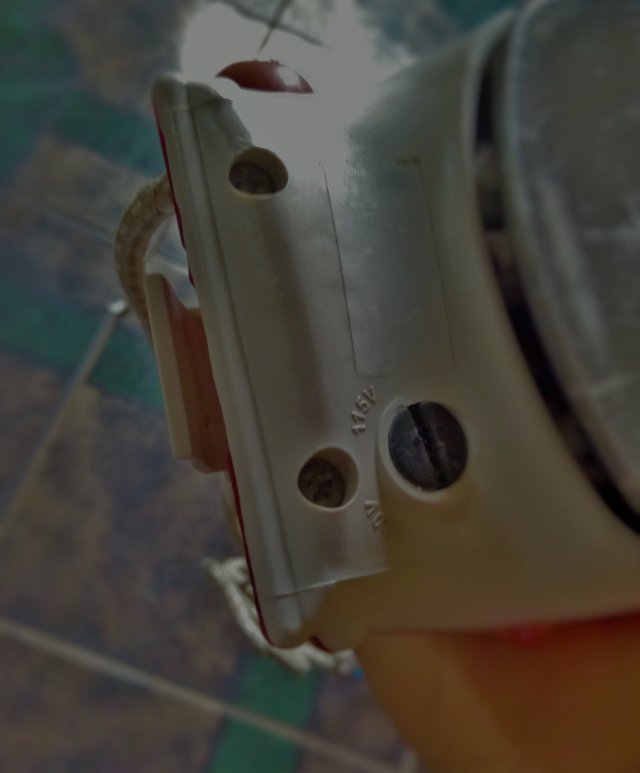
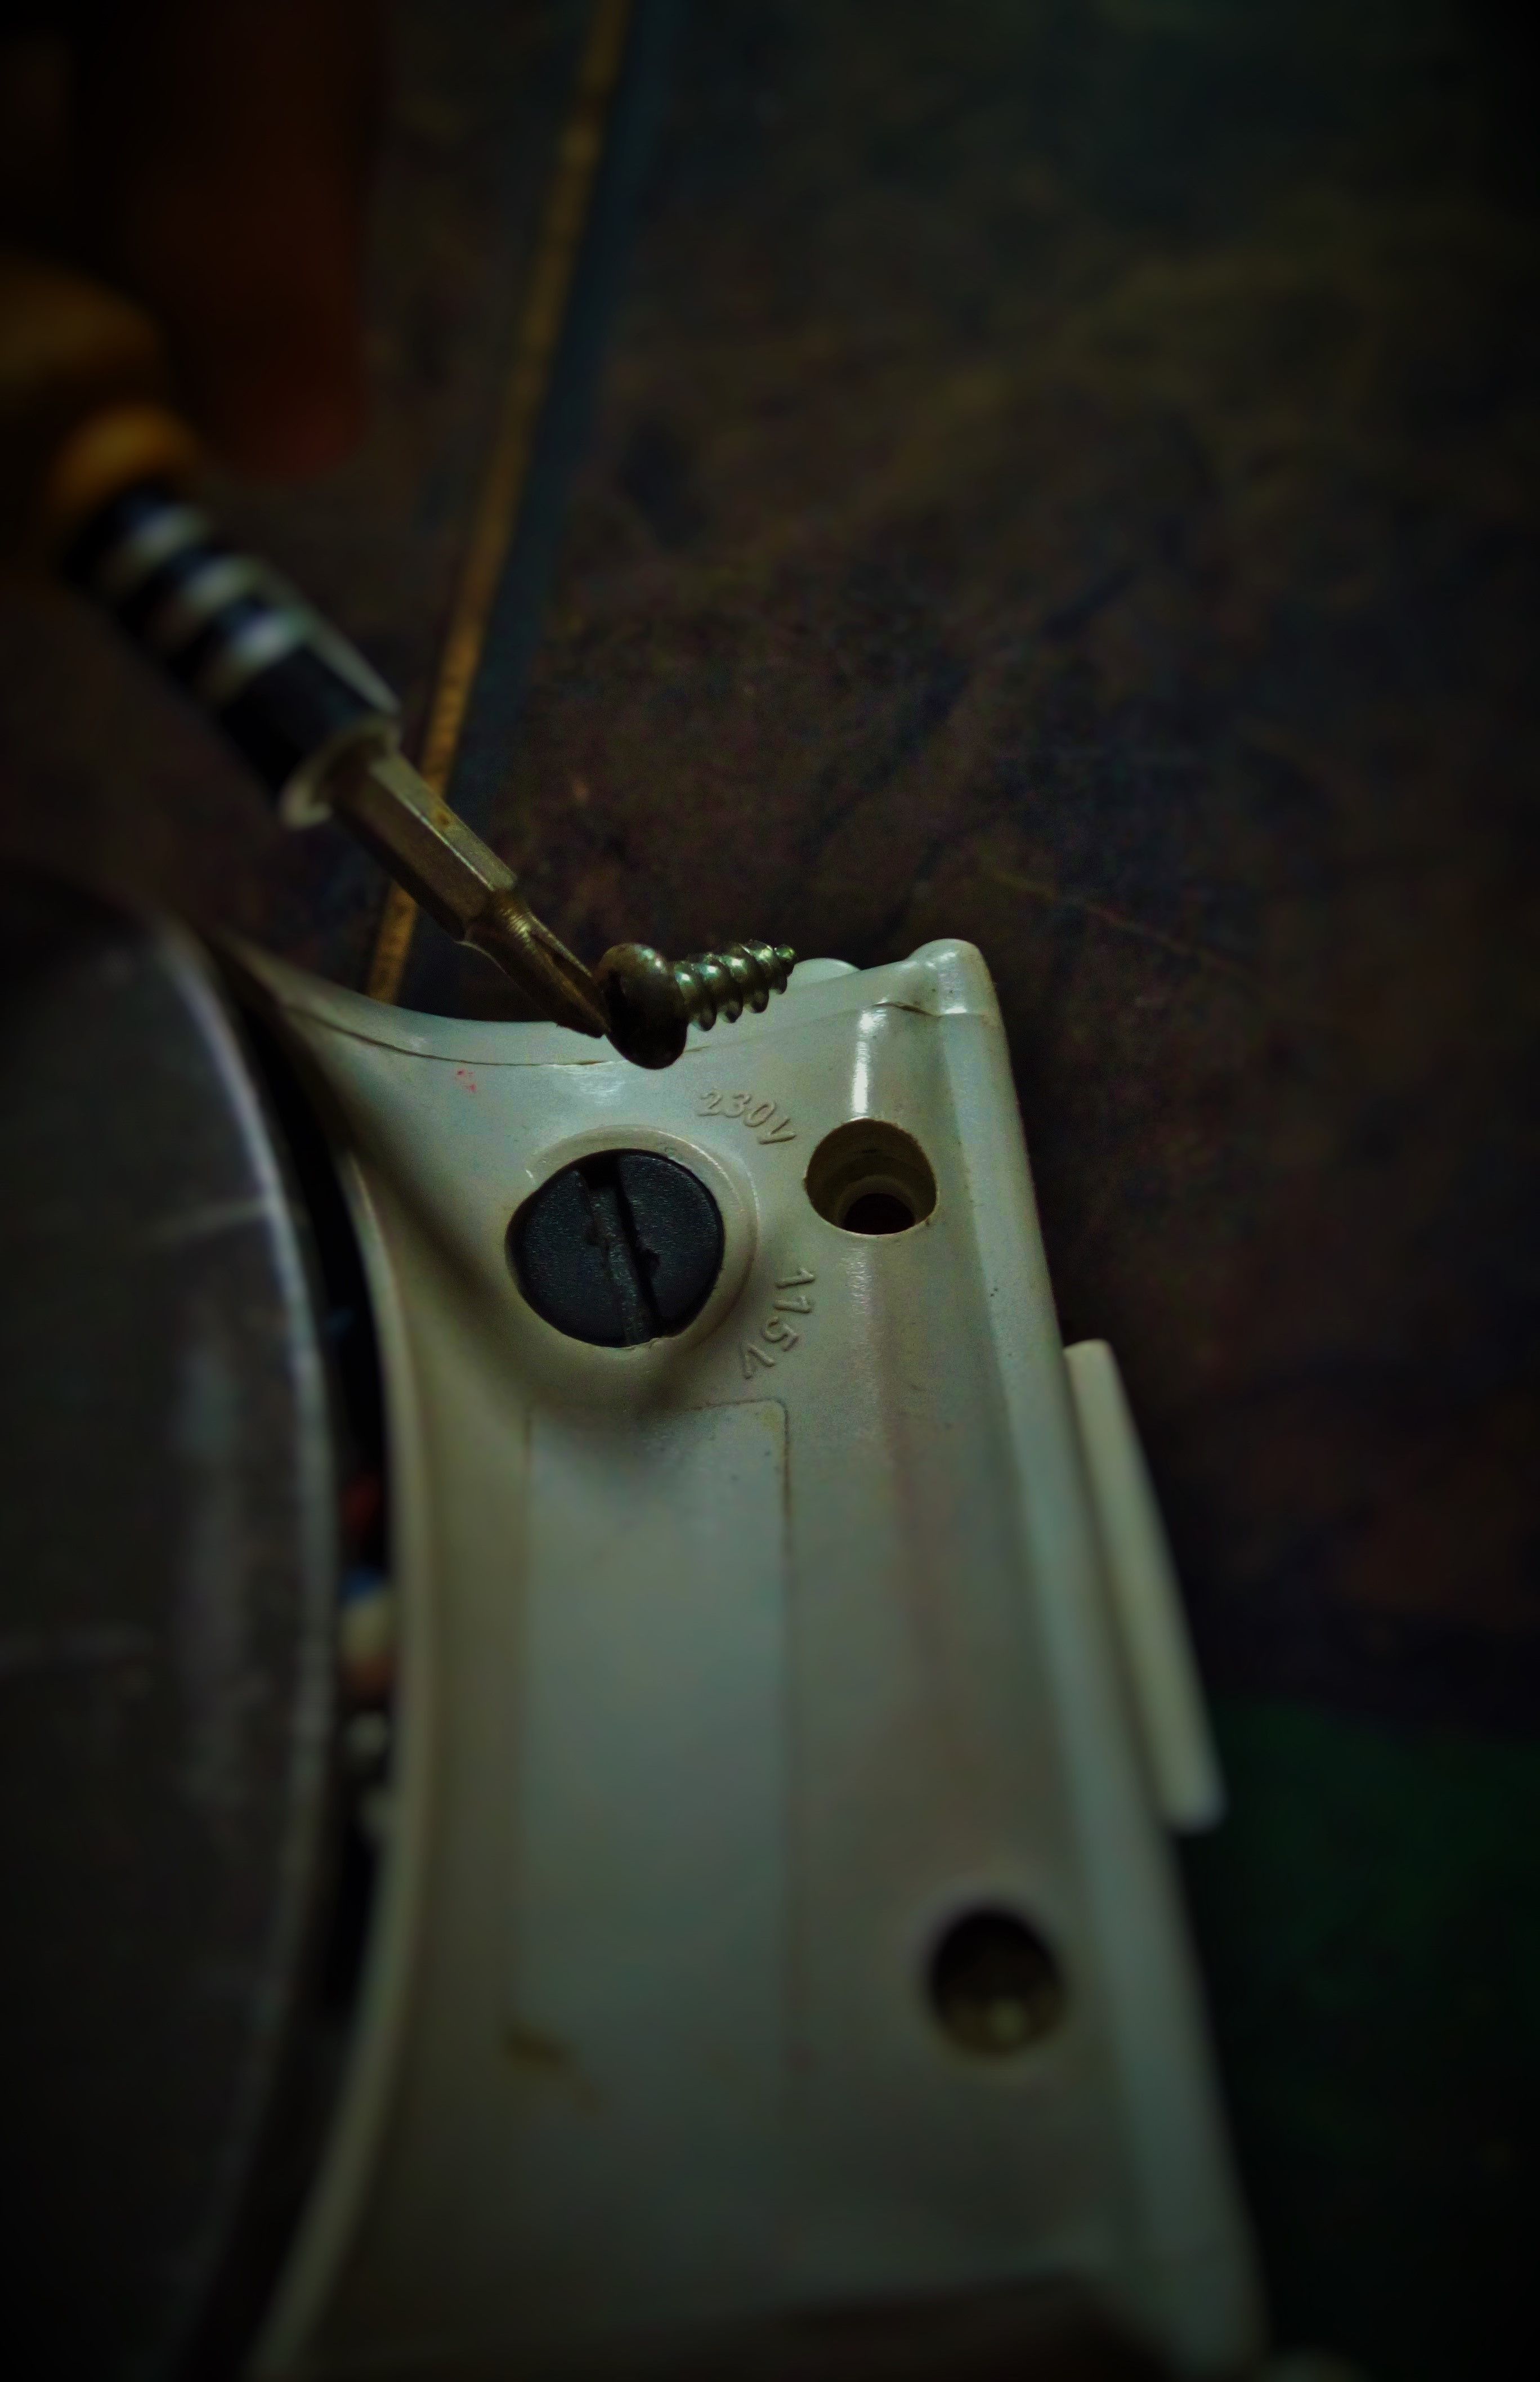
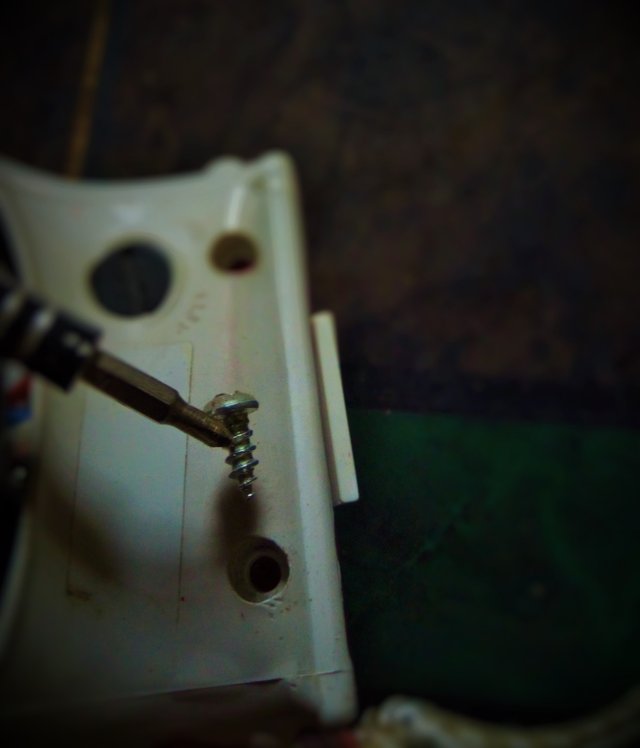
remove the outer case
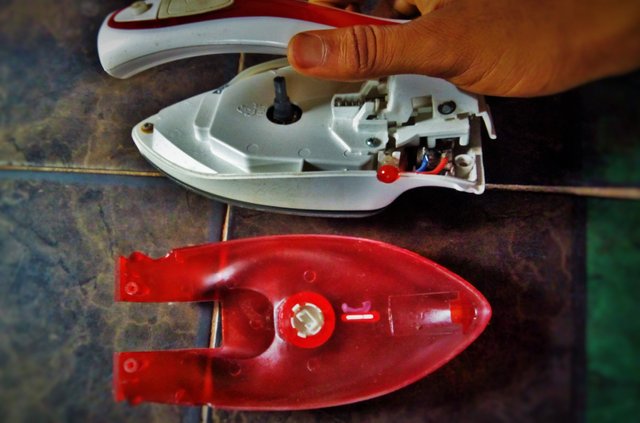
remove the second case to get access into the main panel
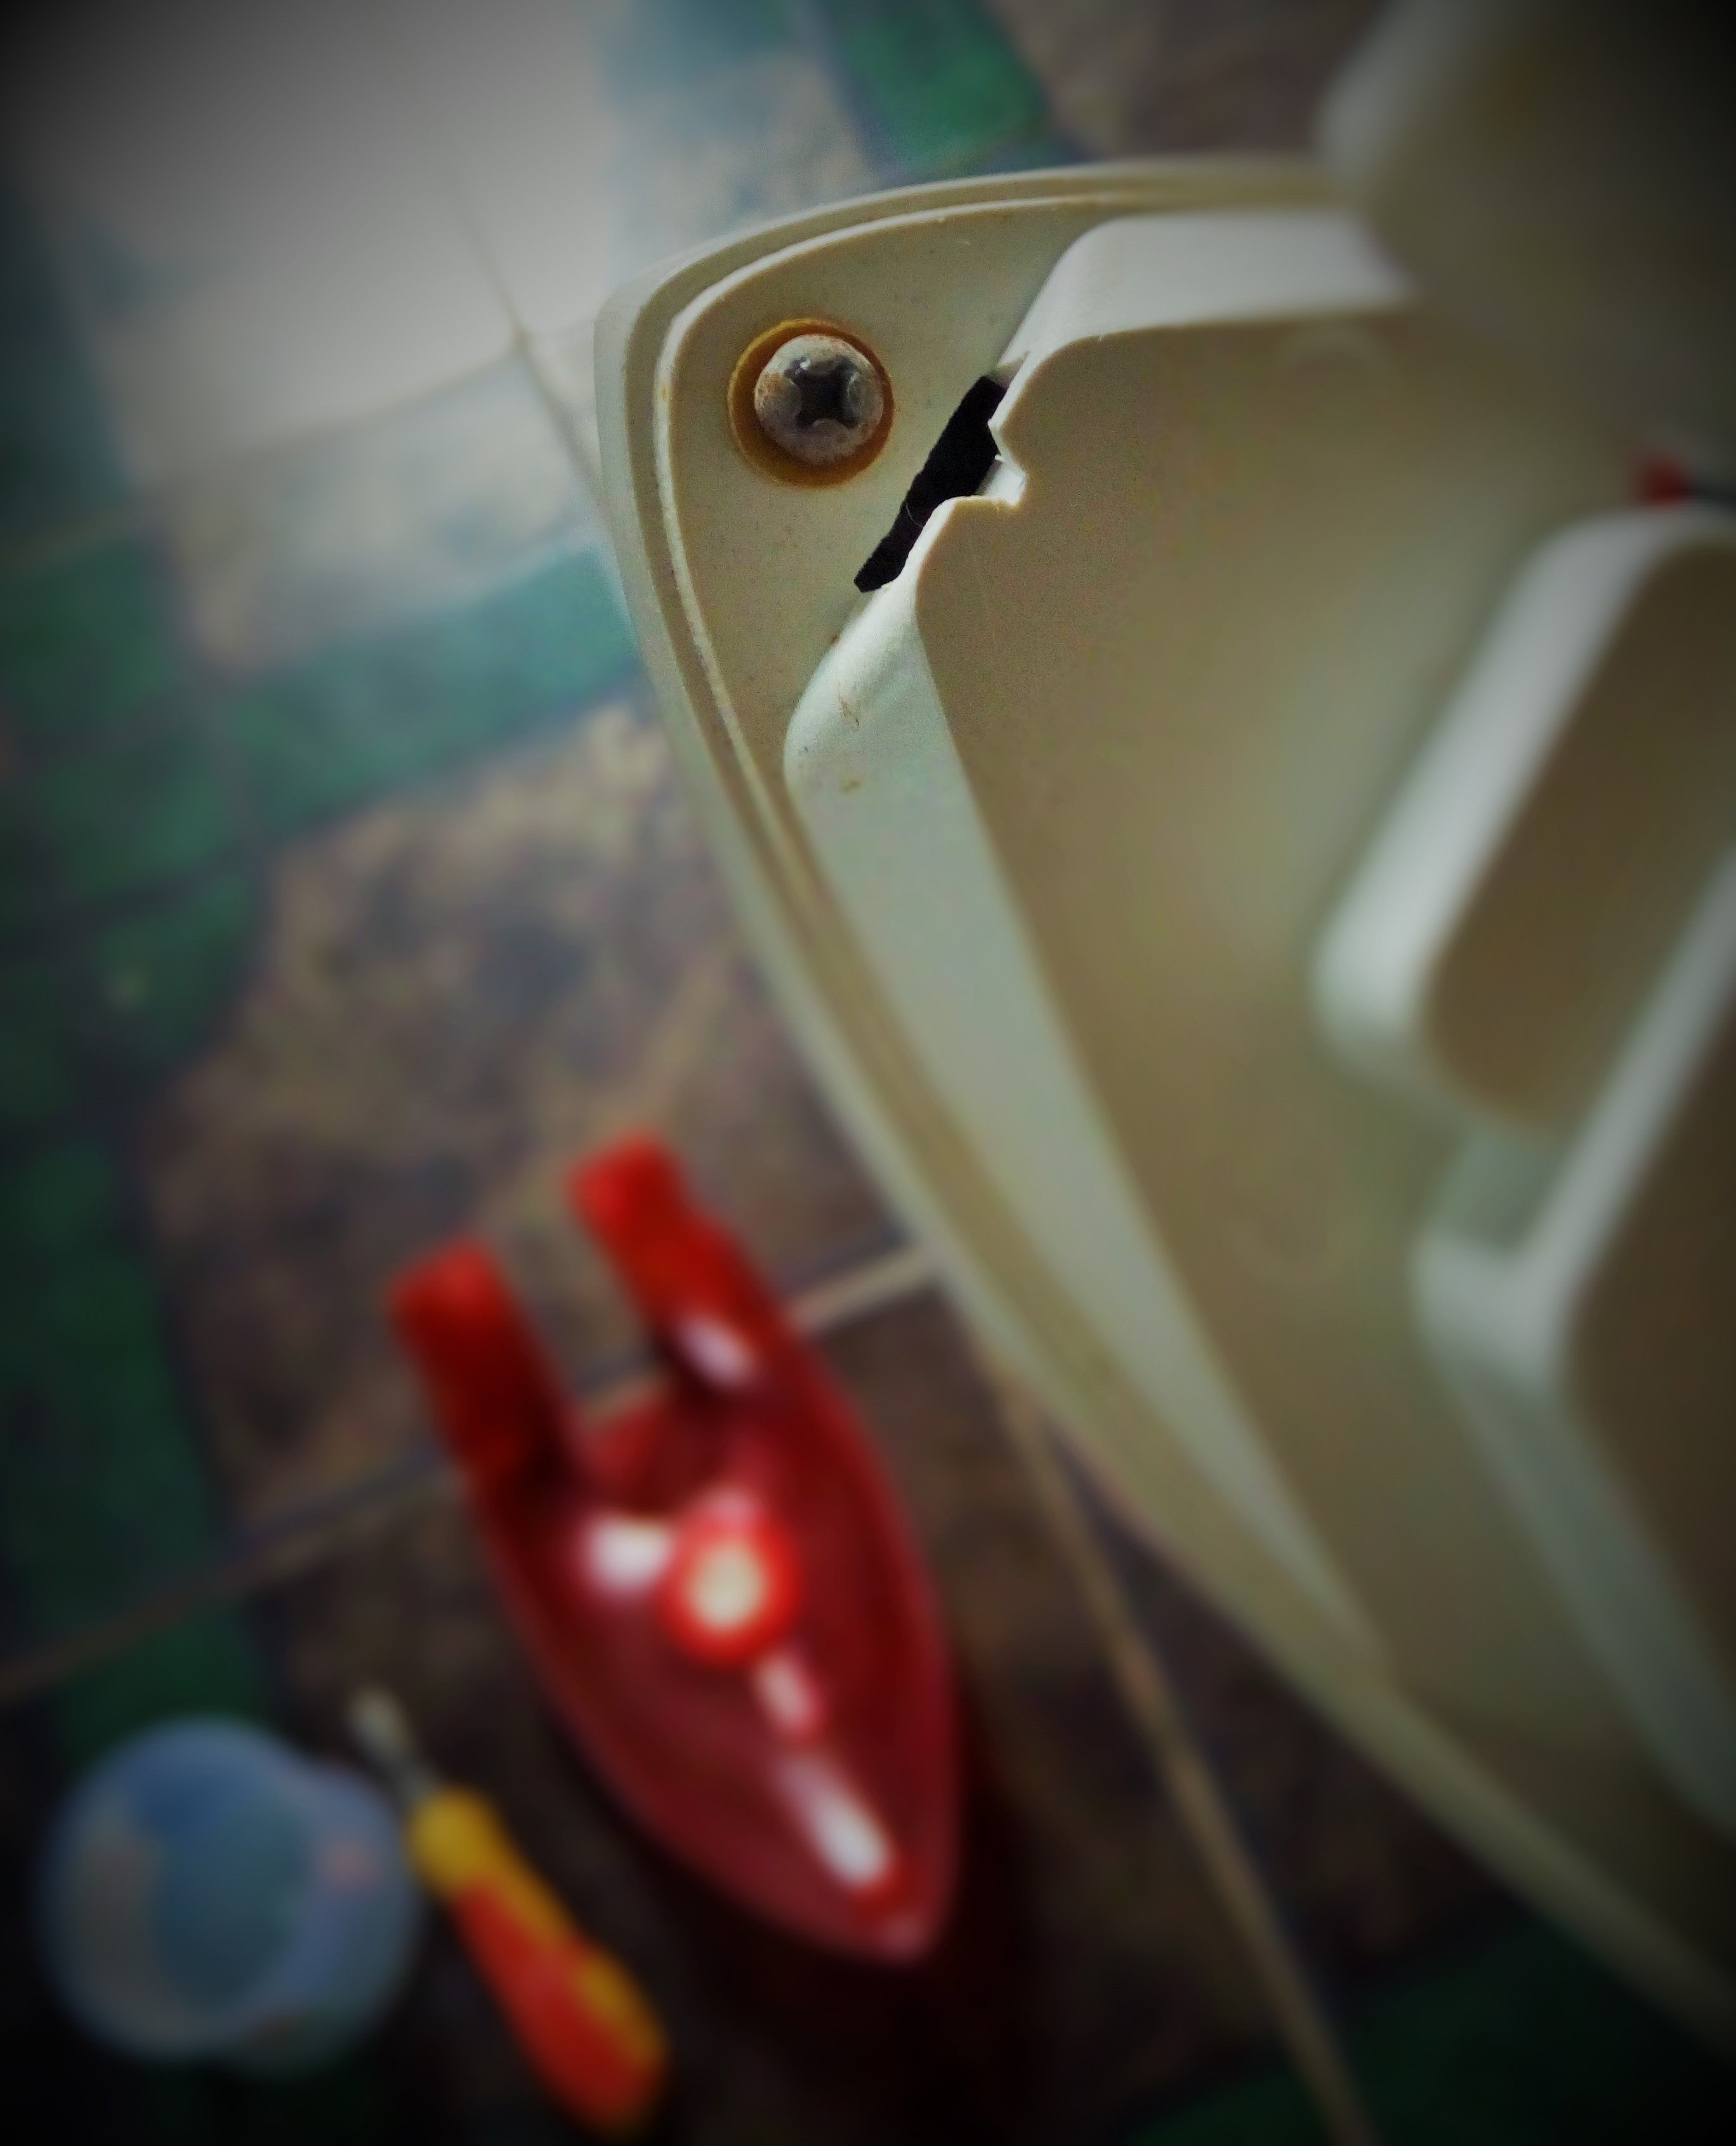
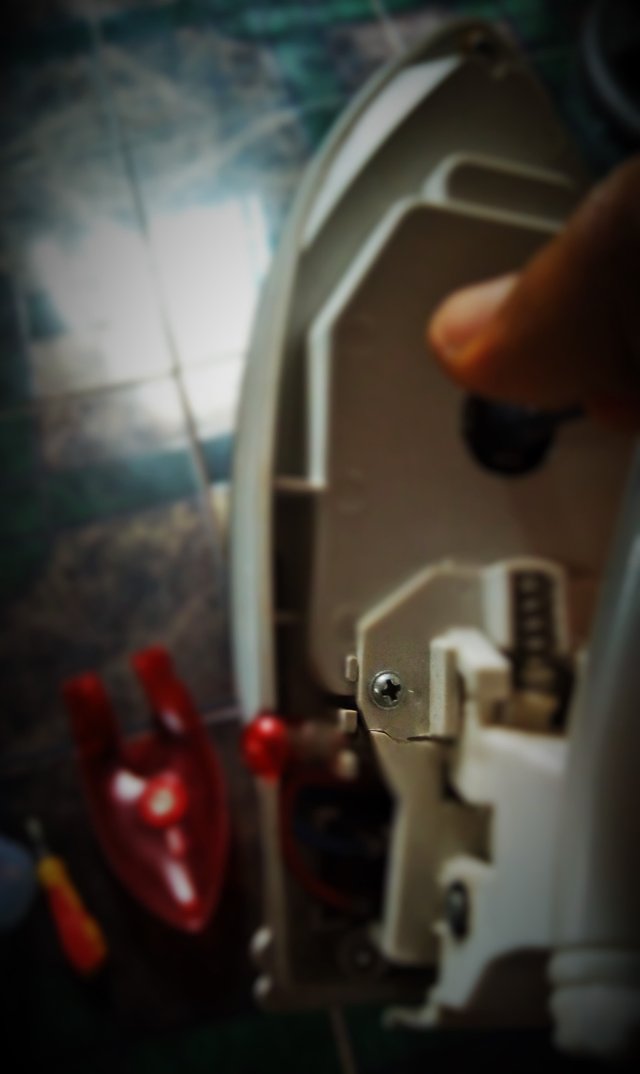
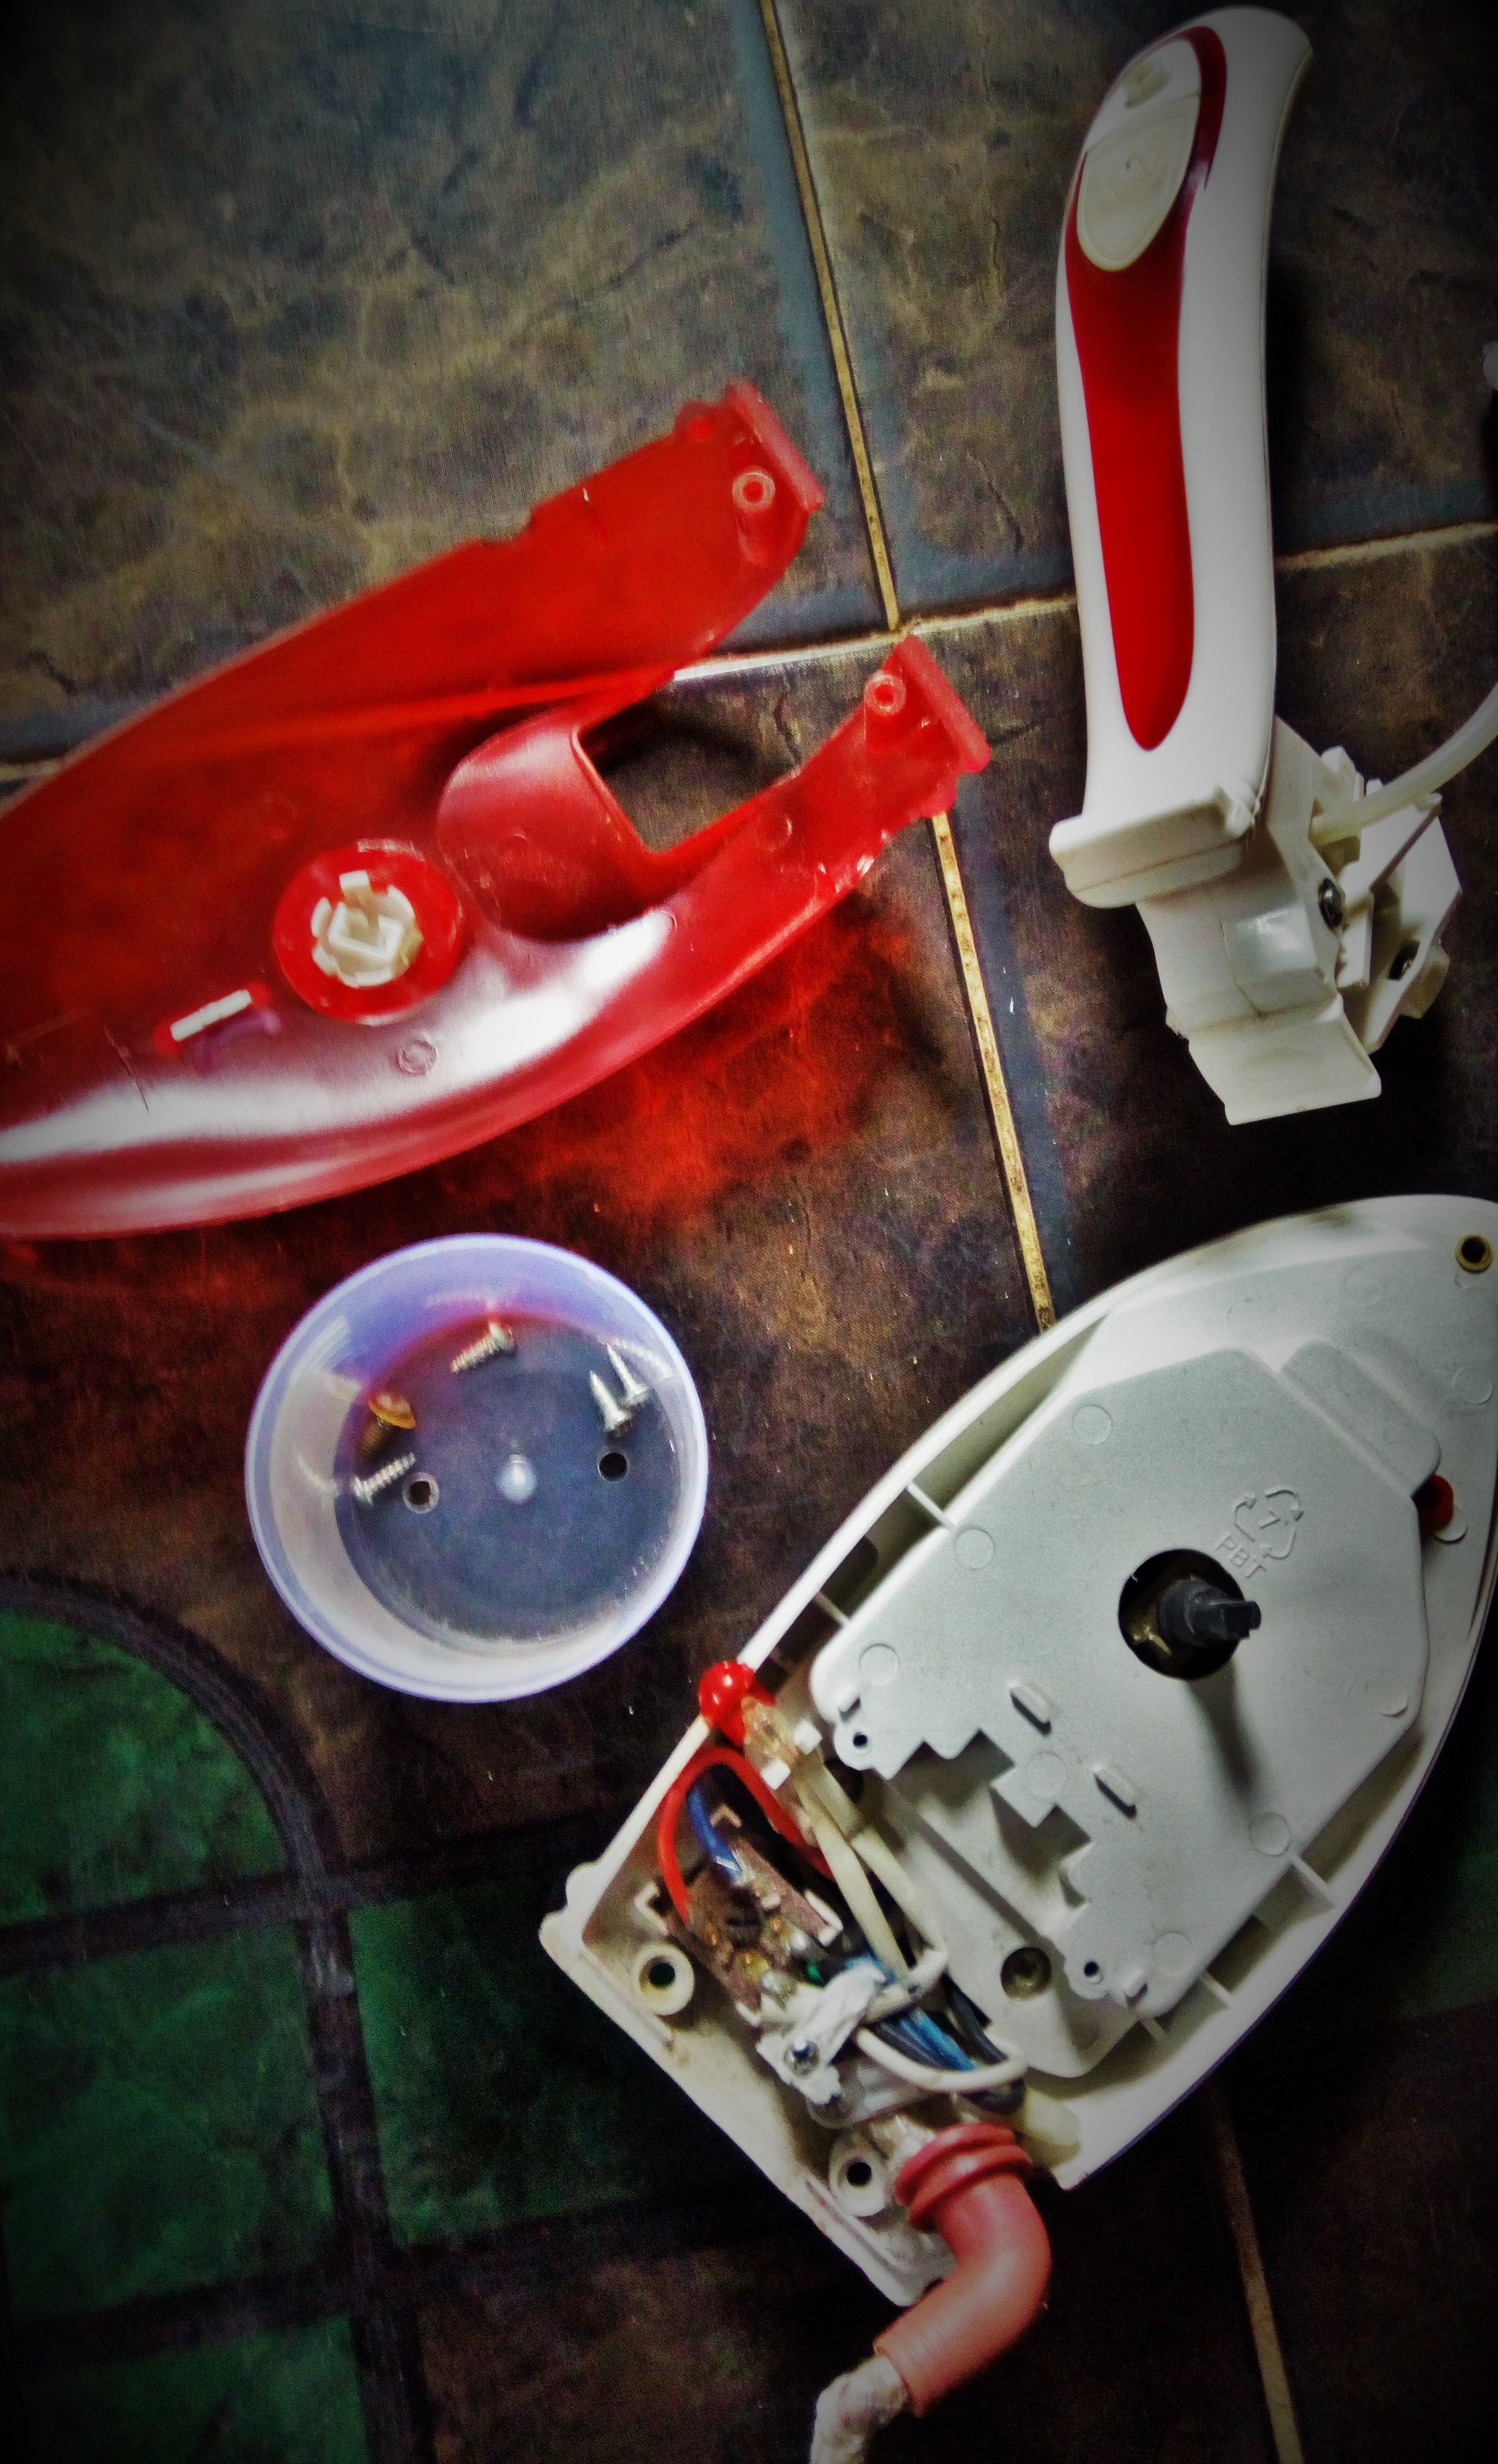
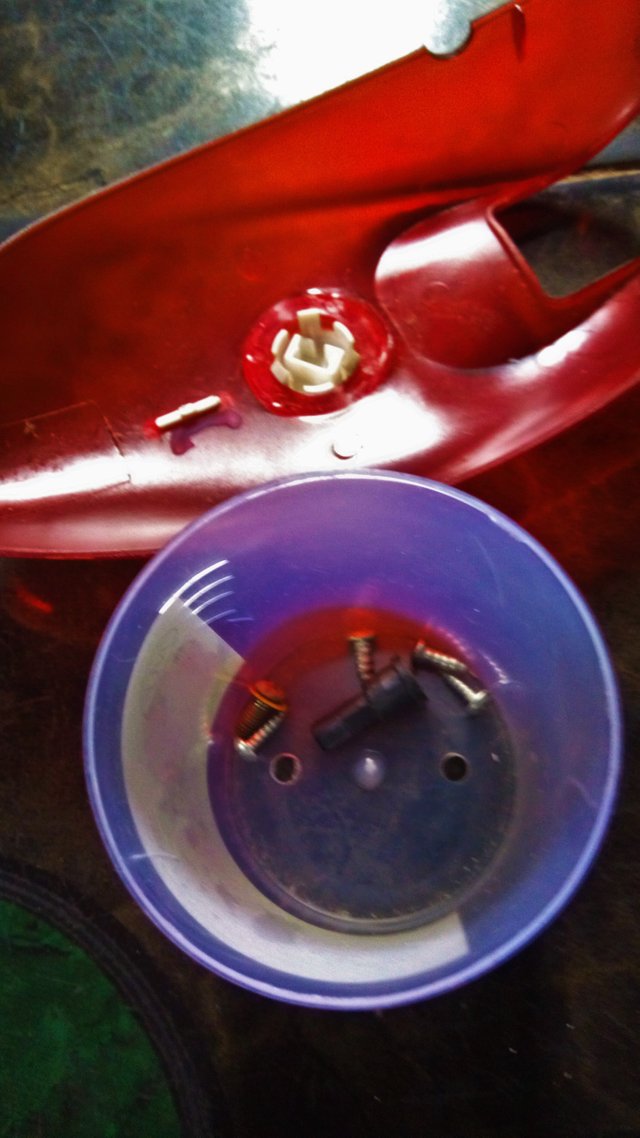
ensure you keep all screws removed from the pressing iron in a can to keep it save
that’s the thermostat
YUIUJ.jpg)
.jpg)
So for it to remain hot or a long period of time (those in low voltage AREA), you simply increase the distance between the bimetallic strip and the contactor, and if you desire otherwise (those in high voltage area) simply reduce the distance.
Thanks for joining me today guys if this post was helpful, do well to upvote and resteem...cheers!

Wow this is some great stuff young lady, 100% original, you are doing a great job here dear. Thanks for bringing such original content to the steemit community
Downvoting a post can decrease pending rewards and make it less visible. Common reasons:
Submit
Beautiful photography, the pictures really illustrate your tutorial post nicely :) Simple and clear instructions, this is definitely a useful post.
Much love - Carl
Downvoting a post can decrease pending rewards and make it less visible. Common reasons:
Submit
Really great post....i love the detailed step by step approach... Thanks for sharing @evadiva
Downvoting a post can decrease pending rewards and make it less visible. Common reasons:
Submit