(IND)
Hai para steemian semua!, Kembali lagi pada postingan saya. Jadi kali ini saya akan membagikan postingan tentang fotografi. Sesuai dengan judulnya, kita akan Belajar Teknik Foto Bokeh Menggunakan Lensa Kit 15-45 mm. Langsung saja.
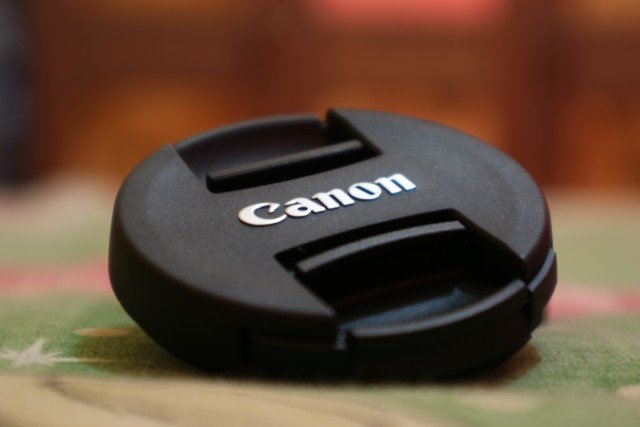
Sebelumnya mari kita bahas Apa itu Bokeh? Bokeh adalah teknik pengambilan foto yang diambil dengan satu titik fokus saja, dimana cahaya yang masuk menjadi tidak terfokus. Jadi, foto Bokeh diambil dengan satu titik fokus sehingga objeknya yang di fokuskan akan terlihat jelas, sedangkan background dari pada foto tersebut menjadi blur.
Jika anda sudah mengerti Apa itu Bokeh, sekarang kita lanjut bagaimana cara pengambilan foto bokeh tersebut.
Alat & Bahan :
- Kamera (DSLR/ Mirrorless)
- Lensa dengan bukaan besar (f 1.8). Jika menggunakan kamera Canon Eos M3, bukaan besar sekitar f 3.5.
- Objek (Tutup Lensa Canon/ Mainan Anak-Anak/ Anak Catur). Untuk objek terserah pada kalian masing – masing.
Langkah – langkah :
- Pertama, cari tempat yang bagus, bisa di luar ruangan ataupun dalam ruangan. Tergantung pencahayaan. Jangan terlalu gelap juga.
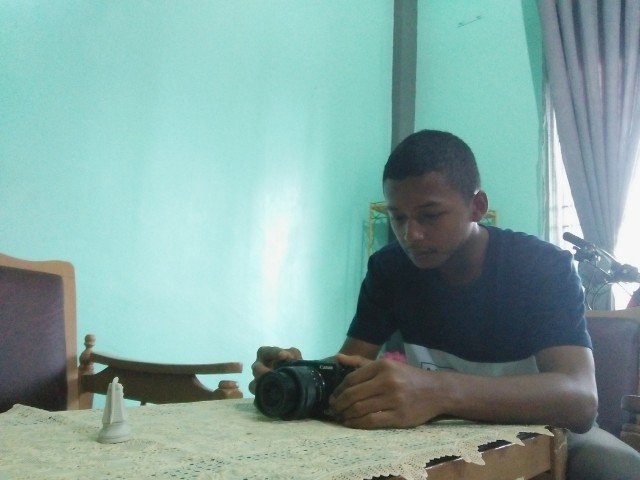
- Tempatkan Objek pada sebuah lantai atau dasar, bisa berupa meja ataupun langsung dilantai. Saya menyarankan menggunakan meja agar anda tidak lelah untuk memotret.
- Kemudian mulai untuk membidik objek.
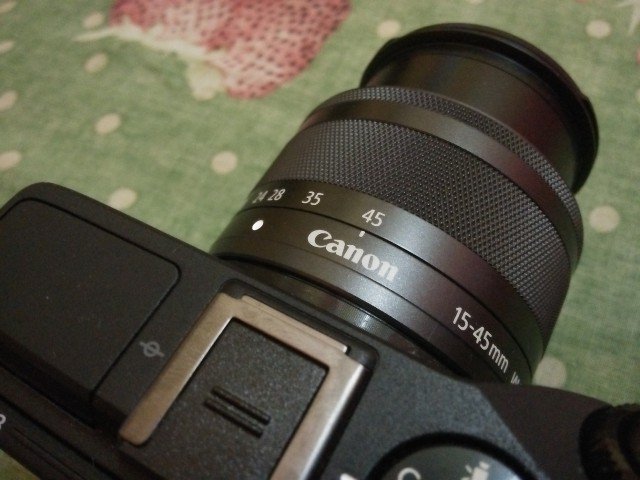
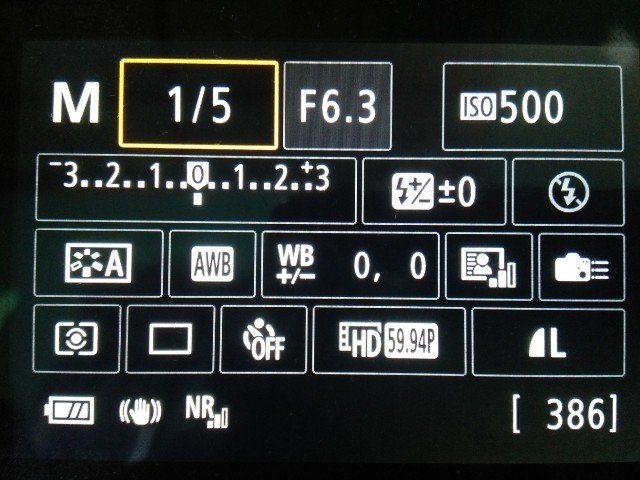
- Zoom kan lensa anda di 45 mm ataupun pada zoom yang paling jauh. Perlu diketahui, jika kita zoom lensa menjadi jauh, otomatis aperture pun akan berubah. Gunakan bukaan apertute paling besar dalam arti kata angka yang paling kecil. Dan bukaan paling besar pada Canon Eos M3 F6.3
- Setelah itu atur lagi posisi antara kamera dan objek agar pas.
- Lalu atur fokus kamera agar mendapat bokeh yang sesuai.
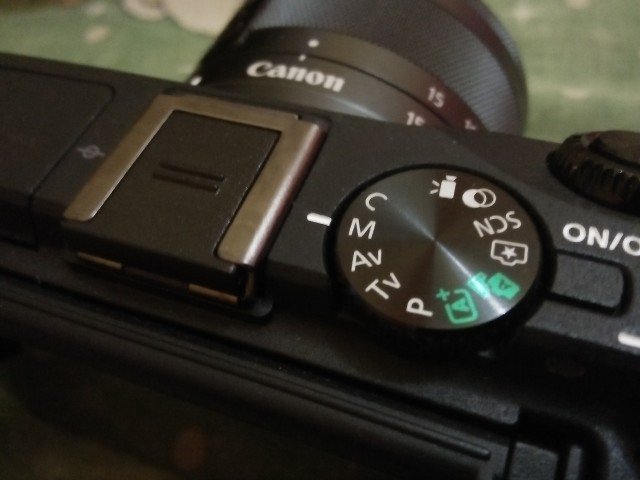
- Setelah itu langsung saja di atur kamera nya ke mode Manual atau M.
- Lalu tekan tombol info pada kamera dan lakukan settingan seperti gambar dibawah ini.
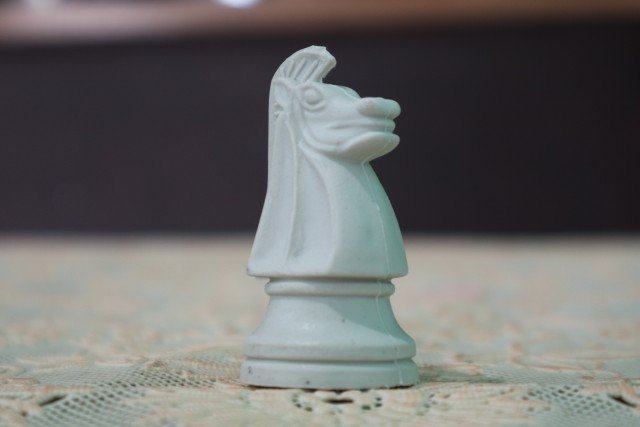
- Setelah dapat settingan yang pas, langsung saja jepret kameranya maka hasilnya akan seperti ini.
Sekian postingan dari saya, semoga bermanfaat dan dapat menambah wawasan anda khususnya di Dunia Fotografi. Dan jangan lupa untuk selalu stay di akun saya. Tunggu postingan saya berikutnya. Sekian dan Terima Kasih. Wassalam.
Follow instagram saya: https://www.instagram.com/ilham_ramadhani15
Lihat Postingan Saya Sebelumnya : Review Canon Eos M3 – Kamera para Youtuber
(ENG)
Hi all the steemians !, Back again to my post. So this time I will share my post about photography. In accordance with the title, we will Learn Photo Technique Bokeh Using Lens Kit 15-45 mm. Straight to.

Previously let us discuss What is Bokeh? Bokeh is an image capture technique taken with a single focal point, where the incoming light becomes unfocused. Thus, the Bokeh photo is taken with one focal point so that the object in focus will be clearly visible, while the background of the photo becomes blur.
If you already understand What is Bokeh, now we go on how to take the photo bokeh.
Tools & Materials:
- Camera (DSLR / Mirrorless)
- Lenses with large openings (f 1.8). If using a Canon Eos M3 camera, the large aperture is about f 3.5.
- Object (Close Canon Lens / Children's Toy / Chess Kids). For the object is up to you each.
Steps:
- First, find a nice place, can be outdoors or indoors. Depending on the lighting. Do not get too dark too.
- Place Objects on a floor or floor, either a table or a floor. I suggest using a table so you are not tired to take pictures.
- Then start to shoot the object.
- Zoom your lens at 45 mm or on the farthest zoom. Please note, if we zoom lens becomes far away, automatic aperture will change. Use the largest apertute aperture in the smallest number of words. And the largest openings on Canon Eos M3 F6.3
- After that set again the position between camera and object to fit.
- Then set the camera focus to get the appropriate bokeh.
- After that just set the camera to Manual mode or M.
- Then press the info button on the camera and do the settings like the picture below.
- After the right setting, just snap the camera then the result will be like this.


So many posts from me, may be useful and can add to your horizons, especially in the World of Photography. And do not forget to always stay in my account. Wait for my next post. That is all and thank you. Wassalam.
Follow my instagram: https://www.instagram.com/ilham_ramadhani15
View my Previous Posts : Review Canon Eos M3 – Kamera para Youtuber
Original Writing
Original Pictures
@ilhamramadhani
Salam Komunitas Steemit Indonesia

good post @ilhamramadhani
Downvoting a post can decrease pending rewards and make it less visible. Common reasons:
Submit
Thank you @sulthanalfaris
Downvoting a post can decrease pending rewards and make it less visible. Common reasons:
Submit
good work on the tutorial, keep it up
Downvoting a post can decrease pending rewards and make it less visible. Common reasons:
Submit
Thank you for your support @paulag
Downvoting a post can decrease pending rewards and make it less visible. Common reasons:
Submit