Hello everyone, how are you all? It's been a few days I did not make an article because of my busy @muklis in my job. But today I will write a very useful article about musical instruments, surely everyone likes music, though different types of music but we would like to listen to music because music is a melody that often arouses our feelings. So keep reading to find out what I made that I wrote in this article.

Bored with your acoustic guitar,? And want an electric guitar,? Do not worry this time I will share how to change the acoustic guitar to semi-electric and you no longer need to spend a lot of money to buy electric guitar, it's easy hehe. Indeed we should be bored with the guitar that was just that and less exciting, because that's what is obtained from the acoustic guitar, different again if the electric guitar, his voice can be different because it uses the effect so the sound more stable. If a good sounding setting would be more exciting if we play a complete band. Times have advanced, more advanced technology and a variety of advanced tools are common and this is the time to change our guitar from acoustic to electric or semi electric, how to do?
There are two ways to transform an acoustic guitar into a semi-electric.
First step.
First prepare the guitar first.
Set up the microphone guitar first (this tool is taped to the guitar hole). can buy cheap price.
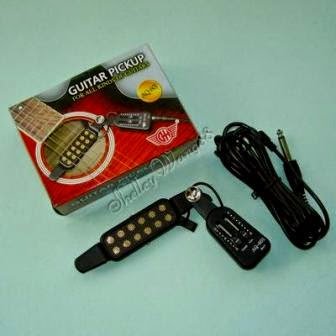
How it works is to pair the guitar microphone on the guitar hole as an example picture. then attach the mix input to laptop / computer then install software effects guitar to set the guitar sound.

The second way.
This way is a bit more complicated and more time consuming, but who love the challenge of creativity would love this second way. Before we turn the acoustic guitar into a semi electric guitar, it helps us to prepare some of its materials, among others;
ingredients.
- Guitar.
- Zinc.
- Plywood with same width with guitar plywood
- Pick up (spool guitar) one only.
- Cable component of red and black color each 1 only and 1 meter long.
- Potensio 5k.
- Jack holder.
- Screws 10 small pieces of fruit and glue.
The equipment.
- Solder + Tenol.
- Scissor .
- Pliers.
-Cutter. - Pen.
- Period.
- Ruler. - Solation.
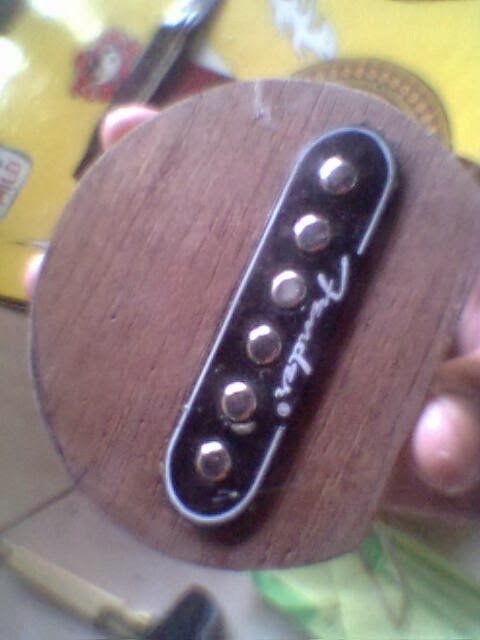
After all the materials and tools in complete preparation then is the process of making the guitar. First pairs of pick ups on plywood that has been equated the size of the width on the guitar hole.
Next cut the zinc size in size with plywood.
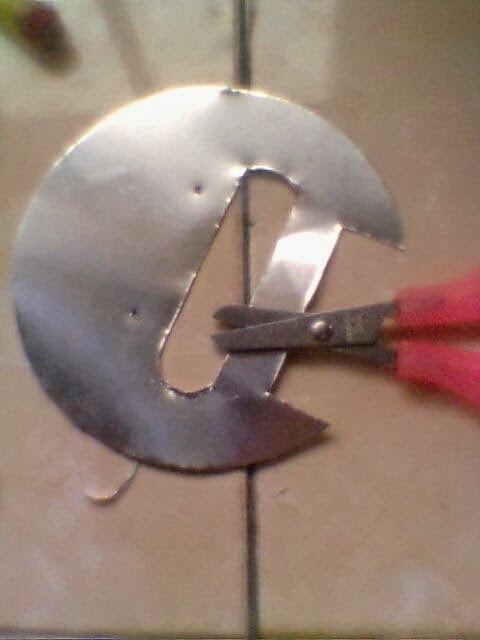
Next make the hole coupler 7 only, equating the installation with this image.

Continue to the installation of pick up. After the pickup hole in the pickup holder is fitted. Well enter the pick up to the hole. Press until the pickup arises as high as 0.5 cm then glue it with glue and dry it. When you have united the holder and lock with 4 pieces of screws.
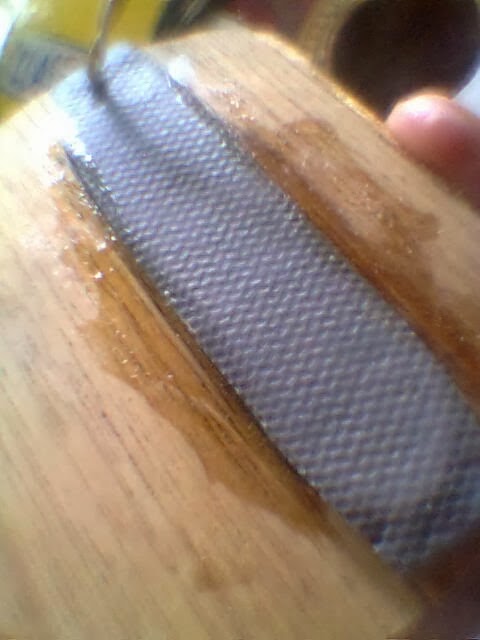
Arranging pick ups make a hole the size of a potentialo and jack holder.

Prepare solder and tenol. Cut black and red component cables along the length of 20 cm. Solder the cable with a pot and holder. Connect ground cable (-) with potentialo body. For how to solder it you can search on Google. Pair the jack holder and the pot on each hole that has been made earlier and then tighten with pliers.

Pair the pick-up cable from potentialo cable, look for ground cable (-) from pick up then connect with ground cable from potentio. Connect and solation let me not break. Remember! If the buzzing sound is generated later, then reverse the connection. Suppose a red cable with a red cable, black with black. If it is reversed, then the red wire with black and black wire with red.
We attach the holder to the resonance hole. Remember! I use 7 screws. Then the remaining 3 screws. Rotate the screws until tight.

Note: You should first remove the strings on your guitar. In order to be able to freely speculate the pattern of the circle in accordance with the resonance hole. If you are bored, you can remove the series of pick up earlier. Then close the former pot hole and jack holder.
Thank you for reading this article, hopefully useful for us all and good luck at home. Always follow the power @muklis, to get other useful articles.
wooow this is amazing, this is a very brilliant idea.
Downvoting a post can decrease pending rewards and make it less visible. Common reasons:
Submit