My favorite hobby!
A few days ago I shared a post on how to clean a 2 stroke engine carb. Today I will be sharing how I clean a 4 stroke engine carb! There's not a lot of difference between the two, but the 4 stroke is easier to work with and not as delicate as the 2 stroke in my opinion. Pop quiz: how did I know I needed to clean the carb on this mower to make it run? Well, i'm glad you asked! Lets say you are pulling away trying to get something to start, but it wont. The easiest diagnosis i've found is to spray the carb with a quick shot of starting fluid, carb cleaner, or even pour a little gas in it. If it fires up then dies, that tells you it is not getting fuel. Then i'll pull the gas line and make sure gas is coming out of it, if it is that means the carb is not putting the fuel into the engine. Of course if it still doesn't start I would see if it is getting spark, etc. Super easy way to tell if you are getting fuel or not. Onto the cleaning!
I'm not going through the removal process because a lot of mowers are different, and it may not apply to your mower.
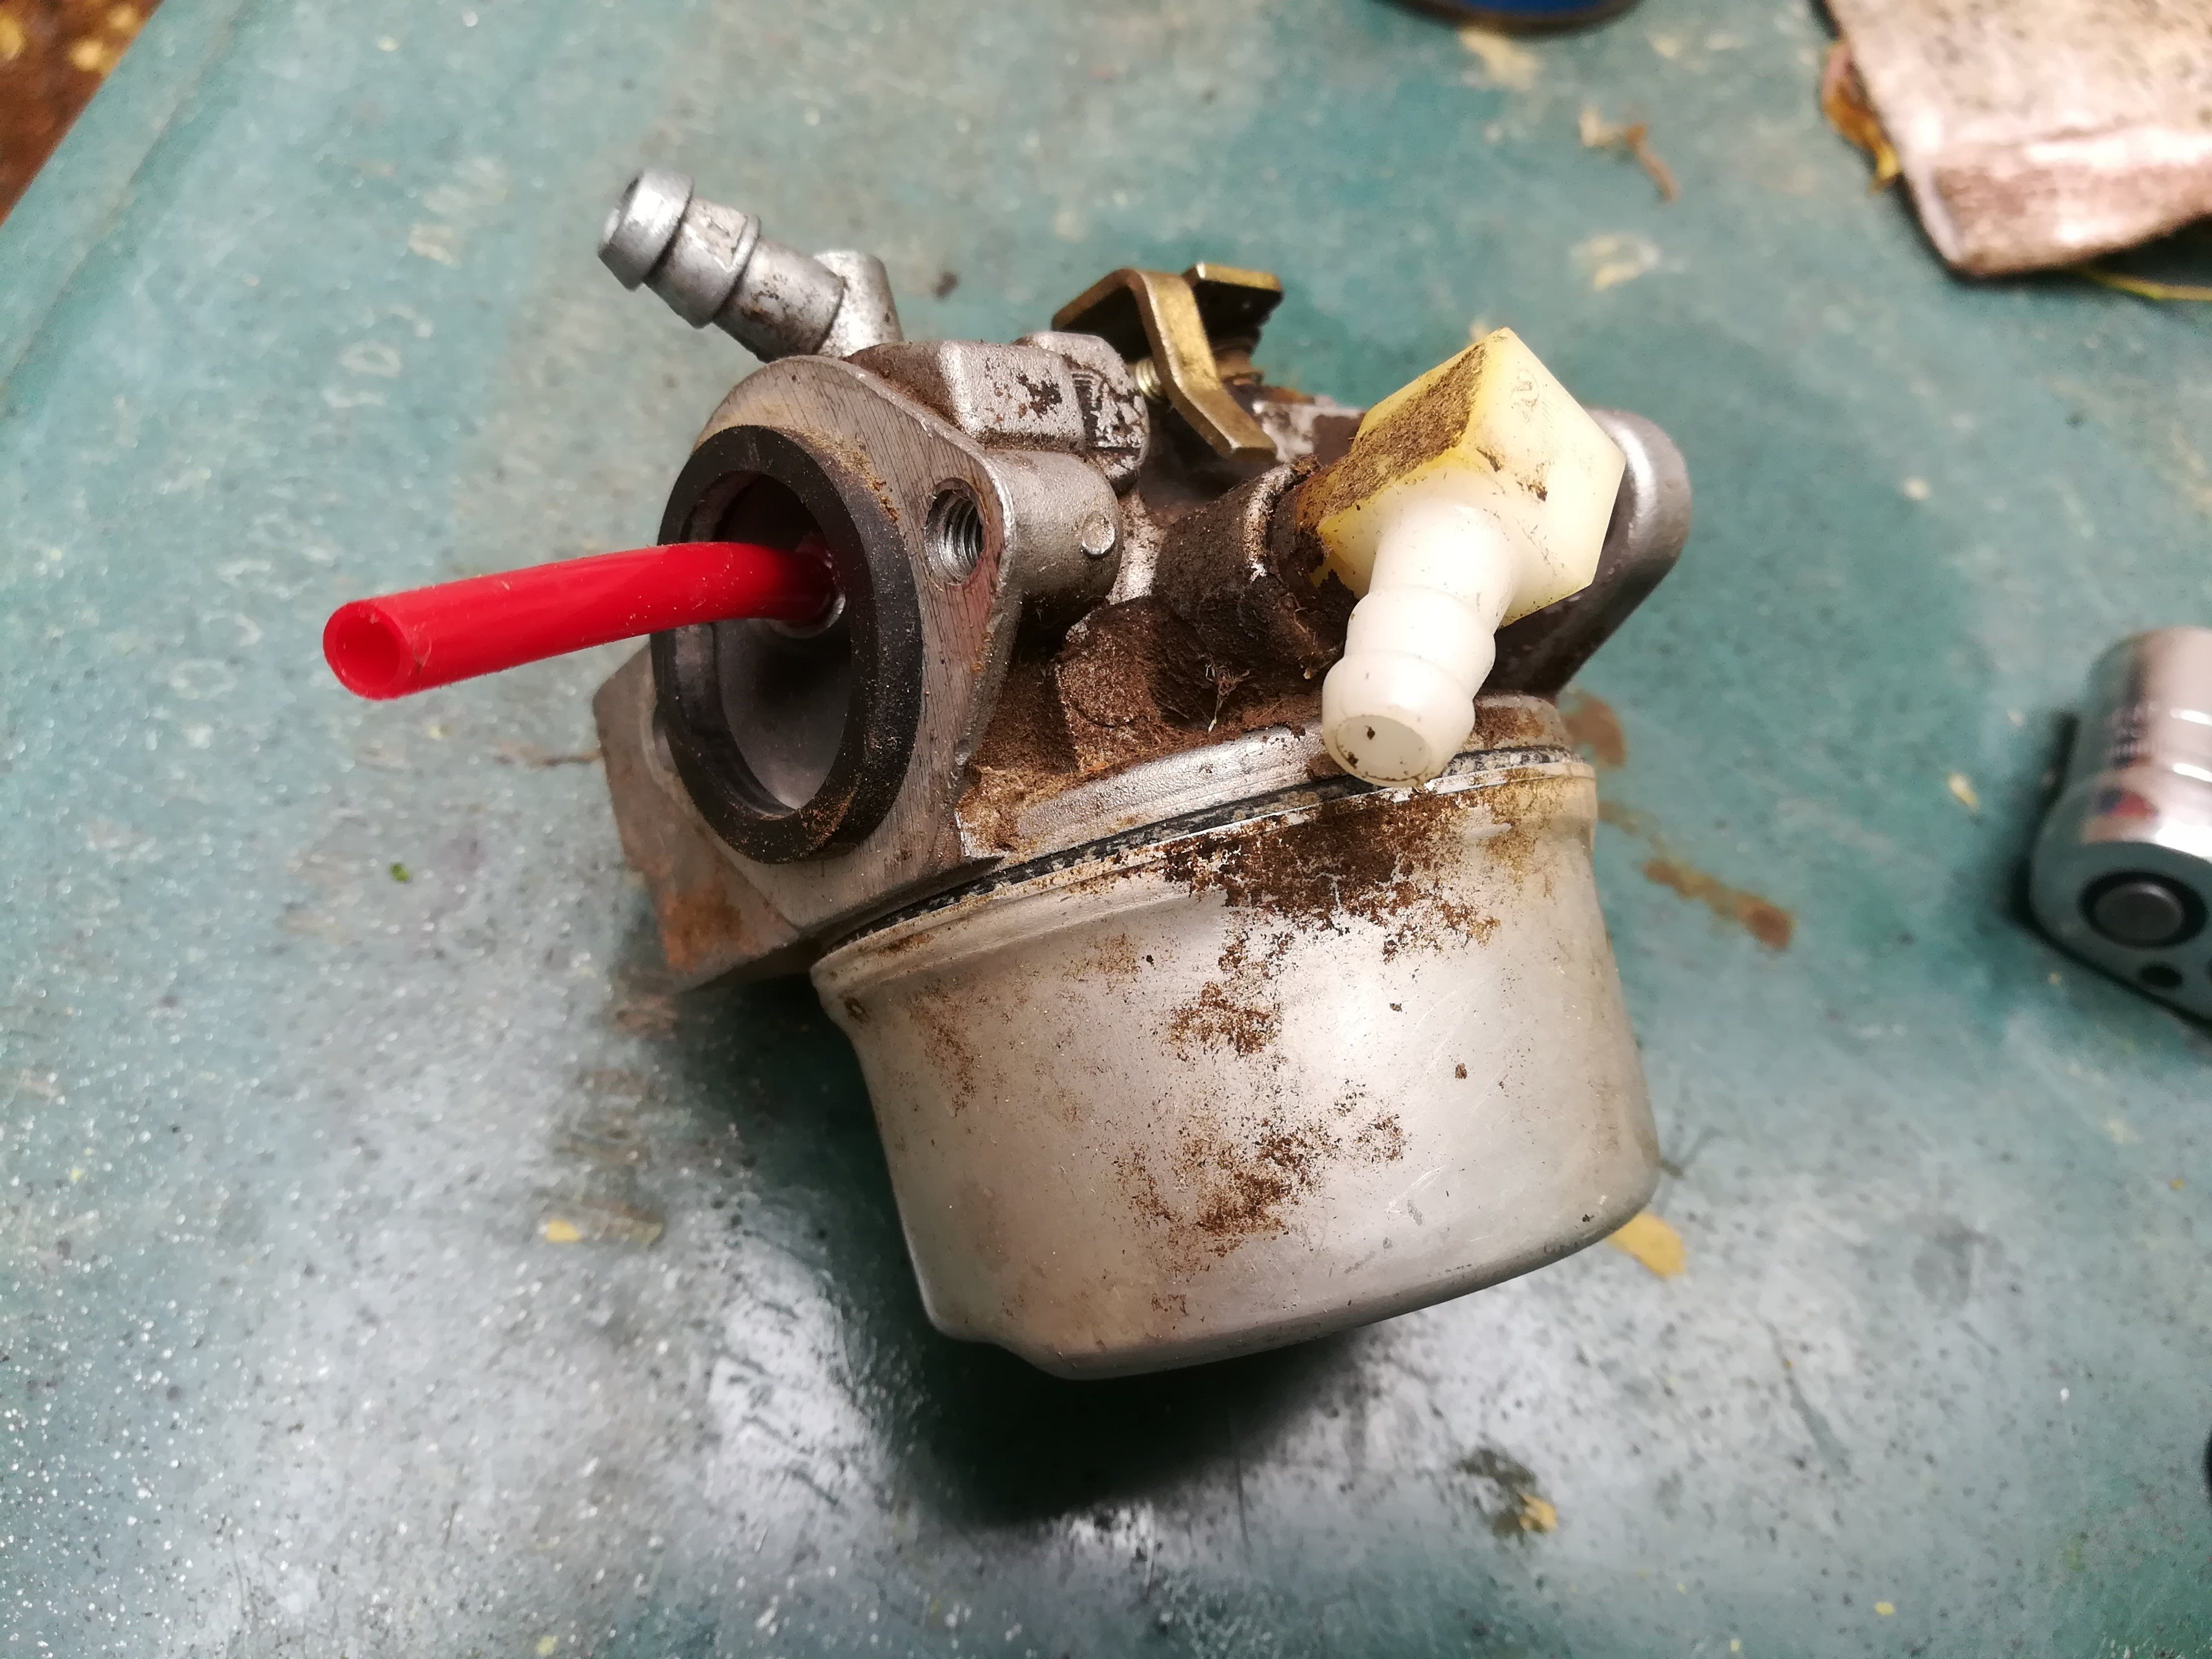
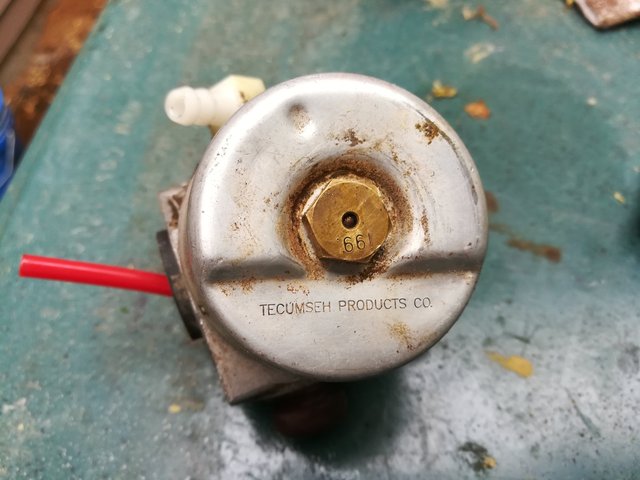
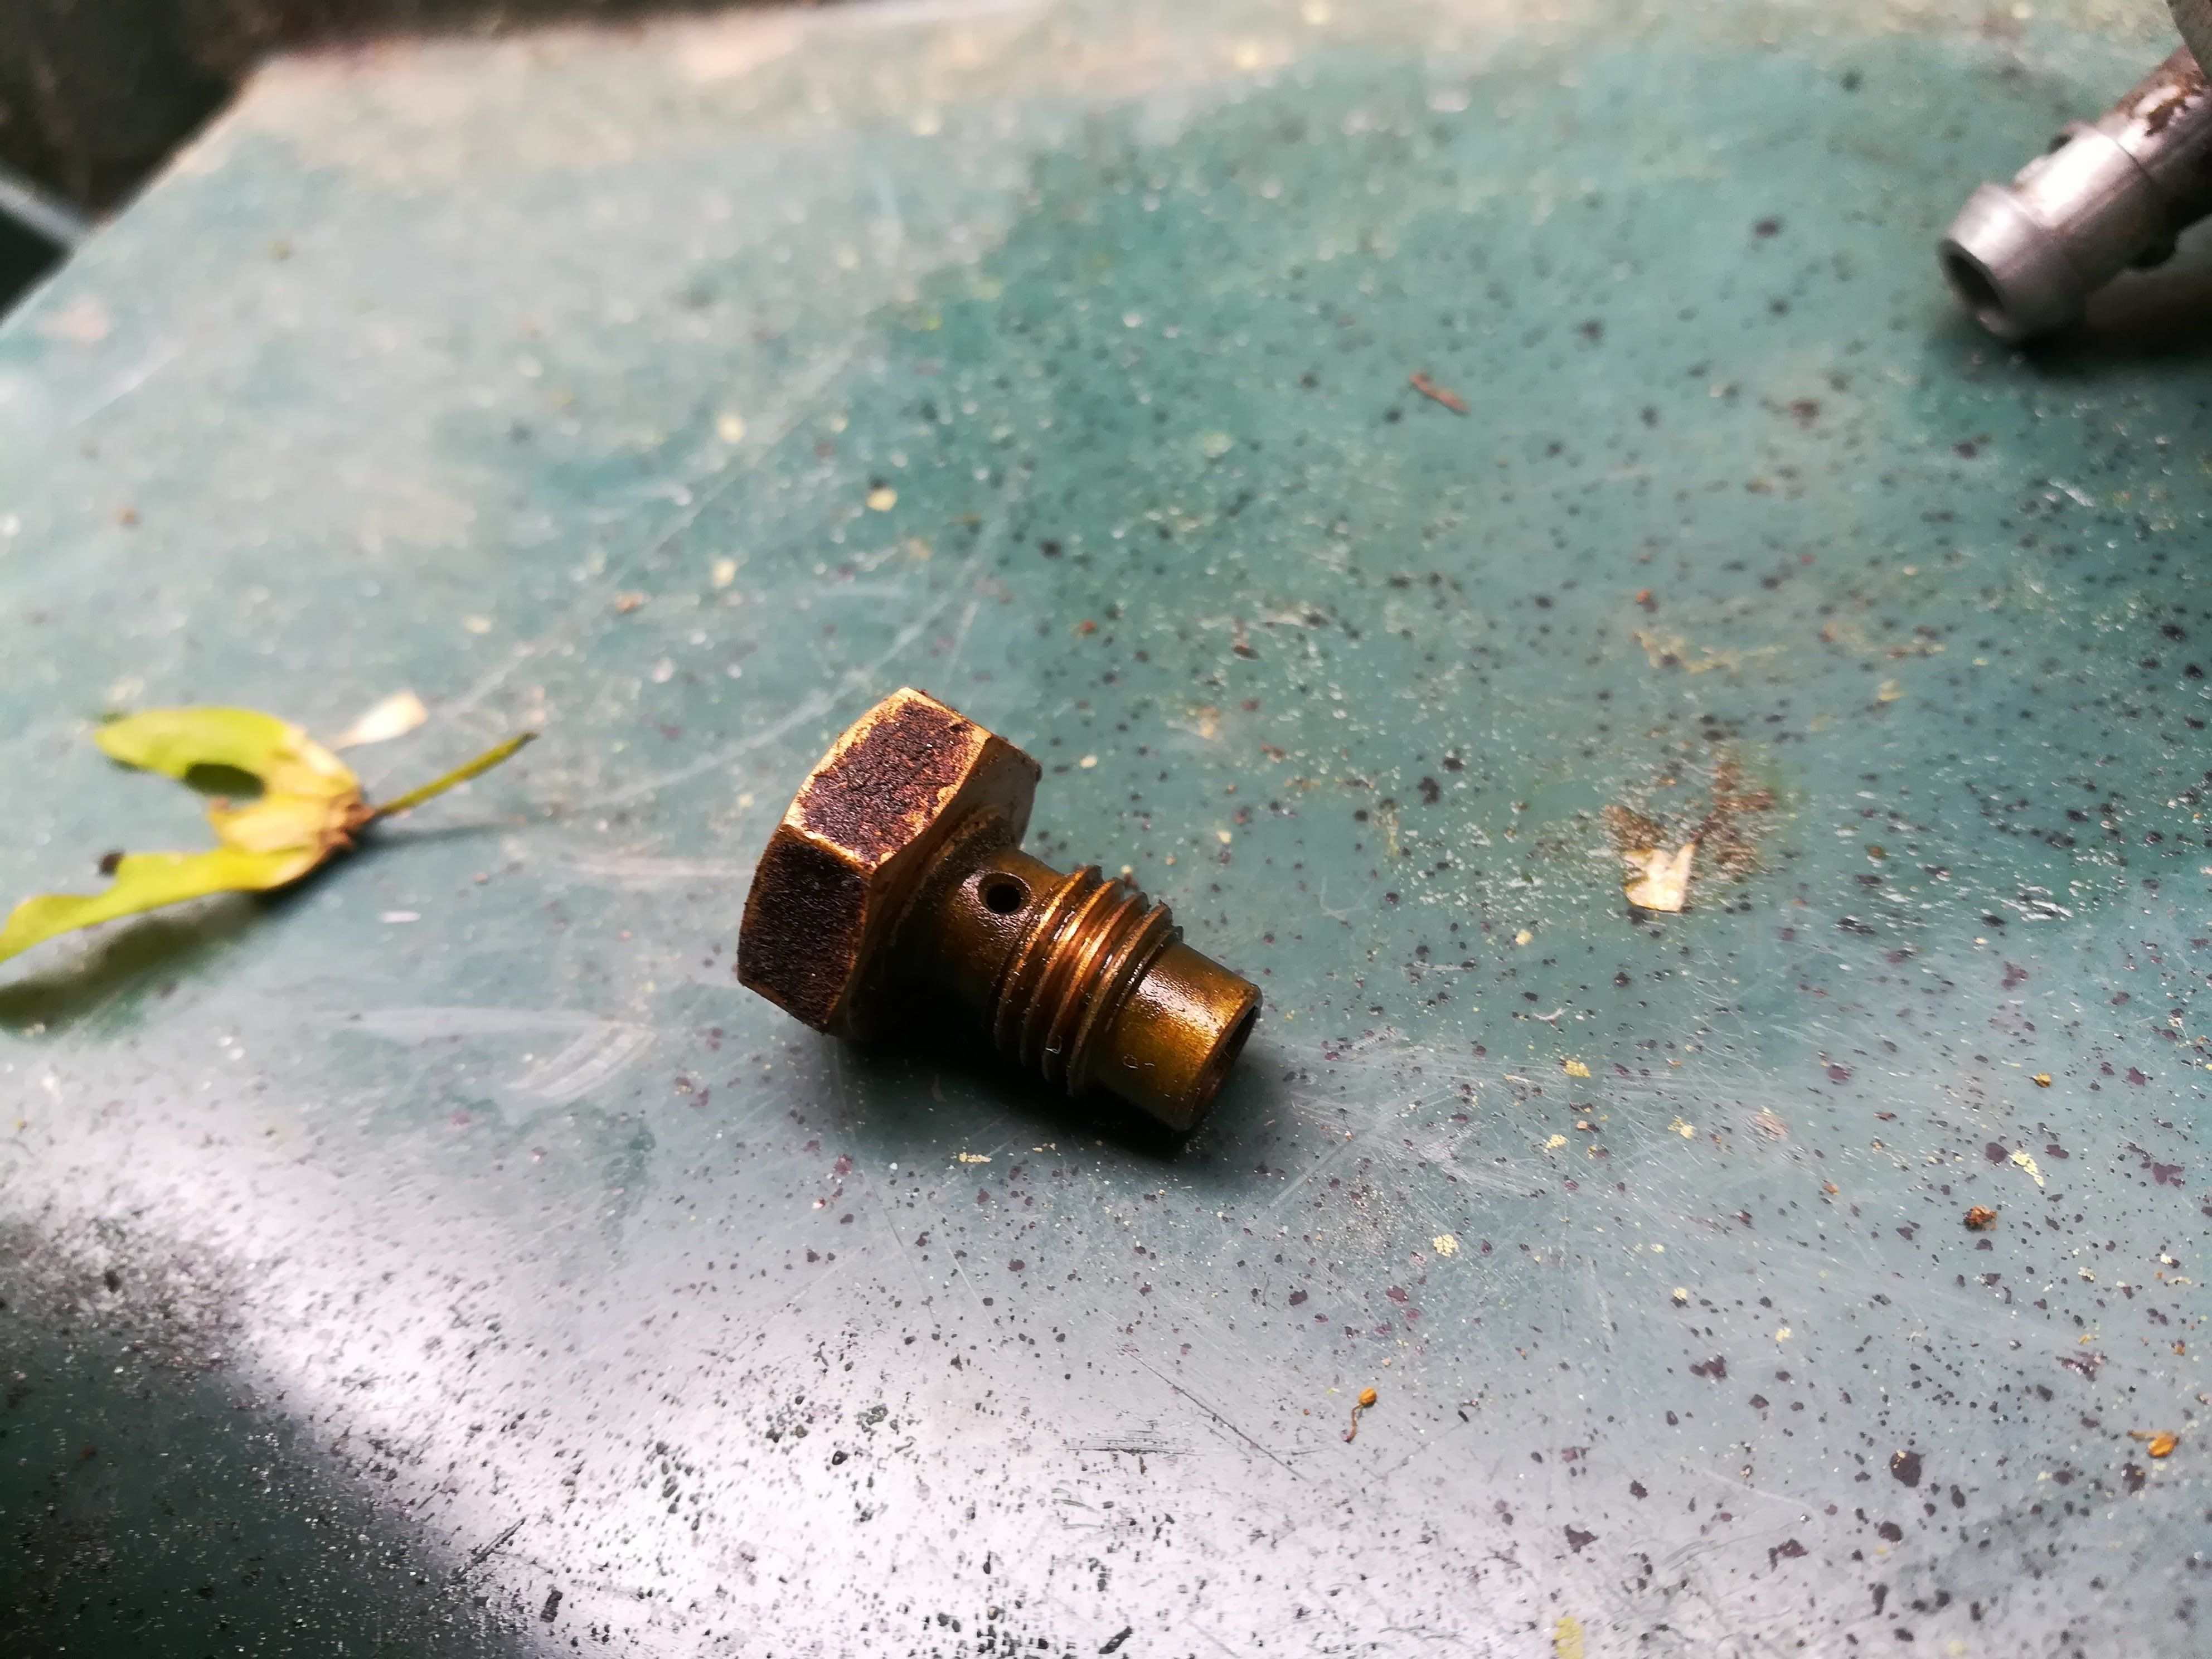
I first started by unbolting the bolt on the bottom of the fuel bowl. As you unscrew it gas will pour out, so be careful.
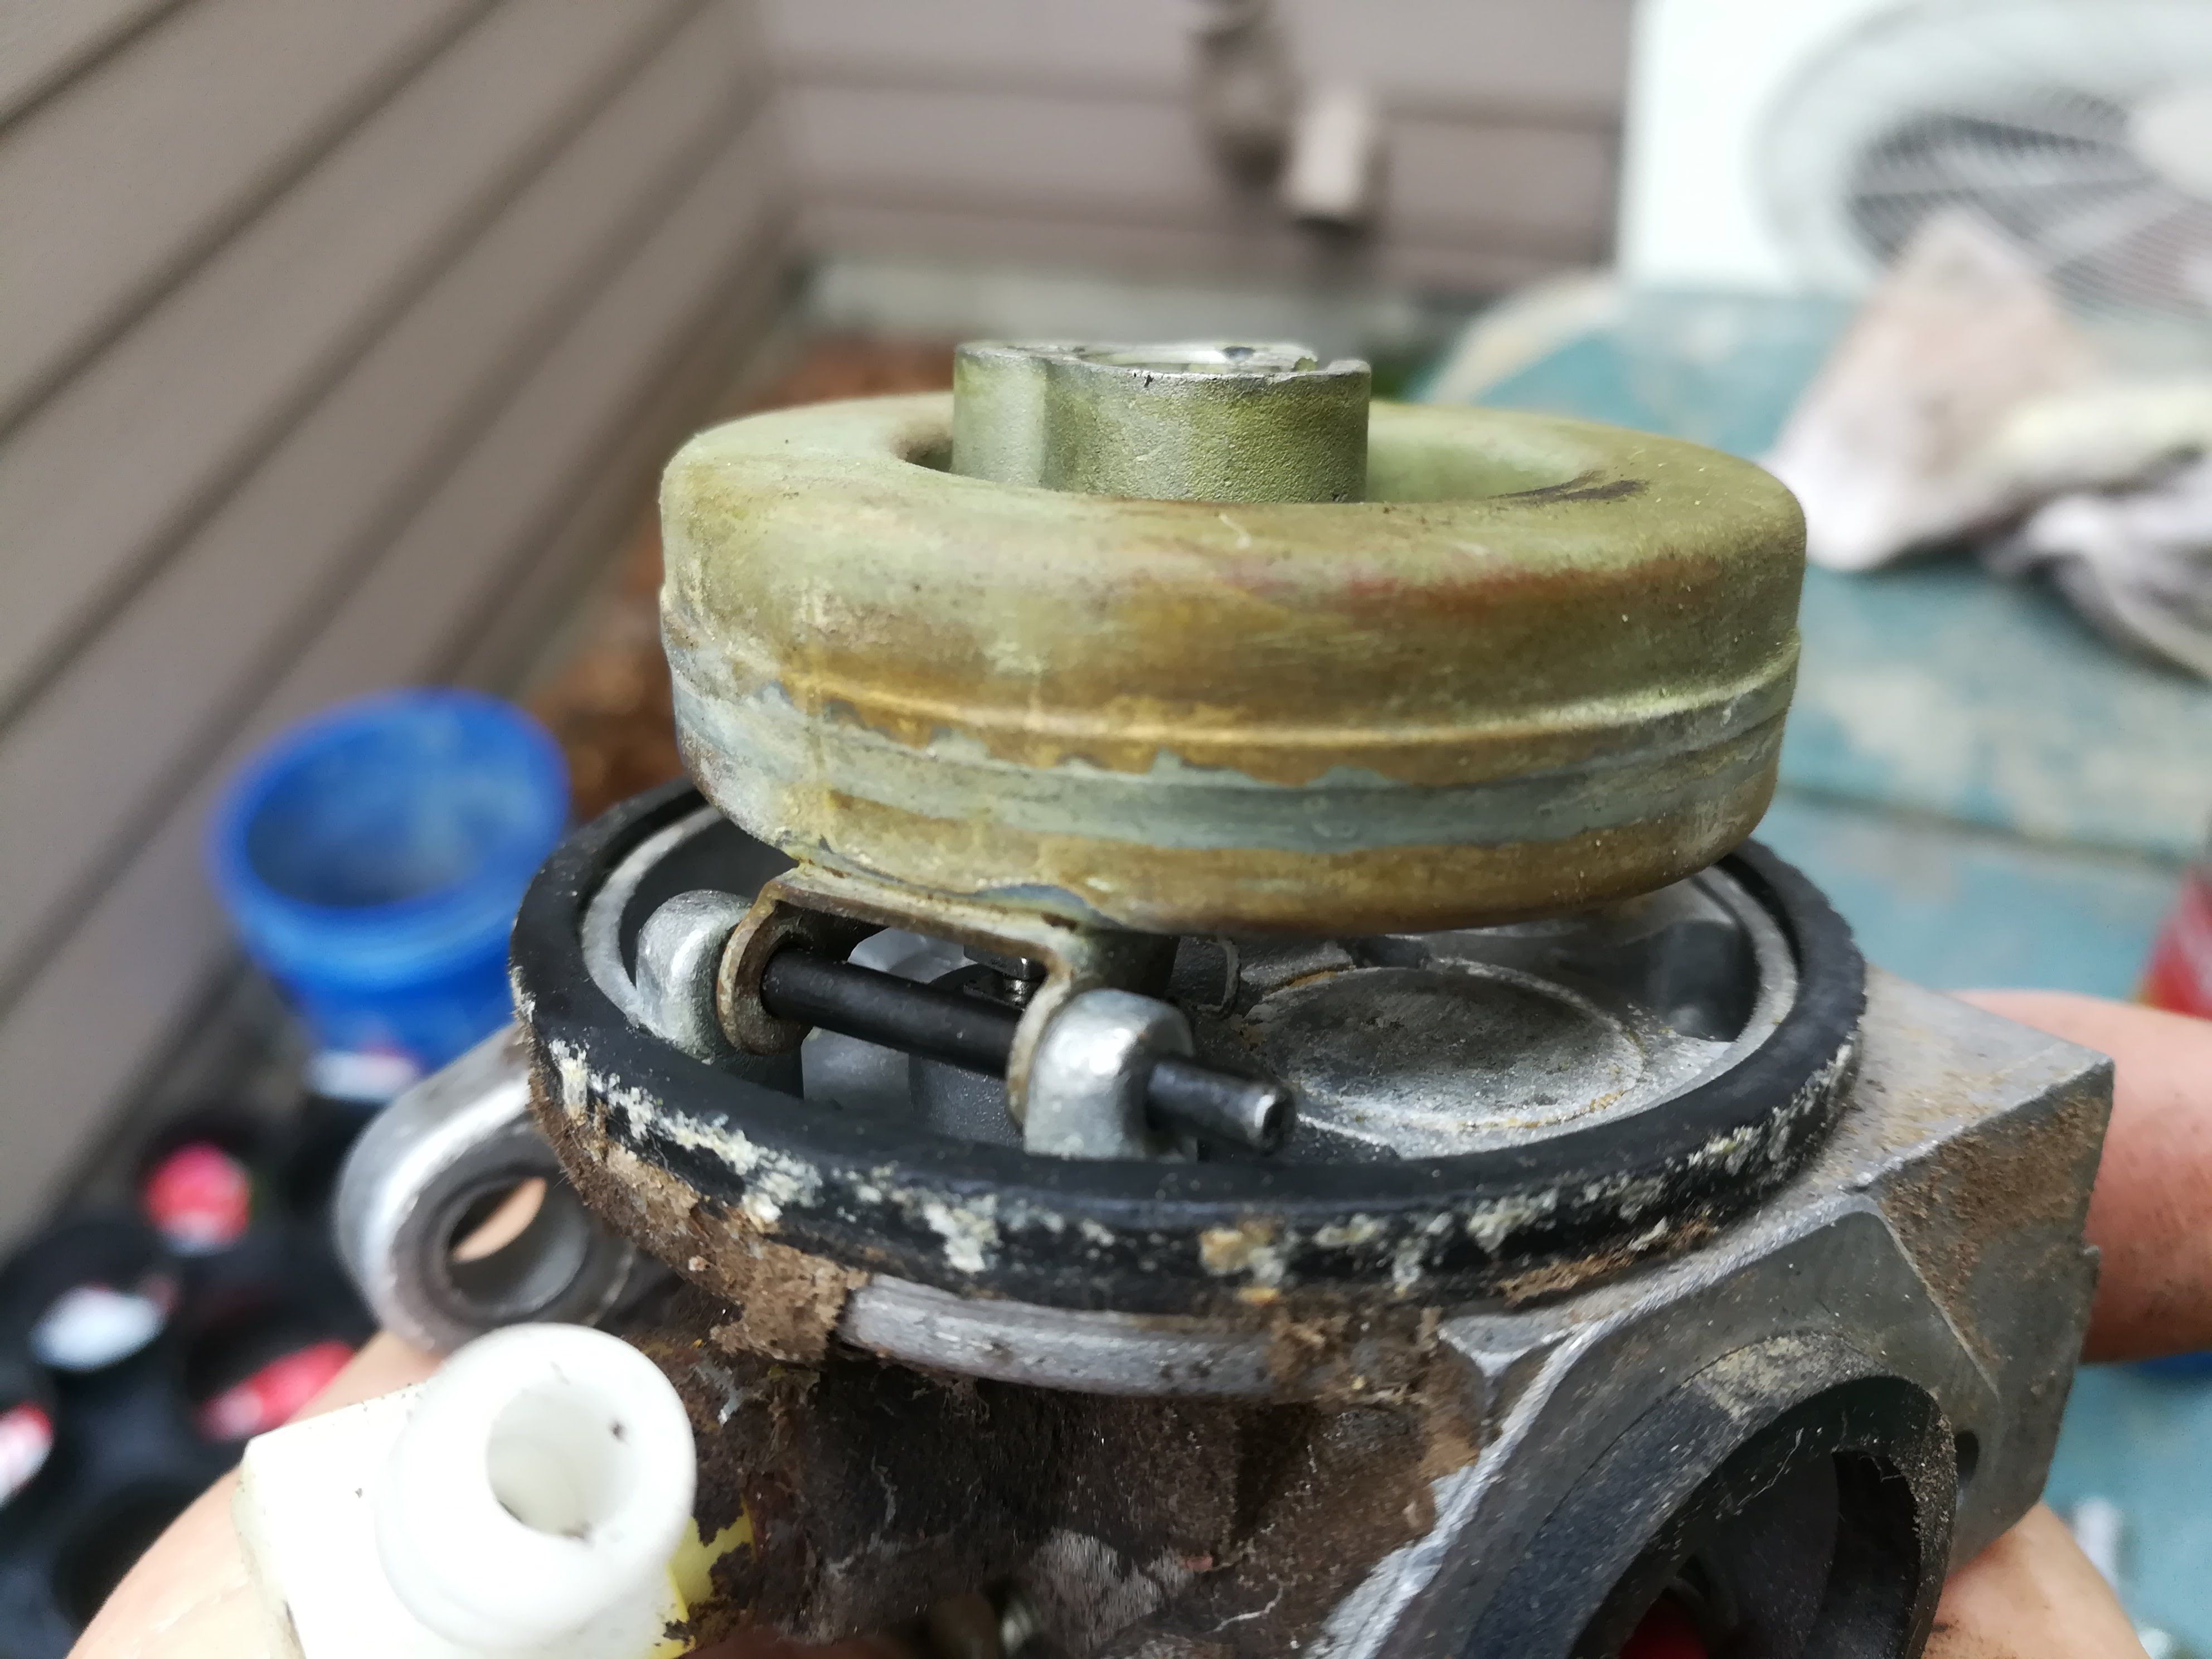
After that I remove the float and needle by pulling this little roll pin out, then lifting straight up. Keep in mind how the needle slides onto the float.
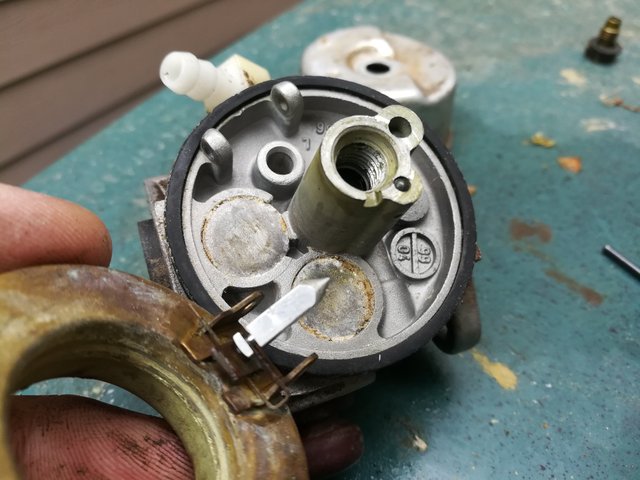
Now remove any of the jets you can find. It is usually a little brass piece that has a slot for a flat head screwdriver.
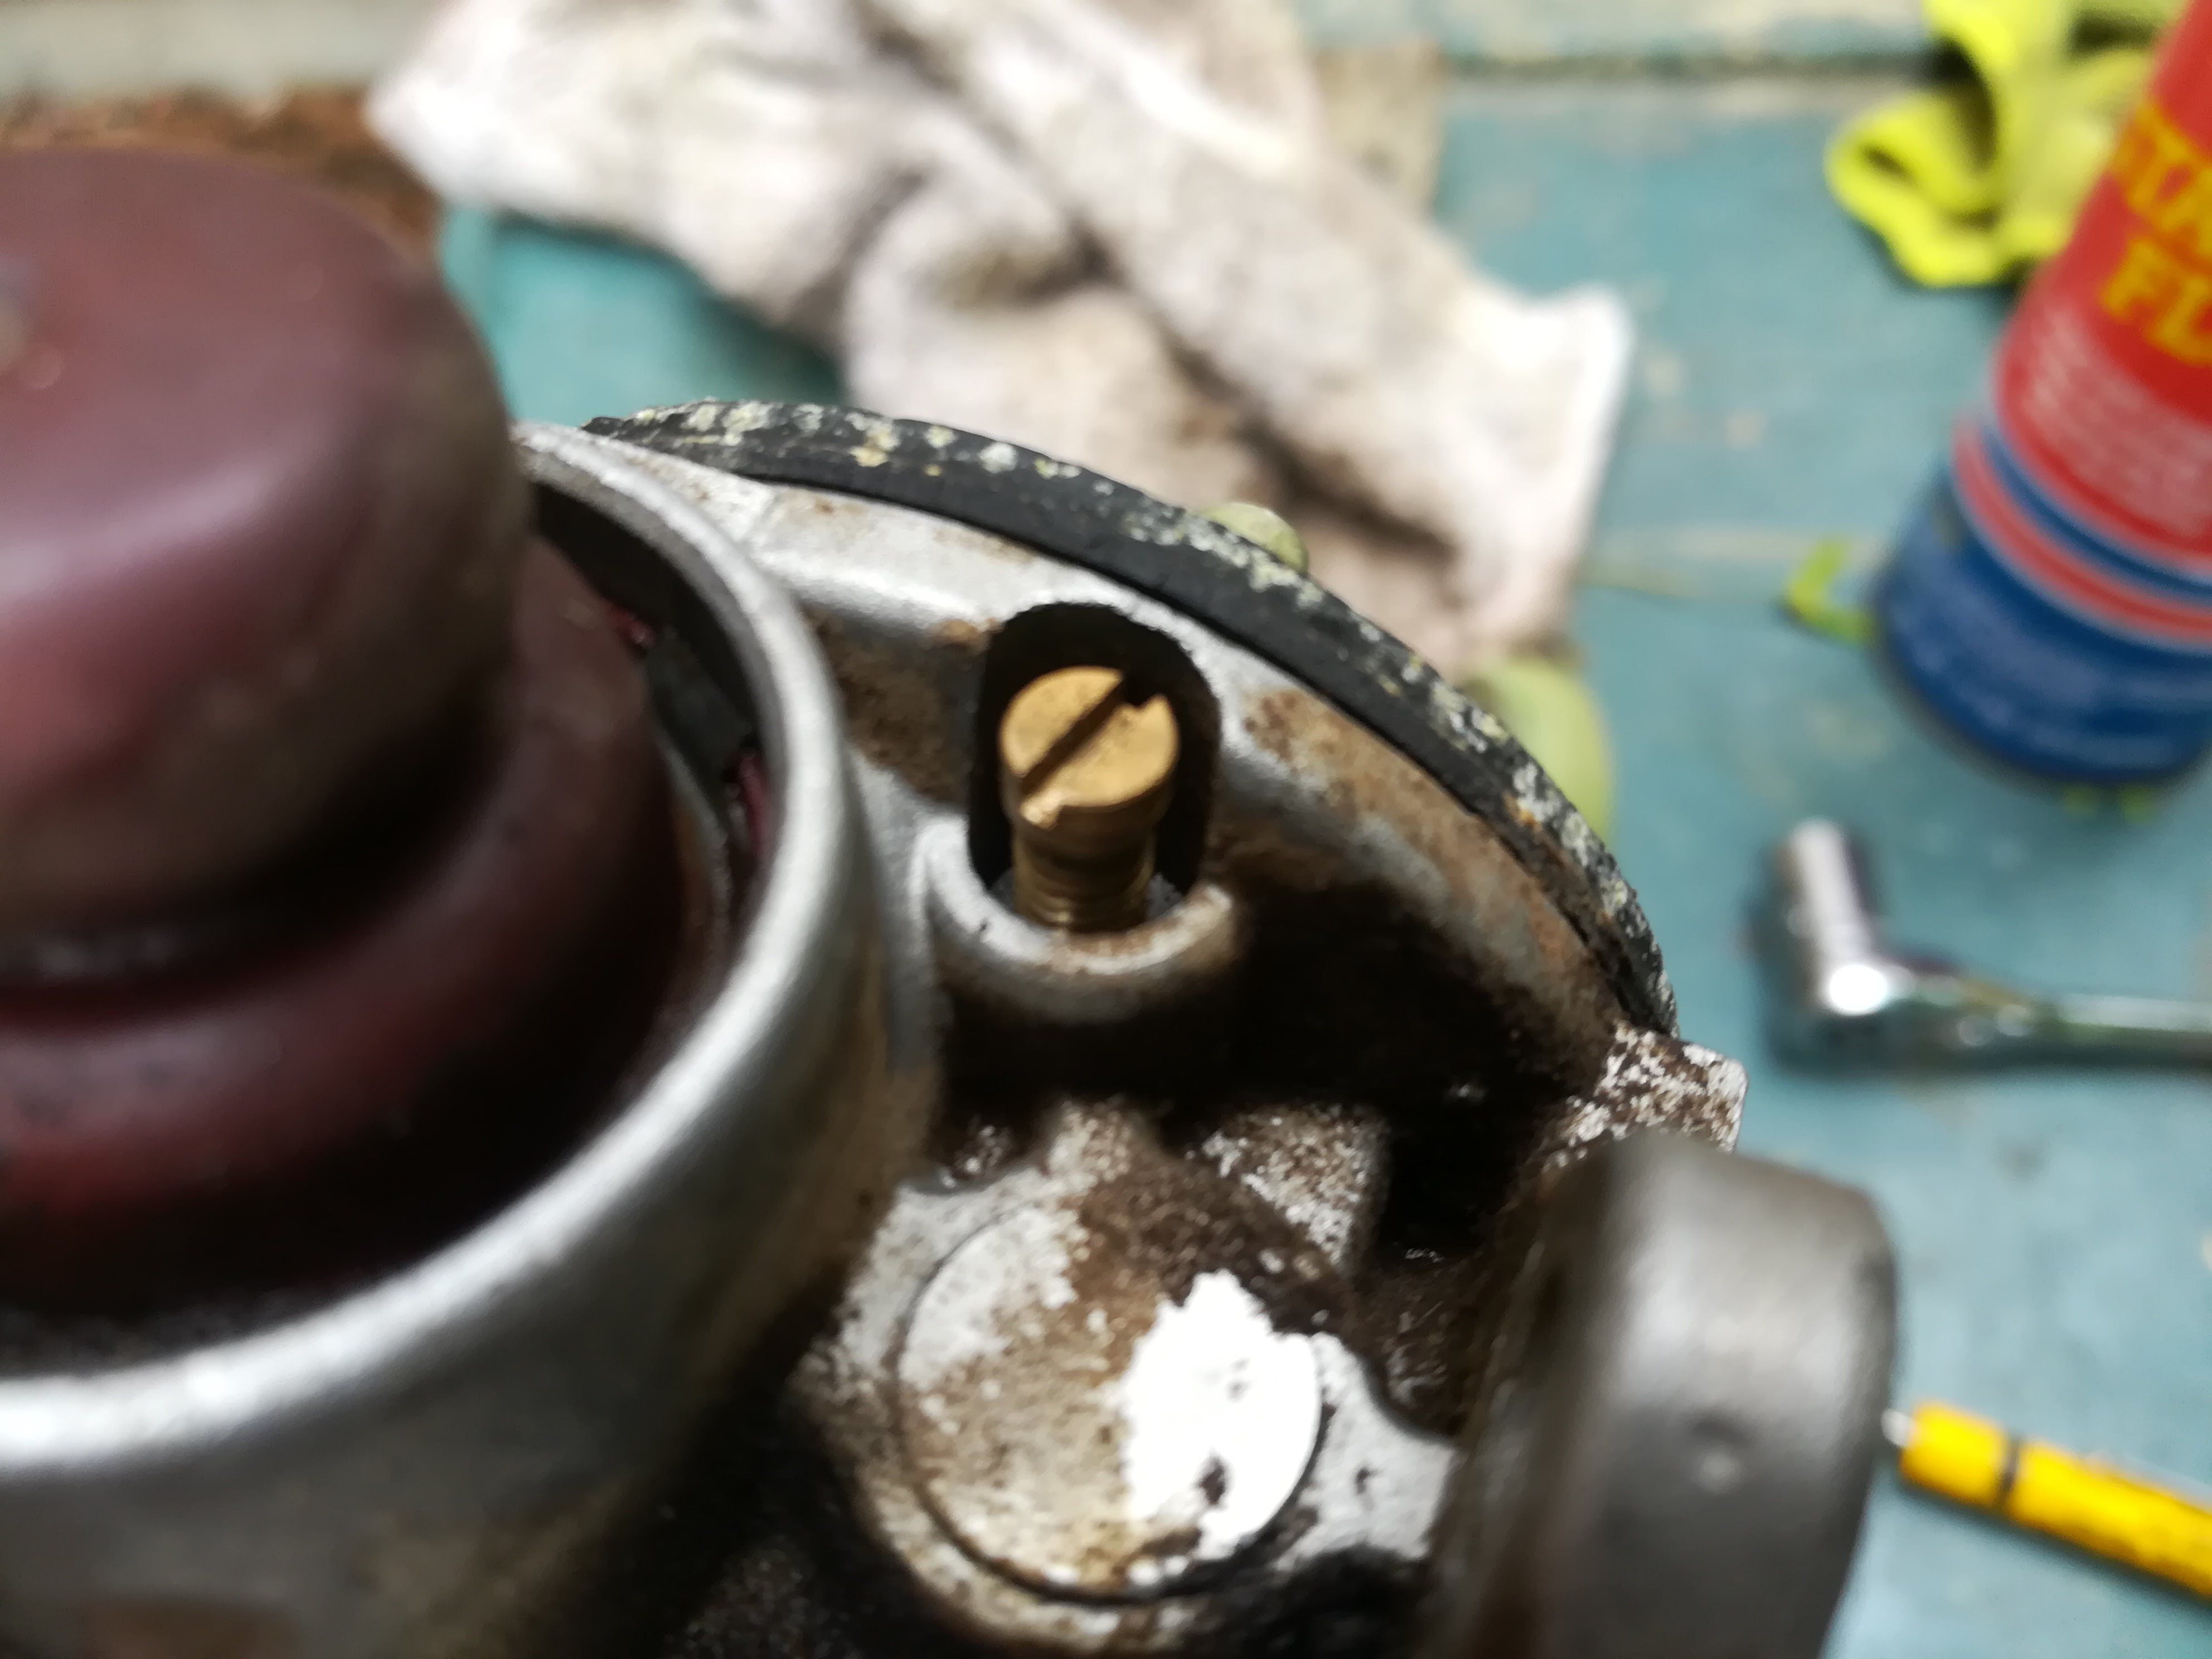
After I removed the jet, I took it and the bolt I took out of the fuel bowl and cleaned (carb cleaner) all of the small orifices and was sure they are all clear.
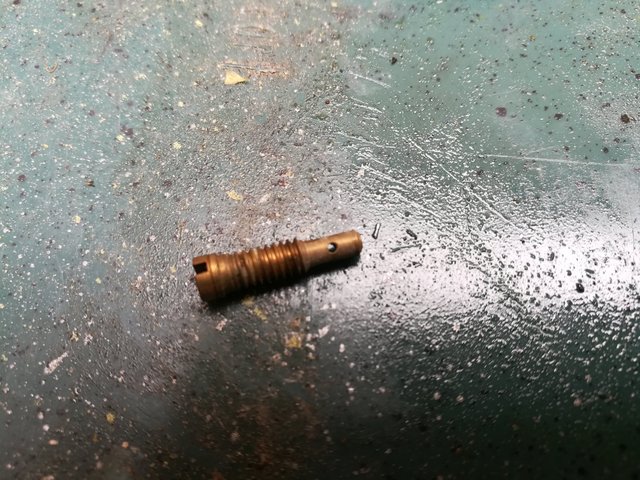
Next I removed the rubber o rings from the carb and sprayed carb cleaner into every hole I could find. Fuel travels through each of these orifices, so it needs to be clean and clear.
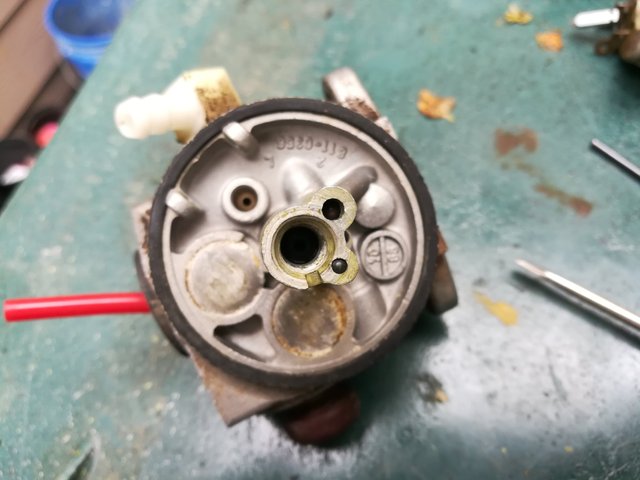
Last I cleaned out the fuel bowl. Check out the nasty green lines from the old gas sitting in it.
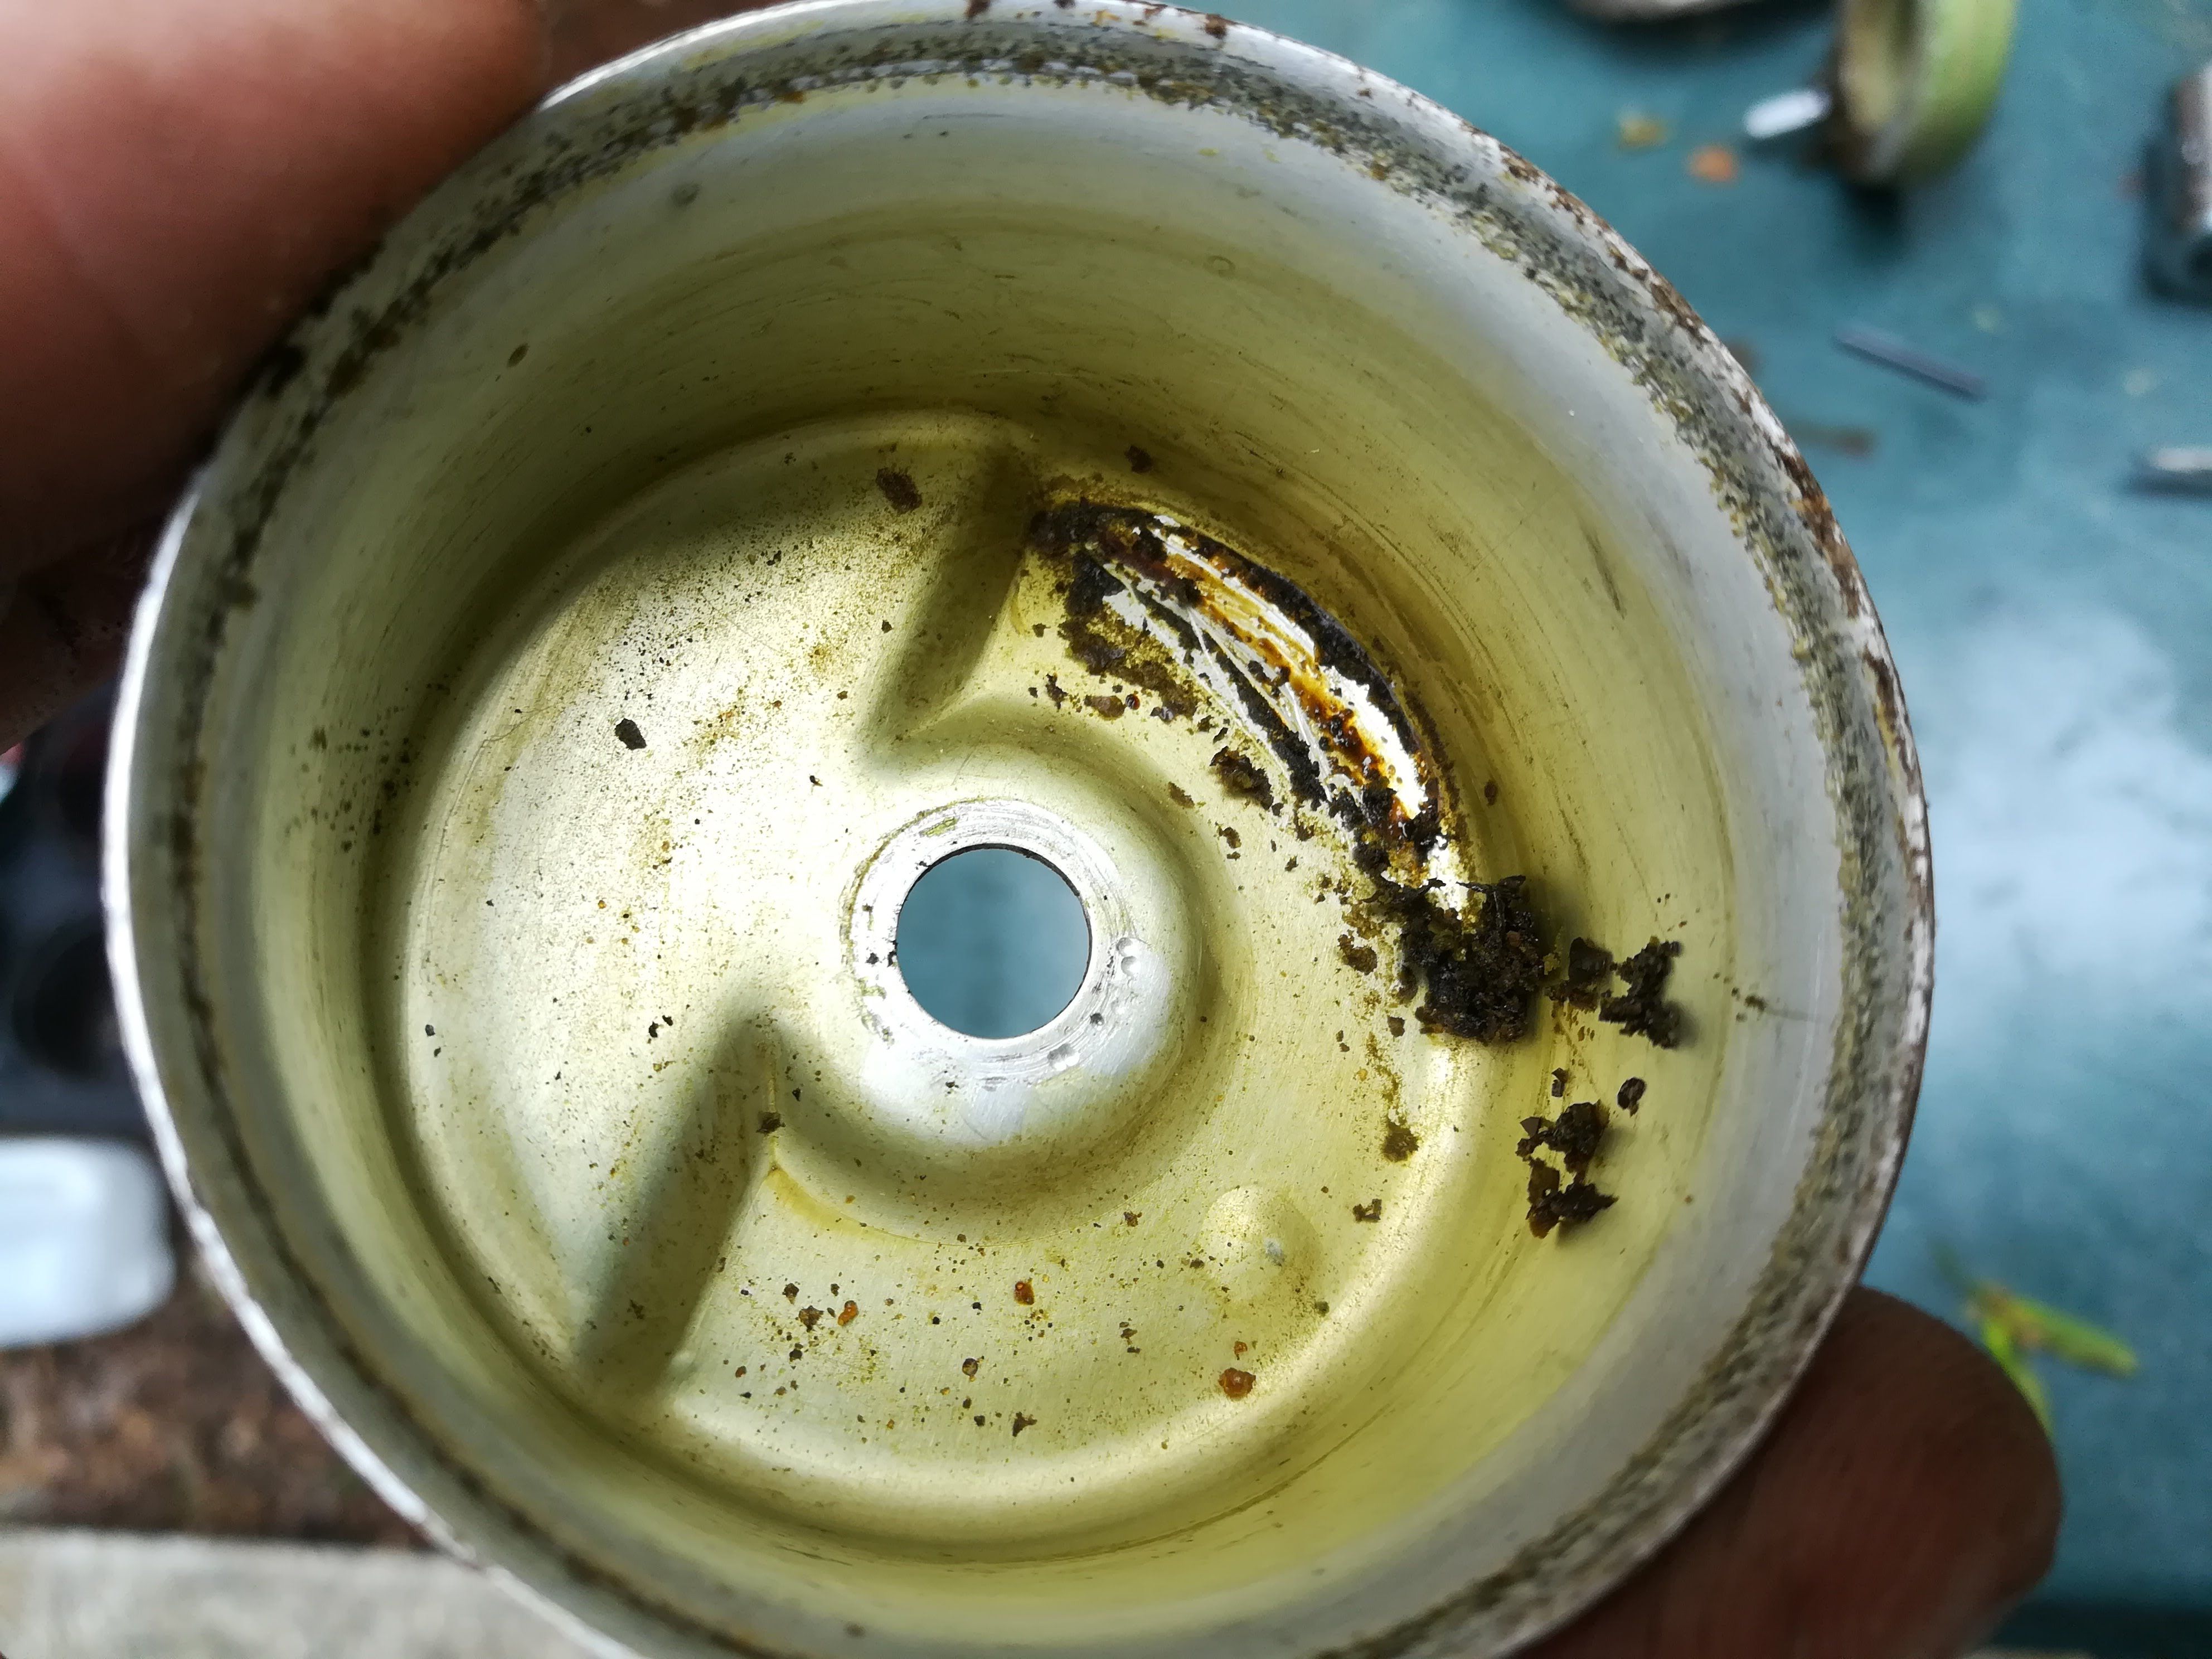
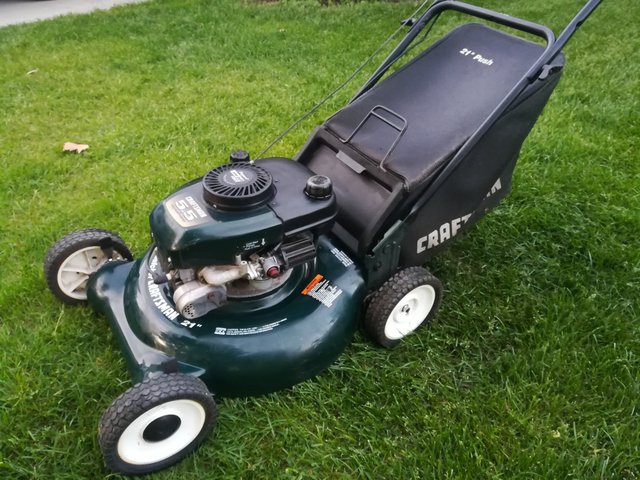
After that give it a few minutes to dry, or even better blow it out with compressed air. After cleaning I screwed the jet back in, slid the needle back onto the float, put the float back in and the roll pin, reinstalled the o rings, and bolt the fuel bowl back onto it then reinstalled it all on the engine, and put in fresh fuel. It now runs great, and is for sale!

Post is very useful, hopefully his knowledge can be utilized by others ,, thank you for sharing the way in this post
Downvoting a post can decrease pending rewards and make it less visible. Common reasons:
Submit