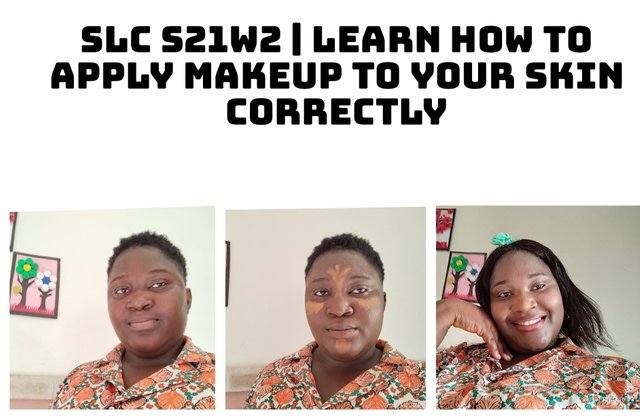
Makeup is one of those things that we women do regularly on a daily basis. Even though a quick one we would just apply only powder and lib gloss before leaving the house.
This class has taught a lot when it comes to apply face makeup correctly especially when it has to do with applying of powder.
It is good to know our skin tone so as to know which powder, concealer and foundation we can purchase for ourselves base on our skin tone then also know the correct way of applying it.
After reading and understanding the course, I decided to take part in the task so as to learn.
Did you know that there are so many shades of concealer for the skin? In addition to those mentioned, what other shades exist and what use is given to each of them. 01 point.
Yes I know there are different shades of concealer and they have different uses, knowing their uses will help us apply it well on our face to have that beautiful look.
It is always recommended that concealer should be one shade lighter than the skin tone so as to have a brightening effects after make up, most especially under the eyes. But when used for covering imperfections on the skin, it is highly recommended to use a concealer that matches with the skin tone so as to blend it well.
On this note it is good to know the different types of concealer and their uses.
Nude Colour; This is also known as the natural colour and it is used by people that doesn't like shouty or loud makeup as this concealer will make them look natural.
Pink concealer; This is mostly used for people that has tiny green vein in their faces. It will help blend their skin with the vein thus, neutralising their imperfection.
Green-toned concealers; This concealer neutralises sunburn on the skins (people with reddish skin), broken veins it can be use to also covers acne since this things are always noticeable on fair and albino people therefore, the concealer is mostly used by them.
Lavender Concealer; it correctly a yellowish skin and tone the skin.
Yellow concealer: This is the best concealer for correcting dark circles, spots that a obviously visible on the face.
Concealer are sold in a particular region based on the skin colour of people Available to purchase it. In my region, we have the neutral colour, yellow shade, lavender and peach and pink etc. concealers available.
💄 Did you have all the necessary products to carry out this practice or did you have to buy new ones or settle for others that had a similar function? 01 point.
No, I didn't have all the products.
I don't have enough brushes for this class, most especially the cat's tongue brush then the different shades of concealer I had just two type of concealer so hopefully next week I'll purchase other materials as it is needed to make a beautiful complete makeup.
💄 They say that the quality of the makeup makes a noticeable difference in the results obtained when comparing a makeup in which replicas or cheap products have been used and another in which original products have been used; what is your opinion? 01 point.
Definitely the quality of a makeup is noticeable based on the different products used for example if you are using a cheap powder for your makeup it will make the makeup to break while under the sun or even though you are being stressed out but using a very good product will make a makeup last on your face but then most times people do go for what is affordable.
Even though some marketers will want to fake some products by making a replica of it to deceive people that are inexperienced, we always try to be careful with our purchase either we go for the lower ones or quality ones than being trapped by a very renounce product name with cheap price.
Remember, our skin will suffer the effect of any hash products.
Moreover, professional makeup artist used high quality products for their work because no client will want to spend so much just to get a something that you are not comfortable with.
💄For this answer you must show us your skin makeup step by step in the way you like and tell us about your experience in this first practical class; also, add a sign with your username and date on at least one selfie with your final result. 07 points
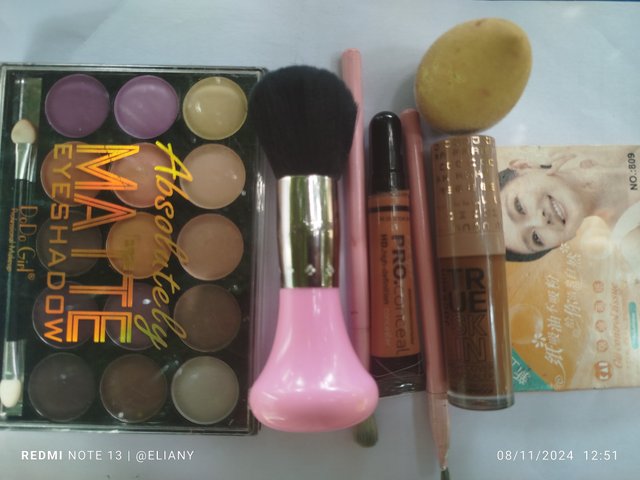
Makeup tools needed for this practice
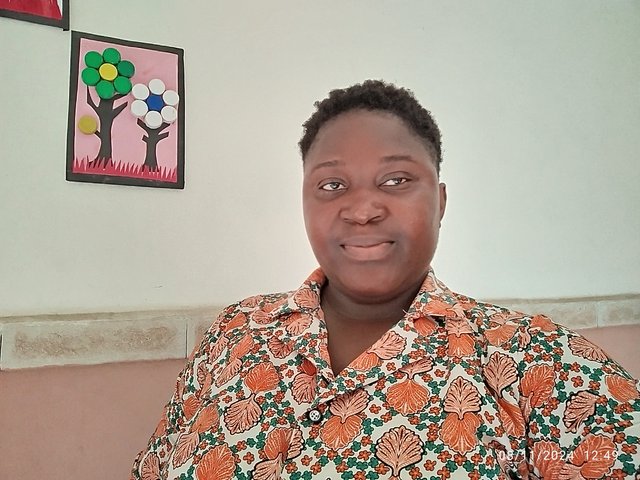
As learned in the course outline, this step is usually the first step which helps us to identify any imperfections on our skin. So if we are able to identify them then we will know the kind of concealer that will go for it to blend with our skin.
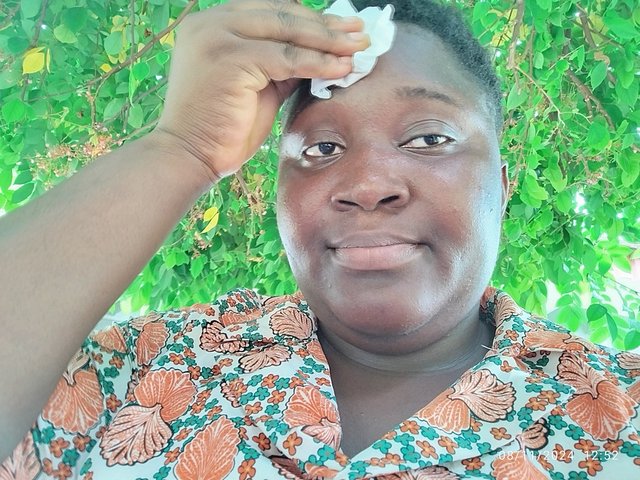
So if you take a closer look on my face in this picture you will notice that there is no pimples on my face, no dark spot etc. Meaning there is no pronounced imperfections on my face. But my under eye is a little dark and it will need concealer to blend it.
 |  |
|---|
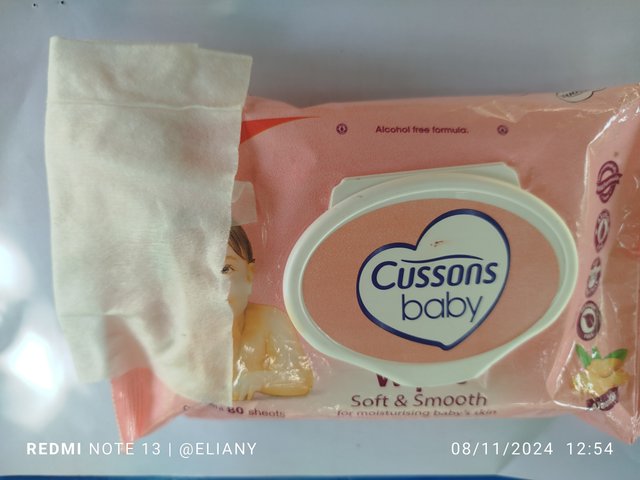
Then I proceeded to clean my face before starting my makeup, I used cusson baby wipes to clean my face.
Applying concealer
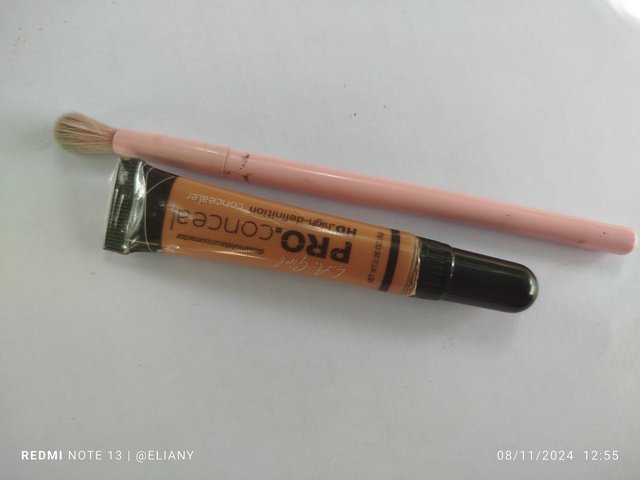
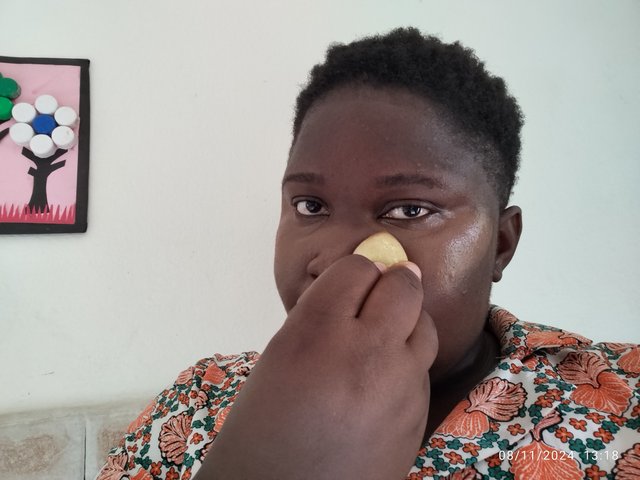
After I realise that there is no pronounced imperfections on my face, so there is no need of applying concealer for correction. So I went ahead and correct the area under my eyes. I used a cream concealer and I choose a shade that is a little lighter than my skin tone, as seen below then I blended it very well on the area.
 1 1 | 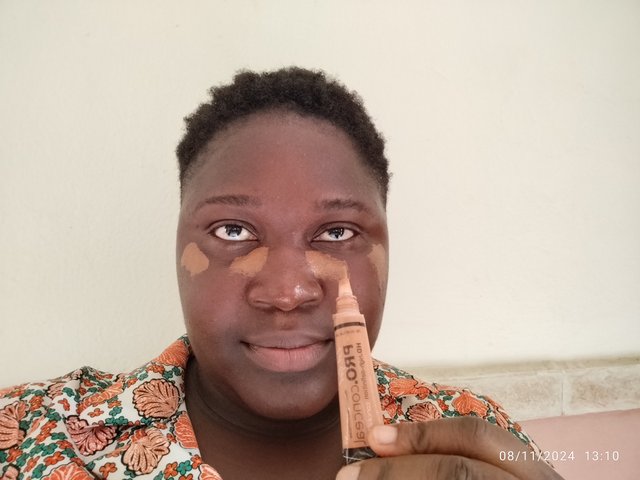 2 2 |
|---|
 3 3 | 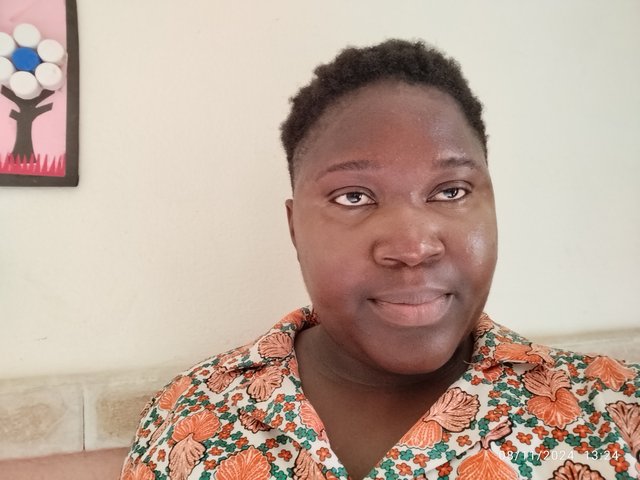 4 4 |
|---|
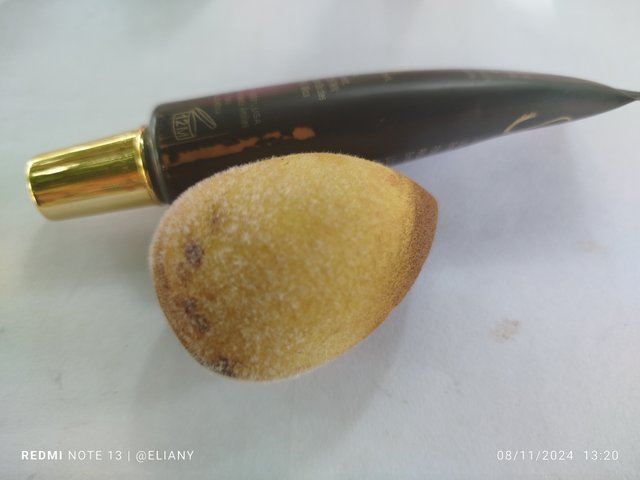
- Tools for concealing
- I applied the concealer in a triangle shape with a brush attached to my concealer.
- Blending it with a beauty blender sponge
- After blending
The next thing to apply after concealing the under eye is applying foundation on the face.
While choosing the colour, it should be the shade that matches with our skine tone so as not to be so pronounced.
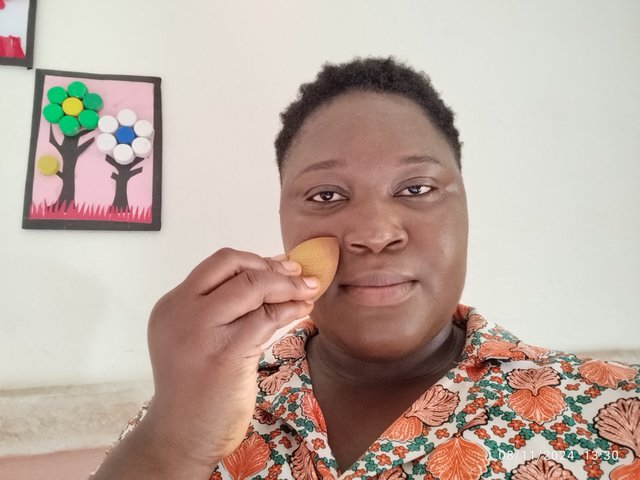
Then the foundation should be applied in a pattern that won't be too much on our face. First apply a dot from the center of the face then on the chick and chin.
 |  |
|---|
Careful use a beauty blender sponge and blend it evenly as seen in the picture above. I blended it carefully in a dotted pattern from my hairlines down to my neck till it almost align with my skin tone making sure that no lumps of the foundation is left without blending.
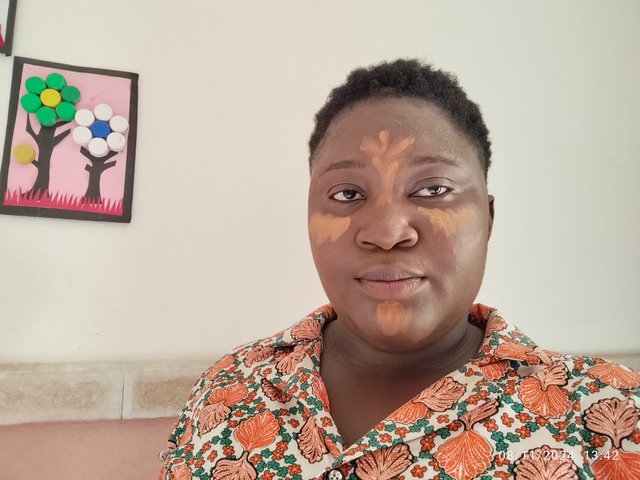
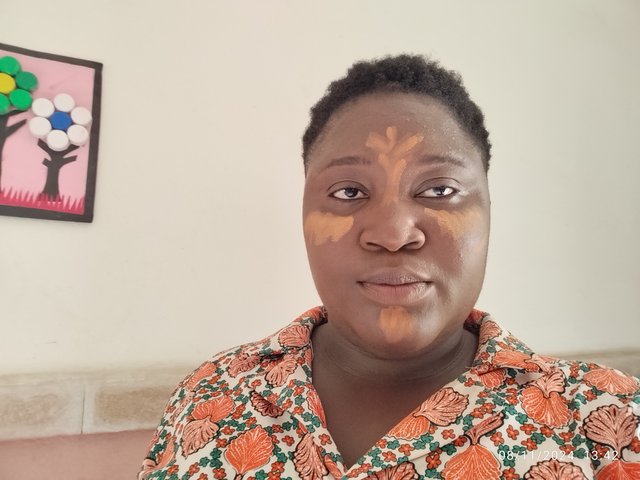
As learned from last week lecture that to contour the face perfectly, one need to identify the shape of the face. Therefore I have an oval shape so I will need to to highlight the T-zone which is the forehead, nose, chin and under the eyes. Then contour under my cheekbones.
 |  |
|---|
The concealer shade to I used to highlight my face was lighter than my skin tone, so as to highlight this point on my face and make it look more beautiful. Then the contour shade was a little darker because I wanted to hide that part I didn't want it to be noticeable or pronounced so that my cheekbones will be highlighted.
Finally, I blended it smoothly using beauty blender sponge. It blended so fine and my face becomes more beautiful.
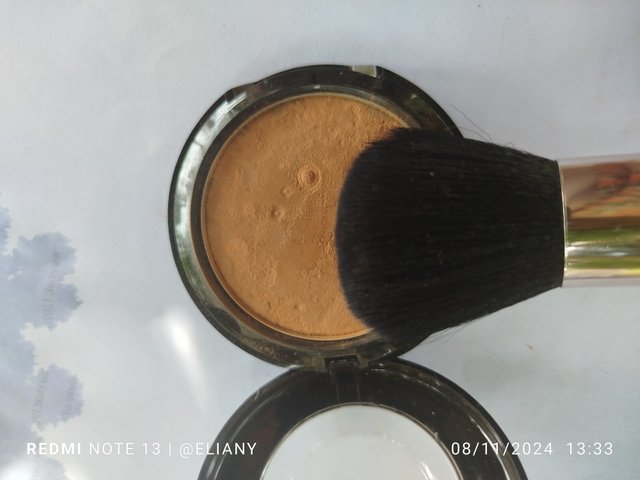
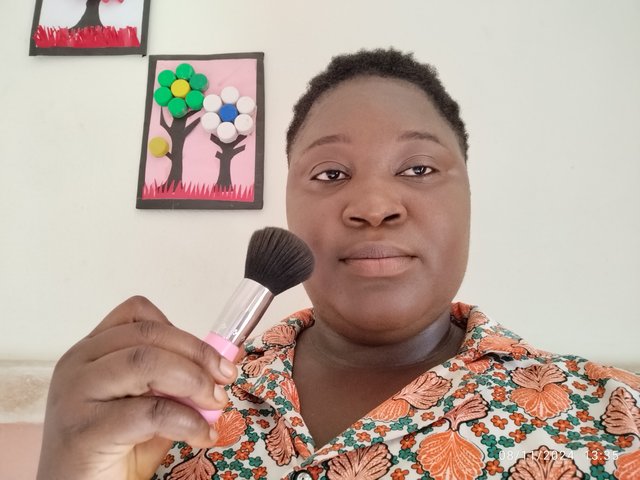
To seal the makeup, I applied power to my face. I choose a powder that matches with my skin tone to be sure that my makeup will not look shouty so I go for my skin colour shade. I used a powder brush to apply the powder and I use it to blush my cheek.
 |  |
|---|
 final look final look | 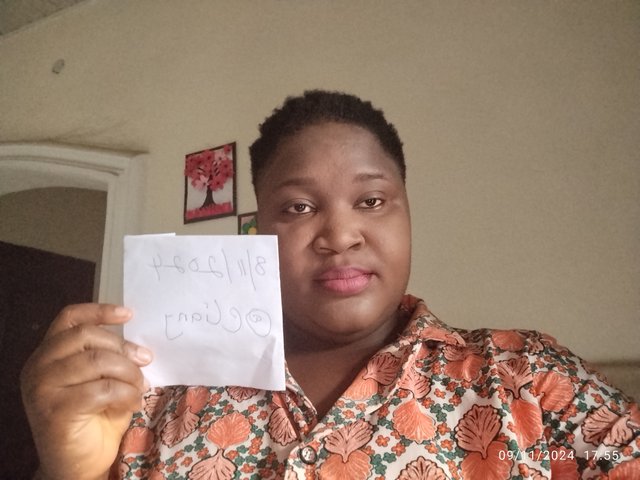 result result |
|---|
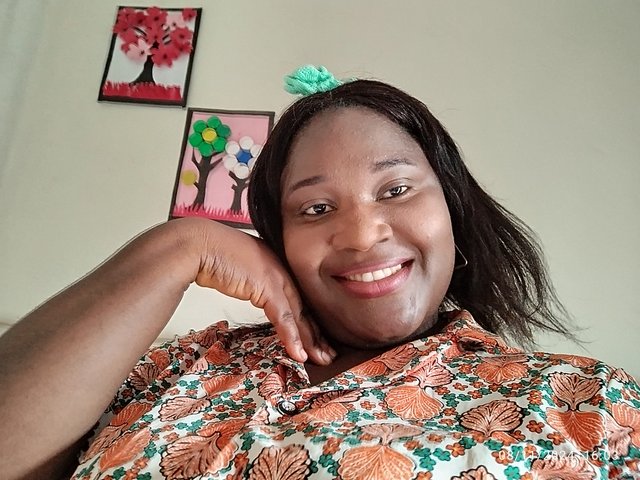
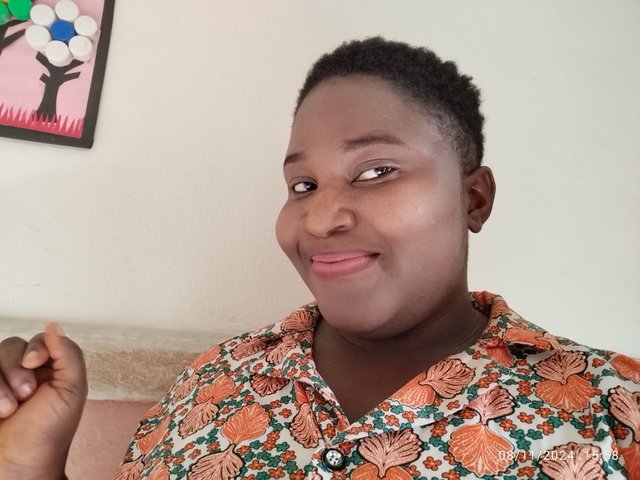
It was really awesome, my beautiful face was sparkling bright, I like the mild make up face.
This class is great, I had some make up tools for some times now but I never use it, I just realized I need to purchase all makeup tools.
I learn a lot and wish to continue learning, I'm only learning and I stand to be corrected.

First of all, I would like to start with how gorgeous your smile looks 😊
Good to see you in makeup class exploring through different makeup tools and applying each product using its techniques. Your lipstick combination is beautiful! Well done and many success to you in the challenge!
Downvoting a post can decrease pending rewards and make it less visible. Common reasons:
Submit
Awwwn I'm grateful for your nice compliment, thank you so much, I'm blushing
Downvoting a post can decrease pending rewards and make it less visible. Common reasons:
Submit
Most welcome! 🤗
Downvoting a post can decrease pending rewards and make it less visible. Common reasons:
Submit
The outcome of the whole process couple with your beautiful smile almost got me envious, 🥰 I wish I was a woman 🤣
I used to see beautiful ladies wear this makeup. Thank you for making me know how it all started.
Downvoting a post can decrease pending rewards and make it less visible. Common reasons:
Submit
Hahaha thank you
Downvoting a post can decrease pending rewards and make it less visible. Common reasons:
Submit
Wow, the difference is very clear, I think wearing makeup fits you more and it brought out a younger look on you. Maybe you will be wearing makeup regularly what do you think?
Downvoting a post can decrease pending rewards and make it less visible. Common reasons:
Submit
Hahaha, that's just what almost everyone who saw this pic said but let's see how it goes, I will try from now on but then I'm grateful for your comments thank you so much.
Downvoting a post can decrease pending rewards and make it less visible. Common reasons:
Submit
What a good one
Even the smiles provides a comfortable learning space and atmosphere
The transformation was catchy
With what I have learnt I could even open a small make up shop
Downvoting a post can decrease pending rewards and make it less visible. Common reasons:
Submit
You look great ma'am
The makeup looks really good on you.
I think you should wear it more often.
Downvoting a post can decrease pending rewards and make it less visible. Common reasons:
Submit
Ah really? Thank you so much I will try
Downvoting a post can decrease pending rewards and make it less visible. Common reasons:
Submit