Burning Arduino Bootloader for 3D printer
I received a JG Aurora A5 to review. Unfortunately, there were a few issues. Fortunately, however, they were issues I was fairly sure would be resolved by the community-provided Marlin Firmware.
Yes, another printer using open source but breaking the Marlin license.
So I went to update the firmware ... and got the dreaded AVRDude Timeout Error.
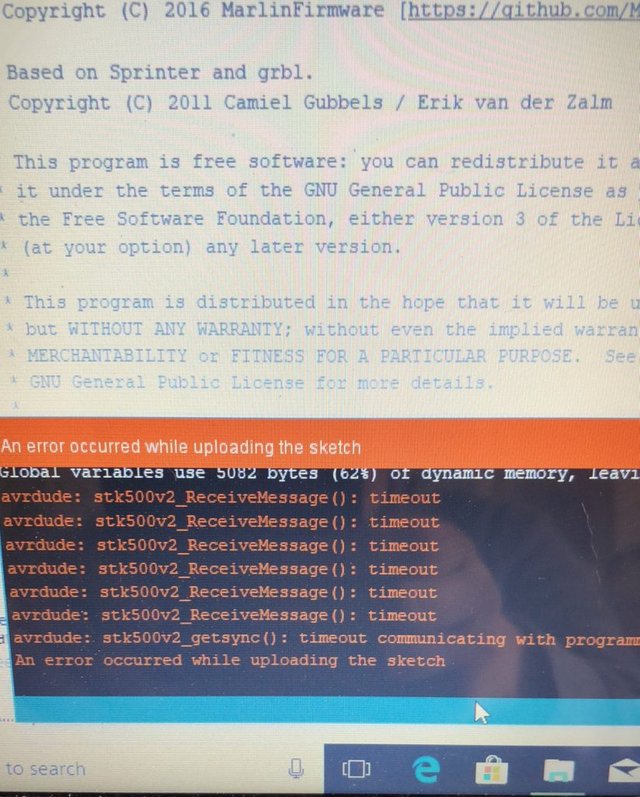
AVRDude Timeout Error - How you know you need a bootloader
avrdude: stk500v2_ReceiveMessage(): timeout avrdude: stk500v2_getsync(): timeout communicating with programmer9/10 if it is connected correctly, the correct board and port is selected, then this tells us that the Arduino-based MKS 3d printer board did not have the bootloader installed.
Heres how to fix that if you find yourself in the same situation!
Pre-Flight Check
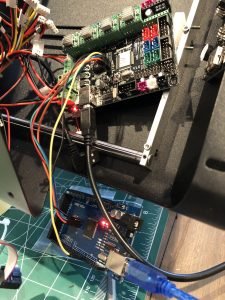
Before you do any of this just give everything a look-over to ensure the problem really is the firmware!
Check hardware connections and anything you overlooked first
You might need to disconnect any serial comms cables
Programming an Arduino Board with an Arduino as "ISP"
If you don't have a dedicated programmer device then you can do what most of us do, and that is to use a clean Arduino to program your 3D printer board. It's easy, you just need that spare Arduino and some breadboard jumper cables. Kits usually include both.
In this example, I use an Arduino Mega because that is what I use on 3D printers, but an Uno is fine, and much as I like to support the creators, clones are perfectly ok. No need to spend extra to buy an original Arduino for this.
You will also need the Arduino desktop software, if you don't have it already.Arduino ISP Software
On the spare Arduino, install the "Arduino As ISP" sketch (it should be included in the Examples files). Just load the example, set the port and board to that of your spare Arduino, and compile+upload. Follow the animated gif here:
Loading Arduino as ISP sketch
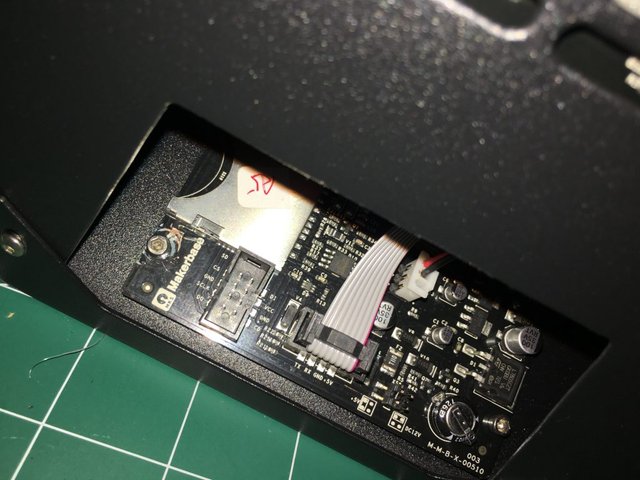
Next, find the ICSP port connections on both boards. Usually they will actually be labeled as such, but otherwise, they will look like this.
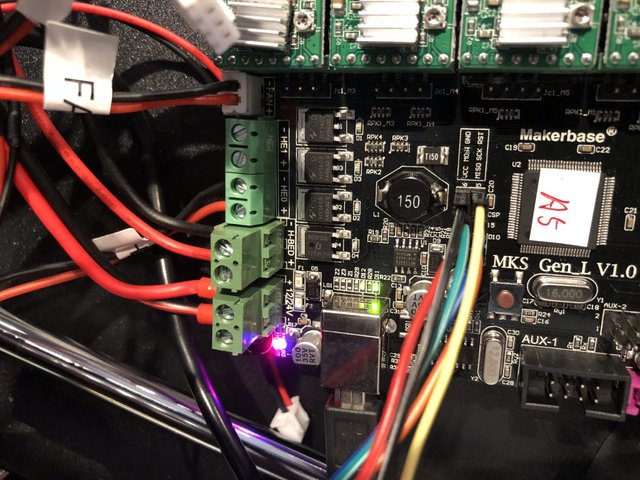
Find the ICSP port connections - this is the borked MKS Gen_L V1 in the JG Aurora
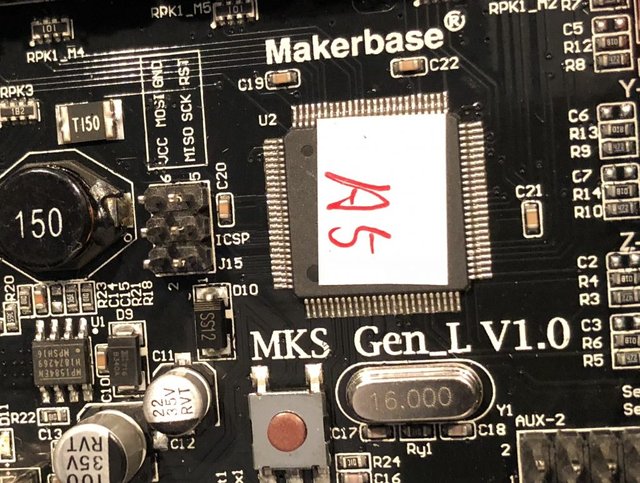
Closeup of the MKS board ICSP port connections
You need to connect like-for-like across both boards, with one exception that the target 3D printer board needs the reset pin connected to the data pin (Pin 10, by default) on the Arduino programmer board:
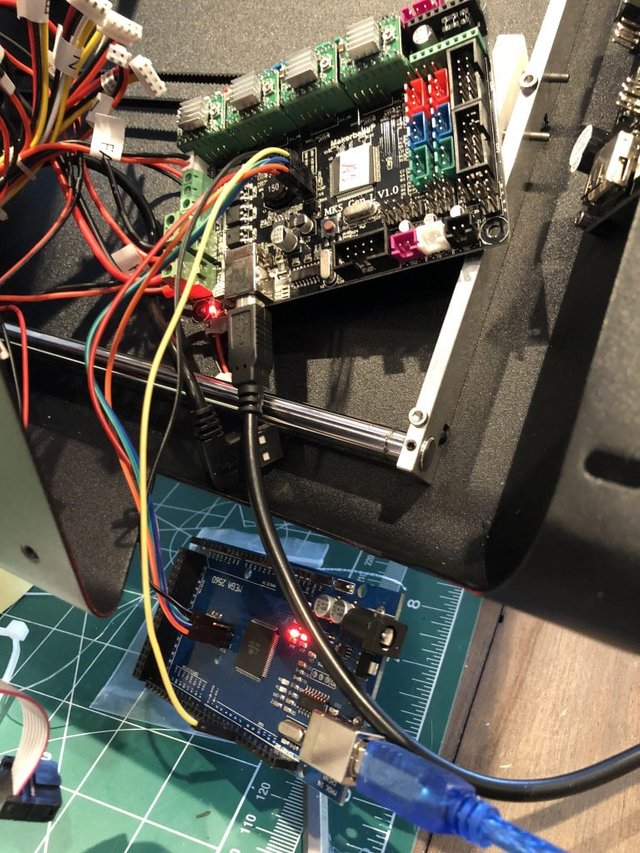
Connect the ICSP from the bricked board to your fresh Arduino - note Reset goes to Pin 10 on the Arduino
Now you can use the Arduino as the ISP (In-System Programming) device, and select to upload Bootloader to the 3D Printer board (or any Arduino).
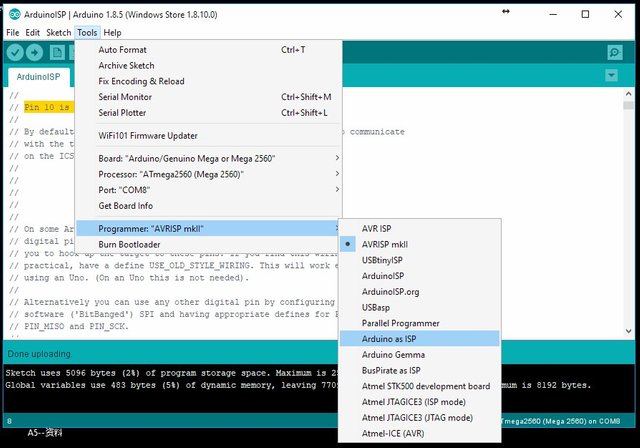
Select Arduino as ISP
Finally, you can burn the bootloader!
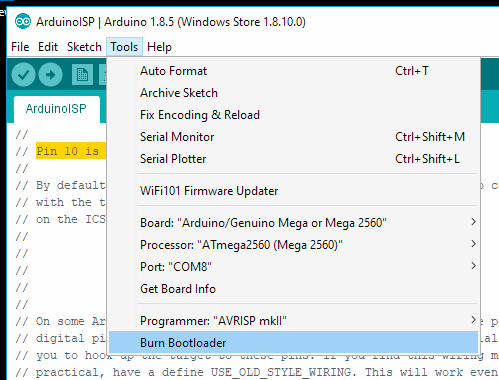
Burn Bootloader!
When you reconnect the 3D Printer board and upload the firmware you should see something like this :)
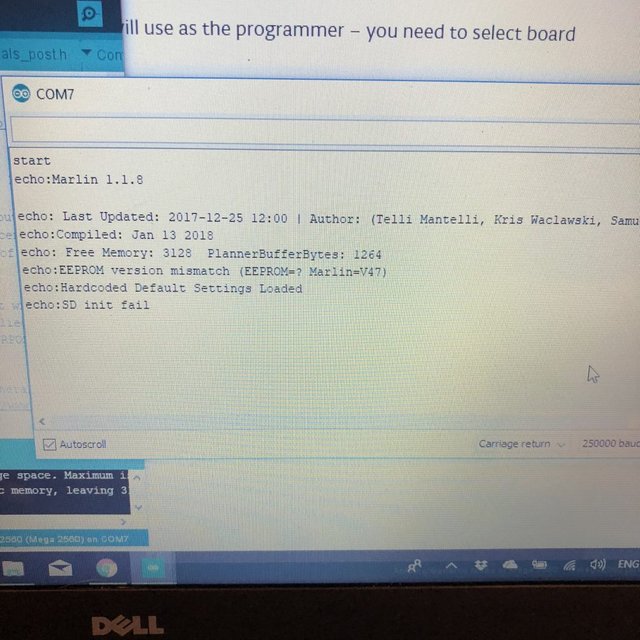
Marlin Firmware updated - Success!
Congratulations! This post has been upvoted by SteemMakers. We are a community based project that aims to support makers and DIYers on the blockchain in every way possible. Find out more about us on our website: www.steemmakers.com.
If you like our work, please consider upvoting this comment to support the growth of our community. Thank you.
Downvoting a post can decrease pending rewards and make it less visible. Common reasons:
Submit
you should check out klipper: https://github.com/KevinOConnor/klipper
Downvoting a post can decrease pending rewards and make it less visible. Common reasons:
Submit
Will do!
Downvoting a post can decrease pending rewards and make it less visible. Common reasons:
Submit