

A very important part of facility construction is proper grounding.
And proper grounding needs quality hardware.
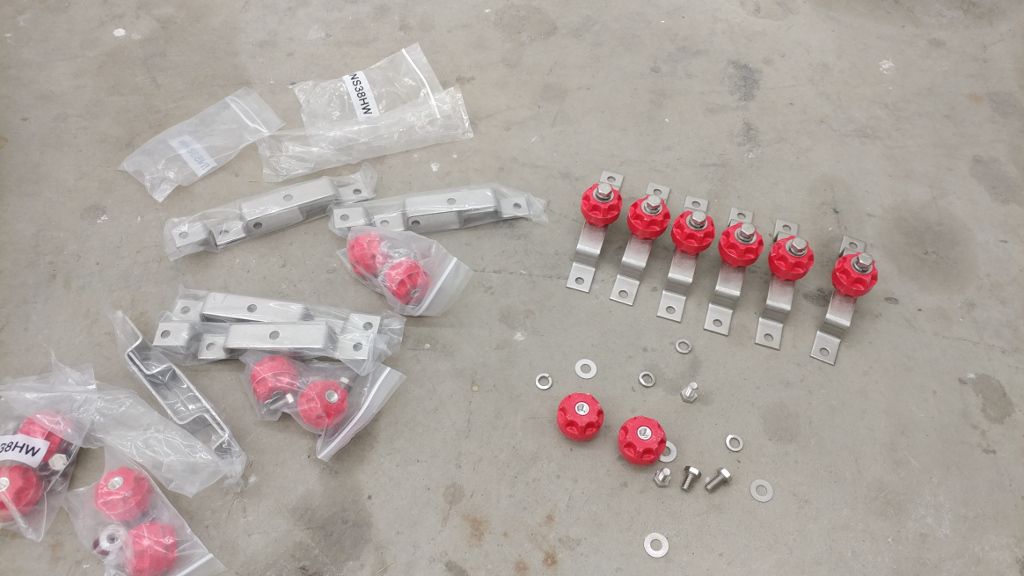
We purchase our grounding parts from SitePro1.com

I first installed a ground halo around the top of the room to protect from incoming EM energy spikes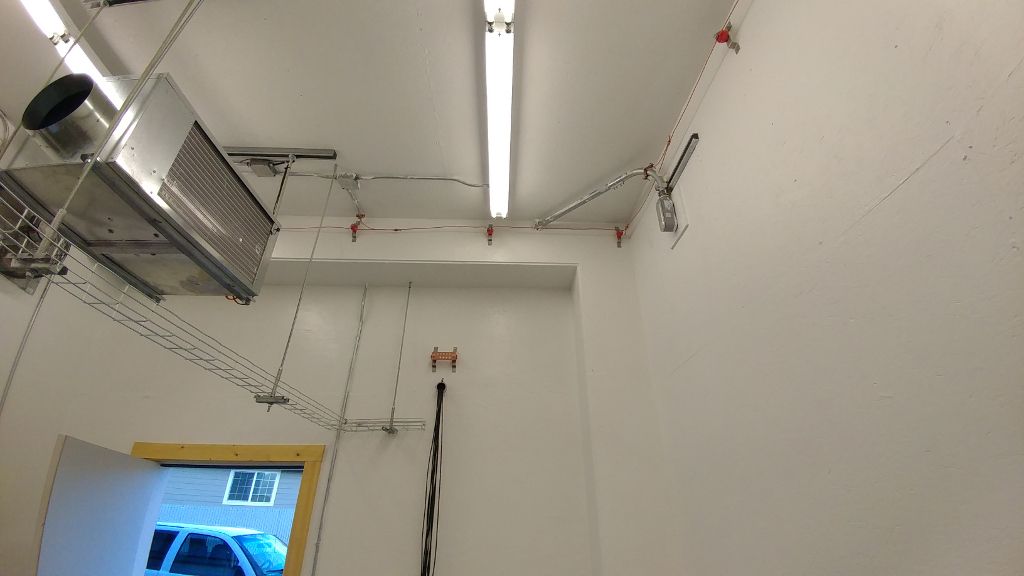 The overhead cable tray was also installed to support that bundle of cable you see coming through the wall. It leads outside to something very cool which we'll show you in Part 3!

It's important to bond every incoming metallic object to the ground halo.
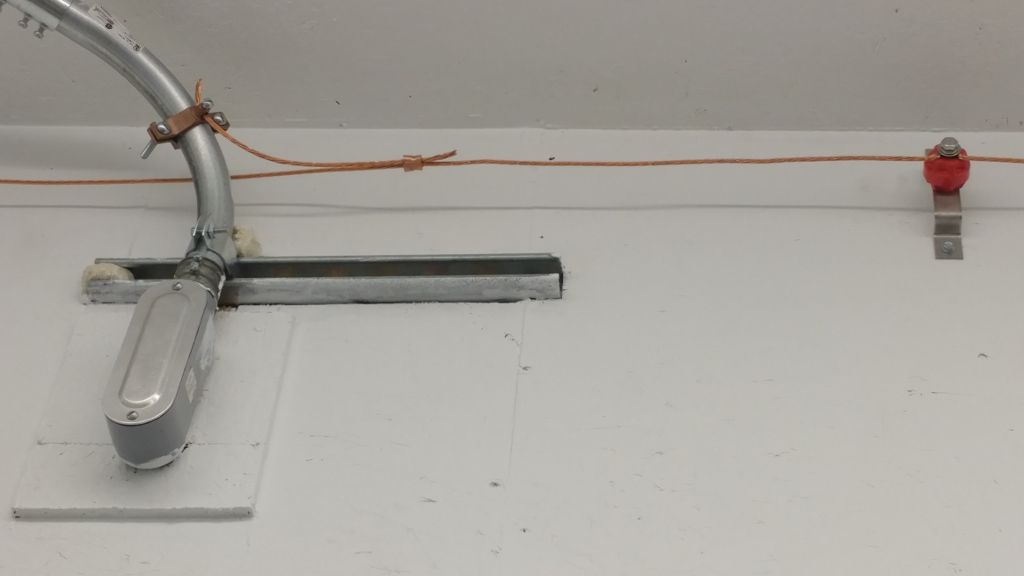

Looking at the other end of the room, we can see the rest of the halo and cable support tray.
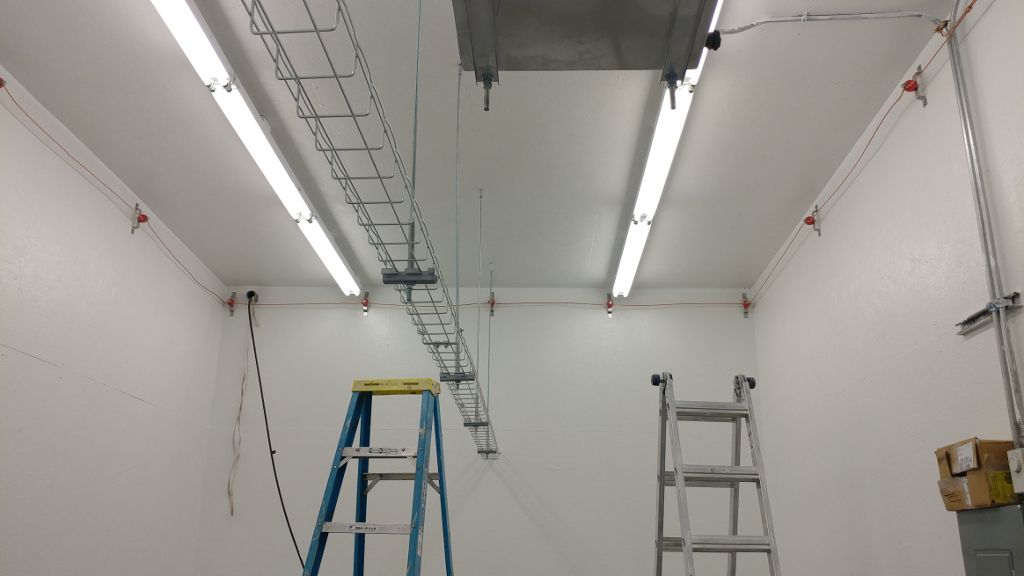
Also visible is one of our fiber-optic cables, coming into the room in the upper left corner.

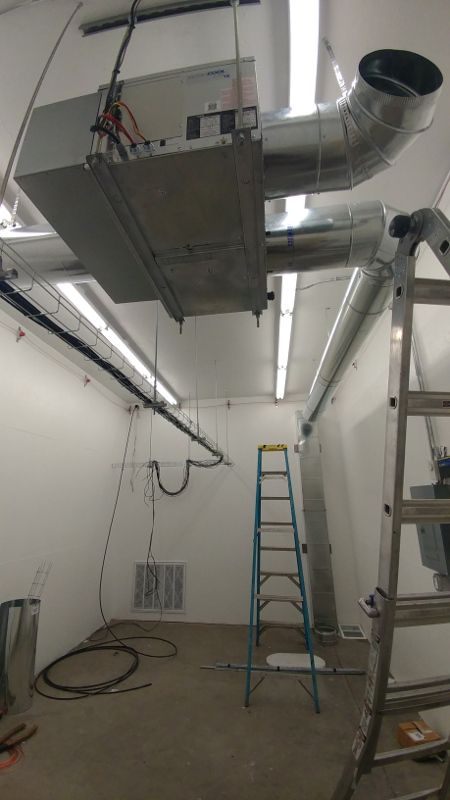
Time to install the AC ducting! This unit pulls hot air from the top of the room and blows cold air across the floor.

I don't have any pictures of this next step, painting the floor. Many hours of scrubbing concrete with TSP to remove decades of dirt and oil, then applying 2 coats of moisture sealant and finally 3 coats of Battleship Grey enamel floor paint. It's an important step if you're on concrete, as it will help prevent humidity from coming up through the floor.
Once THAT was done, I moved the server racks into place.
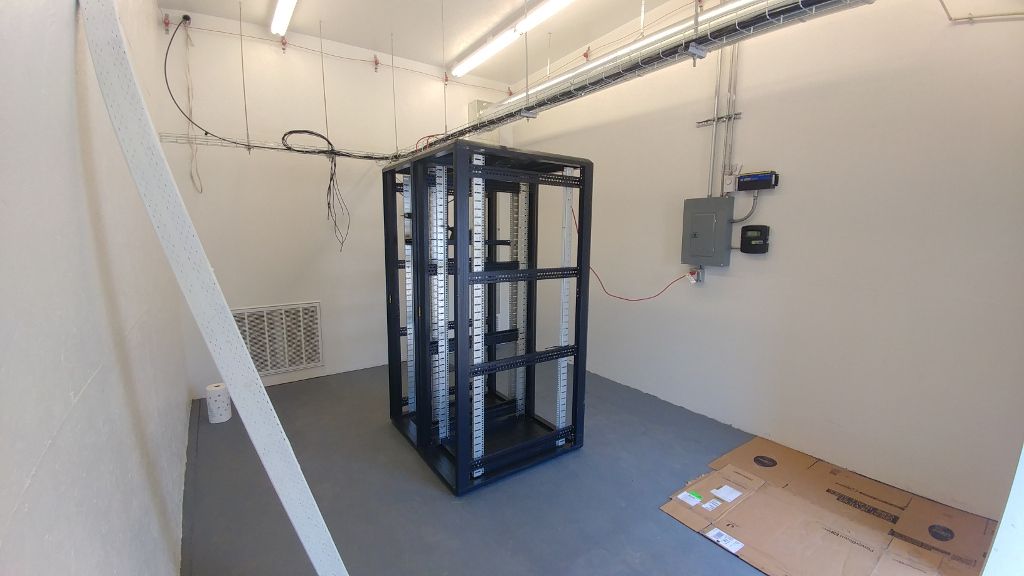
Starting to look like something, isnt' it!

I installed a two-post Chatsworth telco rack against the far wall.
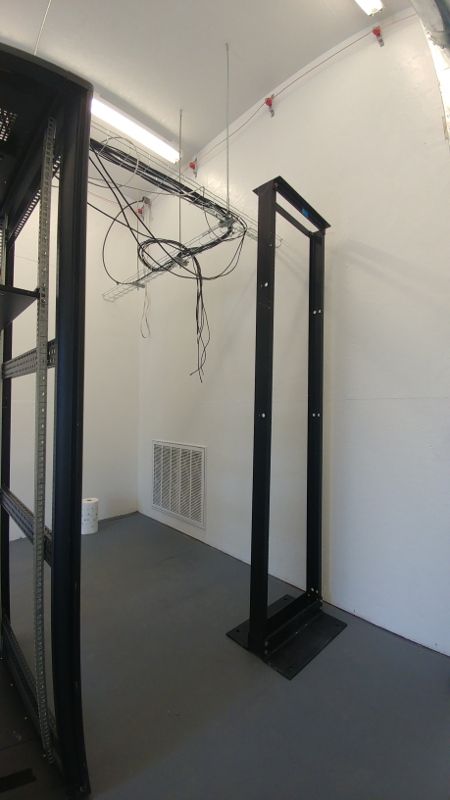
This will be used to hold fiber handoff devices, routers and switches.

I spaced it out from the wall with a painted 4x4 post for clearance around the equipment.
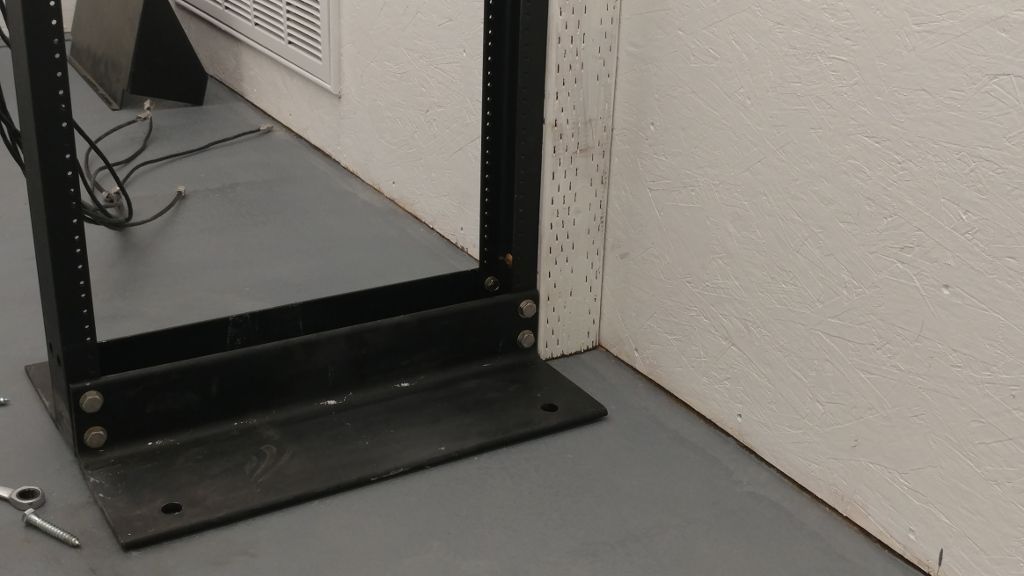 To hold the rack secure I drilled into the floor, hammered lead anchors in and lagged the rack down.

I installed a pair of rack shelves to act as a console.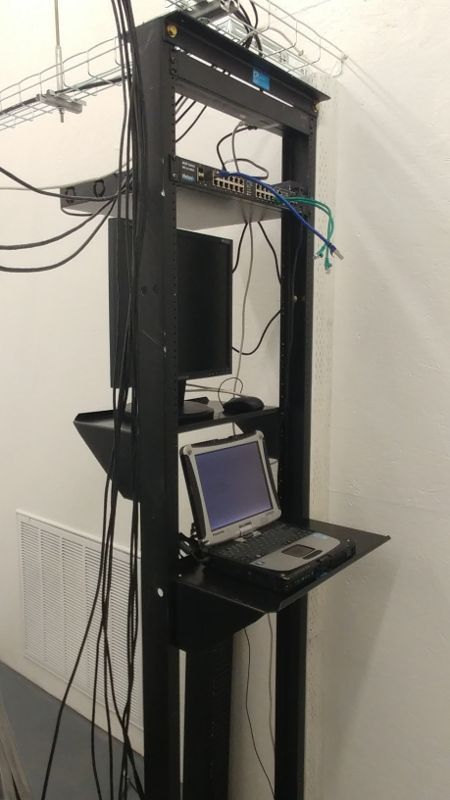
and racked up a Netonix WS-26-400-AC switch.

Overhead you can see several L6-30 twist-lock outlets for connecting the rack power distribution units (PDU).
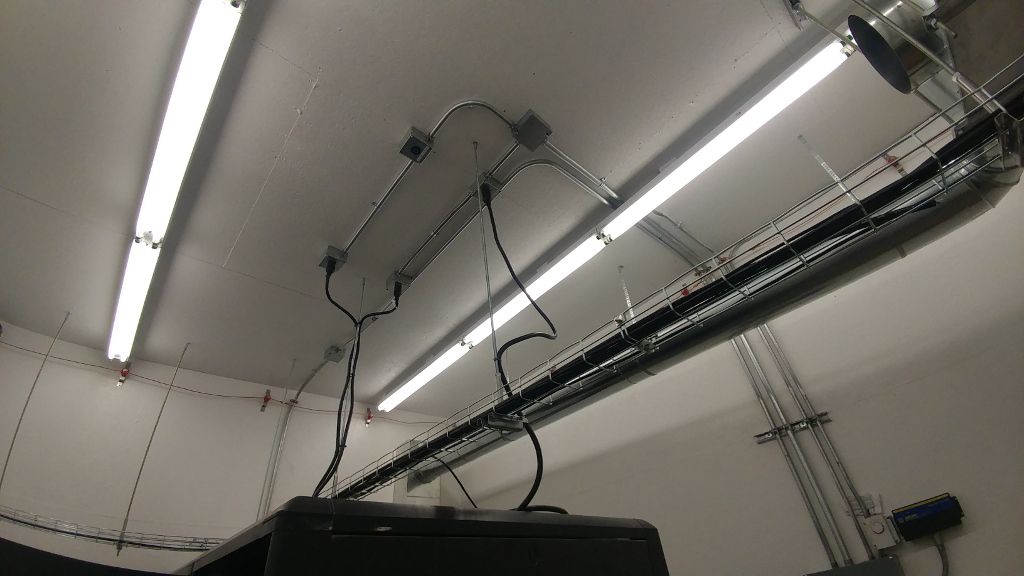
The NEMA L6-30 Receptacle is commonly used for rack PDU systems.

Here's a look at a pair of APC 7811distribution units in the top of the rack.
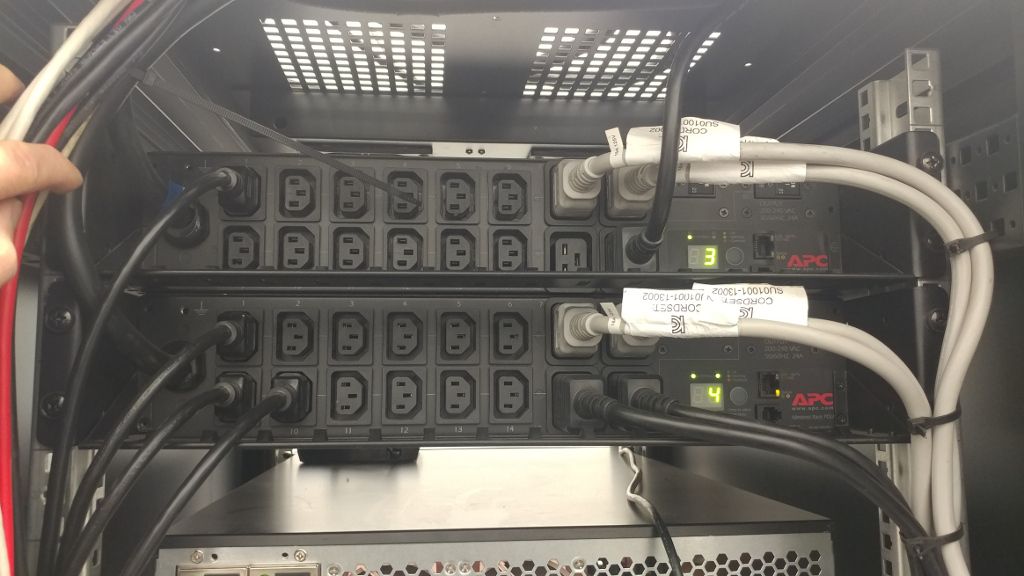
I don't have them networked yet, but they can be monitored to chart per-socket power usage so you can charge hosted customers appropriate fees.

Let's rack up some gear! From the bottom up you see an IBM Bladecenter-E, several HP C7000 chassis, a disk array and a few other servers.
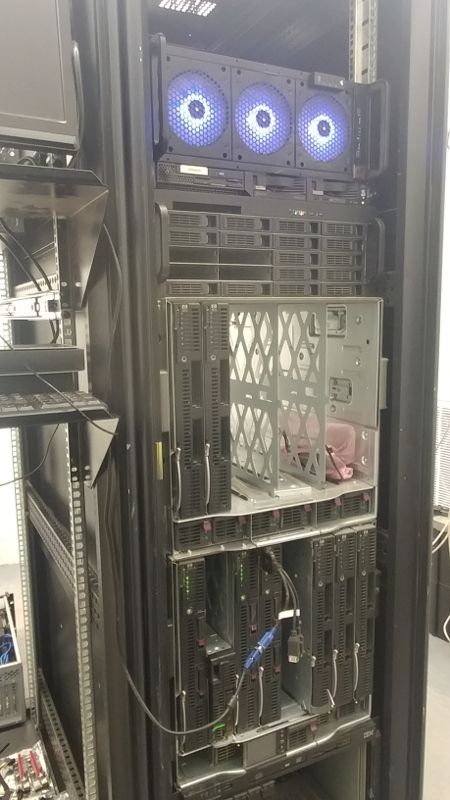
I added Infiniband switches to the C7000s, which give them internal 40Gb networking between the blade servers. Zoom!

Here's a look at our 2nd fiber service installed and ready to go.
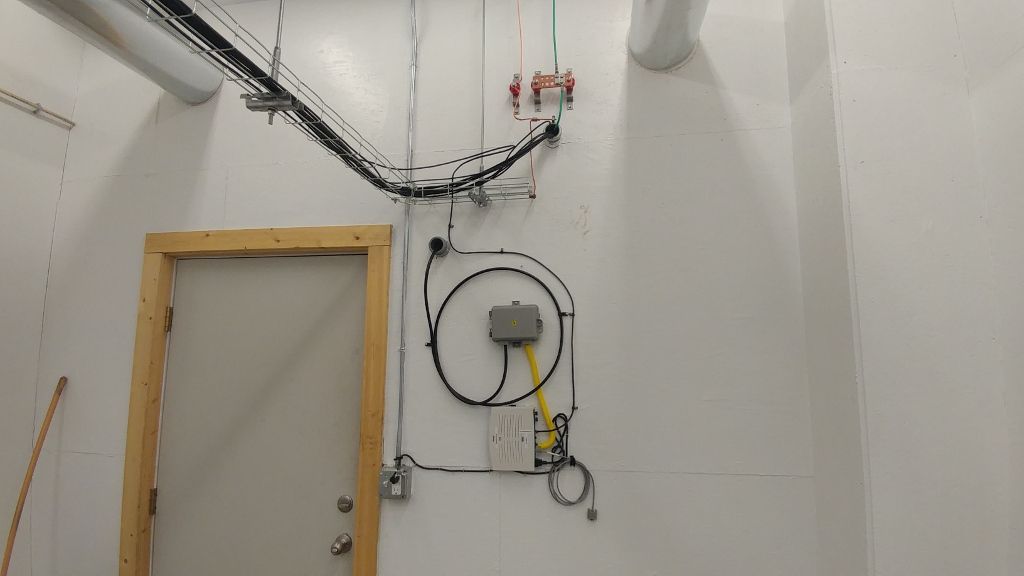
Different fiber provider, different physical path to get to the site. Redundancy!

Here's a final shot for now of the progress - lots more to do!
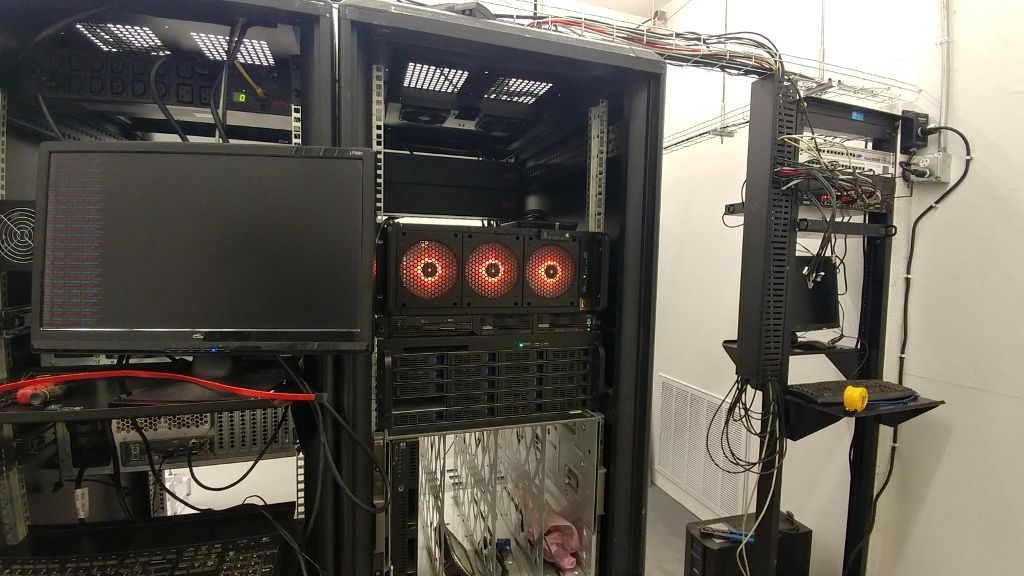
Yes, including network cable clean-up!

That's it for the inside. We'll revisit it when I get the anti-static mats down on the floor, cable managed, 48VDC battery array built and more.
For now, we'll take a look at what's been happening just outside the door!