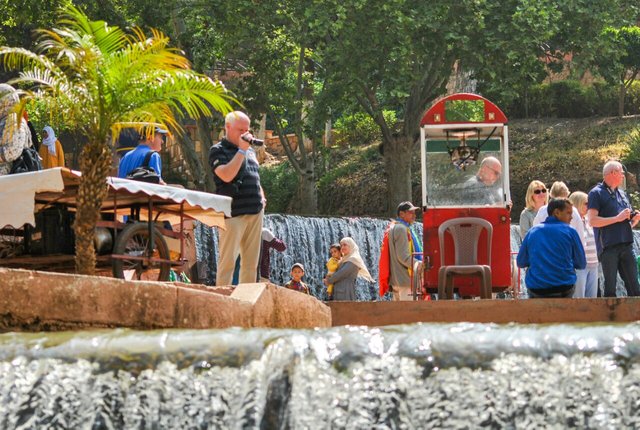
The Landescape Axes are the main focus of photography, which is generally concerned with nature photography day or night, building photography, geometric photography and galaxies. All these axes resemble each other in terms of equipment and settings.
Themescape:
In this lesson we will discuss the following topics:
Photography Landscape Landscape Photography
Night Photography Night Photography
Architectural Photography
Landscape Photography Landscape Photography:
Equipment needed:
In landscape photography you will need a wide lens with a range of 16-24mm. This is because the widescreen lens displays the largest possible size of the image while increasing the distances and dimensions in the image. You will not need a wide lens slot in this type of photography (except in the case of night photography), because you will use a narrow lens aperture such as f / 8 up f / 16, in order to increase the depth of the field and show the full natural appearance within the focus . Therefore, the attached f / 16-f / 55 camera lens is adequate. The only problem is that this lens being cheap is not very accurate.
If you are shooting night or long exposure you will need a Tripod solid camera holder to hold the camera while using the camera shutter for a long time and to prevent the camera from crashing during it. It is recommended that the carrier be heavy so that the camera and the carrier do not vibrate in the event of bad climatic conditions such as strong winds or if the pregnant woman is placed in the river.
If you are shooting an appearance that contains a moving water table, a daytime waterfall, or a soft sea wave in order to get the effect of water softening, you will need a long exposure during the day. In this case, if you increase the shutter speed, reduce the ISO, and reduce the lens aperture, the camera will get the excess image. Therefore, you will need to reduce the amount of light entering the camera by using the ND filter, which is shortened to Natural Density. This filter acts as the sun glasses reduce the amount of light entering the camera. For this filter, there is a 0.3 filter that removes 30% of the light and a 0.6 filter blocks 60% of the light. And so on.
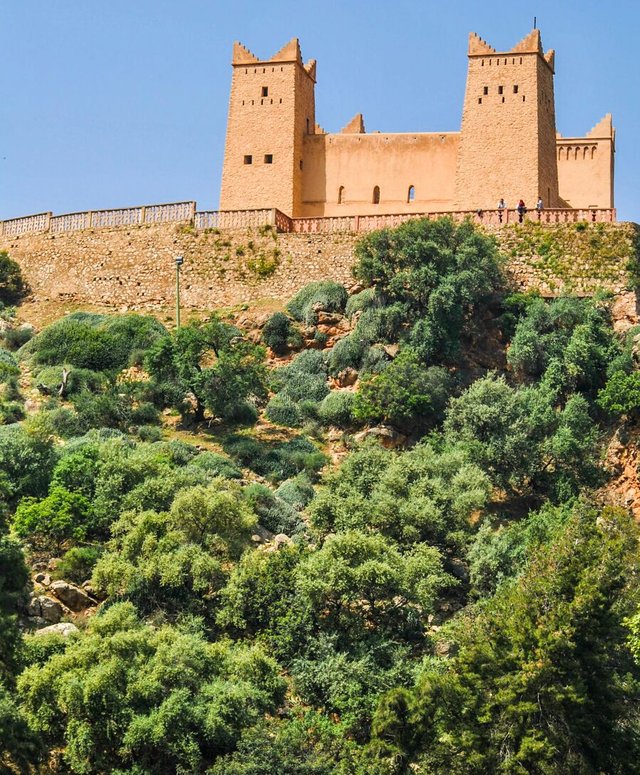
To get the effect of increasing the difference in colors in the case of shooting scenes that contain clouds and many colors can use the Polarizer filter Polarizer, which gives colors more dynamic and increases the saturation color and also prevents the emergence of sunspots in the image Haze.
Camera settings:
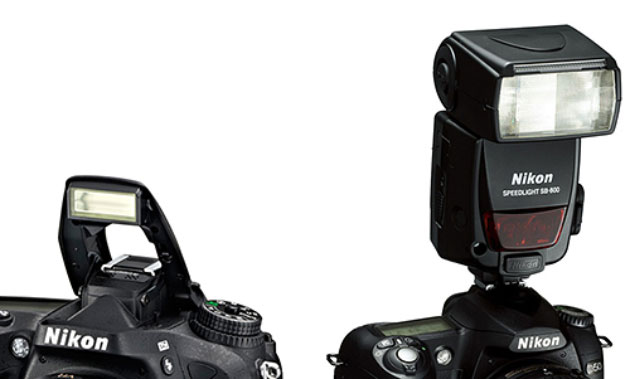
For camera settings you will need to first place the Metering light meter into the Matrix mode so that the light is measured based on the entire scene. Then use a lens aperture between f / 8 to f / 16 depending on the intensity of the light until the entire picture appears from the background and the foreground is in focus. Then set the ISO between 100 to 200 to avoid noise in the image. Then monitor the light balance if the light is low and the scale to the left reduce the shutter speed and if the light plus increase the shutter speed. If the shutter speed does not allow you to carry the camera manually less than 1/60, place the camera on the stand or compensate for the light from the lens or ISO, but the lens will not be larger than f / 8 or ISO greater than 400 .

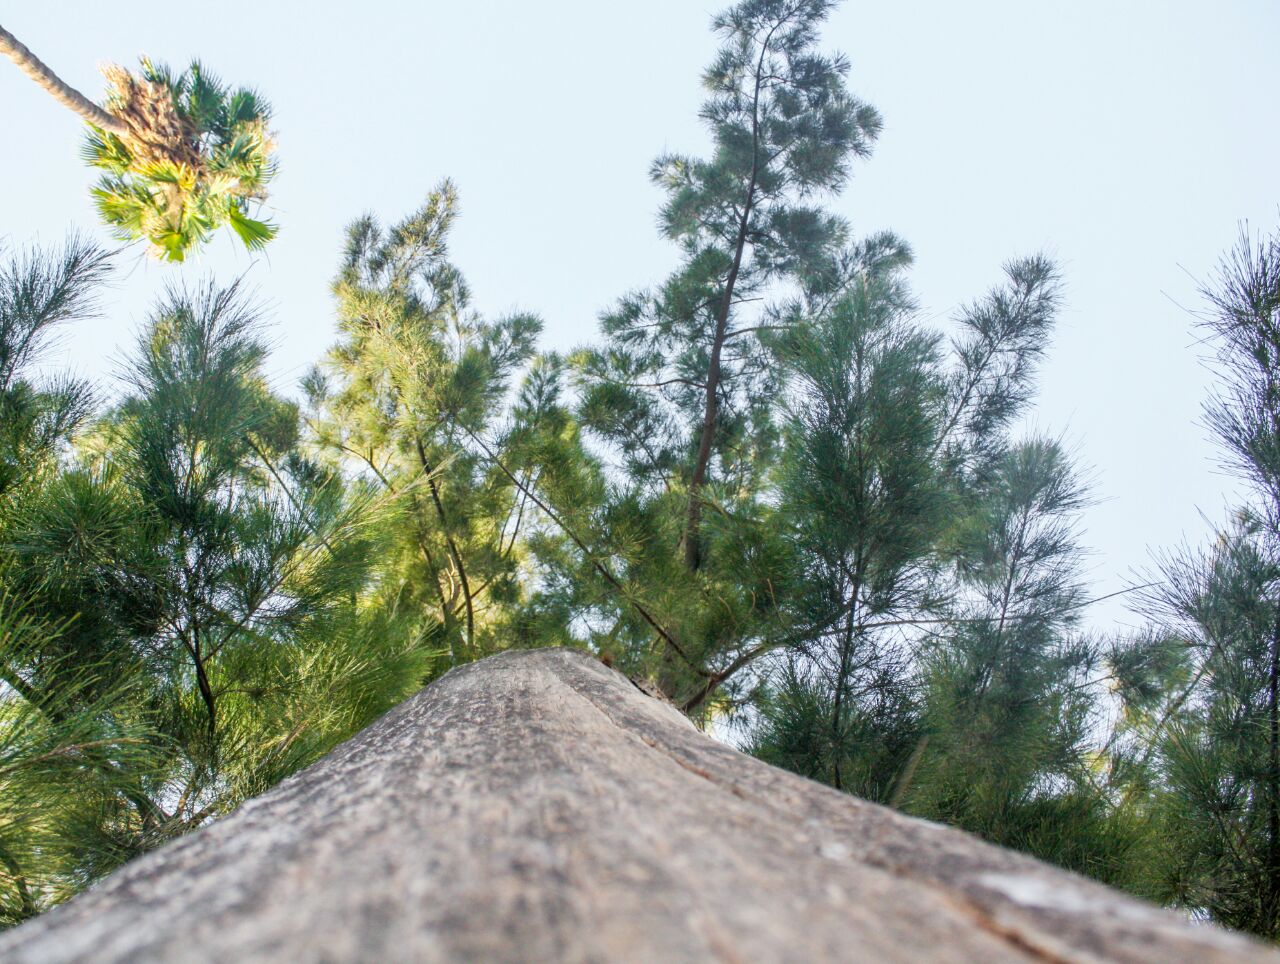
تتشكل محاور التصوير الطبيعي او نا يقصد به اللاند سكيب فيه محاور التصوير التي تختص بشكل عام بتصوير الطبيعة نهارا أو ليلياً و تصوير الأبنية و التصوير الهندسي و تصوير المجرات. جميع هذه المحاور تشبه بعضها البعض من ناحية المعدات و الإعدادات.
محاور اللاندسكيب:
سنتحدث في هذا الدرس عن المحاور التالية:
تصوير الطبيعة Landscape Photography
التصوير الليلي Night Photography
التصوير المعماري Architecture Photography
تصوير الطبيعة Landscape Photography :
المعدات اللازمة:
في تصوير الطبيعة ستحتاج إلى عدسة عريضة Wide lens بمجال بين 16-24mm و ذلك لأن العدسة العريضة تقوم بعرض اكبر حجم ممكن من الصورة مع زيادة المسافات و الأبعاد في الصورة. لن تحتاج إلى فتحة عدسة واسعه في هذا النوع من التصوير (إلا في حال تصوير الليلي) و ذلك لأنه كونك ستقوم باستعمال فتحة عدسة ضيقة مثل f/8 حتى f/16 و ذلك من اجل عمل تكبير عمق الحقل و اظهار كامل المظهر الطبيعي ضمن التركيز. لذلك فإنك عدسة الكاميرا المرفقة f/16-f/55 تفي بالغرض. المشكلة الوحيدة انه هذه العدسة كونها رخيصة فإنها ليست شديدة الدقة.
في حال كنت ستقوم بالتصوير الليلي أو التعريض الطويل ستحتاج إلى حامل كاميرا متين ثلاثي الارجل Tripod لتثبيت الكاميرا اثناء استعمال غالق الكاميرا لفترة طويلة و لمنع ارتجاج الكاميرا أثناء ذلك. يفضل ان يكون الحامل ثقيل حتى لا تهتز الكاميرا و الحامل في حال وجود ظروف مناخية سيئة مثل رياح قوية أو في حال وضع الحامل في النهر.
في حال كنت ستقوم بتصوير مظهر يحتوي على جدول مائي متحرك أو شلال في النهار أو امواج بحر ناعمة من اجل الحصول على تأثير تنعيم المياه فإنك ستحتاج إلى اجراء تعريض ضوئي طويل في النهار. في هذه الحالة إذا قمت بزيادة سرعة الغالق و تقليل الايزو و تقليل فتحة العدسة ستحصل الكاميرا على الصورة زائدة التعريض. لذلك ستحتاج إلى تقليل الكمية الضوئية الداخلة إلى الكاميرا عن طريق استعمال فلتر ND و الذي هو اختصار إلى Natural Density يقوم هذا الفلتر بالعمل كالنظارة الشمسية بتقليل كمية الضوء الداخلة للكاميرا. و لهذا الفلتر درجات فهناك فلتر 0.3 يقوم بإزالة 30% من الضوء و فلتر 0.6 يحجب %60 من الضوء. و هكذا.
أما للحصول على تأثير زيادة الفرق في الألوان في حال التصوير المشاهد التي تحتوي على غيوم و الكثير من الالوان تستطيع استعمال فلتر بولارايزر Polarizer و الذي يعطي الألوان المزيد من الحيوية و يقوم بزيادة الاشباع اللوني و كذلك يمنع ظهور بقع ضوء الشمس في الصورة Haze.

إعدادات الكاميرا:
بالنسبة لإعدادات الكاميرا فإنك ستحتاج في البداية إلى وضع مقياس الضوء Metering إلى الوضع Matrix حتى يتم قياس الضوء بناء على كامل المشهد. بعد ذلك قم باستعمال فتحة عدسة بين f/8 إلى f/16 حسب شدة الاضاءة و ذلك حتى تظهر كامل الصورة من الخلفية و المقدمة ضمن التركيز. بعد ذلك قم بوضع الأيزو بين 100 إلى 200 لتجنب الضجيج في الصورة. بعد ذلك قم بمراقبة ميزان الضوء فإذا كان الضوء قليل و المقياس إلى اليسار قم بتقليل سرعة الغالق و اذا كان الضوء زائد قم بزيادة سرعة الغالق. في حال كانت سرعة الغالق التي وصلت إليها لا تسمح لك بحمل الكاميرا يدويا اقل من 1/60 قم بوضع الكاميرا على الحامل أو قم بتعويض الضوء من فتحة العدسة او الأيزو و لكن بحيث لا تكون فتحة العدسة أكبر من f/8 أو الايزو أكبر من 400.
Hi! I am a robot. I just upvoted you! I found similar content that readers might be interested in:
http://www.arabicphotography.com/%d8%aa%d8%b5%d9%88%d9%8a%d8%b1-%d8%a7%d9%84%d9%84%d8%a7%d9%86%d8%af%d8%b3%d9%83%d9%8a%d8%a8-landscape-photography/
Downvoting a post can decrease pending rewards and make it less visible. Common reasons:
Submit
مقال رائع
Downvoting a post can decrease pending rewards and make it less visible. Common reasons:
Submit