After a long time, I'm back to the music production, for a while I wasn't able to produce, but now my time has come.
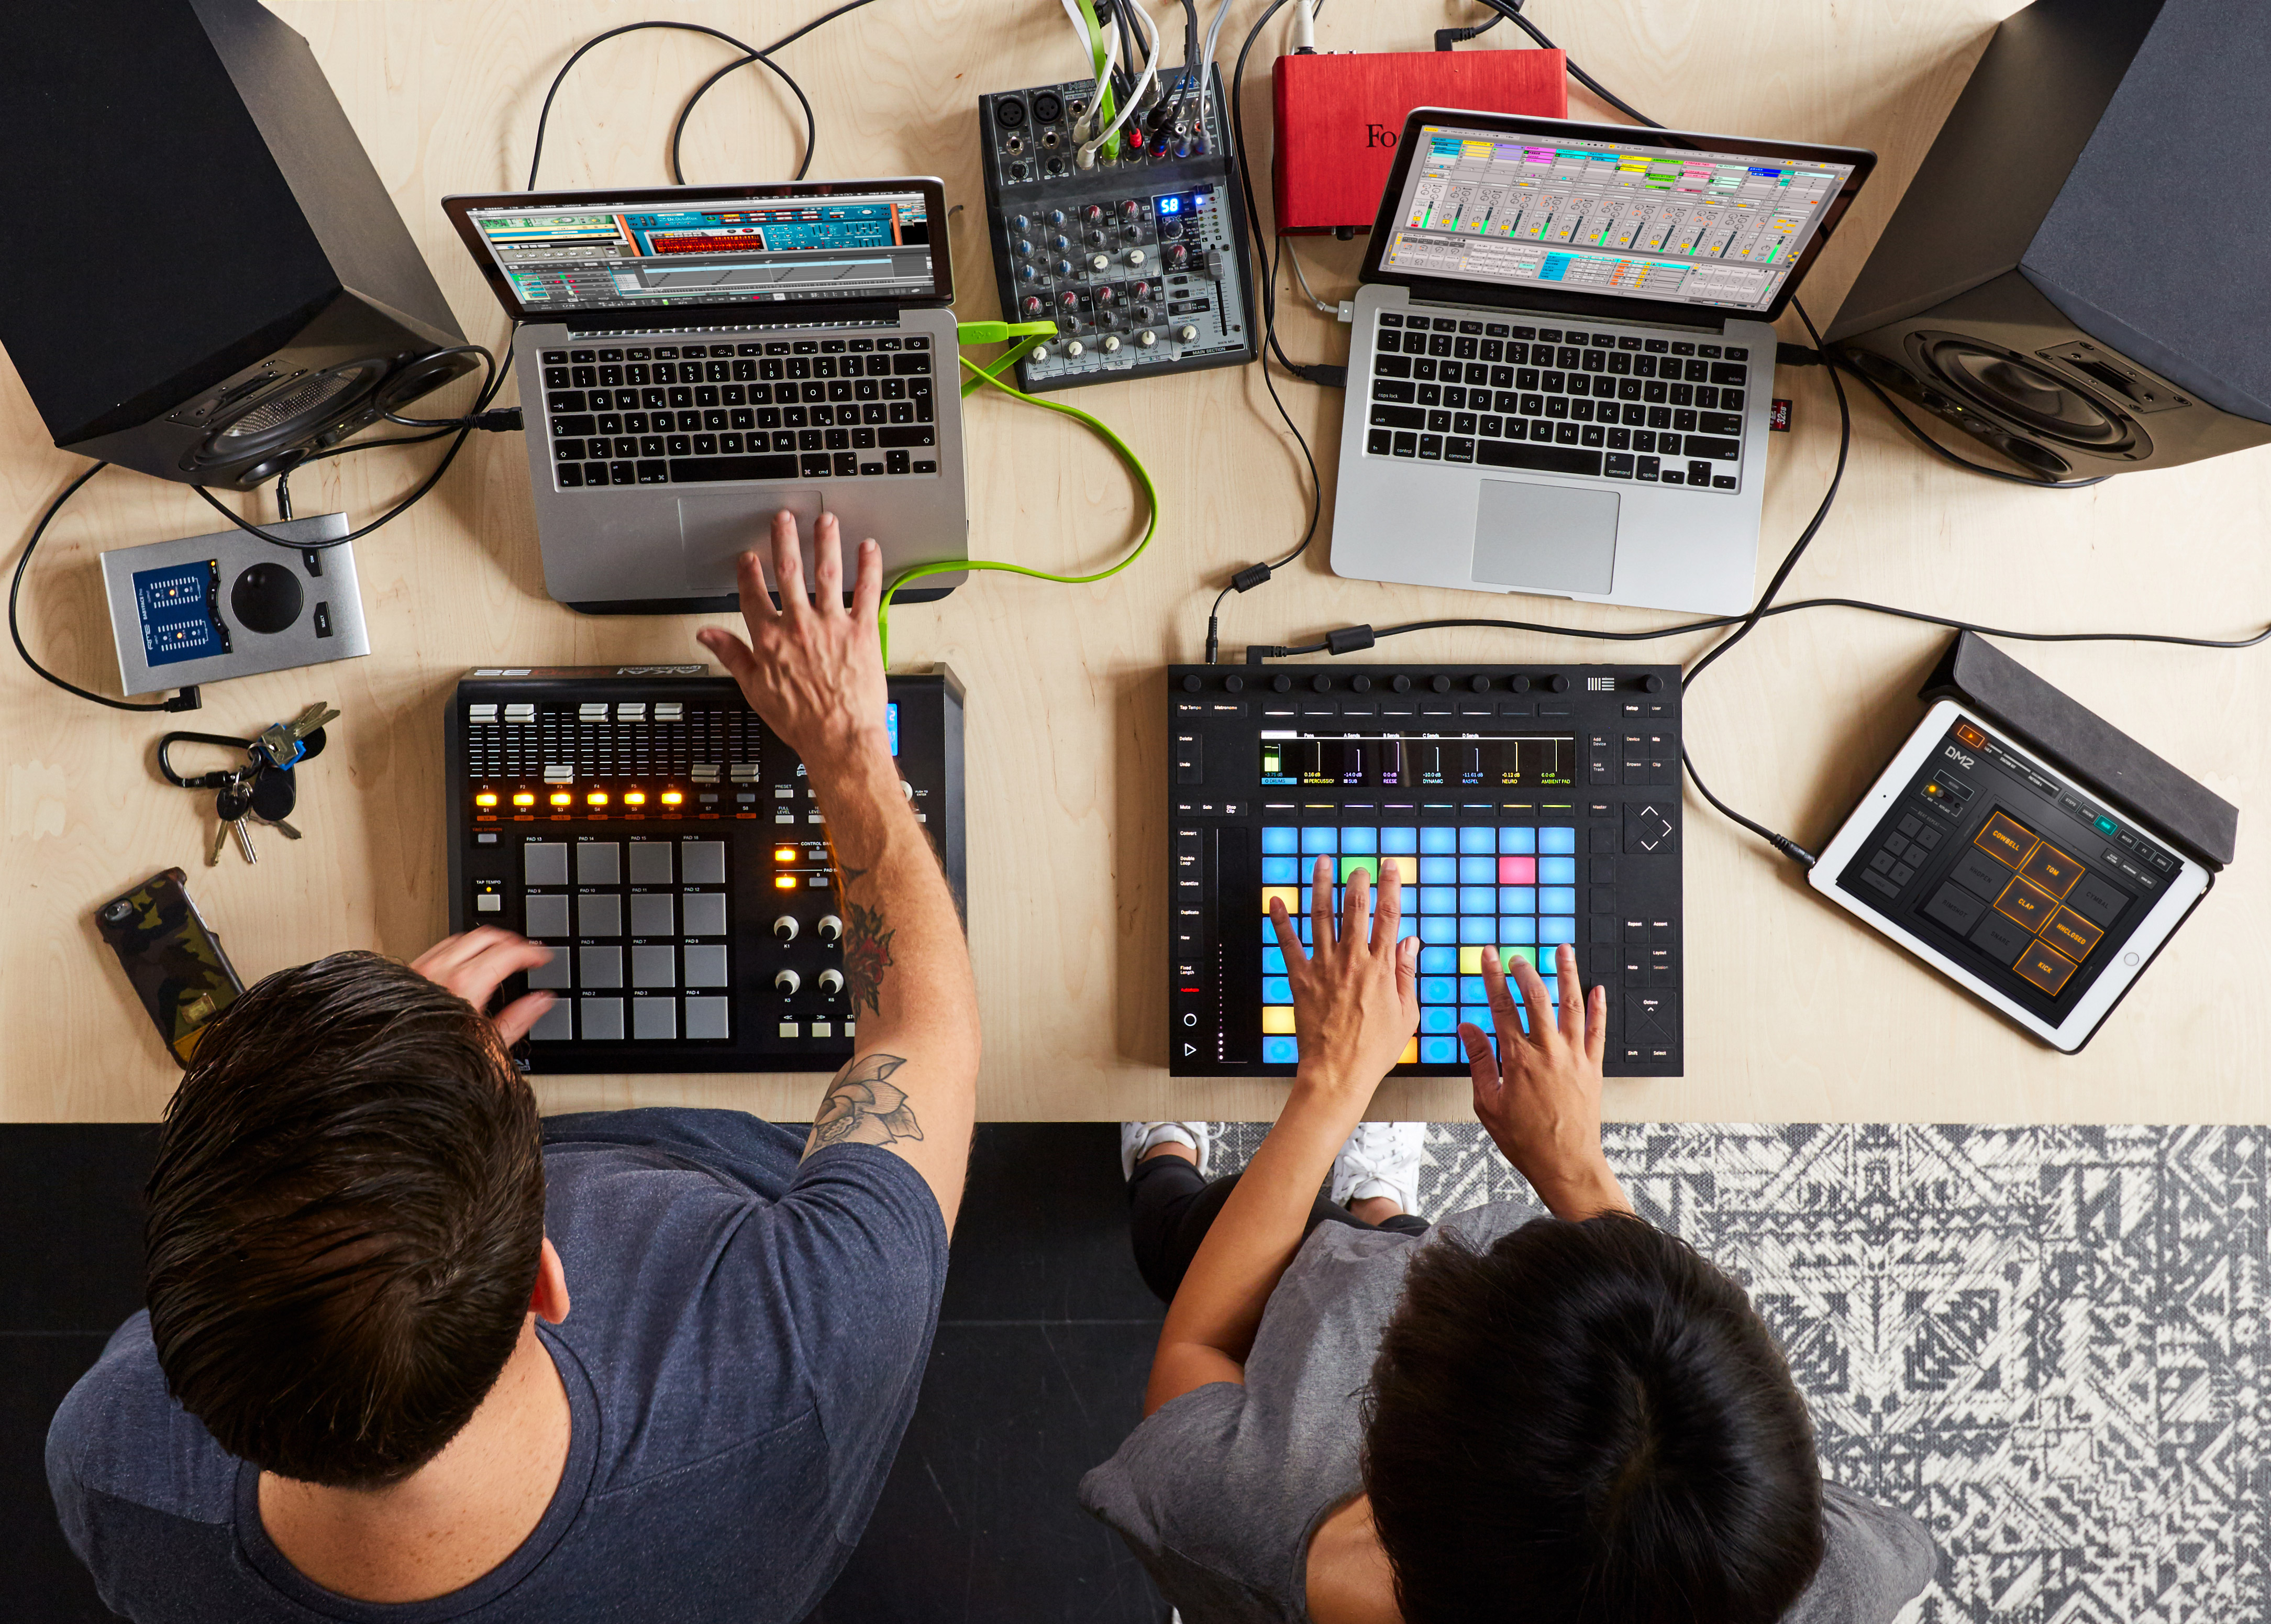
Last friday we had an interesting session where I needed to teach a friend about the basic things in Ableton Live and all together to learn Ableton push( great stuff )

Image Source
At the end of the day, we made an interesting track, some kind of lo-fi hiphop which will be published in the next post.
All that learning made me to write this post, some things that would make it easier and faster to produce. This isn't a post about how to make a song but to get the idea you have in your head faster and not to kill your creativity with the unnecessary search for the samples and sounds you need. I figured that we were looking for samples and sounds for a long time and there came the first 2 tips.
Set up your Ableton Live daw like real studio.

1. Saving samples to a drum rack!
Add your favorite samples in drum rack (for example, kicks) and save them with some recognizable name for them. Simple and easy. You don't have to save all the samples at once, save that you are using now and after, while you're working on the track, you can make some new drum racks or add it to an already saved drum rack. Same thing you can do with effects in Audio Effect Rack.

2. Make your own template

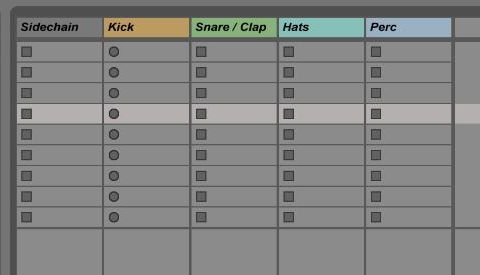
3. Color and name your midi/audio channels
In order to make it easier to navigate through the channels, give them names and colors. This is important if you performed live set in Ableton Live. Right Click - Rename or Ctrl+R. If you want to rename channel next press Tab ↹ .
4. Group Tracks
If you have multiple channels that use the same effect or if they are similar to multiple kinds of kicks / snares etc, group them and of course, give them name and color.
Just select them by holding ⇧ Shift - right click - Group Tracks or Ctrl+G.
Now add effects to this group channel that are the same in both tracks.

5. Don't waste your time and don't lose your creativity!
Don't waste your time searching for the right drum sample ect., Move on. As you work, you will find everything you need in the process of creating. I often used to work on some elements in two or three hours after which I revealed that half of what I imagined I did not do. I'm not telling you to do them half-way but stay away for later if you can't make it right now. Ideas disappear very quickly if we are bothered by such things that may not be relevant to what we are doing.
That would be it for second music production post, I hope I helped you improve your workflow! Leave feedback if this post helped you in some way.
Till next post about music producing here's one post for total beginners in this - Music Production? How to start? What do you need? Can everyone do it today?

Insightful - will dive into that topic - might need help soon for dull questions though. Resteemed and followed you.
Downvoting a post can decrease pending rewards and make it less visible. Common reasons:
Submit
Great tips!! Naming and colouring tracks is something that can save a lot of headaches, especially when working with a load of tracks.
Downvoting a post can decrease pending rewards and make it less visible. Common reasons:
Submit
Sehr Hilfreich und gut geeignet für Anfänger!
Downvoting a post can decrease pending rewards and make it less visible. Common reasons:
Submit
Good work @antoniokarteli. I have been procrastinating on getting back into Ableton. You have lit the fire ;)
Following
Cheers
Downvoting a post can decrease pending rewards and make it less visible. Common reasons:
Submit
Thanks, I'm glad I inspire you to back to the Ableton.
Cheers
Downvoting a post can decrease pending rewards and make it less visible. Common reasons:
Submit
Thanks great post ;)
Downvoting a post can decrease pending rewards and make it less visible. Common reasons:
Submit
Thank you, I'm glad you like it !
Downvoting a post can decrease pending rewards and make it less visible. Common reasons:
Submit
Pretty helpful tips. I'm just starting with Ableton myself.
Downvoting a post can decrease pending rewards and make it less visible. Common reasons:
Submit
Thank you, I'm glad it helps you. Soon there will be a new post for beginners in Ableton, so stay tuned !
Downvoting a post can decrease pending rewards and make it less visible. Common reasons:
Submit
Solid post. I would add setting up return tracks with different types of reverb, delay, and at least one compressor so you can send stuff to it whenever needed without having to create it or add it directly on the track.
Downvoting a post can decrease pending rewards and make it less visible. Common reasons:
Submit
I mentioned the return tracks but I didn't want to write about it because I don't use it so often. I know I should.
Downvoting a post can decrease pending rewards and make it less visible. Common reasons:
Submit
Great tutorial Antonio - this stuff is very simple, so many new musicians don't want to do it. They would rather make a giant wub bass as fast as possible lol. But as a fellow producer, I really think that the organization of a track is crucial to my ability to make it sound good at the end.
Downvoting a post can decrease pending rewards and make it less visible. Common reasons:
Submit
Thanks, very simple but useful.
Downvoting a post can decrease pending rewards and make it less visible. Common reasons:
Submit
Downvoting a post can decrease pending rewards and make it less visible. Common reasons:
Submit
Congratulations @antoniokarteli! You have completed some achievement on Steemit and have been rewarded with new badge(s) :
Click on any badge to view your own Board of Honor on SteemitBoard.
For more information about SteemitBoard, click here
If you no longer want to receive notifications, reply to this comment with the word
STOPDownvoting a post can decrease pending rewards and make it less visible. Common reasons:
Submit