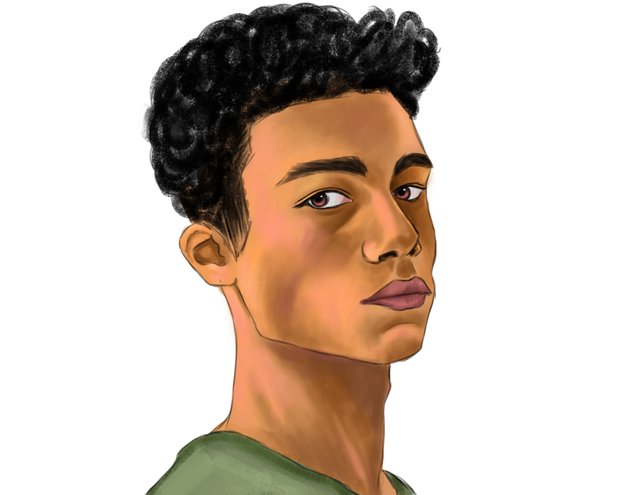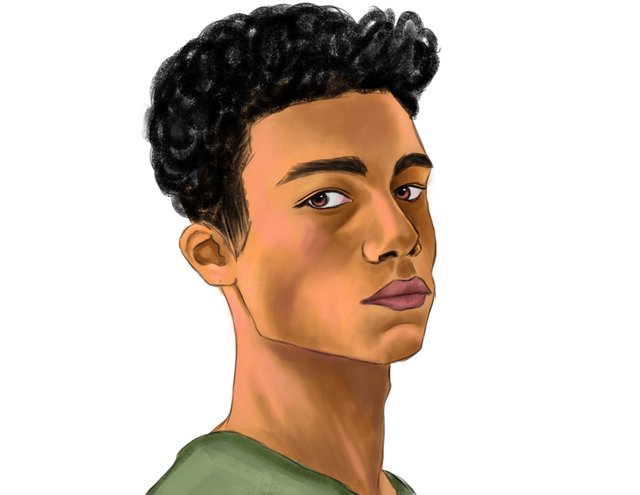
I intend to use one kind of color and on the main screen it looks like a different color. I will try to fix it soon.
For now, Enjoy this drab looking portrait.
Used Reference Image for style and structure.
Here are some process shots and description:
At first i start with some quick shapes.... Just so i have something to work on. Don't want to go completely blind into it. But its important that i try to keep the proportions as close as possible to the reference image.
I have my reference image opened in my primary monitor and a same size reference image helps to draw correctly.
.png)
You could start with a circle but sometimes when the head is in weird angle it becomes weird for me....
I start to bring in the facial shapes one by one. This time i am not thinking too much about details just using a rough brush to mark everything. Use a bit of transform tool to keep the angles accurate.
.png)
After i have finished placing all the possible shapes in place i lower the opacity of the layer so i can still see it and it doesn't interrupt when i try to draw clean line art. I try to place as many details as possible. Since i will be working with color, I don't have to worry too much about every single shapes on the face.
.png)
I take a new layer and place in beneath the sketch and line art layer. So when i am placing color i would still be able to see the sketch and i will know where to put what.
I fill in the sketch with a base color. Since the color contrast of my second monitor is a bit different and the reference image don't have any color, I had to struggle a little bit to find the appropriate color.
.png)
After that i use a hard round textured brush to define some dark and lighter color. No blending, just do some rough shading.
.png)
Now that i have all the rough shapes in place i can start to blend them in with a scattered edged textured brush. This brush is really good to shade stuff.
.png)
I keep blending them in and then start to paint the eyes and lips slowly. I use a different layer for the lips and the eyebrows. And another layer for the hair. Before i moved on to shading i actually duplicated the base colored layer a few times because i wasn't sure about the color. So in case i needed to change that later, i wouldn't have to start from the beginning.
.png)
.png)
At this point i forgot to take a few screenshots and I worked on some details. Like on the eyes and lips. And tried to use some more lighter colors like pink on the face.
At first the portrait was looking kinda dull thats why i decided to bring some different colors.
.png)
Even though it was portrait number 39, I used the file number 38 from the other day. Because a huge amount of psd files are piling up in my hard drive and i need to start getting rid of them.

Thank you for visiting my blog, Follow me to see more of my art in your feed.