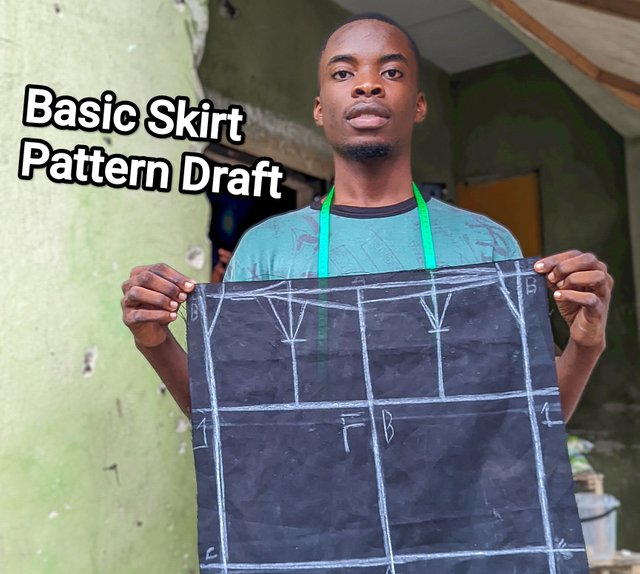
It's quite interesting to see how this week is going to end learning how to draft a basic skirt pattern for ladies. Last week was a basic blouse pattern, and a detailed explanation was given by the tutor, who made it very clear on how to do so. We must remember that every garment has measurements, and without measurements, the clothes can't be sewn.
Measurements are the basic parts of sewing, and you get something attainable through sewing and draughting. As a man who is into the fashion field where garments are created for men, I found interest in knowing those of ladies through the aid of this engagement challenge, and even though I'm still learning and trying to be perfect, I love using live materials.
I don't like using demos in the form of cardboard to make drafts. I try using pieces of material so it can make me feel compelled to forge with the best I can do. So using a visible black material and chalk, I was able to do justice to this, though I did it at the onset using my own style. This is what I did during week 1, and here again is me doing the same thing.
Materials I used for draughting a basic skirt pattern |
|---|
The following are materials I used to make my work perfect. Every tailor can't work without a measuring tape. How do we measure without a measuring tape? Not possible.
- tape
- White chalk for marking and
- Scissor
- Ruler
The measurements I used for this basic skirt pattern were;
- Hips
- Skirt Length
- Waist Circumference
- Hip curve
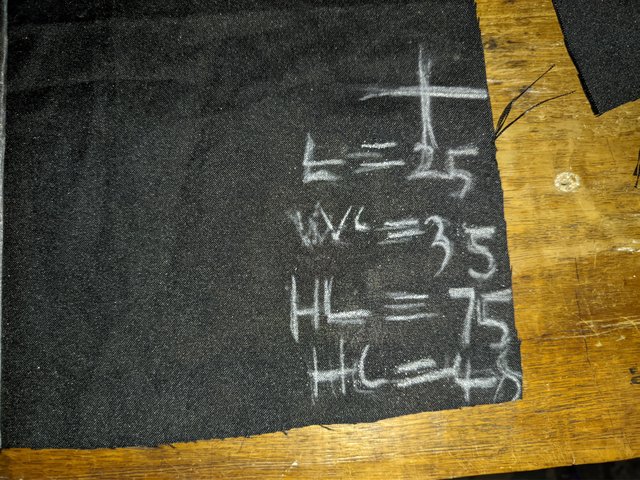
| H | 25 cm |
|---|---|
| L | 65 cm |
| Wc | 35 cm |
| Hc | 45 cm |
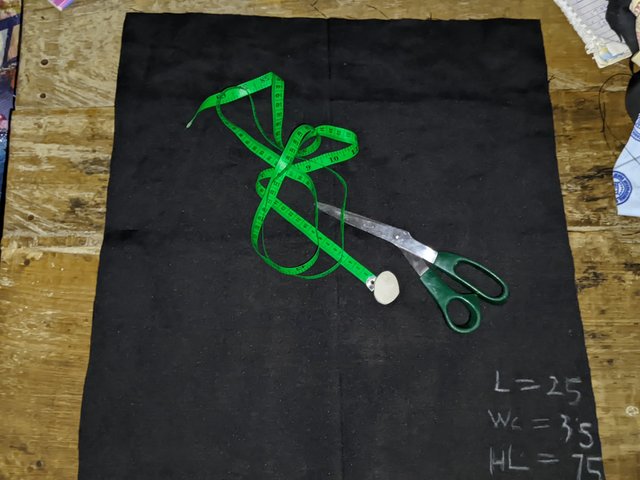
These are the steps I took to ensure this draft came out neatly.
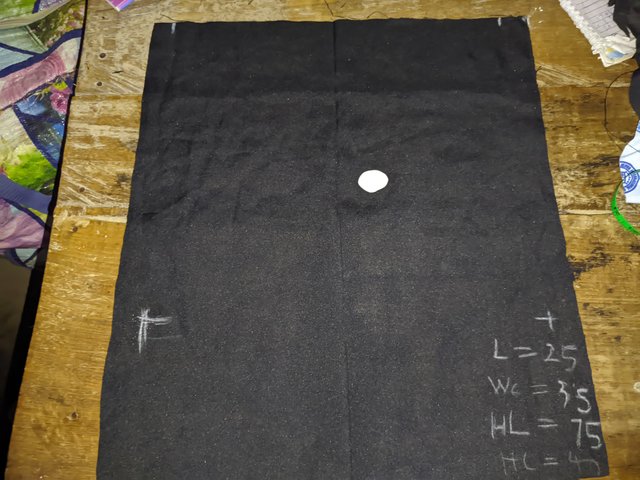
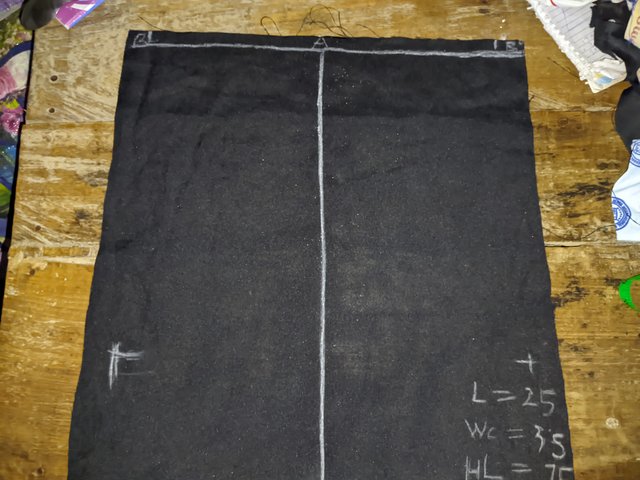
- Step 1: I made good use of my material to do the draft easily without unnecessary stress of using a cardboard and marker, which I may be prone to making mistakes in measurements. Using the black shiny material and a white chalk makes it possible to erase my mistakes when I did one.
 |  |
|---|---|
 | 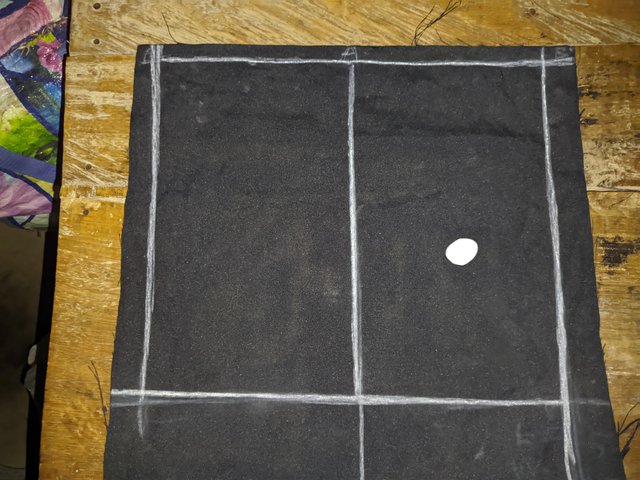 |
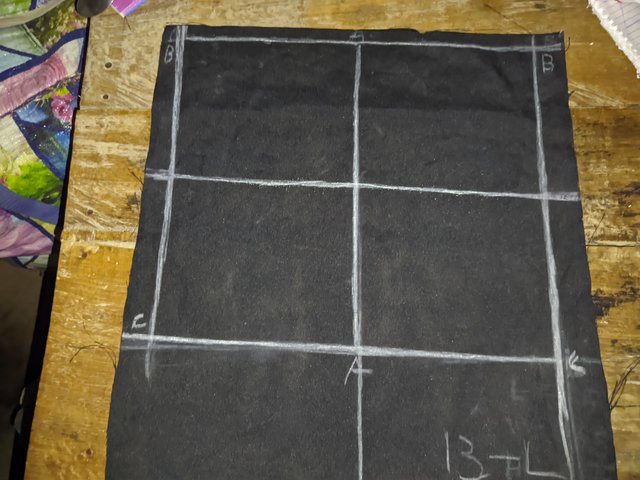
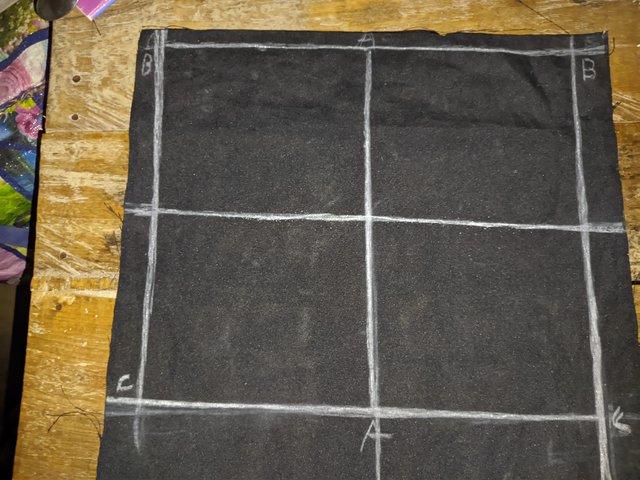
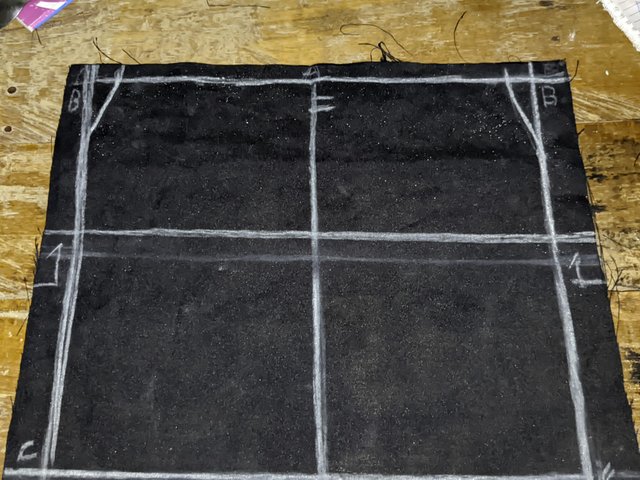
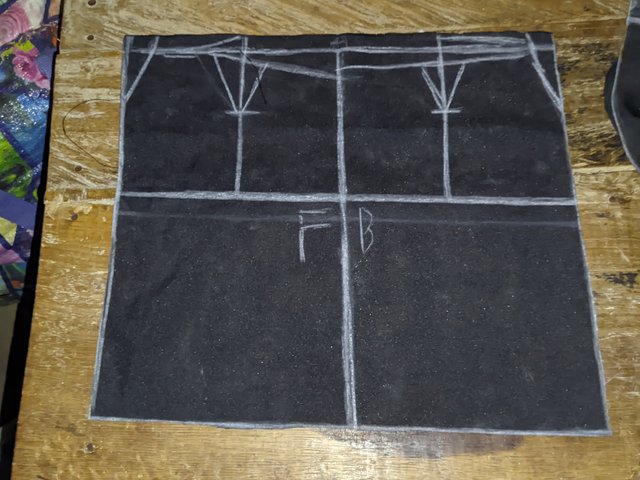
- Step 2: I then took measurements of the length. From my measurements, it's shown as 25 cm, which is actually not a direct measurement for someone. It's just a basic draft pattern. I then marked both sides 25 cm and made it a big square or rectangle if turned sideways. After making my shape, I labelled the edges ABCD. After labelling, I divided the centre of the rectangle to get my curves.
 |  |
|---|
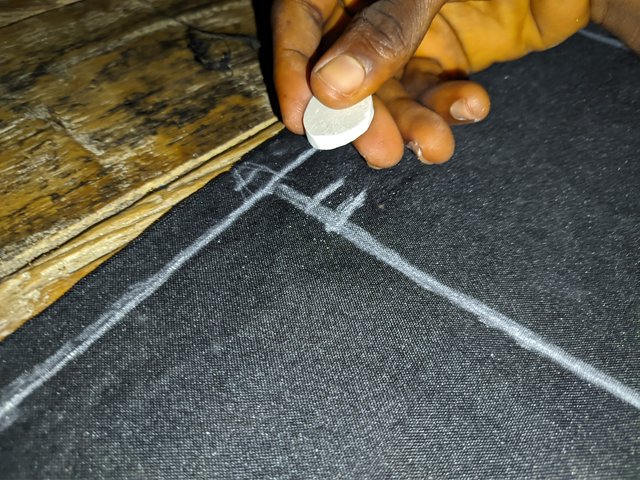
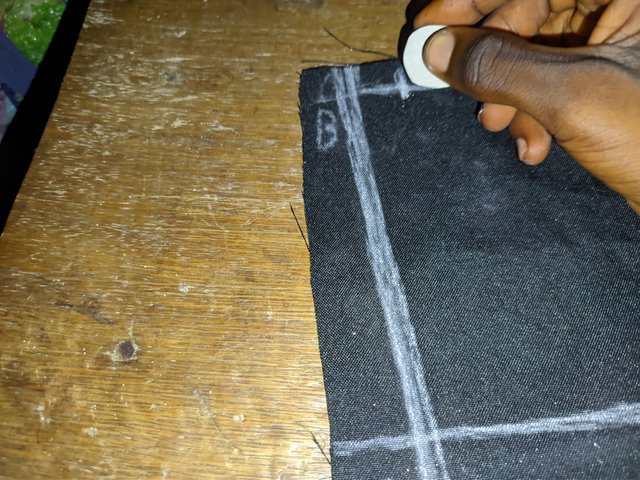
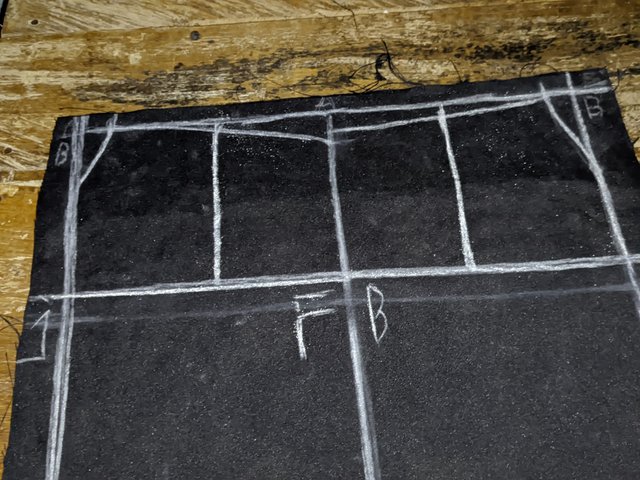
- Once this is attained, I marked the height of the hip on both sides of the skirt, which is the centre front and back pattern. I marked from the waist to the hip using measurements of 10 cm and then drew a straight line to divide it for the centre front and back.
 |  |
|---|---|
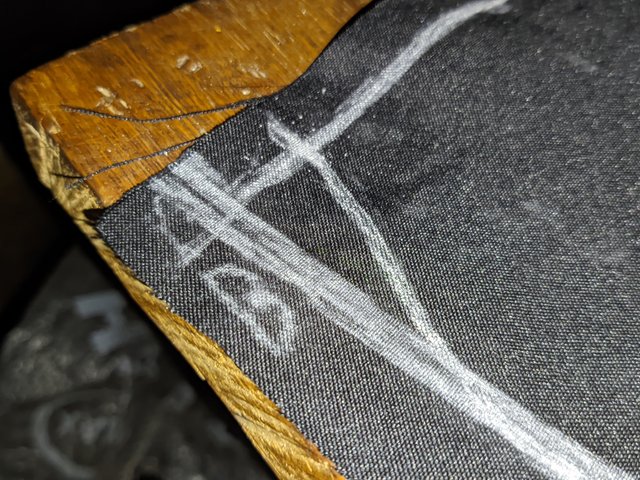 | 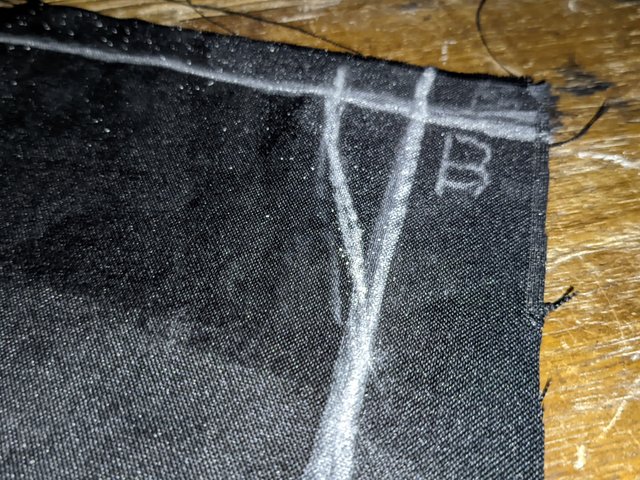 |
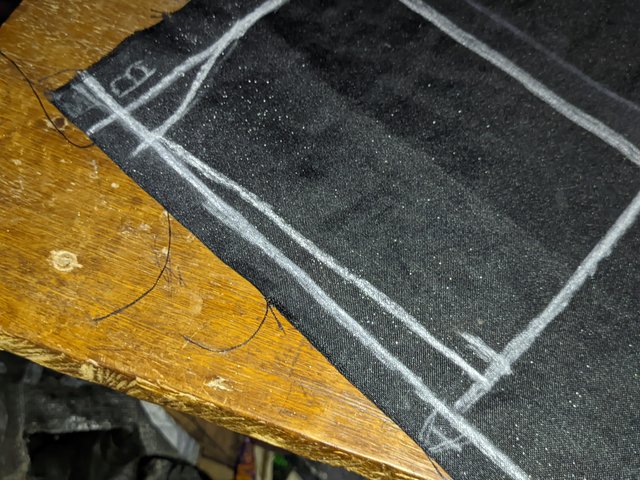
- I then made a curve on both sides after placing a 3 cm mark from point B to A. After I made this attainable, I measured 2 cm in the back pattern and 1 cm lower in the front pattern from the straight line that acts as a diameter and then joined these markings with a straight line down to where I made those curves on the extremes.
 |  |
|---|
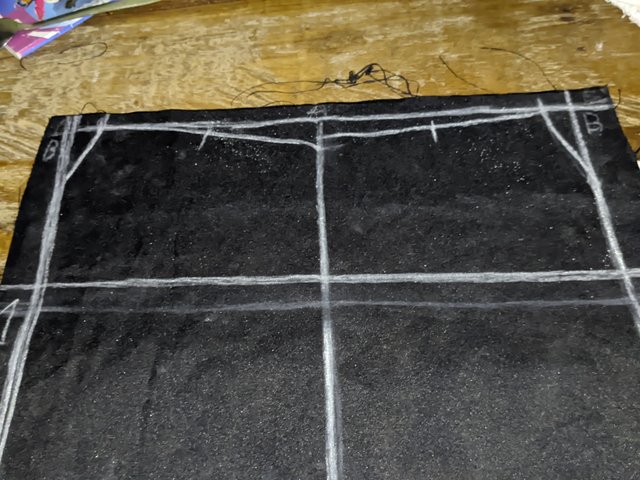
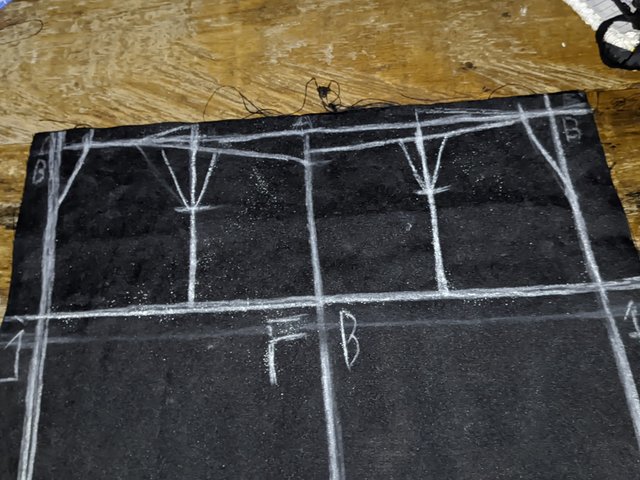
- A dart is important in any skirt to get a fitted waist. I measured my hip line to create a dart, and this was done by marking 1.5 cm on each side of the skirt after attaining a middle line from the straight line. This was to form our dart to meet the waistline.
- From this point, I made the depth to be 9 cm as sizes differ. After making the dart, I couldn't close it no doubt but wanted to sew it since it's a material and that's what would have been done to hold the skirt together both for front and for back.
 |  |
|---|---|
 | 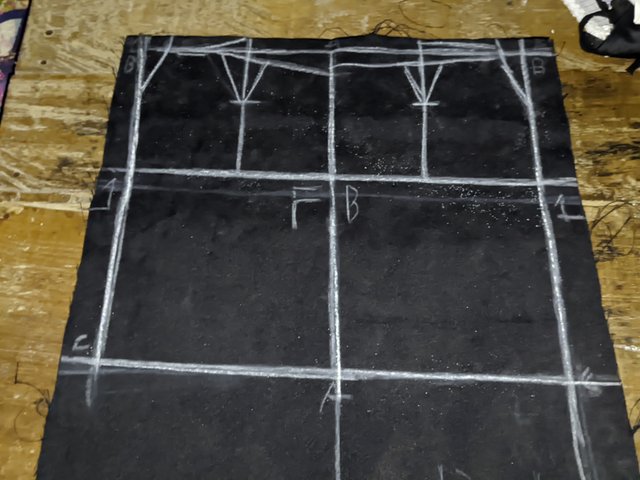 |
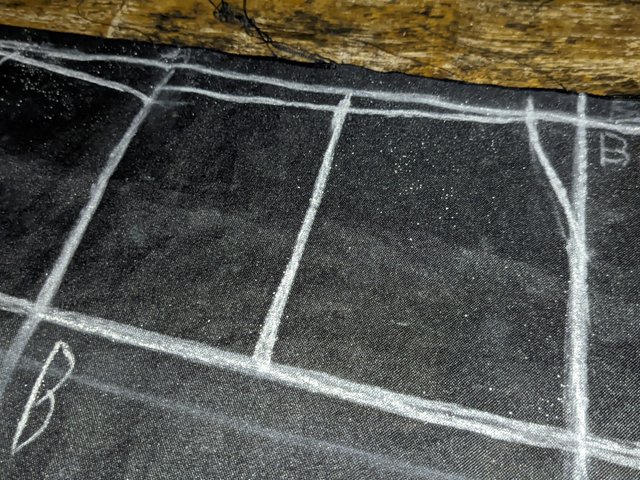
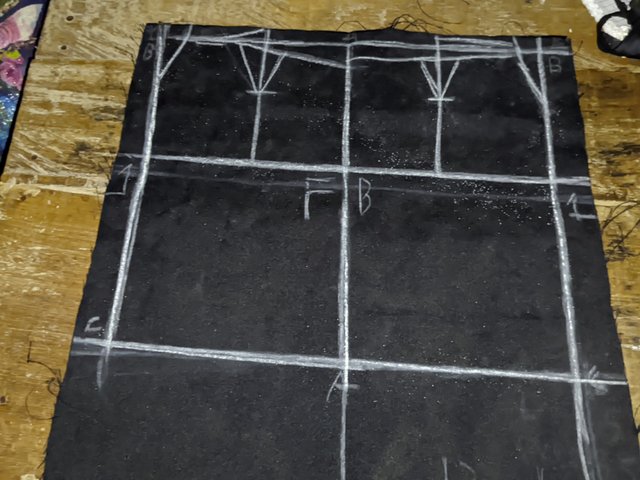
- For the dart length, I ensured it was 2 inches above the hip line to make the dart possible. I then made the connection for the centre back and connected it again to fit the waist circumference.
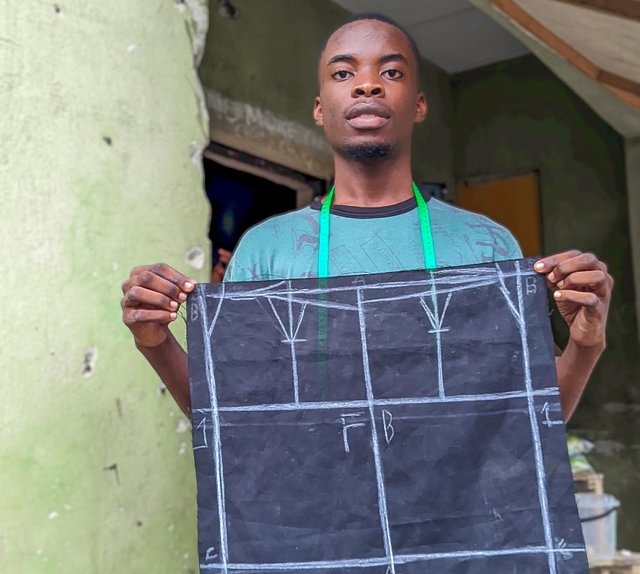
Since these are just the few steps required by my tutor, I won't give details as to how to draft the zip line and split at the back or side. That ends the tutorial. So though I'm a man and this is mostly common among women, I thought of giving it a try, and here is it. I nailed it with these results.
Cc
@lunasilver
 |  |
|---|
Upvoted. Thank You for sending some of your rewards to @null. It will make Steem stronger.
Downvoting a post can decrease pending rewards and make it less visible. Common reasons:
Submit
https://x.com/bossj23Mod/status/1840538757771964798?t=wBr7-oqPJFtwTwUmYdKgCg&s=19
Downvoting a post can decrease pending rewards and make it less visible. Common reasons:
Submit
Congratulations, your post has been upvoted by @scilwa, which is a curating account for @R2cornell's Discord Community. We can also be found on our hive community & peakd as well as on my Discord Server
Felicitaciones, su publication ha sido votado por @scilwa. También puedo ser encontrado en nuestra comunidad de colmena y Peakd así como en mi servidor de discordia
Downvoting a post can decrease pending rewards and make it less visible. Common reasons:
Submit