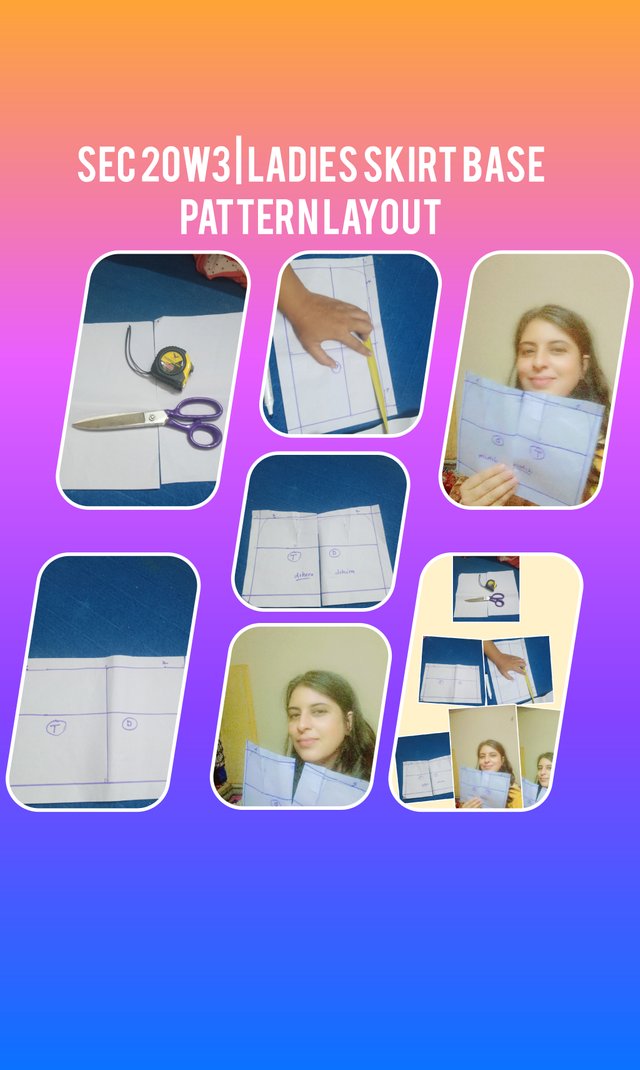
In order to tracing the skirt pattern I am using large size or 10 industrial size according to my measurements and in this case I will keep my skirt length 40 cm.
| Measurements | Size | ¼ |
|---|---|---|
| Hip circumference | 100 or 38.39" | 25/9.59" |
| Hip height | 17 | - |
| Waist circumference | 72/28.35" | 18 |
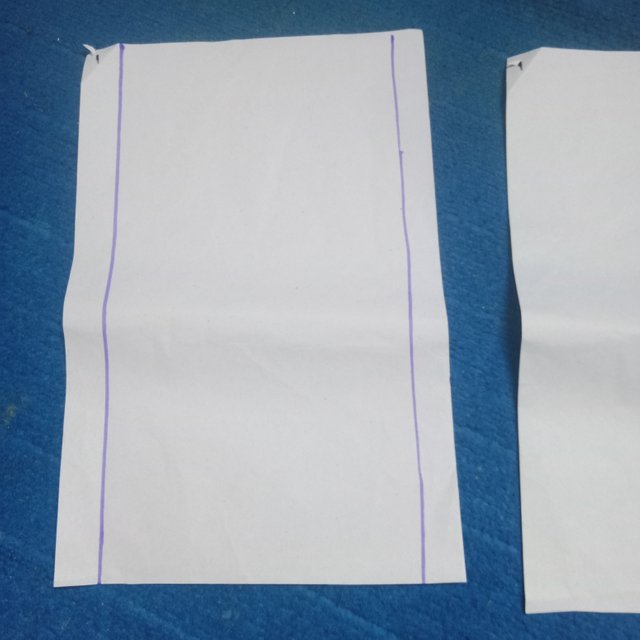
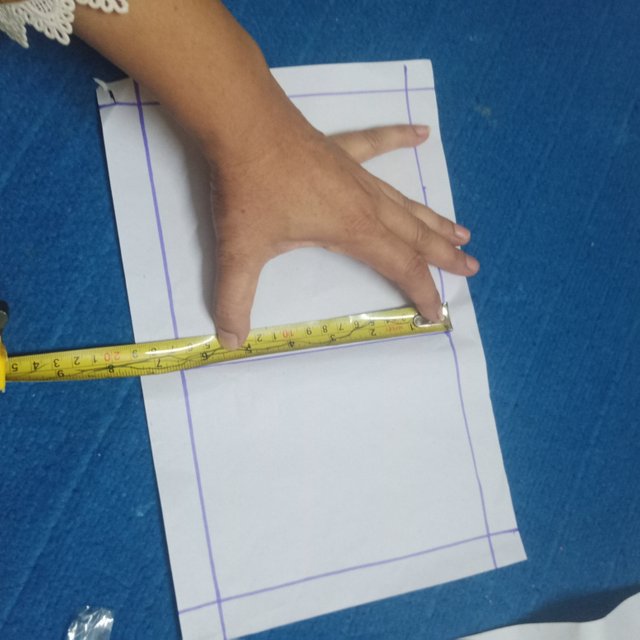
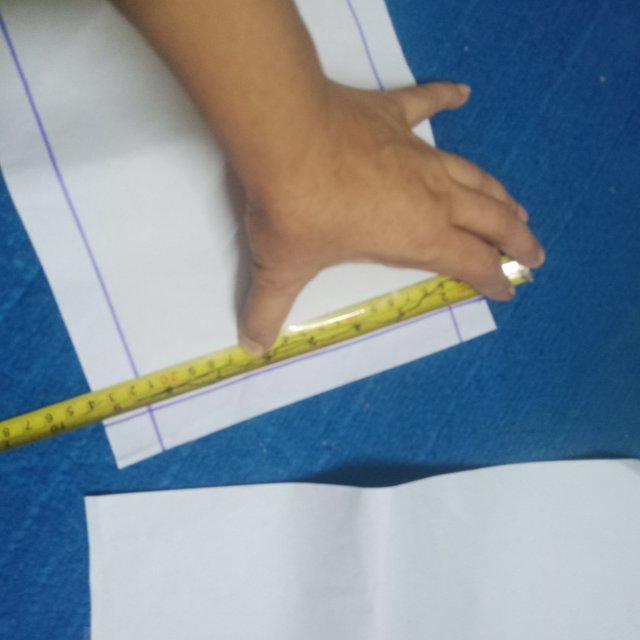
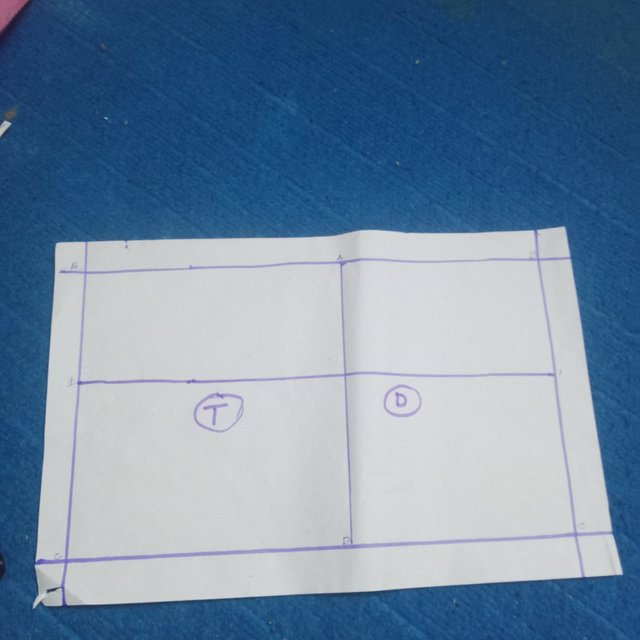
now let's start to trace it. First of all I will make 2 rectangles in which I am going to used 1/4th circumference for the hip that is 25cm as my skirt length is 40 cm. I have to complete rectangles 4 sides by labelling it ABCD respectively.
 |  |
|---|
 |  |
|---|
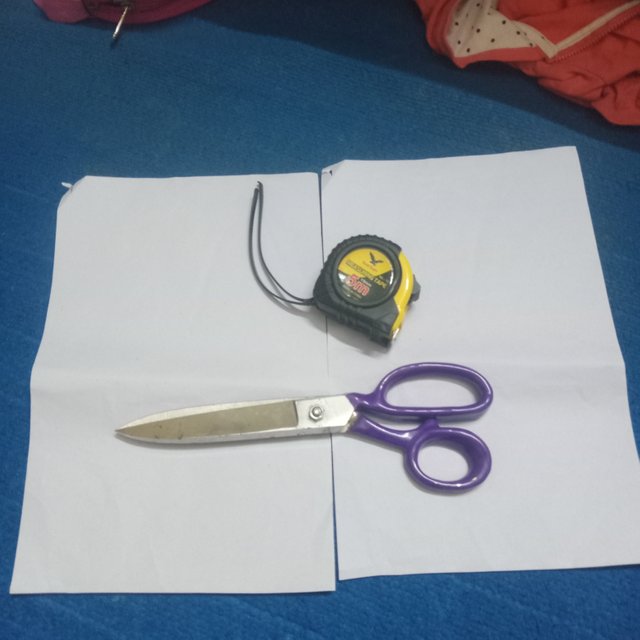
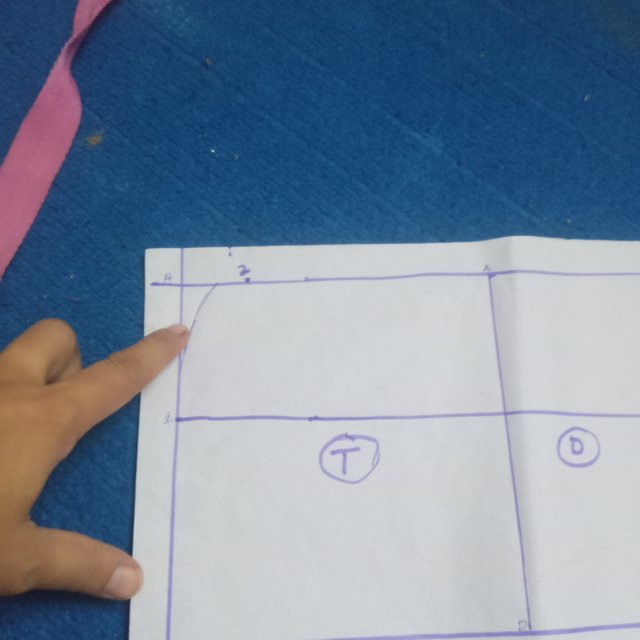
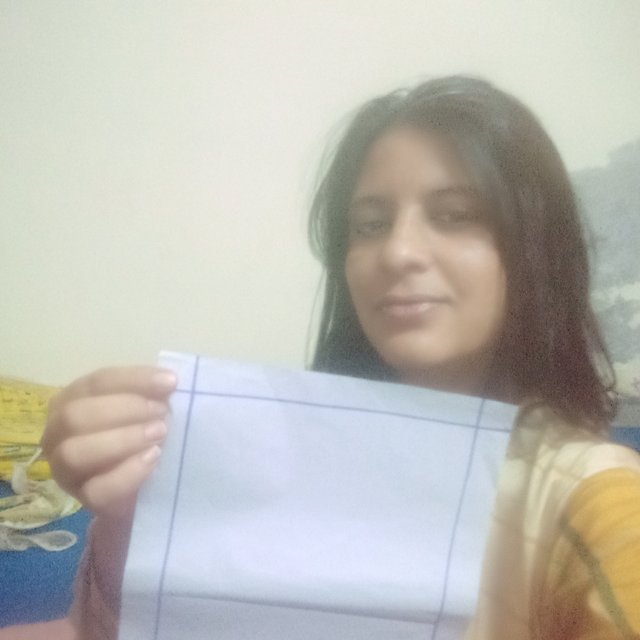
I have used following materials and made 4 sides of the rectangles.
 |  |  |
|---|
Front and back side is completed
for making the height if hip on both edges I take measurement that is 17 cm according to my standard large measurement of the shirt.

in next step I will move from rectangle side A towards B and have to mark the 18cm circumference for the waist. Hence in this I have to added 3cm more it will become total 21cm which in the picture is visible and I mark it 2. I mentioned it with curved line.

now come the backside after taking 2cm from backside and also addition of 1cm from frontal side its become the aggregate of 3cm and I have marked it with line and moved towards point 2.
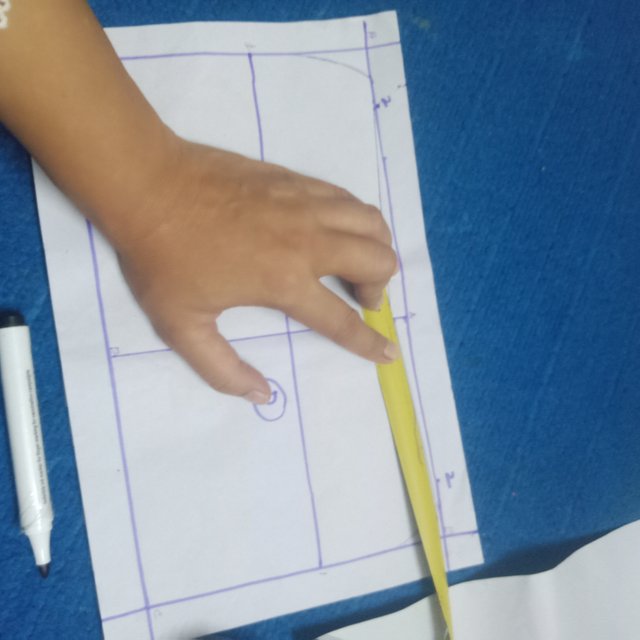
Now we will allocate half line of 2 and 3 for making the point 4 its the half line you can see in the picture too, and will move towards line 1.
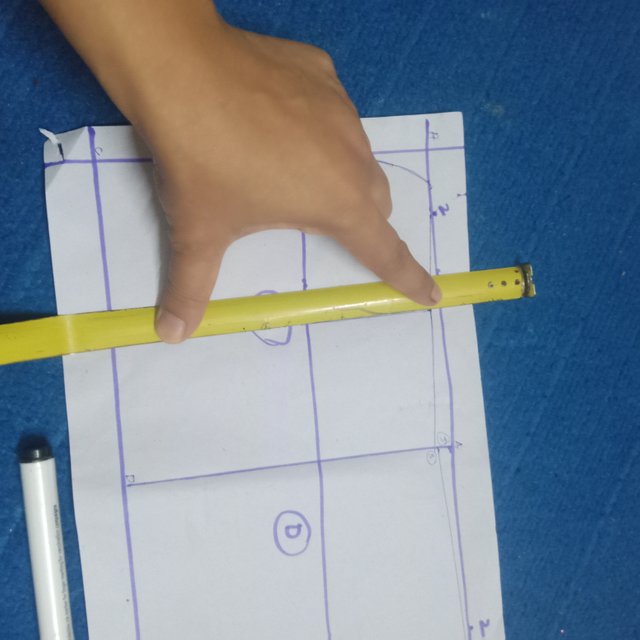
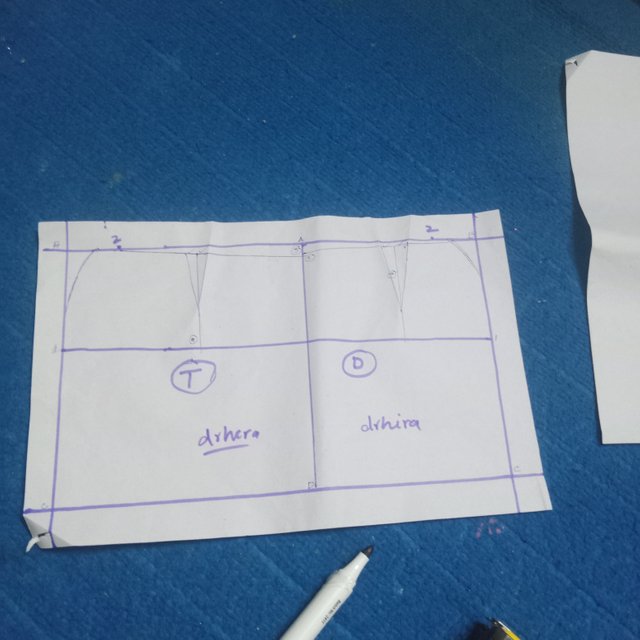
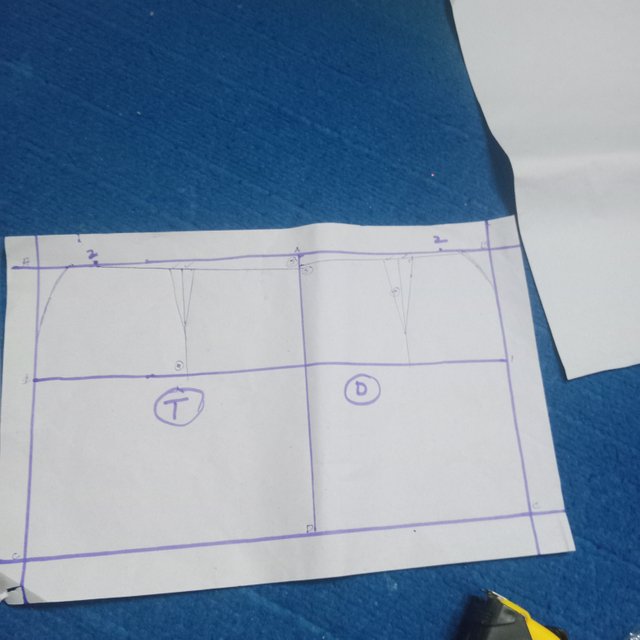
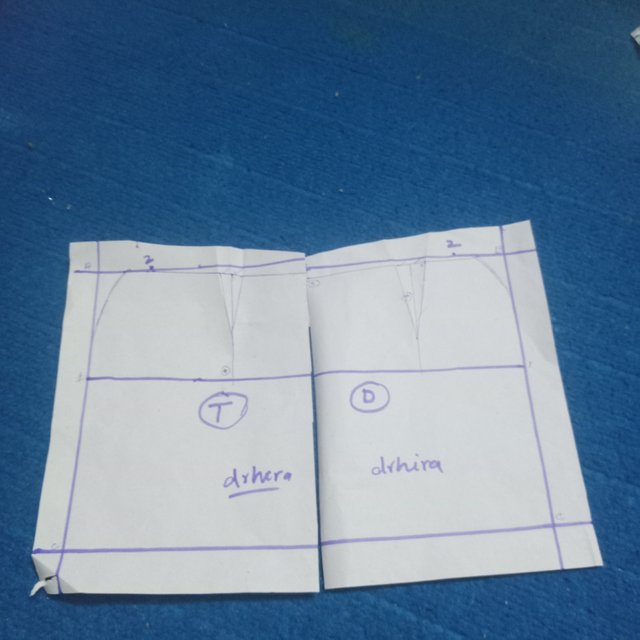
Noe we will move the dart, for making its easy on 4 point I have been marking 1.5 cm and moved it yo 8 cm and after marking it I have joined these lines so that dart can be visible. Its the final and I will going to end the clamp.
 |  |
|---|
 |  |
|---|
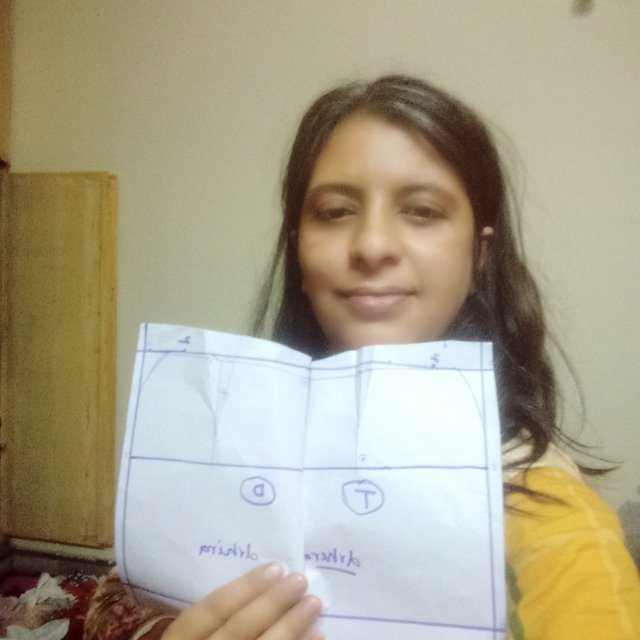
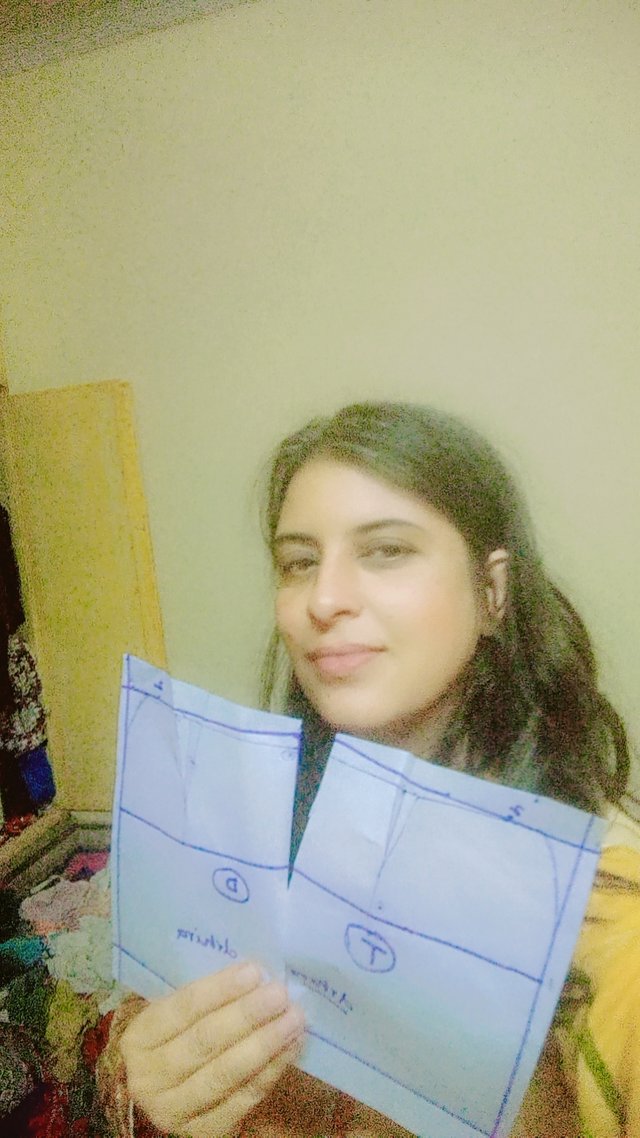
when i closed the clamp i have checked it because it should be on front and back side.
 |  |
|---|
Final look of my skirt.
Its all about my today's post, I would like to invite my friends @jannat12, @m-fdo and @iqrarana786 to take part in the challenge.
The pictures i have shared are my own property.
💯⚜2️⃣0️⃣2️⃣4️⃣ This is a manual curation from the @tipu Curation Project
@tipu curate
Downvoting a post can decrease pending rewards and make it less visible. Common reasons:
Submit
Upvoted 👌 (Mana: 4/7) Get profit votes with @tipU :)
Downvoting a post can decrease pending rewards and make it less visible. Common reasons:
Submit
Un curia genial dónde aprendimos a hacer un patrón básico de falda y veo que seguiste los pasos como se dieron en la clase.
Muchos exitos y bendiciones cariño
Downvoting a post can decrease pending rewards and make it less visible. Common reasons:
Submit
Thank you so much dear friend for support.
Downvoting a post can decrease pending rewards and make it less visible. Common reasons:
Submit