Hi Pattern Drafters!
It's a pleasure to share my pattern drafting homework with you, drafting skirts is enjoyable and rewarding, and it's suitable for all skill levels. In this post, I'll show you steps to make 4 versatile styles: the A-line skirt, straight skirt, pencil skirt, and six-piece skirt. Each design gives unique contours and can be tailored to your taste and measurements. I will show you how I constructed both the front and back patterns for each skirt. If you want to upgrade or enhance your wardrobe or explore new sewing skills, then this amazing course is for you; join and learn how to make simple yet stylish skirts and other outfits. Alright, let's start drafting!
Materials I Used For all the Skirts:
- Measuring tape.
- Paper (pattern paper or cardboard).
- Pencil or fabric markers.
- Ruler or straight edge (but I use freehand)
- Scissors
A-Line Skirt: |
|---|
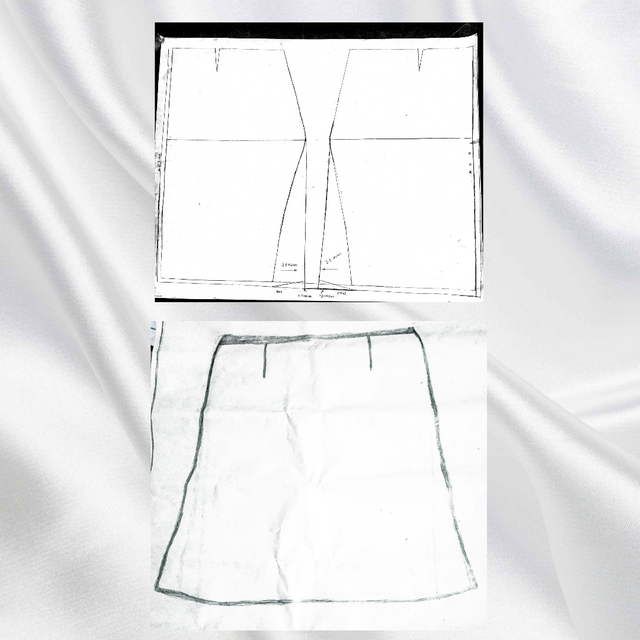
To create a draft for an A-line skirt I involve several steps and here goes a simple guide that helps me through the process:
Measurements For The A-Line Skirt:
- Waist - 33
- Waist - hip - 10
- Waist - Skirt length - 26
- Hip - 40
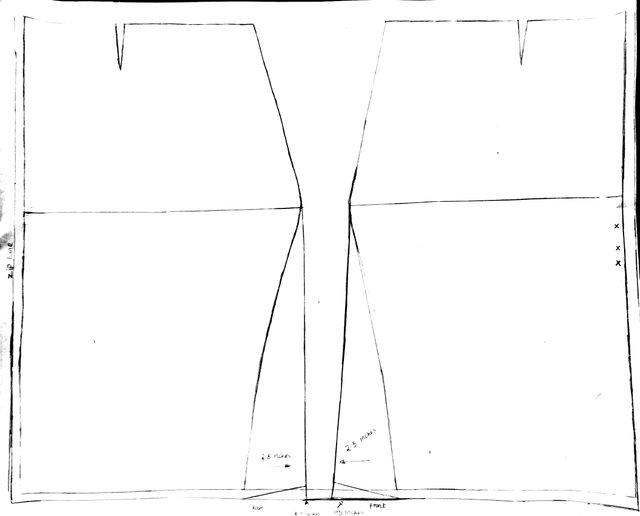
The Front Pattern:
The first thing I did was to input my vertical line measurement, which is waist to hip plus my 1.5 cm allowance when it is 33 / 4 + hem allowance. I include the measurement and connect my point. Then from my hip point, I extend to get the flare for my A-Line.
The Back Pattern:
I replicated the front pattern and added a zipper allowance to the back pattern. Then, for my dart line, I divided my hip measurements by 4, which is 40 / 4, which is equal to 10, and now divide the 10/2 = 5. This is my dart line, so I input and trace it.
Finishing:
Once satisfied with the fit, you can cut your skirt in the desired fabric, following the drafted pattern.
AHH enjoy sewing your A-line skirt!😉
Pencil Skirt: |
|---|
As the name of this skirt implies this kind of skirt is fitted from the waist to the length of the skirt. The end is even more tight.
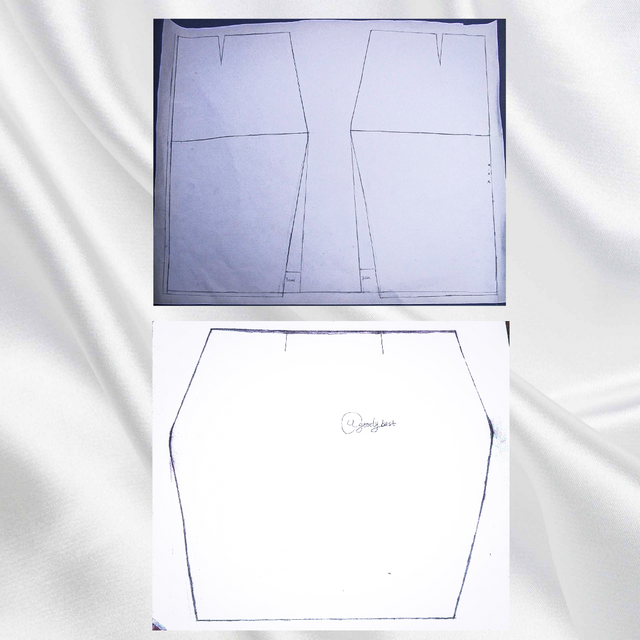
Measurements Needed:
Waist point, Hip Point, and Round knee width} Body Circumference
Waist - Knee width, Waist - Skirt length} Vertical body measurement.
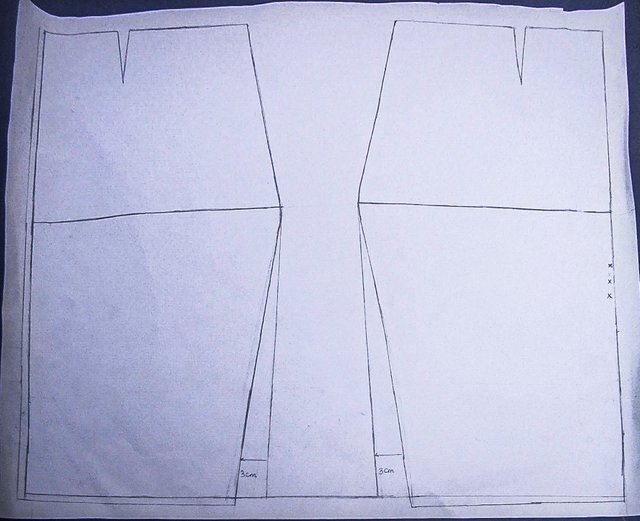
The Front Pattern:
To avoid wasting my material I use my hip measurement to determine what to fold on the material. To get what to fold, I divided the hip by 4 and added an allowance. Next, I input my vertical body line measurement from points A -To B and then to C. A- is waist, B is hip Point, and C is Knee width.
Next, I input my body circumference, connected my point from A-C, and added a 1.5-inch seam line to the skirt. Then my body conference is divided by a 4 + 1.5 seam line.
The Back Pattern:
I repeated the steps I used for the front pattern, but I added one inch to the zip line.
For the front and back dart line, I use a constant book to know my dart line using my hip points.
Straight Skirt: |
|---|
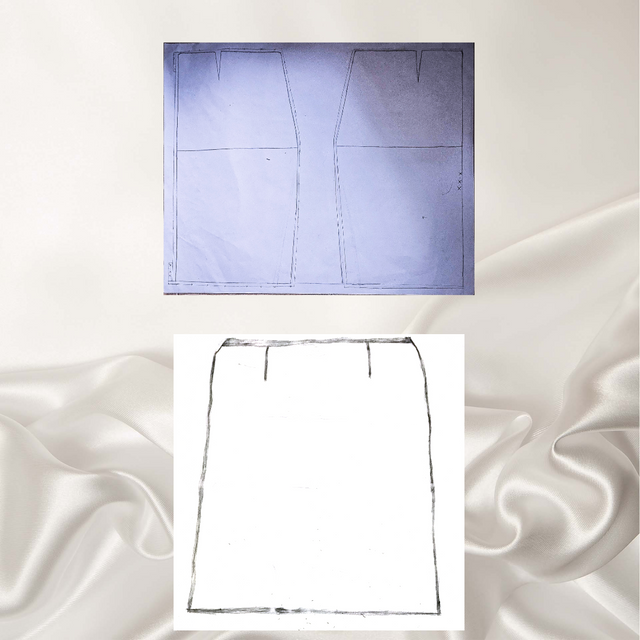
Straight skirts are almost similar to pencil skirts, but the difference is that the skirt is fitted at the waist and slightly free from the hip to the skirt length. This kind of skirt is not tight; but rather free on the body.
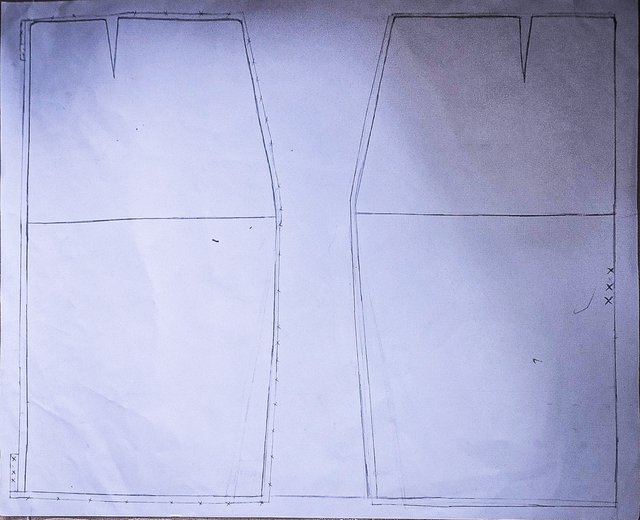
To draft this skirt pattern, I input my vertical line body measurement and skirt length, then I input my body's circumference divided by 4 + seam line of 1.5 inches. I connected my point from waist to hip, and then from the hip point, I drew a straight line to the skirt length.
For the back pattern I repeated the same method for the front pattern and added zipper allowance to the back line.
For the front and back dart line, I use a constant book to know my dart line using my hip points.
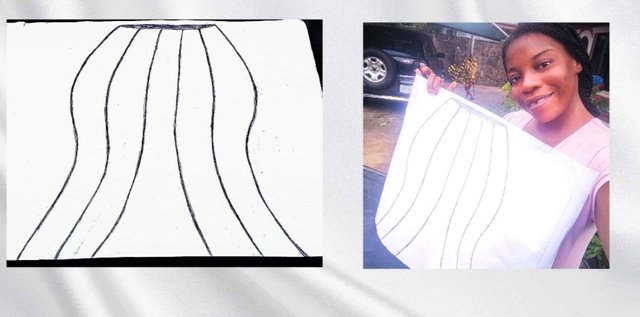
The Model Of The Skirt I Would Like To Design: |
|---|
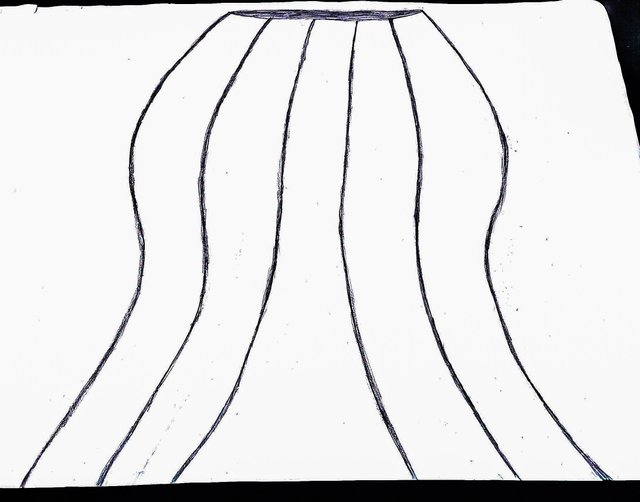
The kind of skirt I would love to design is the mermaid skirt, I love it for its flattering contour that accentuates curves beautifully. The skirt's elegant design adds a touch of glam to any outfit, be it with a blouse or gown, making it perfect for both casual and formal occasions. The beautiful flare at the hem creates movement and gives a sense of confidence and sophistication.
Thank you so much for the lesson @lunasilver, I really enjoyed.
Upvoted. Thank You for sending some of your rewards to @null. It will make Steem stronger.
Downvoting a post can decrease pending rewards and make it less visible. Common reasons:
Submit
Downvoting a post can decrease pending rewards and make it less visible. Common reasons:
Submit
Thank you @eliany
Downvoting a post can decrease pending rewards and make it less visible. Common reasons:
Submit