I have tailor friends, and it amazes me when I see those cuts turn out into something meaningful; it is a skill I must learn and beginning from now, I want to practice this so I can make other people's clothes and even mine, so I practice other courses to be able to meet up.
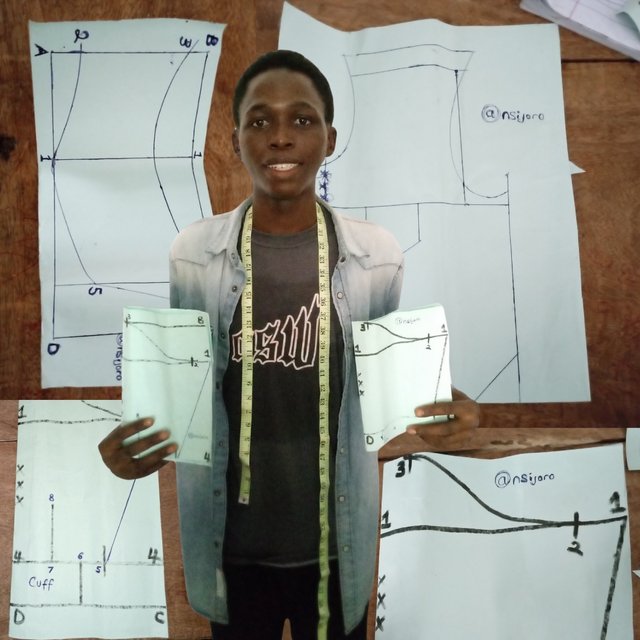
THE SLEEVES |
|---|
I have short and long sleeves clothes, the Nigerian senator material also have sleeves clothes that are three quarter but since it hasn't reach the wrist we can still call it short sleeves
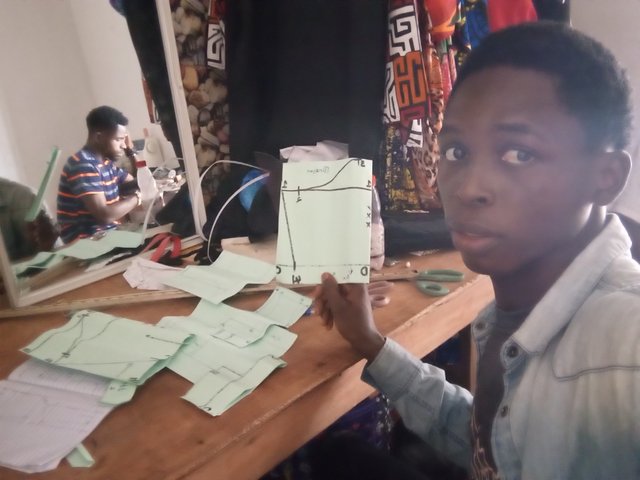
THE SHORT SLEEVES |
|---|
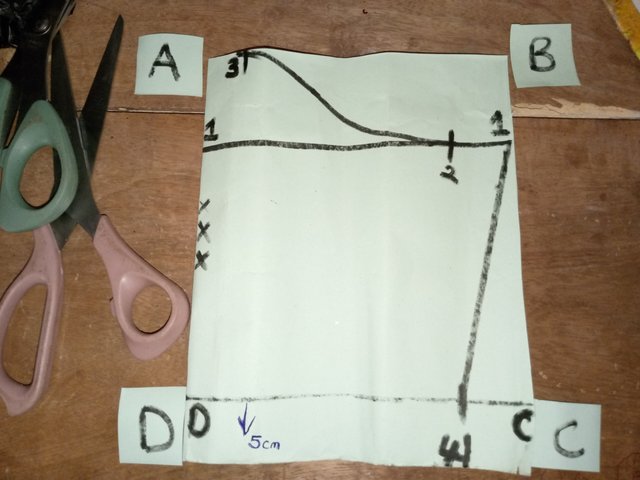
I will be showing you a clear example from a structural representation like the ones given by the challenger initiator for clarity.
I just discovered that the measurement given will be the back width measurement, short sleeve length and arm circumference.
For drafting out my short leaves on the paper or the material, what I did was placed my folded Fabric or paper on the floor.
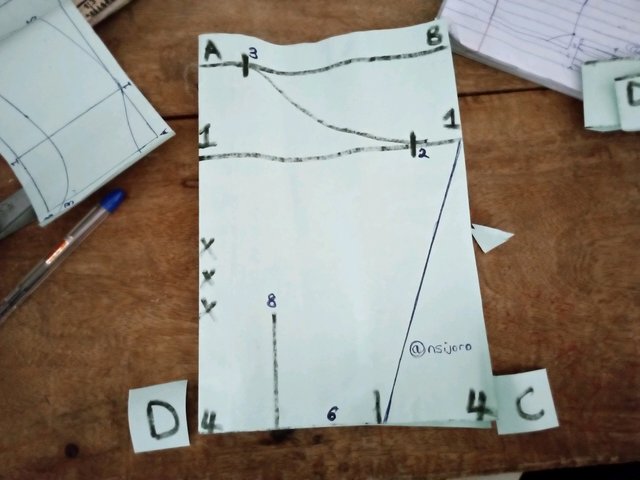
- Draw a straight line from the top of the folded pattern path marked A inside the fabric and then mark B; the point measurement should be your shoulder joint or upper arm measurement divided by half + 1 cm additional for stitching allowance.
Go down 1/6 of the back width which will be the height of the sleeves cap,
The next line marked will be how long I want my sleeve to be and this is by joining a line from B downward this then forms the rectangular box
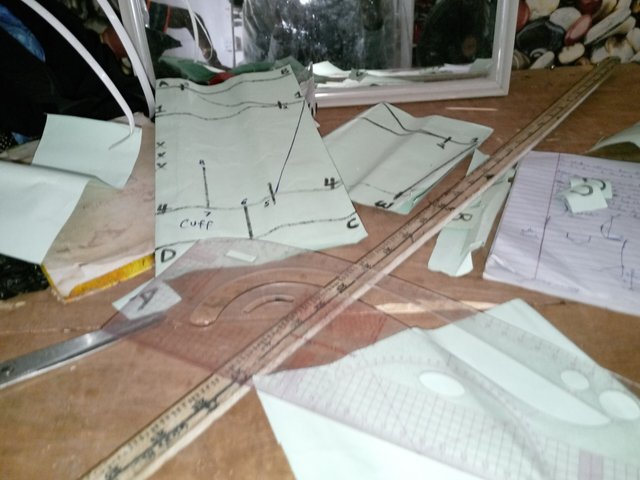
Line A - B is a line the starting line C - D is the ending line,
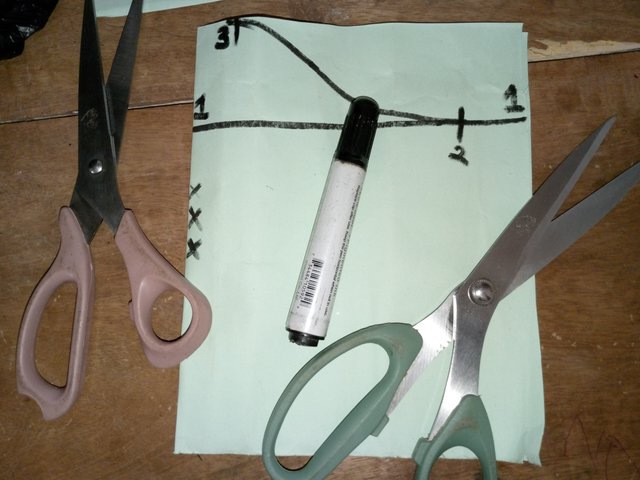
1/6 of the back width is measured on distance A - D, mark the point and trace it down to the same point distance marked on BC, when that is done, you can call the new line that divides the original box point 1, label it on both ends so you can see the line.
From the new line labelled point 1, half the circumferential measurement of the upper part of the arm divided by two is inputted. Remember, our cardboard/fabric is folded into two, so half the measurement is marked on the cardboard, and an additional 1cm is added for allowance. (just a repetition)
From C - D measure the biceps circumference and divide it into half +2cm for stitching allowance call it to point 4 and then from BC where you have the intersection of point 1, draw a line to meet with point 4 on C - D, then take it out of the line by some centimetre maybe 3cm because in short sleeves there is no strong handcuff, so we are only folding it from here.
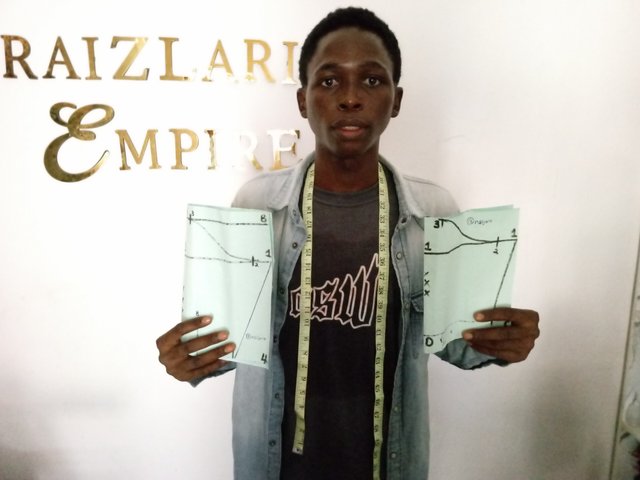
THE LONG SLEEVES |
|---|
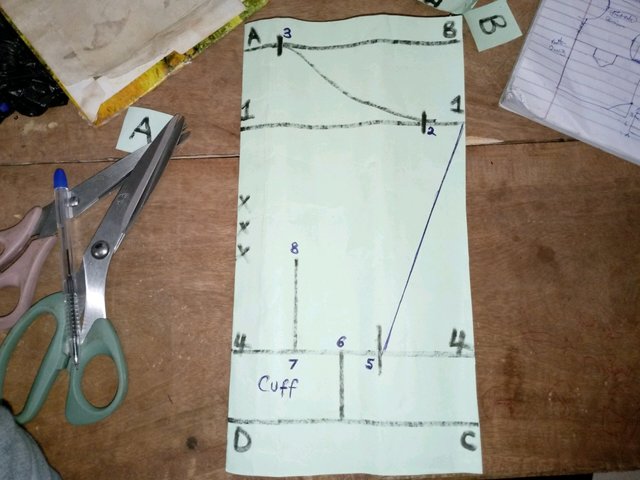
The same method is used for the long sleeves. The only changes here are the length of the sleeves and the wrist cuff.
Point AB is half the circumference of the sleeves cap plus some centimetre for allowance let's say 1cm
Point 1 is gotten by measuring 1/6 of the back width, i.e. if 1/6 is 3 inches from AD, point BC should also be the same 3 inches, then join both ends marked points together.
Measure 1/2 of the circumference of the upper arm region + 1 cm for stitching allowance is the measure of AB, the elbow region is always cuff out so you can choose to measure the circumference of the elbow region + 1 cm and create an extra line that may likely divide the point AD into equal or closely equal two halves.
Measure the circumference of the wrist and divide by half +1cm for stitching allowance trace from point intersection on line BC to the point online CD
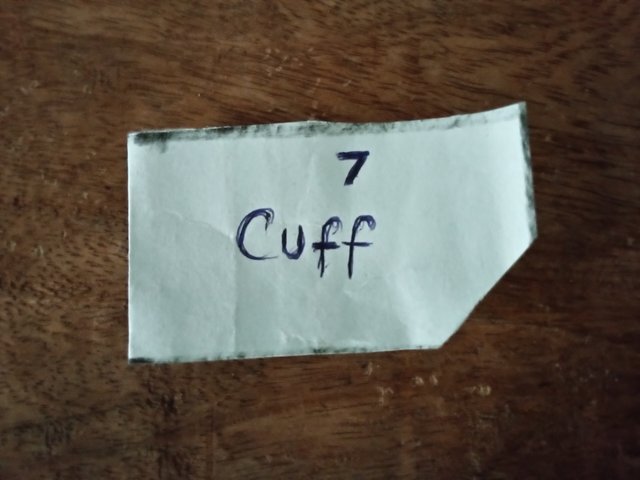
The width of the cuff is measured by moving 6cm vertically from the bottom, and a point is traced to meet line AD a d BC; this cuff can be cut then the split on the long sleeves is now made on the back when your fabric is open. Make sure all lines are joined together for proper cutting.
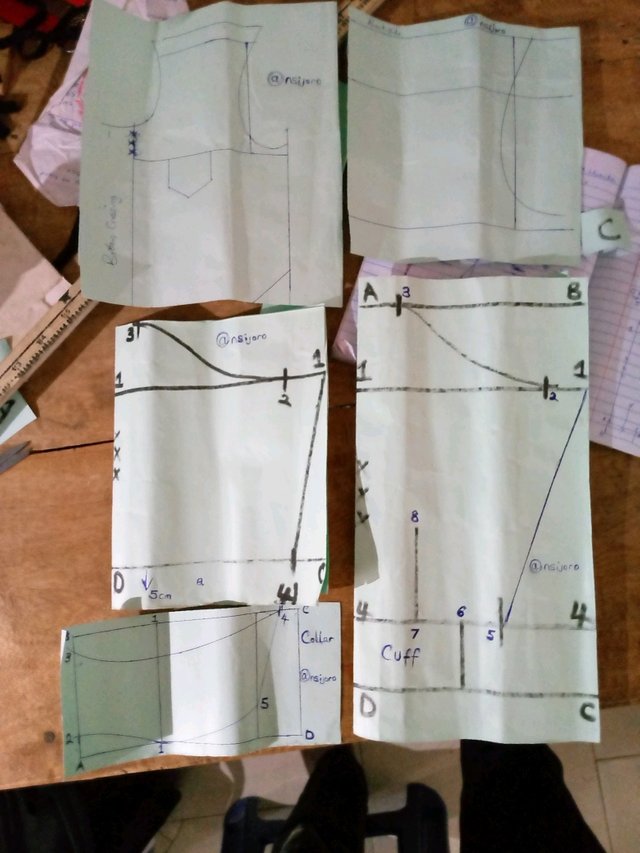
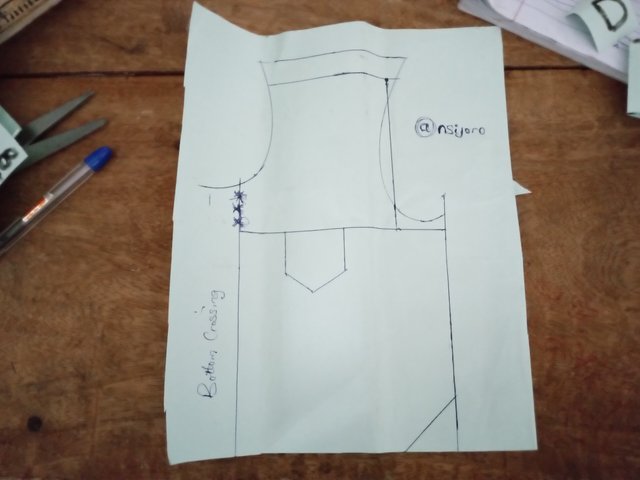
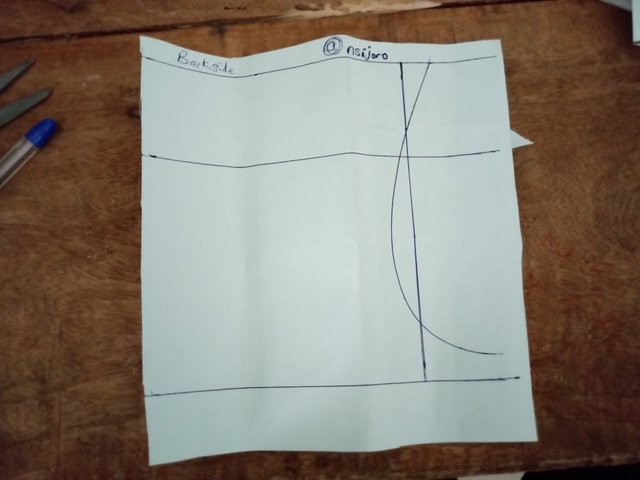
Image of back, sleeves, collar, cuffs etc
 |  |
|---|---|
 |  |
 |  |
I would love to to see entries from @basil20 @whizzbro4eva, @pea07 and @ninapenda soon
You've got a free upvote from witness fuli.
Peace & Love!
Downvoting a post can decrease pending rewards and make it less visible. Common reasons:
Submit
X promotion link
https://x.com/nsijoro/status/1862359561719451974?t=2zm_s2u6MuRbec7sBuBsqA&s=19
Downvoting a post can decrease pending rewards and make it less visible. Common reasons:
Submit