Bokeh Bokeh Bokeh!
You either love it, or you reaaaallllly love it. Bokeh/depth of field is produced when a subject (generally in the foreground) is in sharp focus, while the scene behind the subject is out of focus. This often serves to emphasize the subject while simultaneously removing distractions in the background with a blur pleasing to the eye. This short article will cover the extremely basic methods of producing bokeh.
 Many new and experienced photographers crave the best possible bokeh and will even place Christmas lights in the background of their shots to achieve the highly-sought “bokeh-balls”. So, In the files below I demonstrate how to achieve a desired level of bokeh and how one can capture these aesthetically pleasing circles of light.
The reason why this post is so short is…well…because bokeh is pretty basic (lucky for you newbies). While it does require some advanced processing skills in photoshop or lightroom to mold your bokeh into unique shapes, those techniques are generally highly specialized an unnecessary for most photographers. The shape of the bokeh you produce often depends on the lens/system you are using, as some lenses will produce bokeh “balls” while others produce bokeh “hexagons”
Aperture
The first step is to open your lens wide. This means using a larger aperture (meaning a small aperture number, I know, confusing). The larger the hole that is letting light into your lens, the shallower your range of focus will be, letting you put a specific subject into focus and blurring out everything else in creamy delicious bokeh. In the picture below, I opened my camera’s aperture all the way to F/1.4 and focused on the leaves resting on the log. As a result, the foliage and staircase in the background blurred because my field of focus was too shallow to include detail in the background of the picture as well.
 It is exactly for this reason that most photos of sweeping landscapes are shot at F/11 or smaller: The smaller the hole that lets light into your lens, the wider your field of focus is, letting you capture sharp detail in the foreground’s grass while simultaneously being able to distinguish the rocky features of the mountains in the picture’s background.
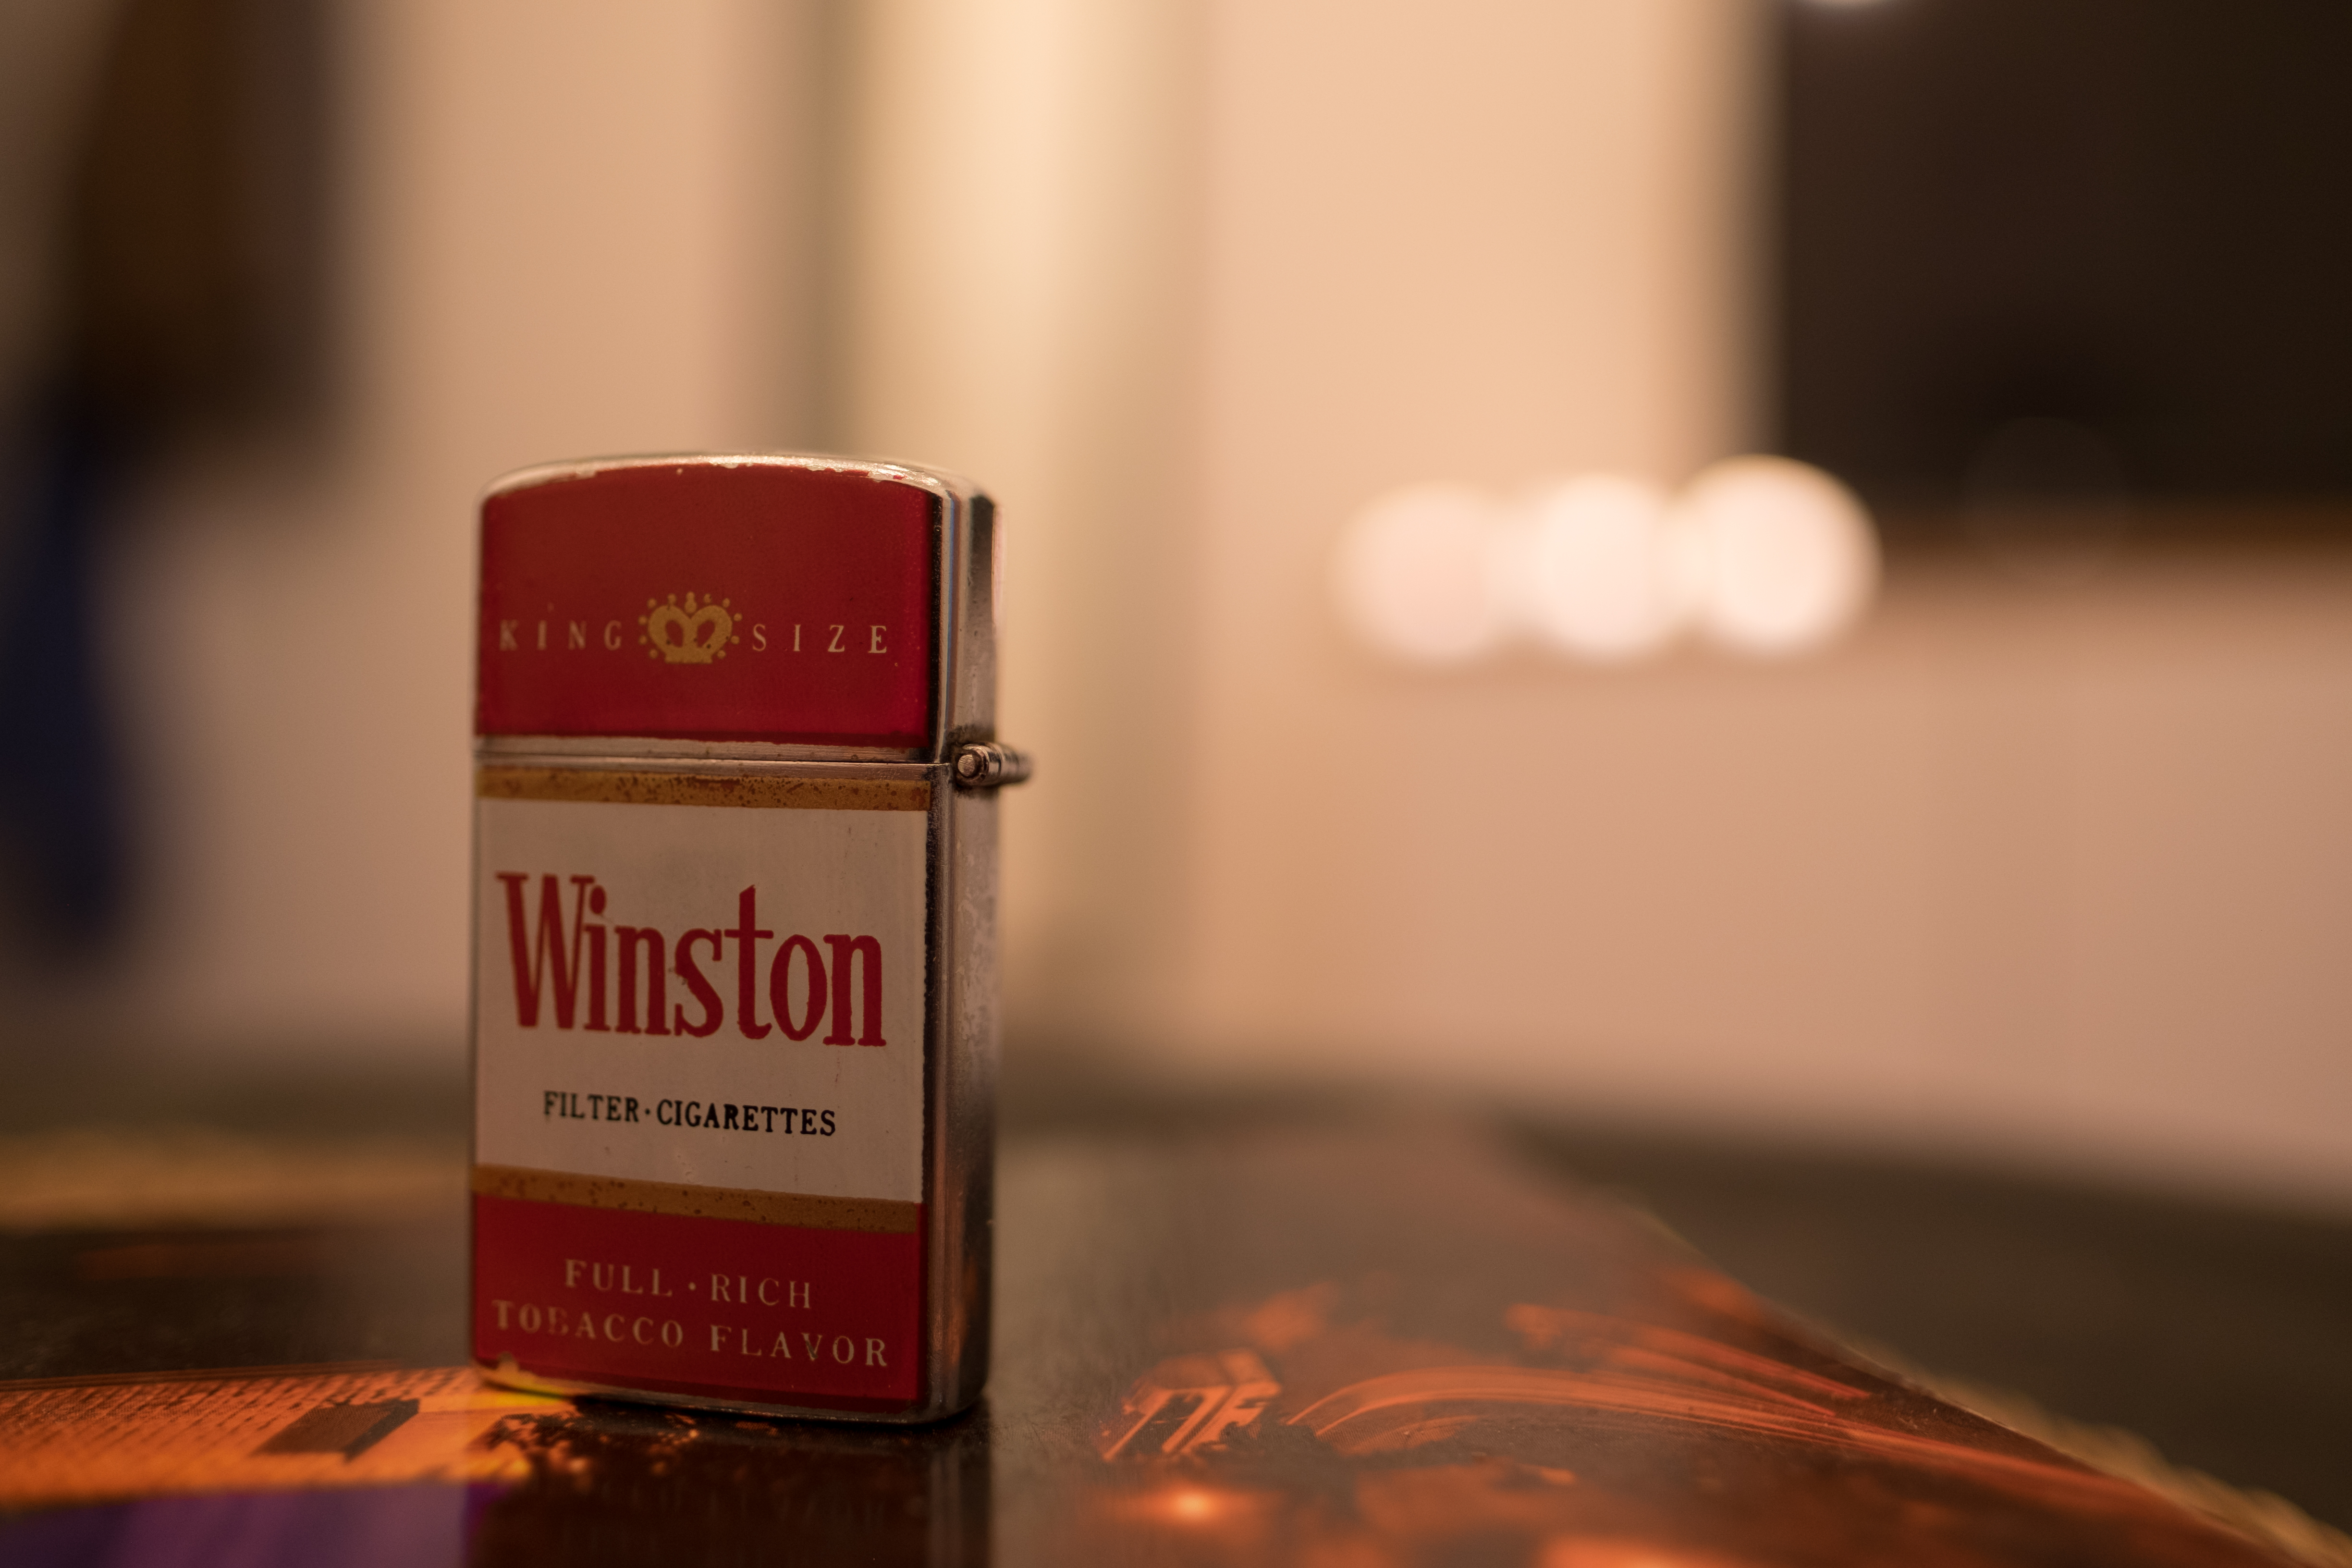
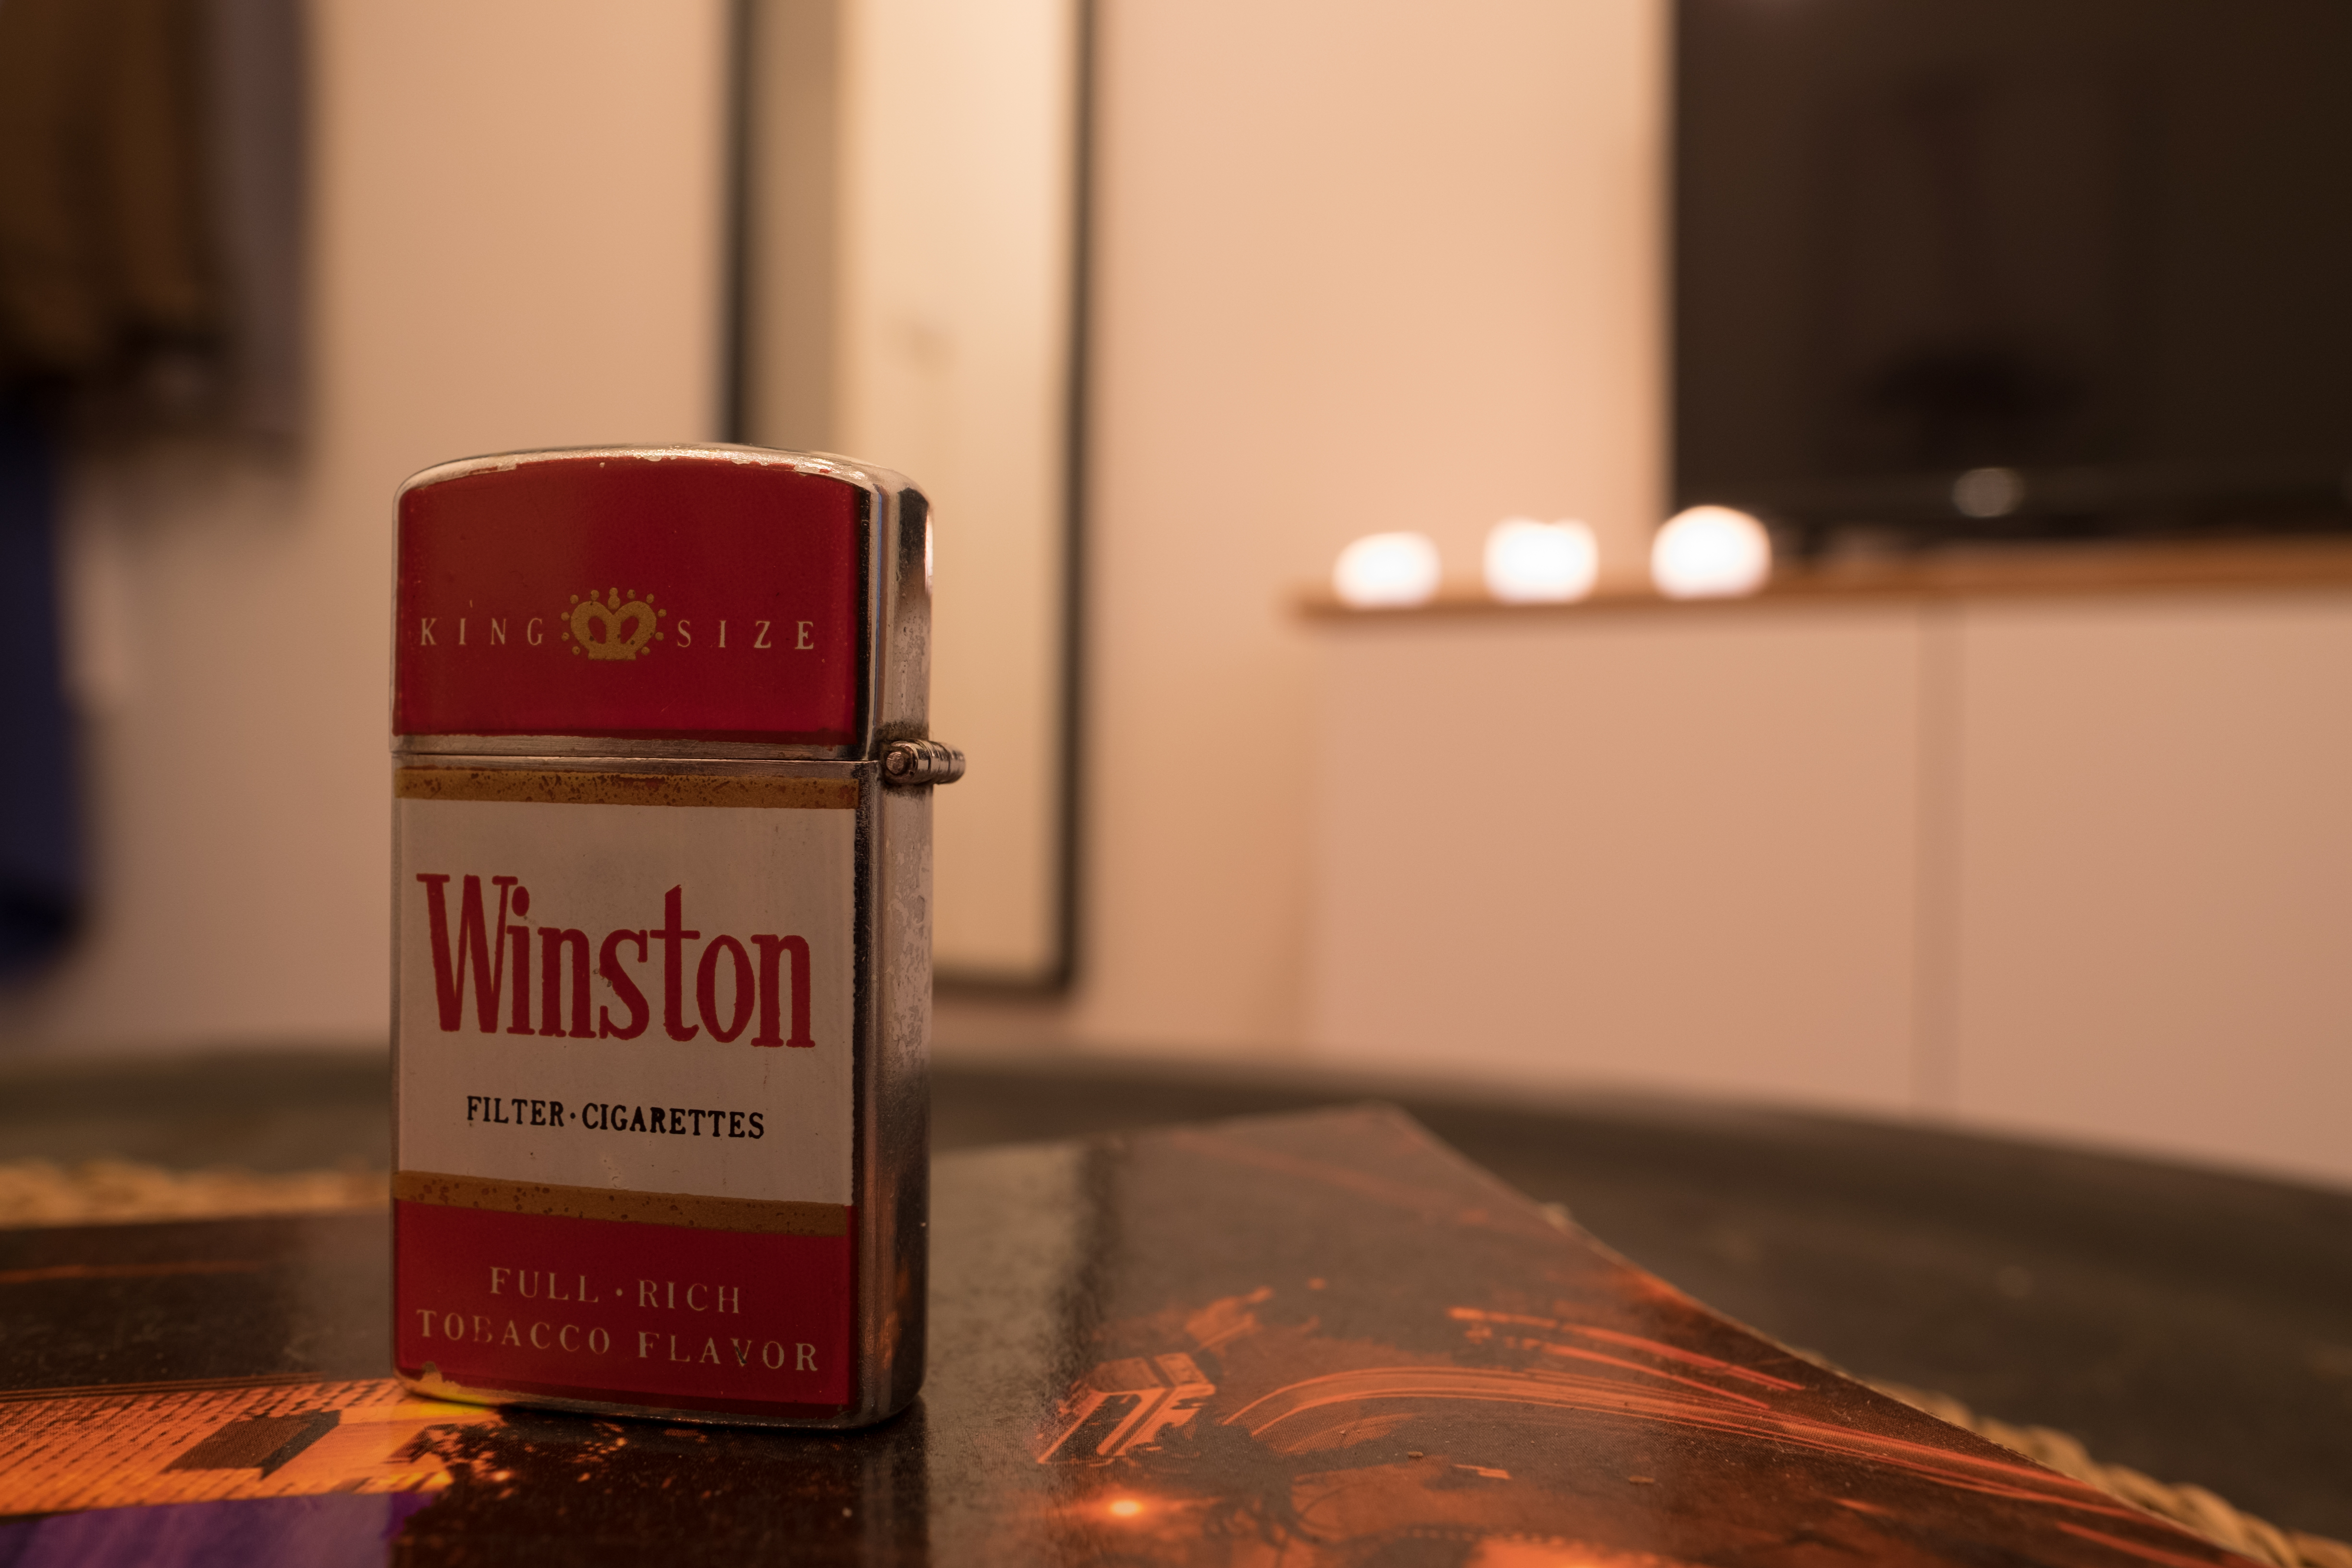
I have taken some unedited test shots of an old Winston lighter to demonstrate the effects of using different apertures on the same subject. You will notice that as the aperture becomes smaller and smaller, more detail will be pulled out from the background of the photographs. Keep in mind that I use a FujiFilm with a crop sensor, so the bokeh produced will not be as strong as a full frame system in some cases (99% of the time the bokeh works just as well, so if you are thinking about getting a crop-sensor for the lighter weight I recommend it. I may be biased though because i travel a lot and dont want to lug around a bunch of heavy equipment). My apartment was also dark, so i turned the ISO up to 400. I also lit three candles to place behind the lighter to so how aperture will interact with individual sources of light.
ISO 400 F/1.4
 ISO 400 F/2.0
 ISO 400 F/2.8
 ISO 400 F/4
 ISO 400 F/5.6
 ISO 400 F/8
 ISO 400 F/11
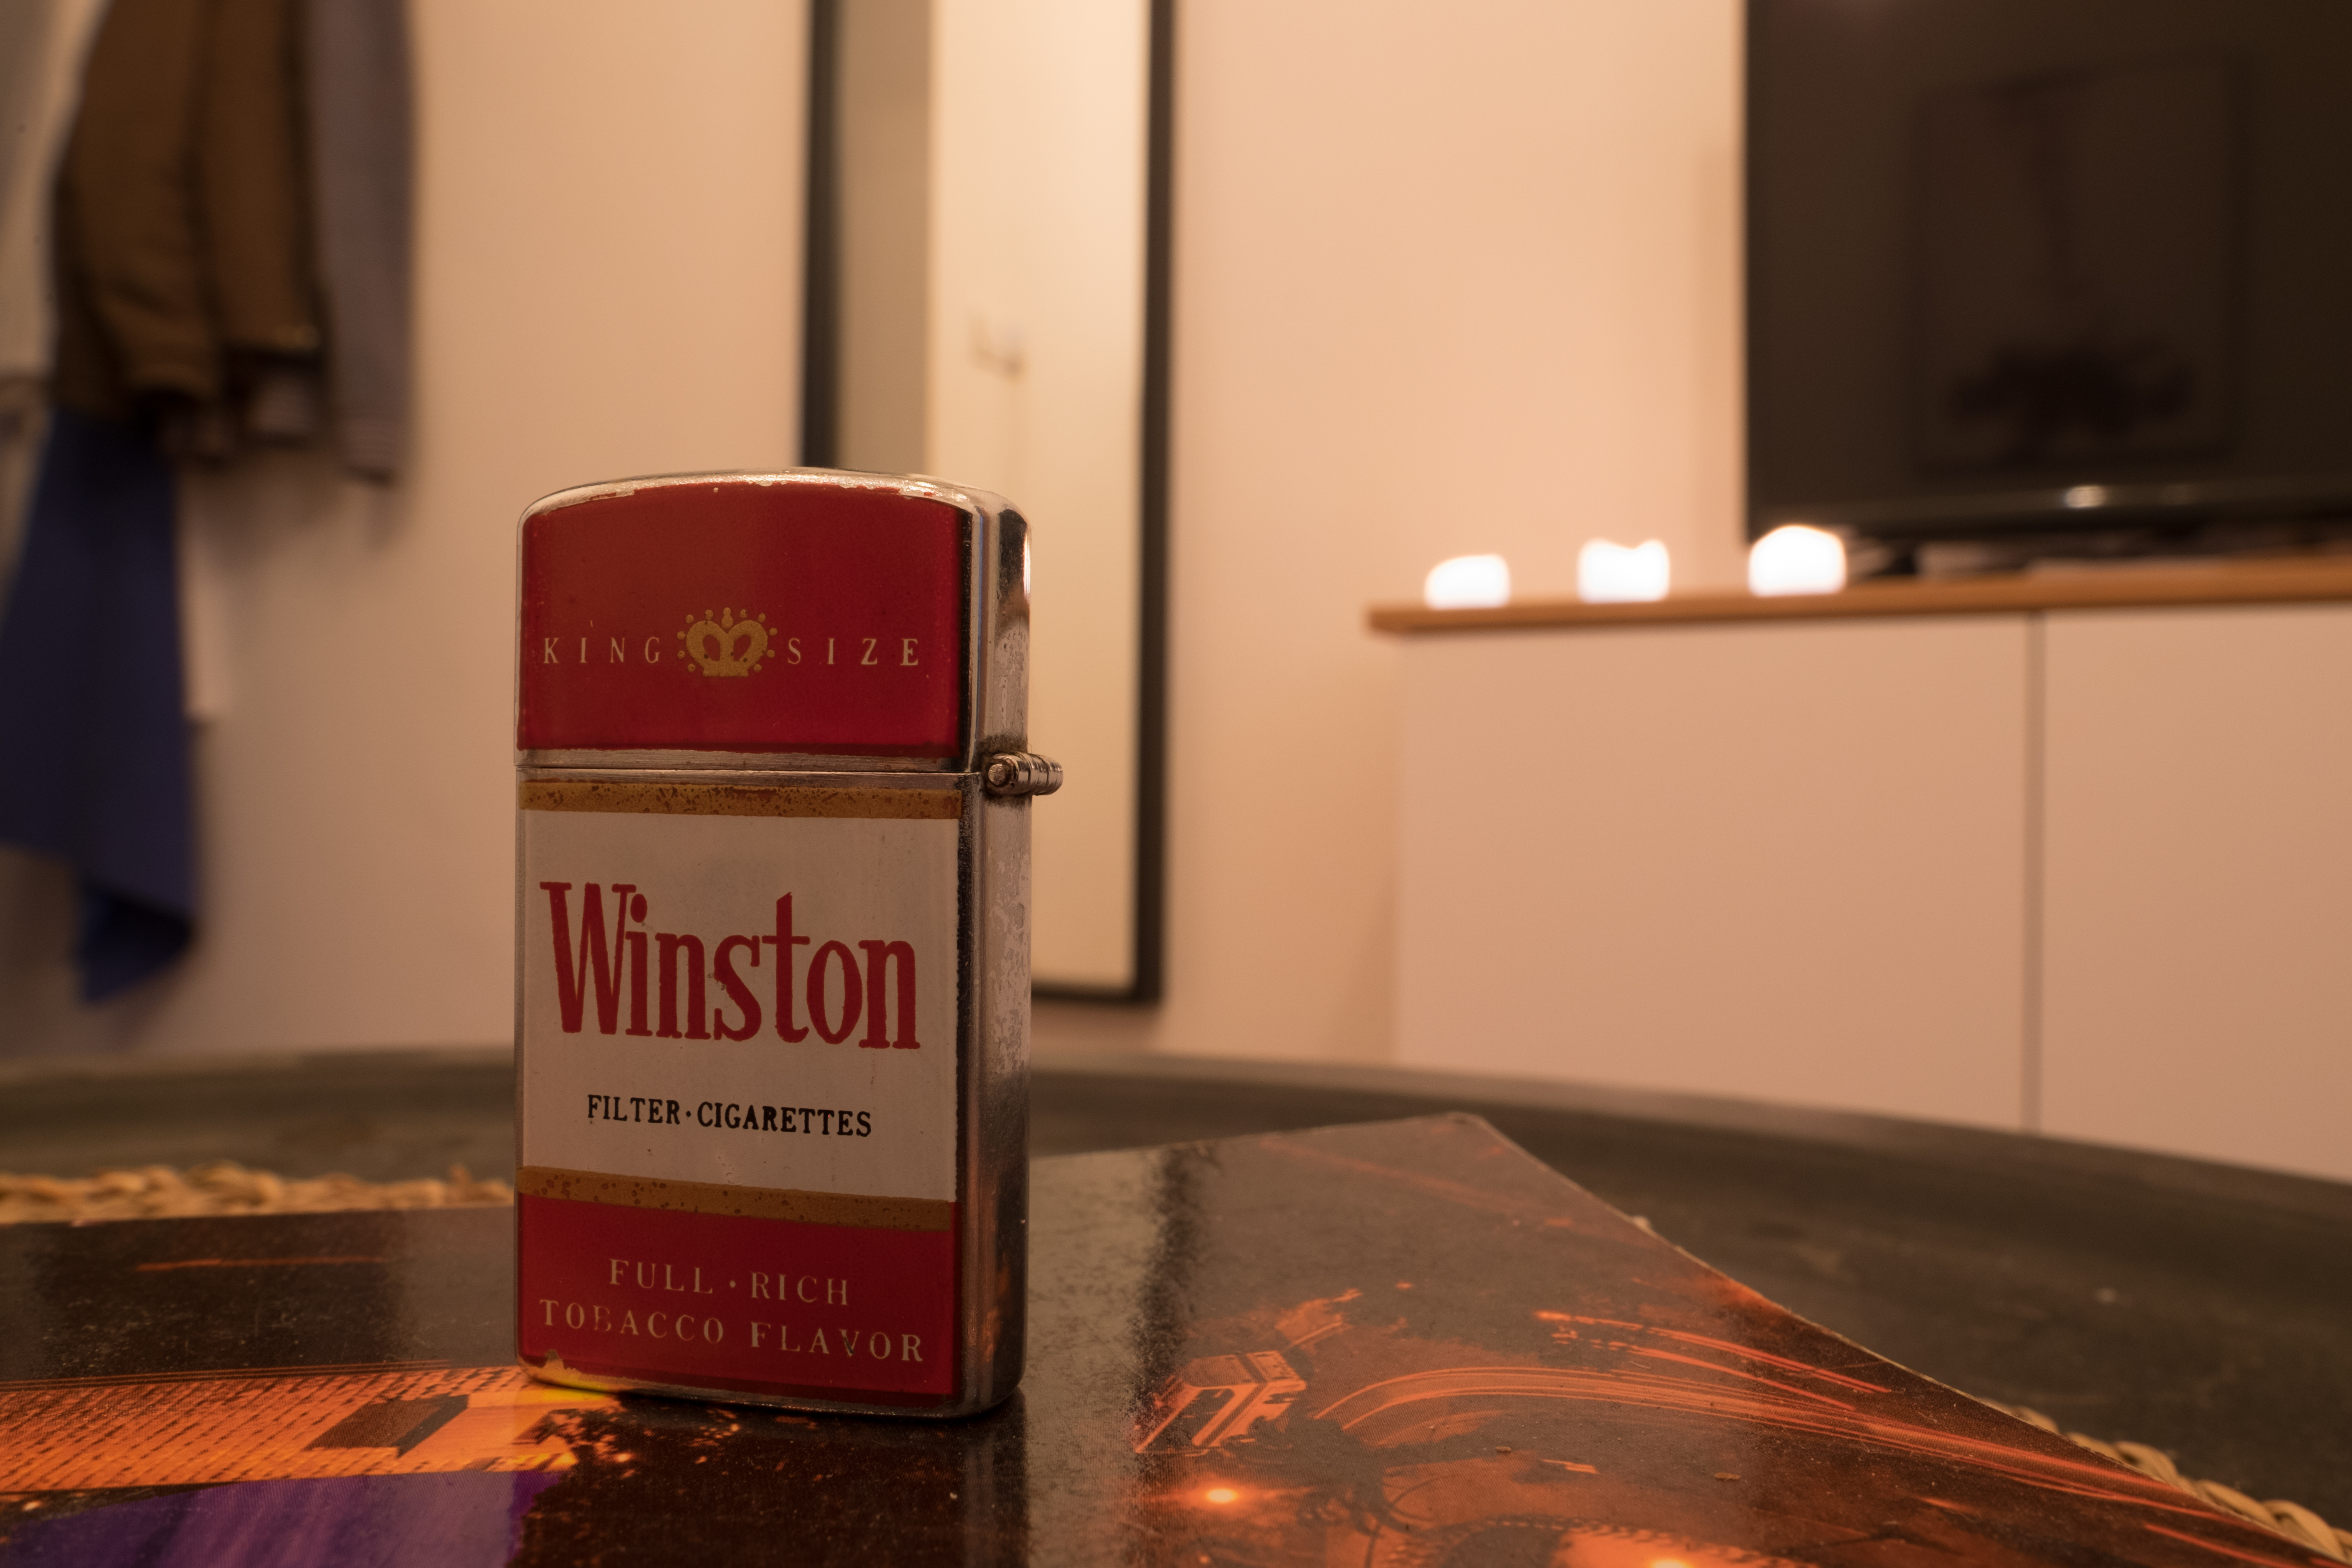
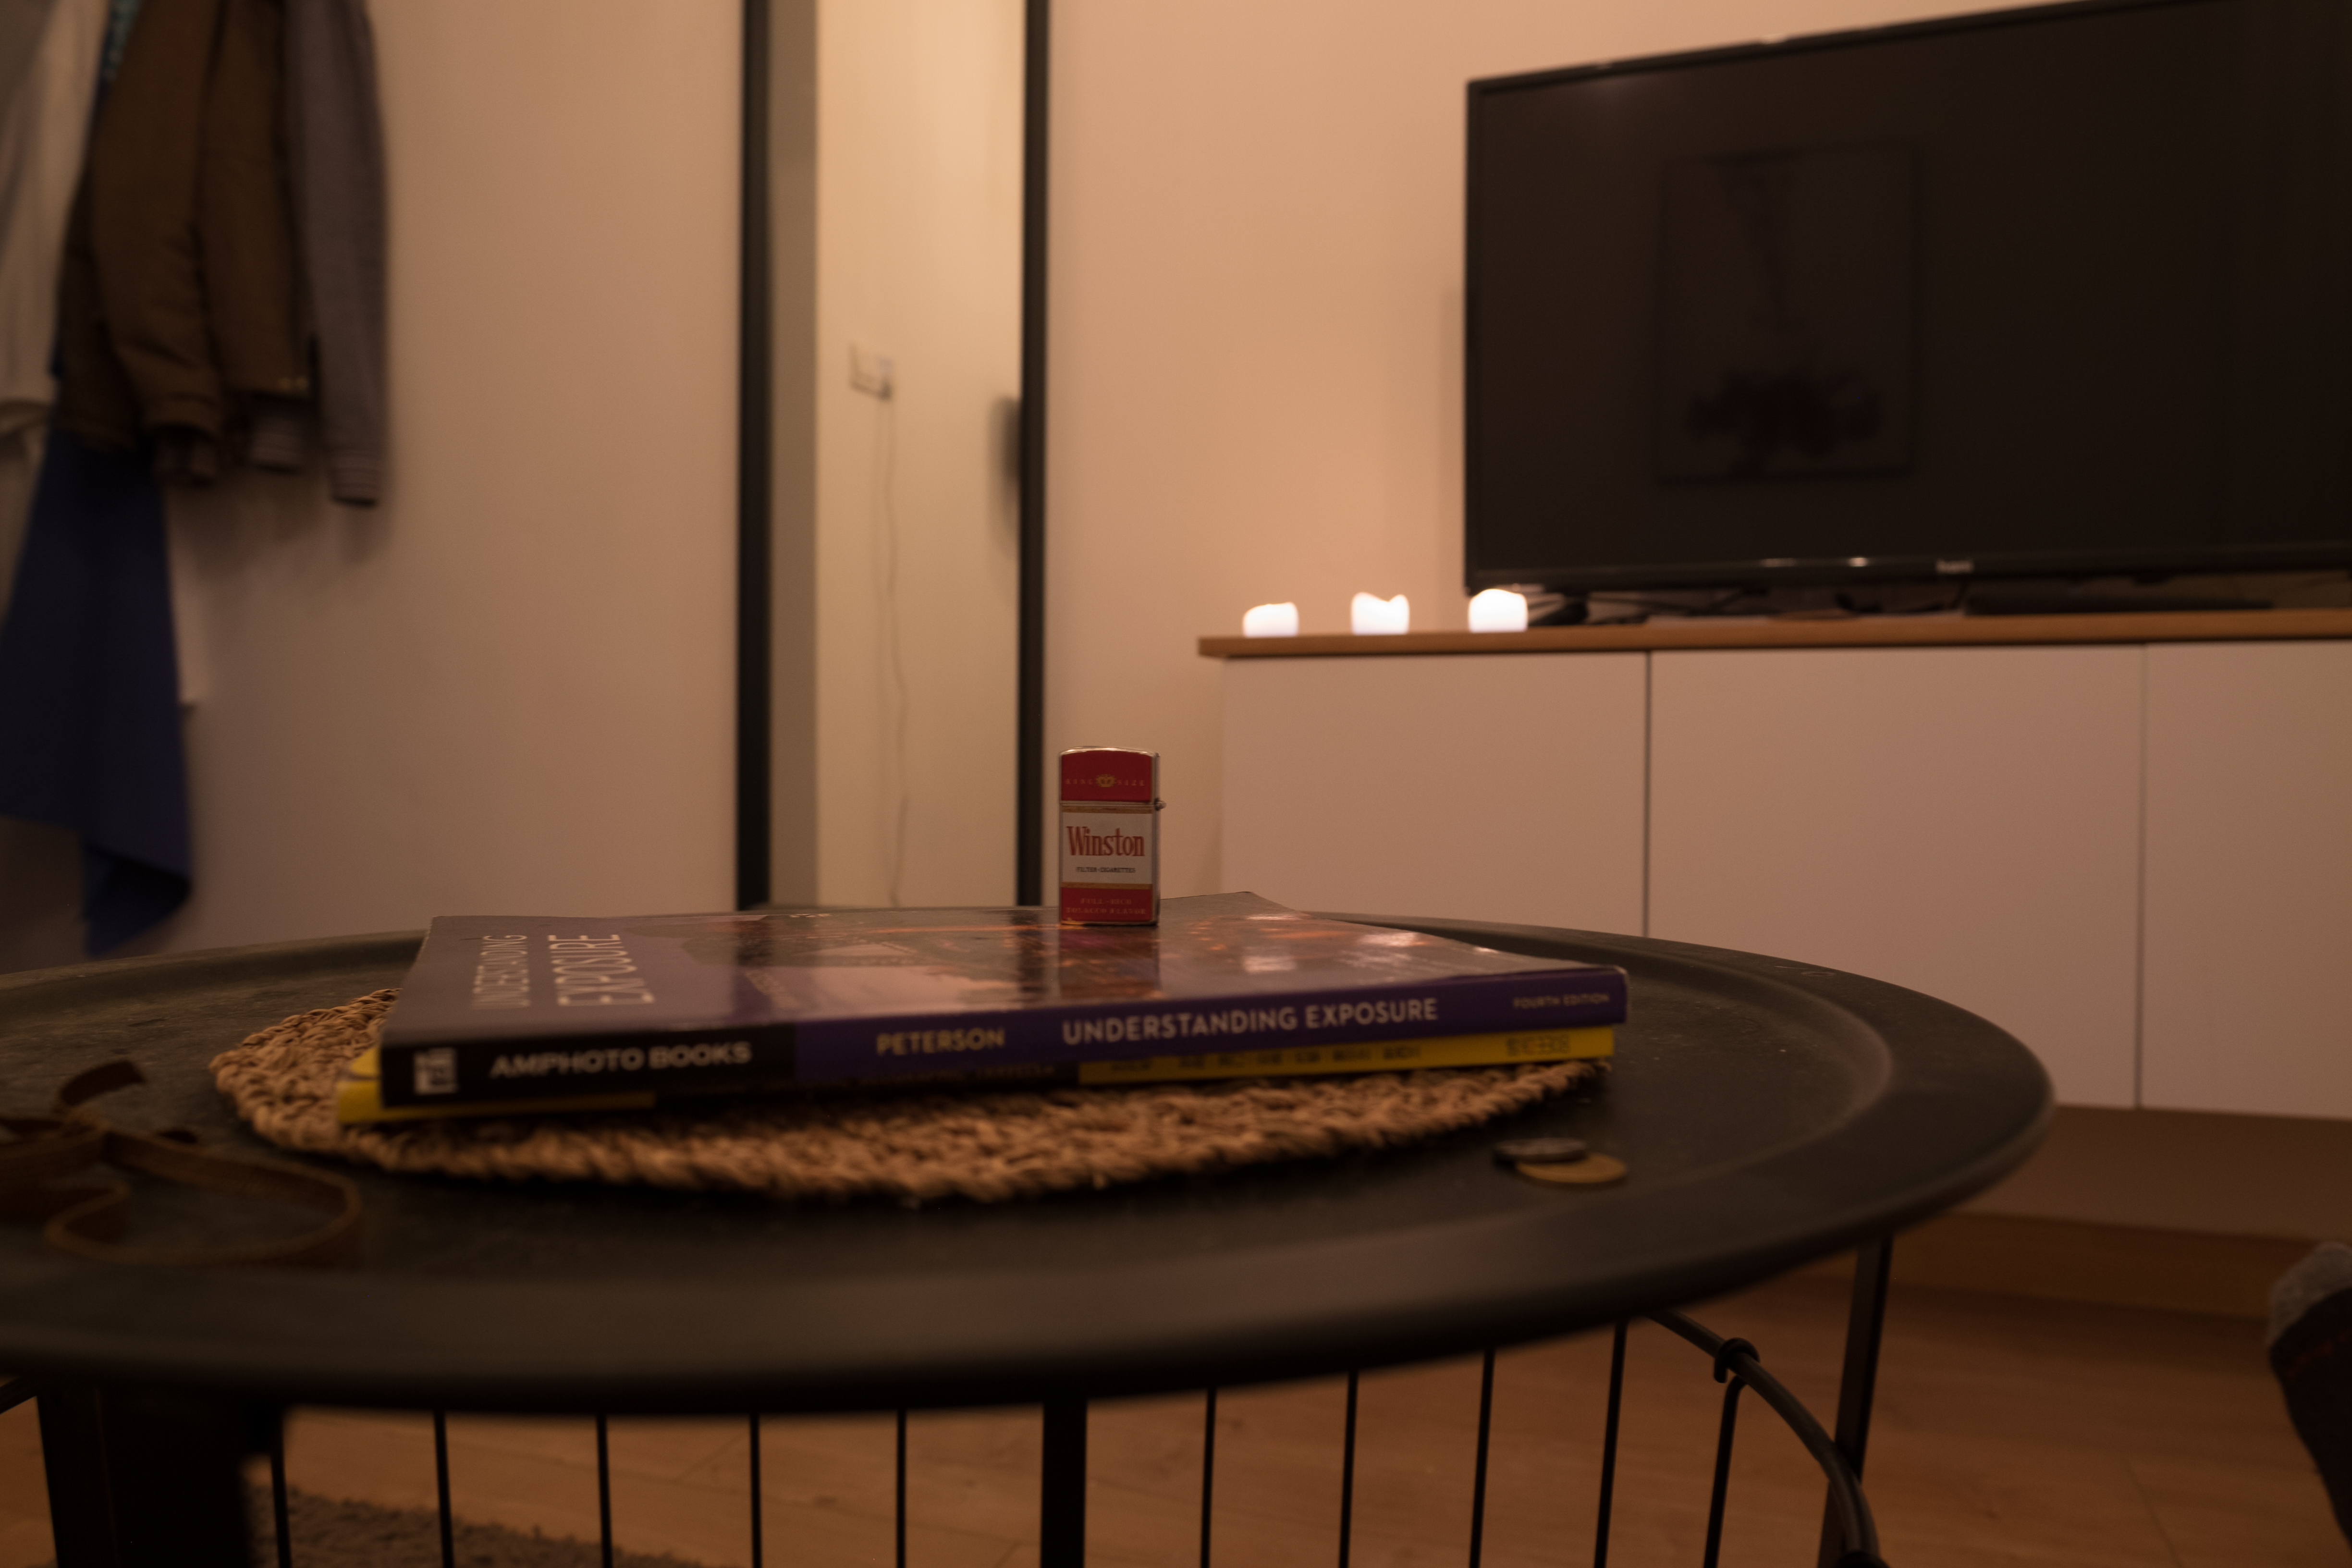
 You may have noticed that even as the aperture approaches F/11, some objects in the background still aren't quite as sharp as the old lighter. This brings me to my next basic tip: The closer your camera is to your focus point, the more depth of field you will achieve. The further away your camera is from your focus point, the less depth of field you will achieve. So, even if you cant afford a fancy lens with a large aperture, you have no excuse. Simply move closer to your subject and you will achieve a higher depth of field. Below are two shots taken at F/4, one shot very close to the lighter and one shot further away. You can see how different the range of focus in both pictures are, even though the camera setting remain the same.
ISO 400 F/4 Close-up
 ISO 400 F/4 "Far-away"
 These test shots were taken with the Fujifilm 16mm F/1.4. You can see an R-rated picture of it below.
 I hope this short tutorial was helpful for beginners looking to dive into photography and take some creative exposures. Feel free to comment however you like! Always love to hear feedback. :) Don't forget to click that upvote or follow button if you enjoy the content. Thank you all for taking the time to read this. Hope you all have a wonderful day!
DETAILED yey! for this thank you for sharing your knowledge.
Downvoting a post can decrease pending rewards and make it less visible. Common reasons:
Submit
Of course! Thanks for suggesting the post :)
Downvoting a post can decrease pending rewards and make it less visible. Common reasons:
Submit
Congratulations, your post was discovered and featured by @OCD in its daily compilation 236!
You can follow @ocd – learn more about the project and see other Gems! We strive for transparency.
If you would like your posts to be resteemed by @ocd to reach a bigger audience, use the tag #ocd-resteem. You can read about it here.
@ocd now has a witness. You can vote for @ocd-witness with SteemConnect or on Steemit Witnesses to help support other undervalued authors!
Downvoting a post can decrease pending rewards and make it less visible. Common reasons:
Submit