BEYOND pissed would not have been applicable to describe just how I felt when I got home last week to find that our local troop of monkeys had once again raided the garden and as usual, had their eyes set on causing havoc among the bonsai.
Just because terracotta bonsai pots are not that expensive doesn't mean 'seek and destroy' is something I enjoy - my baby black monkey thorn trees 'home' lay shattered but fortunately, I was just in time to replant the poor little guy before any major damage was done.
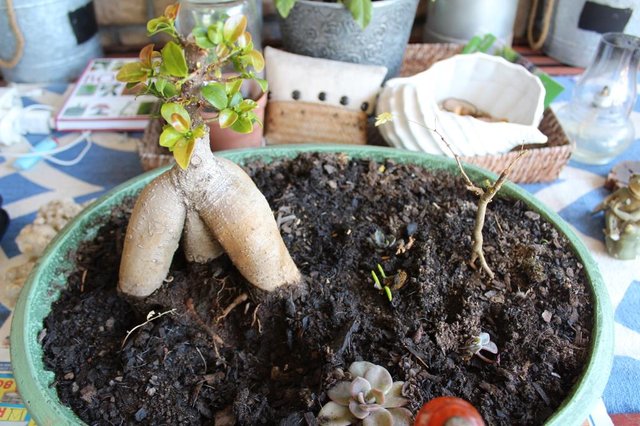
In the meantime, the little tree spent some quality time sharing a pot with Bob the immortal Ficus Ginseng, at least until I finally came up with something I've been dying to try for the last few months - root over rock.
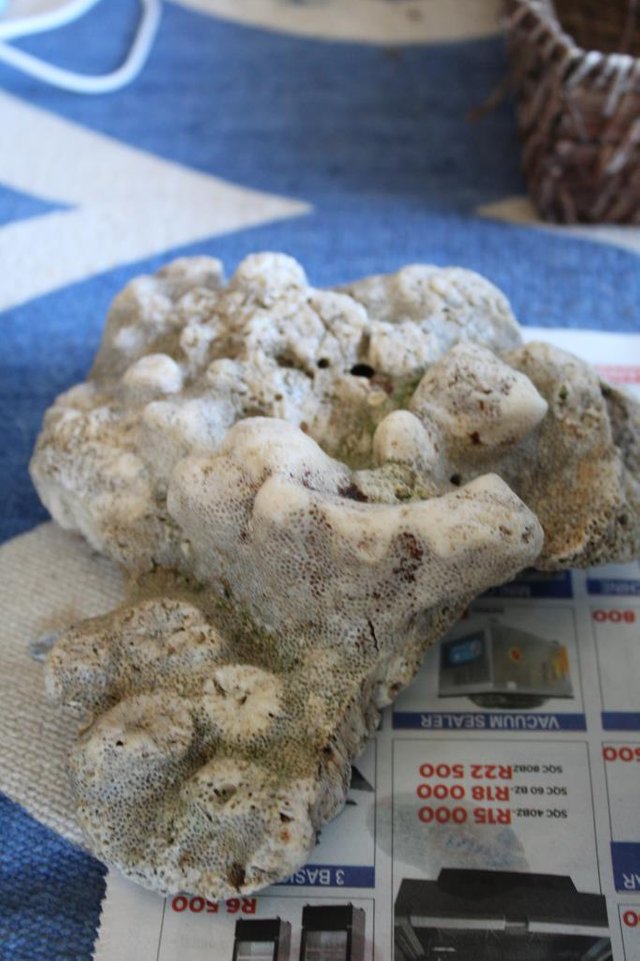
Originally, I wanted to use a Juniper Communis for the root over rock design and I had chosen the perfect ocean rock for this as the contrast would have been quite astounding for this species of shrub-turned-tree.
Needless to say, the Juniper will now have to find a different home once I can find another ocean rock worthy of its size.
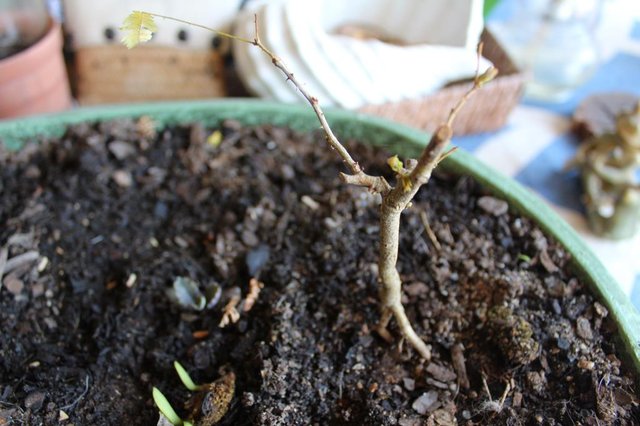
A CLOSE UP OF THE MONKEY THORN
THE MONKEY THORN ALONG WITH BOB
So, in my opinion, these are the items most commonly necessary when trying your hand at root over rock:
Root rake.
Root pruners.
Jug of water (or low pressure hose).
Rock.
Wires.
Moss of your choice. (Sphagnum and Canadian Peat Moss).
Decorations.
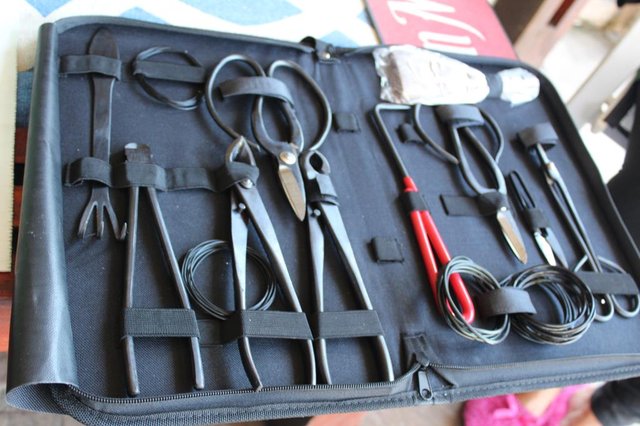
First of all, I think I was way more excited to actually use my brand new bonsai tool kit. Best quality tools for what I would say is a really good price. Find it here: Voilamart 10 Piece Bonsai Tool Kit
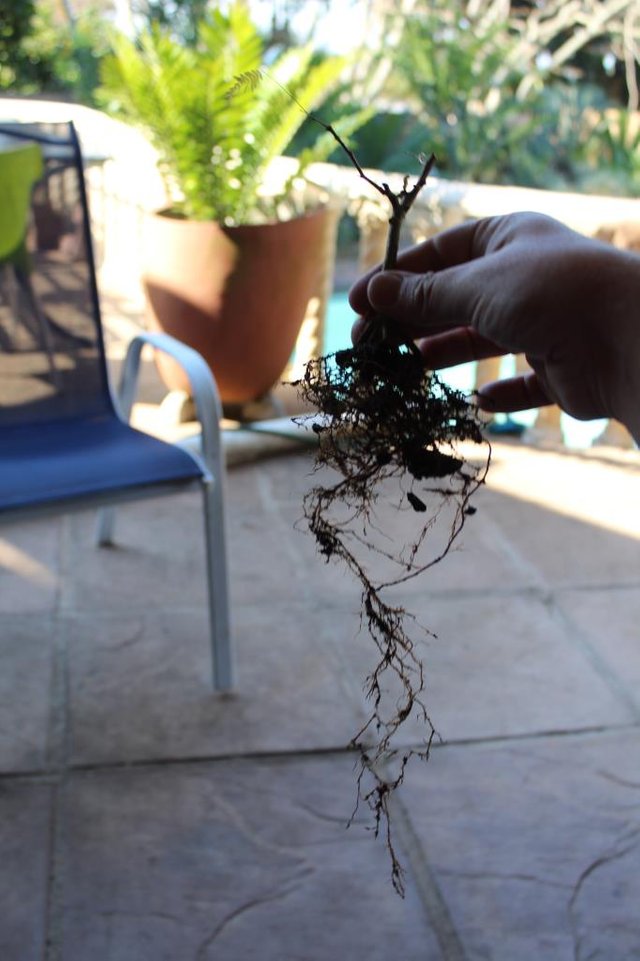
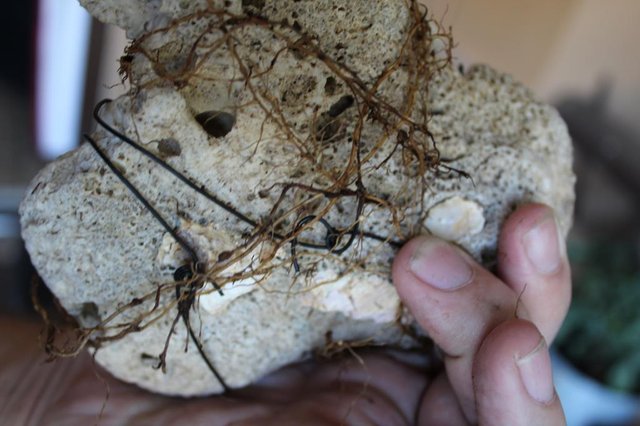
ROOT SYSTEM BEFORE RINSE:
THE ROCK I CHOSE:
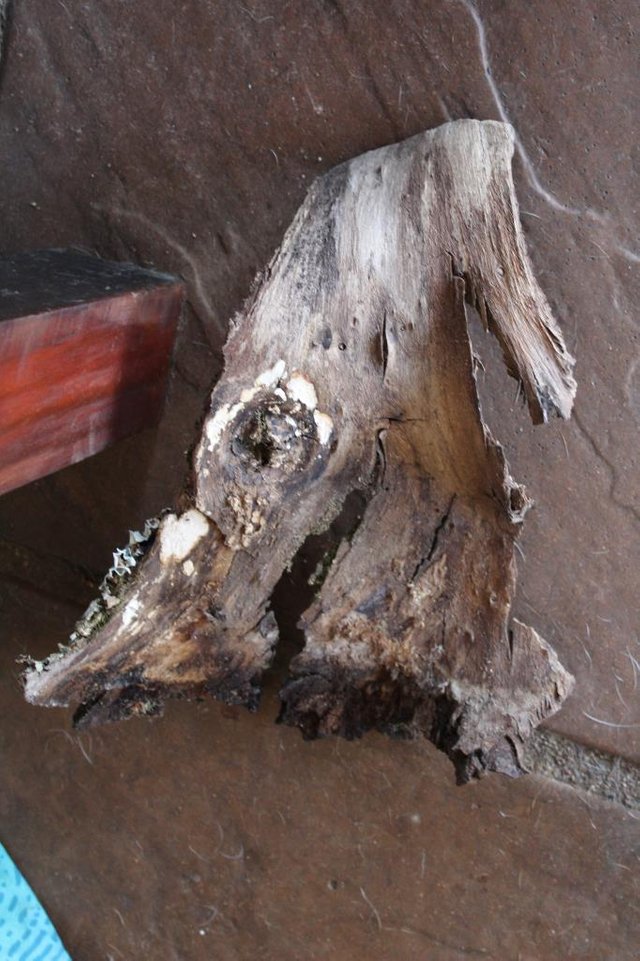
THE PIECE OF DECORATION USED TO ADD TO THE LANDSCAPE:
So, once you've safely removed your chosen tree from its pot, carefully rinse the roots clean and ensure that no ground or dirt remains.
Proceed to fan open the roots, and ensure that you do not damage any of the important roots - you'll know which ones I'm talking about once you see them.
Now, position the tree in which ever spot you would like to have it feature on the rock and carefully wind the roots around the rock.
Once this has been done, use some wire to not only tie the roots down to the rock gently but, also to secure the tree to the actual rock.
Below are some images and if they are not to your liking, keep in mind I was taking them with one hand.
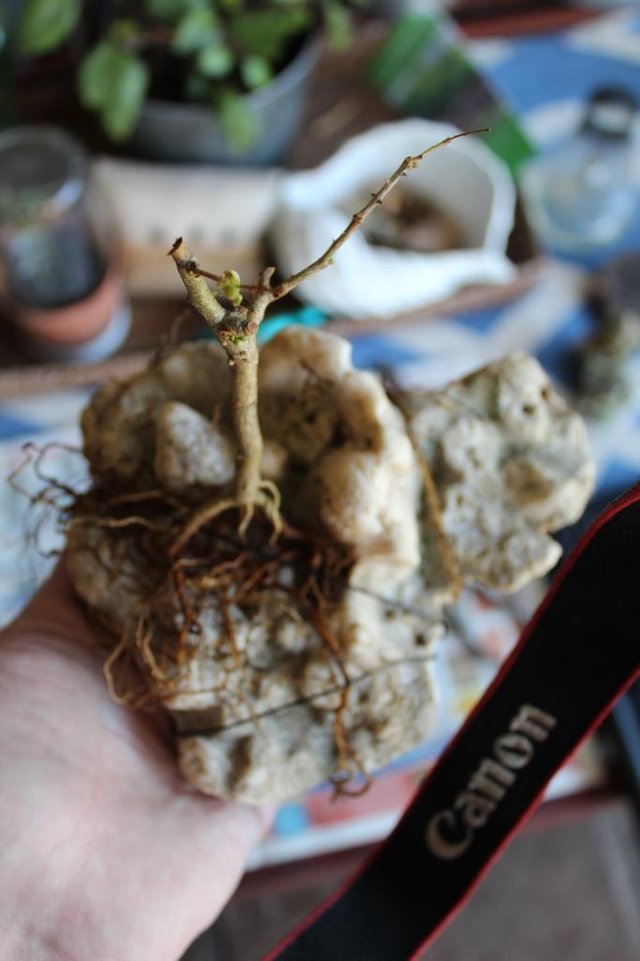
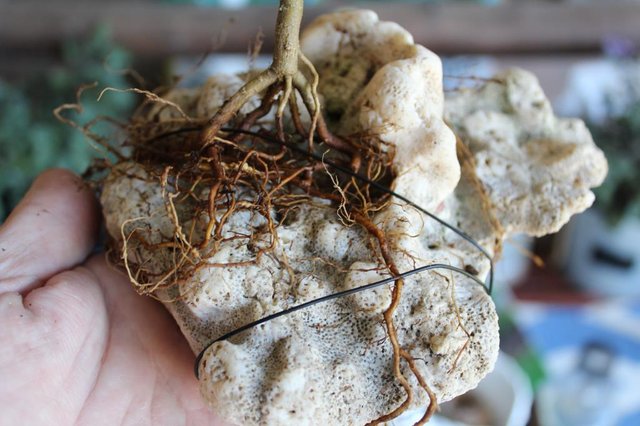
Once all this has been done, ensure that you still dig a slightly deep hole into the ground where you will position the rock as, you would like to have it at the same level as the pot - this is not always necessary as visual elements do differ from tree to tree, as well as pot and landscape.
THE TREE IN ITS 'NEW' HOME:
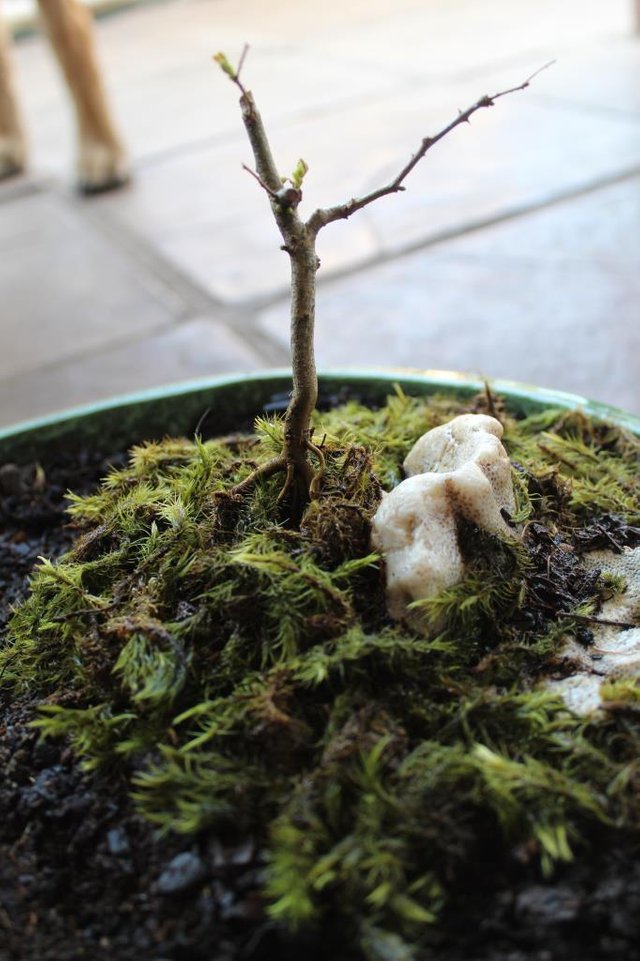
To protect the tree's root system until it recovers from the transplant, I made use of Canadian peat moss first and covered the roots with this, and followed that up with some sphagnum moss - I'll later use proper moss that is still very much alive to create a really splendid visual element.
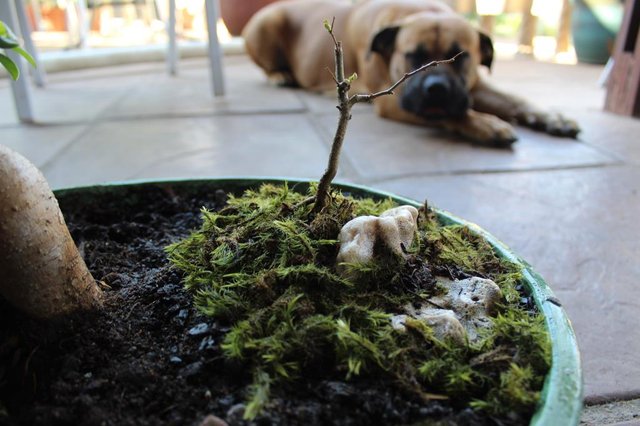
Now, I really want to share the below image since my bundle of giant joy had to photo bomb the moment and, also because the rock is more visible.
THE END RESULT:
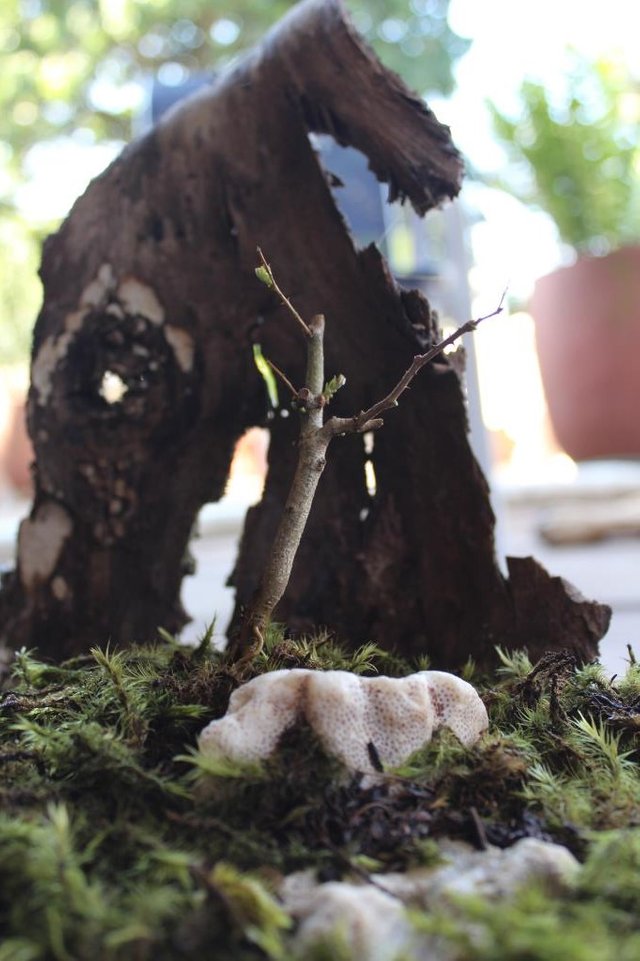
The idea was to simulate the appearance of a tree at the top of a hill with a cave behind it - do you think it looks like that?
Also, the nice addition of the tree bark protects the tree from the harsh afternoon sunlight until its roots have properly grown around the rock.
Now for some quick and simple advice, if you start the root over rock process, don't stop until you're done. And, if you don't know how to do it, don't try and do it at all before getting in some theory on the practice.
On a side note, the best way to learn is through trial and error.
Do you write content related to bonsai or horticulture - check out the details below:
JOIN OUR #BonsaiCommunity | #TeamBonsai | #TeamHorticulture: (Discord Invite Link: https://discord.gg/nAWEDpK )
The known #BonsaiCommunity | #TeamBonsai | #TeamHorticulture members include (and you should follow them for cool content):
@creativetruth | @daniellozada | @romanolsamuels | @bonsaiaustin | @imagendevoz | @synekto | @shadowolfdg | @mrbloom | @willymac | @mattlovell
Comment below with your handle and, if you post bonsai/horticulture related content your handle could appear above.
Resteemed by @resteembot! Good Luck!
Check @resteembot's introduction post or the other great posts I already resteemed.
Downvoting a post can decrease pending rewards and make it less visible. Common reasons:
Submit
good post........ i like this....
Downvoting a post can decrease pending rewards and make it less visible. Common reasons:
Submit
Well done. Knew you could be creative. Good post, very detailed. Now you just need to wait and see what happens.
Glad to see you still busy with bonsai.
Downvoting a post can decrease pending rewards and make it less visible. Common reasons:
Submit
This post was upvoted and resteemed by @resteemr!
Thank you for using @resteemr.
@resteemr is a low price resteem service.
Check what @resteemr can do for you. Introduction of resteemr.
Downvoting a post can decrease pending rewards and make it less visible. Common reasons:
Submit
I have been wanting to try a root over rock for a while. I have several rocks I have collected specifically for the purpose. now to find some
victimstrees.Downvoting a post can decrease pending rewards and make it less visible. Common reasons:
Submit
The final design came together really well. The rock and bark pieces are so rad.
Downvoting a post can decrease pending rewards and make it less visible. Common reasons:
Submit
Not only did this post demonstrate a procedure I have always wanted to try, but included an attack by rampaging monkeys and being introduced to Bob, the Ficus Ginseng. What more could one want in an entertaining post?
Well done, @imagendevoz!
Downvoting a post can decrease pending rewards and make it less visible. Common reasons:
Submit
Hello @imagendevoz, thank you for sharing this creative work! We just stopped by to say that you've been upvoted by the @creativecrypto magazine. The Creative Crypto is all about art on the blockchain and learning from creatives like you. Looking forward to crossing paths again soon. Steem on!
Downvoting a post can decrease pending rewards and make it less visible. Common reasons:
Submit
Wow thank you so much @creativecrypto. I'll be sure to keep it up for as long as is humanly possible.
Downvoting a post can decrease pending rewards and make it less visible. Common reasons:
Submit