Everyone knows that all used to shoot on film and many of us had old archives, but in the age of digital technologies it became problematic to get images from these films - most photo labs were simply closed, and only a few were retrained for digital printing and can digitize film (often only a narrow format 135). But what if you do not digitize labs of photographic films in your city or does the price bite hard? If this is about you, then read on!
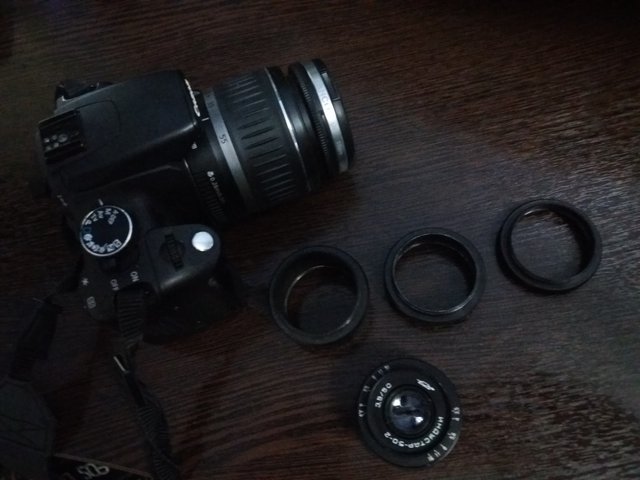
In order to digitize the film at home, the smartphone will not be enough, you need at least a compact digital camera with a good zoom and macro, or preferably a SLR camera with a macro lens. Take an ordinary Canon 350d SLR camera and a Soviet Industar 50-2 lens with a set of macro rings.
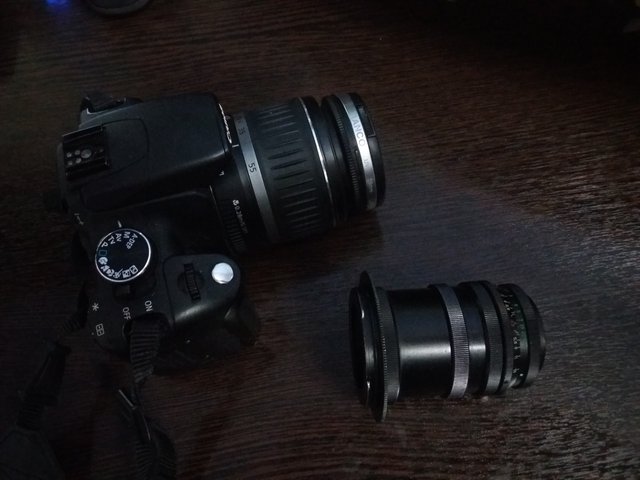
We collect the construction and install it on the camera through the m42-eos adapter. How many macro-rings are required - this is selected by experience. For the crop one is large, for a fullframe everything.
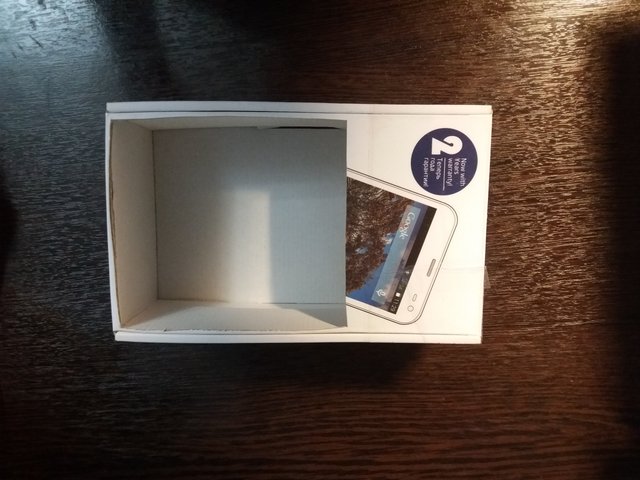
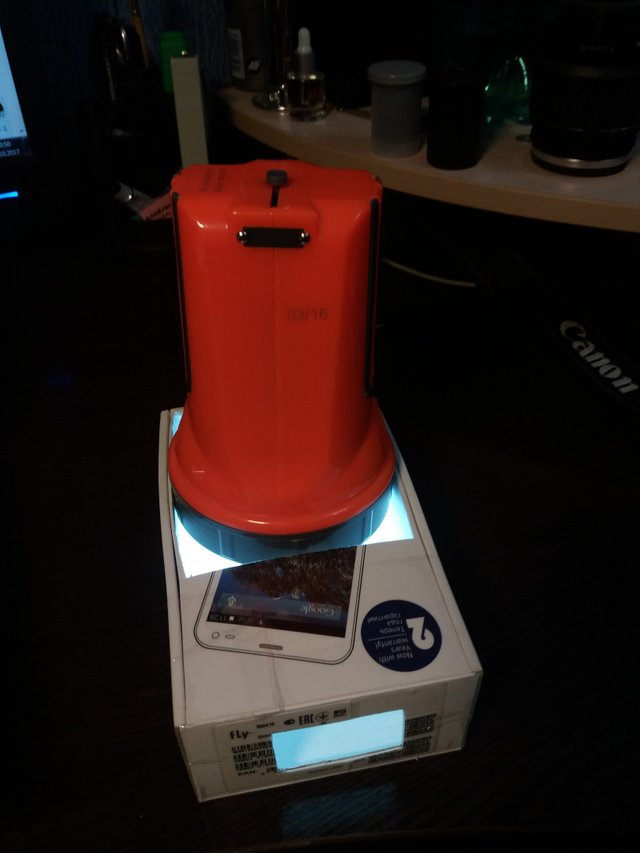
With the camera it was decided. Next we need a device for shooting negative. I took an ordinary dense box from the smartphone and cut out 2 windows: one for a film size 24x36 mm, with a margin of 27x40 mm, and a second window under the lamp. It looks something like this:
- for the lamp
A LED flashlight for demonstrating lighting to show holes, but it is not suitable for shooting, since it gives uneven light. I will use an adjustable daylight lamp.
- this is under the film
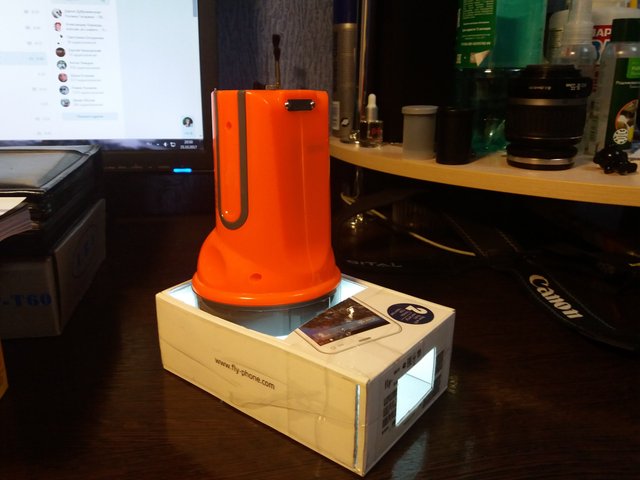
Still need 2 slots on each side of the window under the film to insert the film itself.
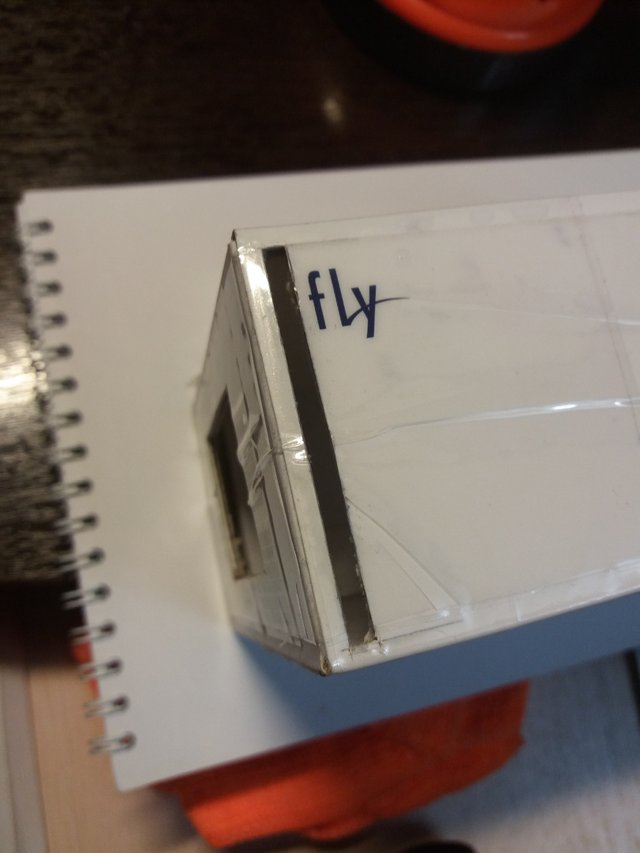
Here it is visible from the edge as a slit is visible.
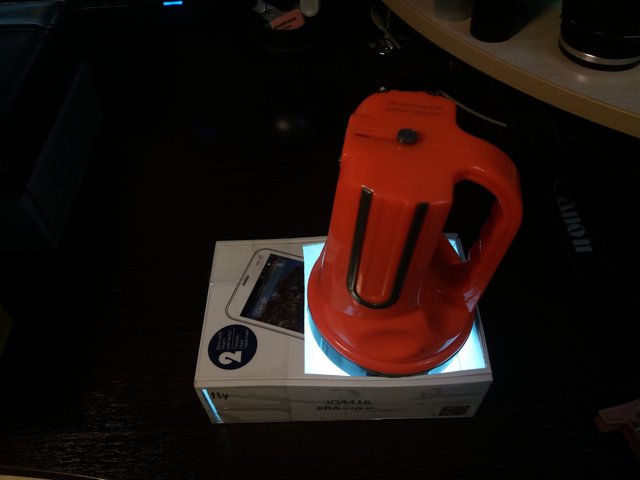
And that the film is tightly held and you can rewind it (drag), from the remains of the cut out windows make 2 identical plates with a window under the film and connect them with a stapler only on one side.
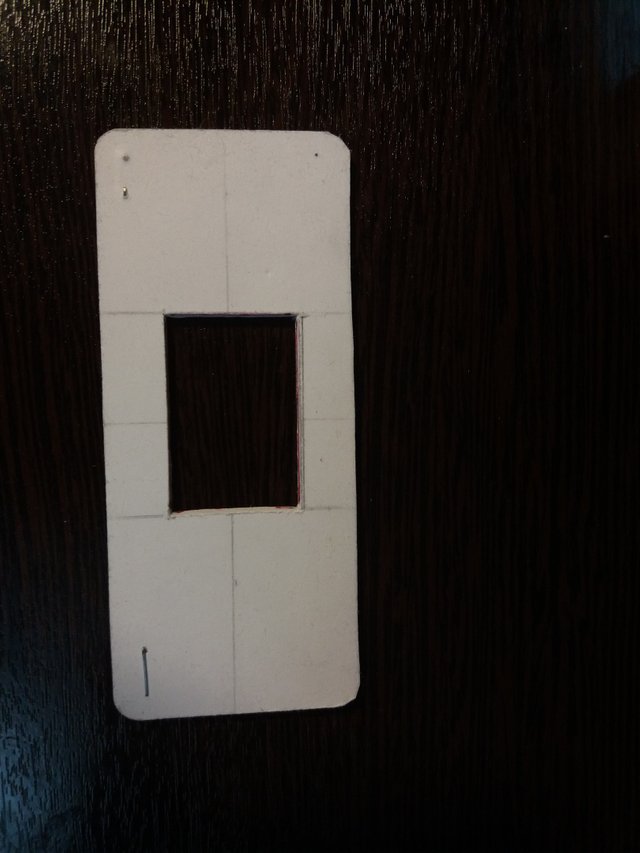
That the film could be started.
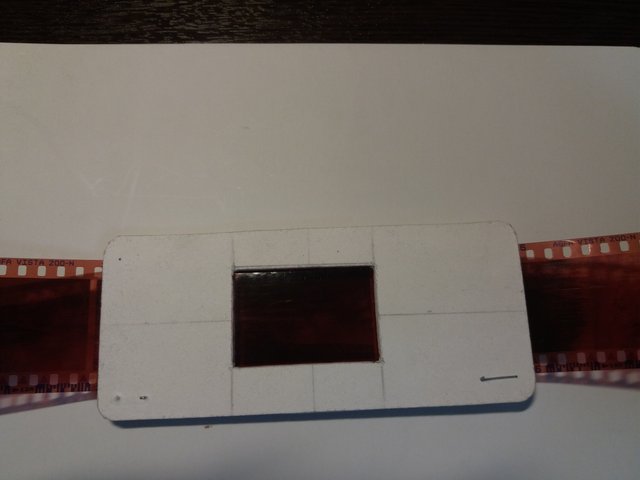
Next, insert it into our improvised soft box for the film in the narrow slits.
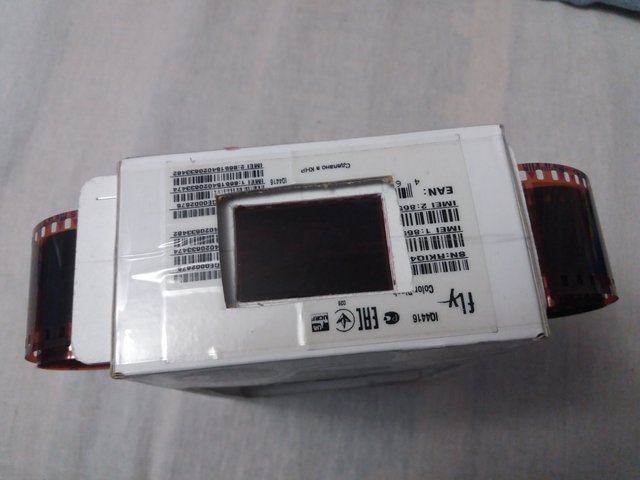
Softbox for shooting negatives is ready!
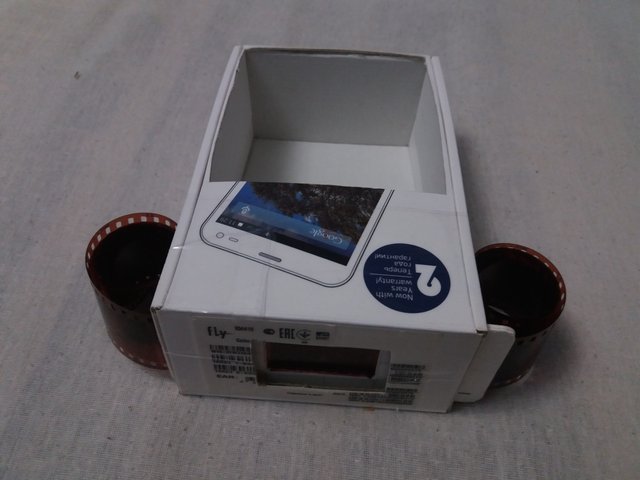
Now it remains to install everything at the same height. I used books and magazines.
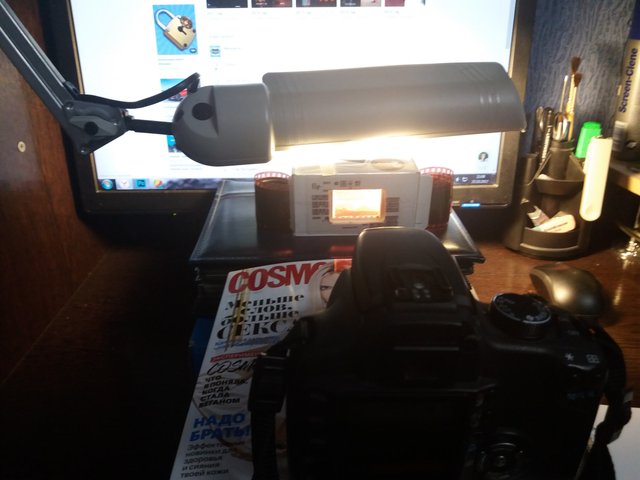
Expose the settings: ISO100-200, aperture 11, shutter speed without any difference, use the timer for shoot. It is important that the plane of the film coincides with the plane of the matrix. Focusing is done by eye or if there is a chip on the adapter, then using focus confirmation. Focus better on the open aperture, and then close it to the desired value.
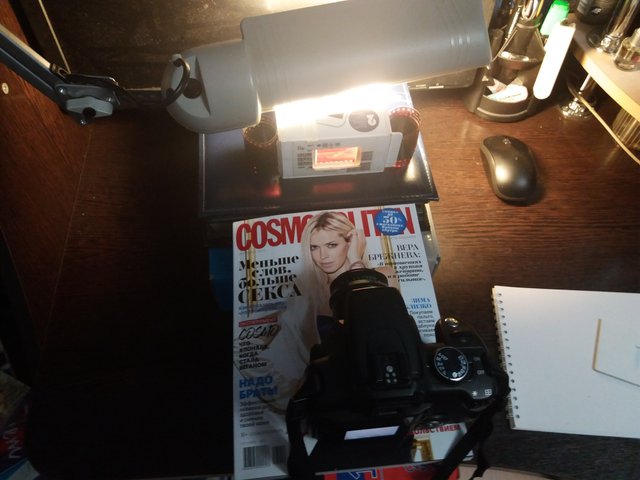
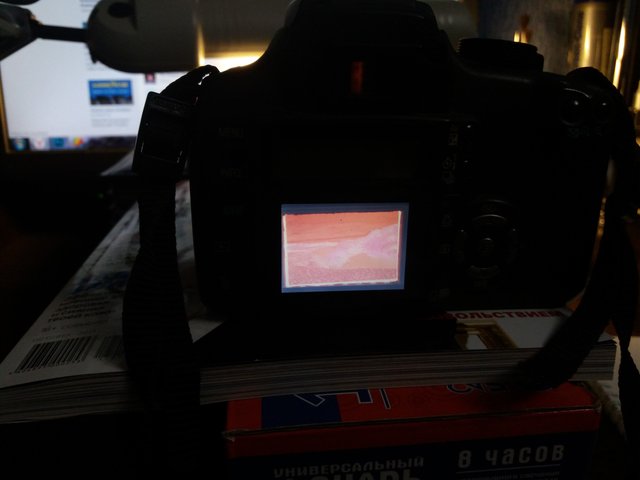
You can make several takes with different exposures. Be sure to check for sharpness and focus by increasing the resulting photo on the display.
Who has a table with a glass tabletop - a camera on a tripod and strictly vertically down, the film on the glass, tightly press. Bottom of the light. I do not have a glass table, so the way it is. In this way I digitized a lot of black and white and color films.
Next time I will tell you in detail about the processing of the negative.
nice post !
Downvoting a post can decrease pending rewards and make it less visible. Common reasons:
Submit
Very interesting. I am just looking for a good and fast way to transform slides to digital media.
Downvoting a post can decrease pending rewards and make it less visible. Common reasons:
Submit
Cool!
Downvoting a post can decrease pending rewards and make it less visible. Common reasons:
Submit
Ah, very cool. This is something I've also been doing pretty heavily in the last couple of years. Except I purchased one of those Wolverine F2D converters. It basically does what your setup does, but it's contained in a single unit....however, the internal camera isn't nearly as high quality as you're probably getting with your DSLR.
Downvoting a post can decrease pending rewards and make it less visible. Common reasons:
Submit
Someday I will buy a piece and try. Really want to see the result!
Downvoting a post can decrease pending rewards and make it less visible. Common reasons:
Submit