Well. That depends on. If the file is a flat jpeg, throw it away. If you in the other hand shoot RAW, you can almost do miracles. I will use Apperture in this guide. There are several other software suits that can do similar stuff. Just remember: You always have a second chance with RAW.
1. The capture:
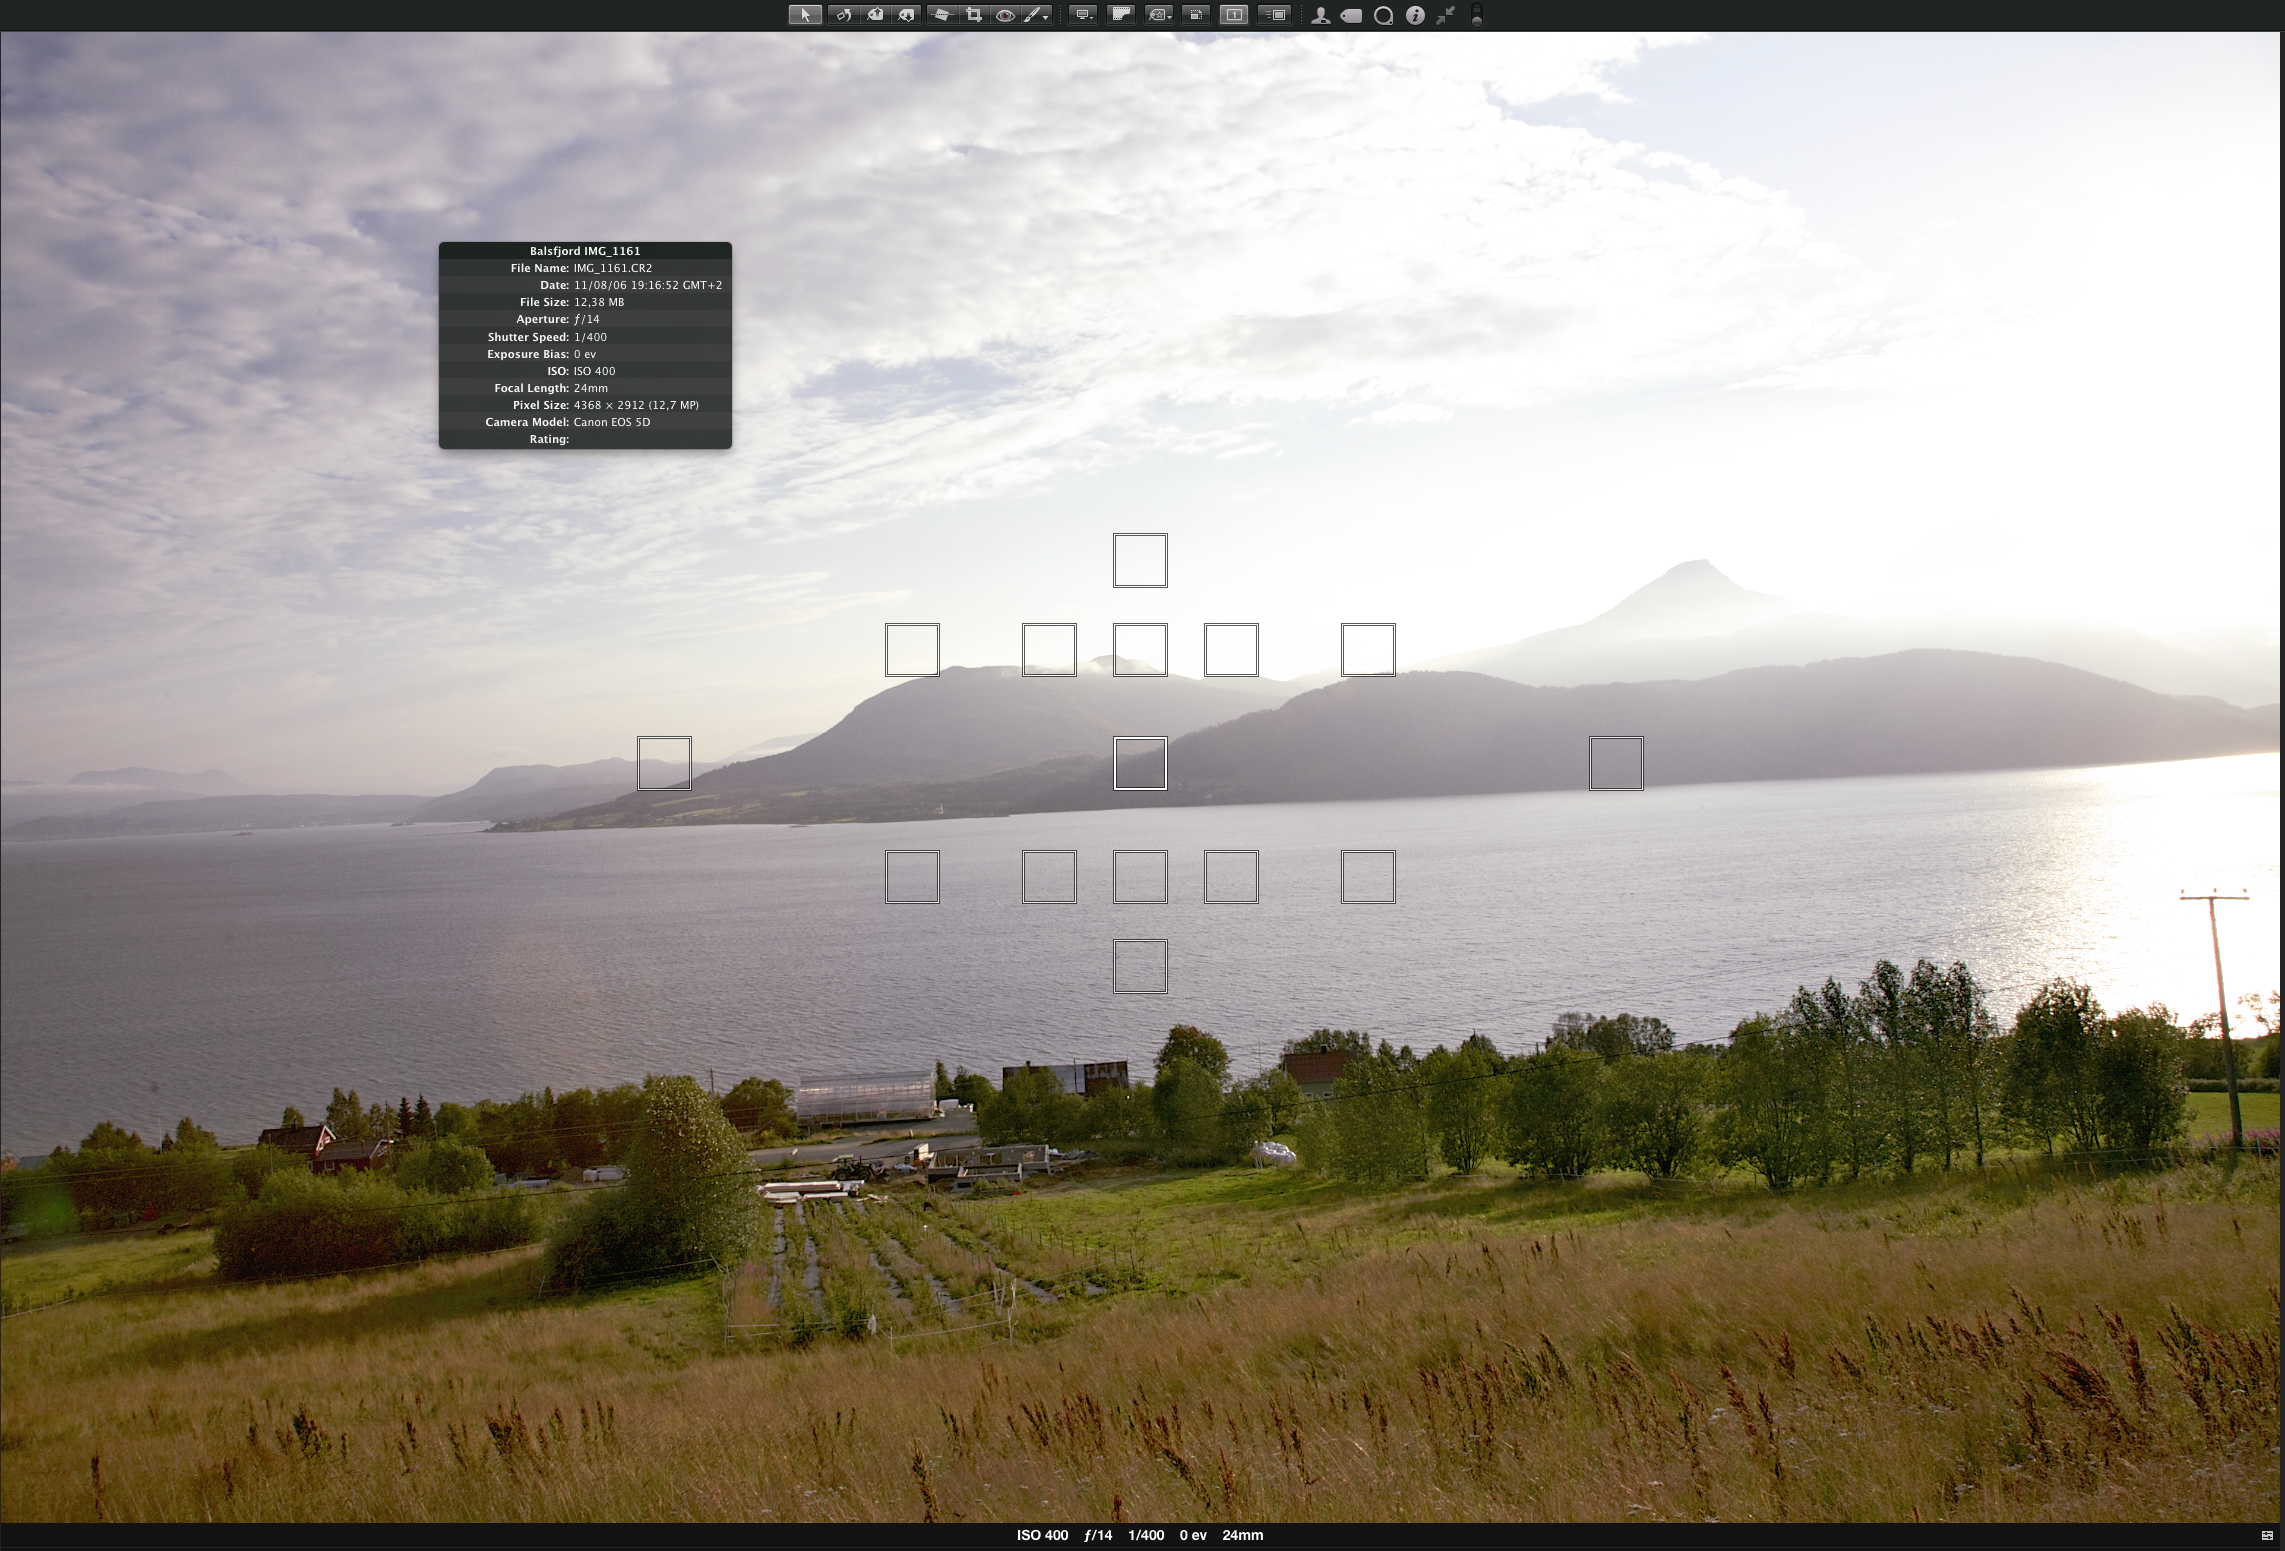
I think I had used the camera for something else just before. I just packed it in the car and when I saw this fog playing in the mountains, I stopped to snap it.
Clearly everything here is out of whack and there is very little information in the highlights. But trust me, there is more than one would think. Much more.
2. Curves
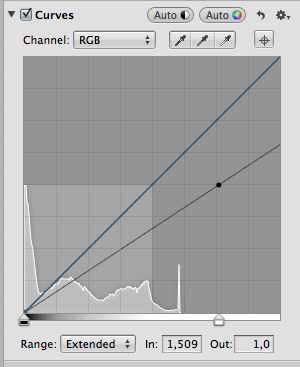
Se the highlight slider? I just dragged i until I see there is color information in all the highlights. 1-2% minimum. It will show up white anyway. Note that this is one of the most extreme overexposures I have. This adjustment was drastic.
The result is something like this:
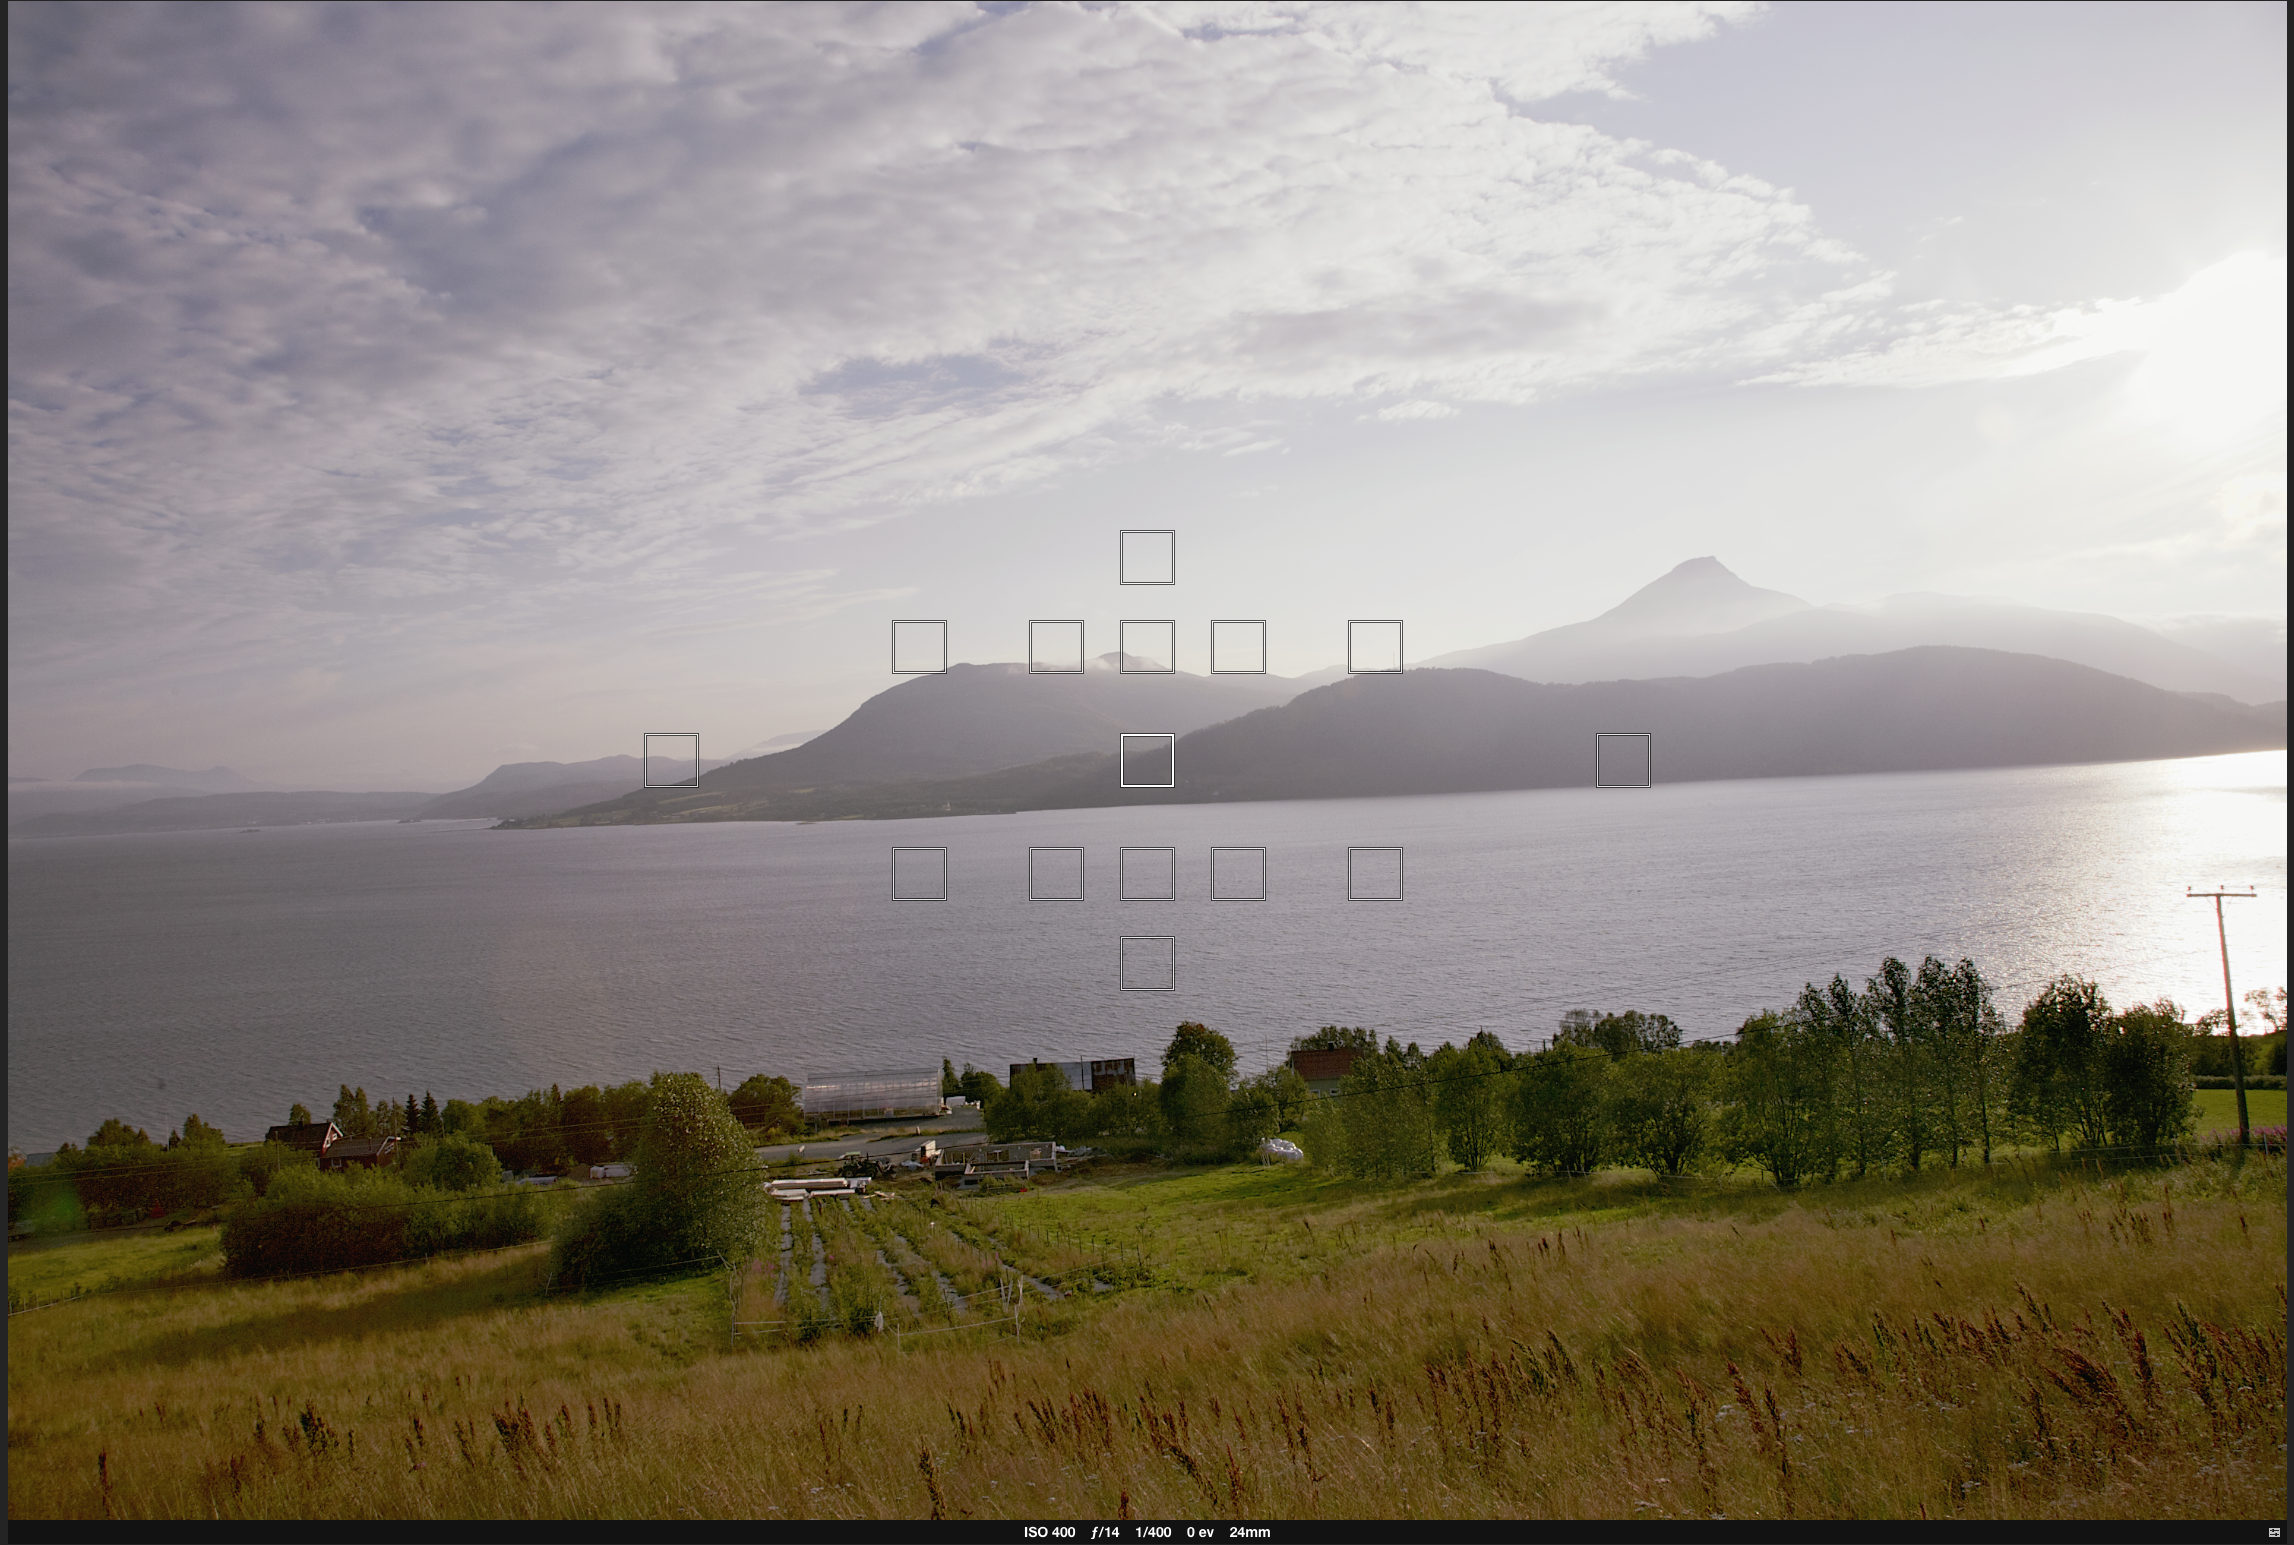
See blue pop out out of nowhere. It was there all the time, just not visible.
3, Basic adjustment
Now when the whites are set, we can start working on the basics.
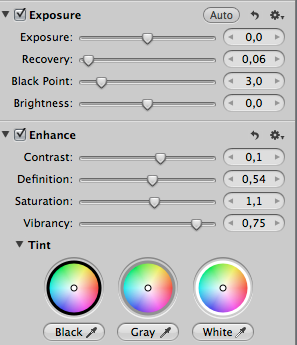
Again, since this image was a disaster from the very beginning, these are tough adjustments.
Exposure: Is probably something a photographer would have used. I did plenty with the curves in the last step, so I leave it alone. A photographer migh have wanted to use it, I don't I want a image I can use in print. Thats what I'm after.
Recovery: also has some of the effect yhat I did with the curves. I find it to work if the blemish is small. So I leave it largely untouched.
Black point: I see no reason to adjust it here.
Brightness: I think it's fine the way it is after the curves.
Contrast: With the highlights intact, it's safe to bump it a little. Not too much, you will only have to go back and adjust for it again.
Definition: Adjusts contrast in the midtones only. I tend to bump it to around 0,5
Saturation: Adds saturation flat over the image. I give it a little bump, nothing crazy.
Vibrancy: Vibrancy is almost like saturation. Only more intelligent. It adds color where you want them, like in the sky and in the field. This photo was totally washed out, so I went nuts.
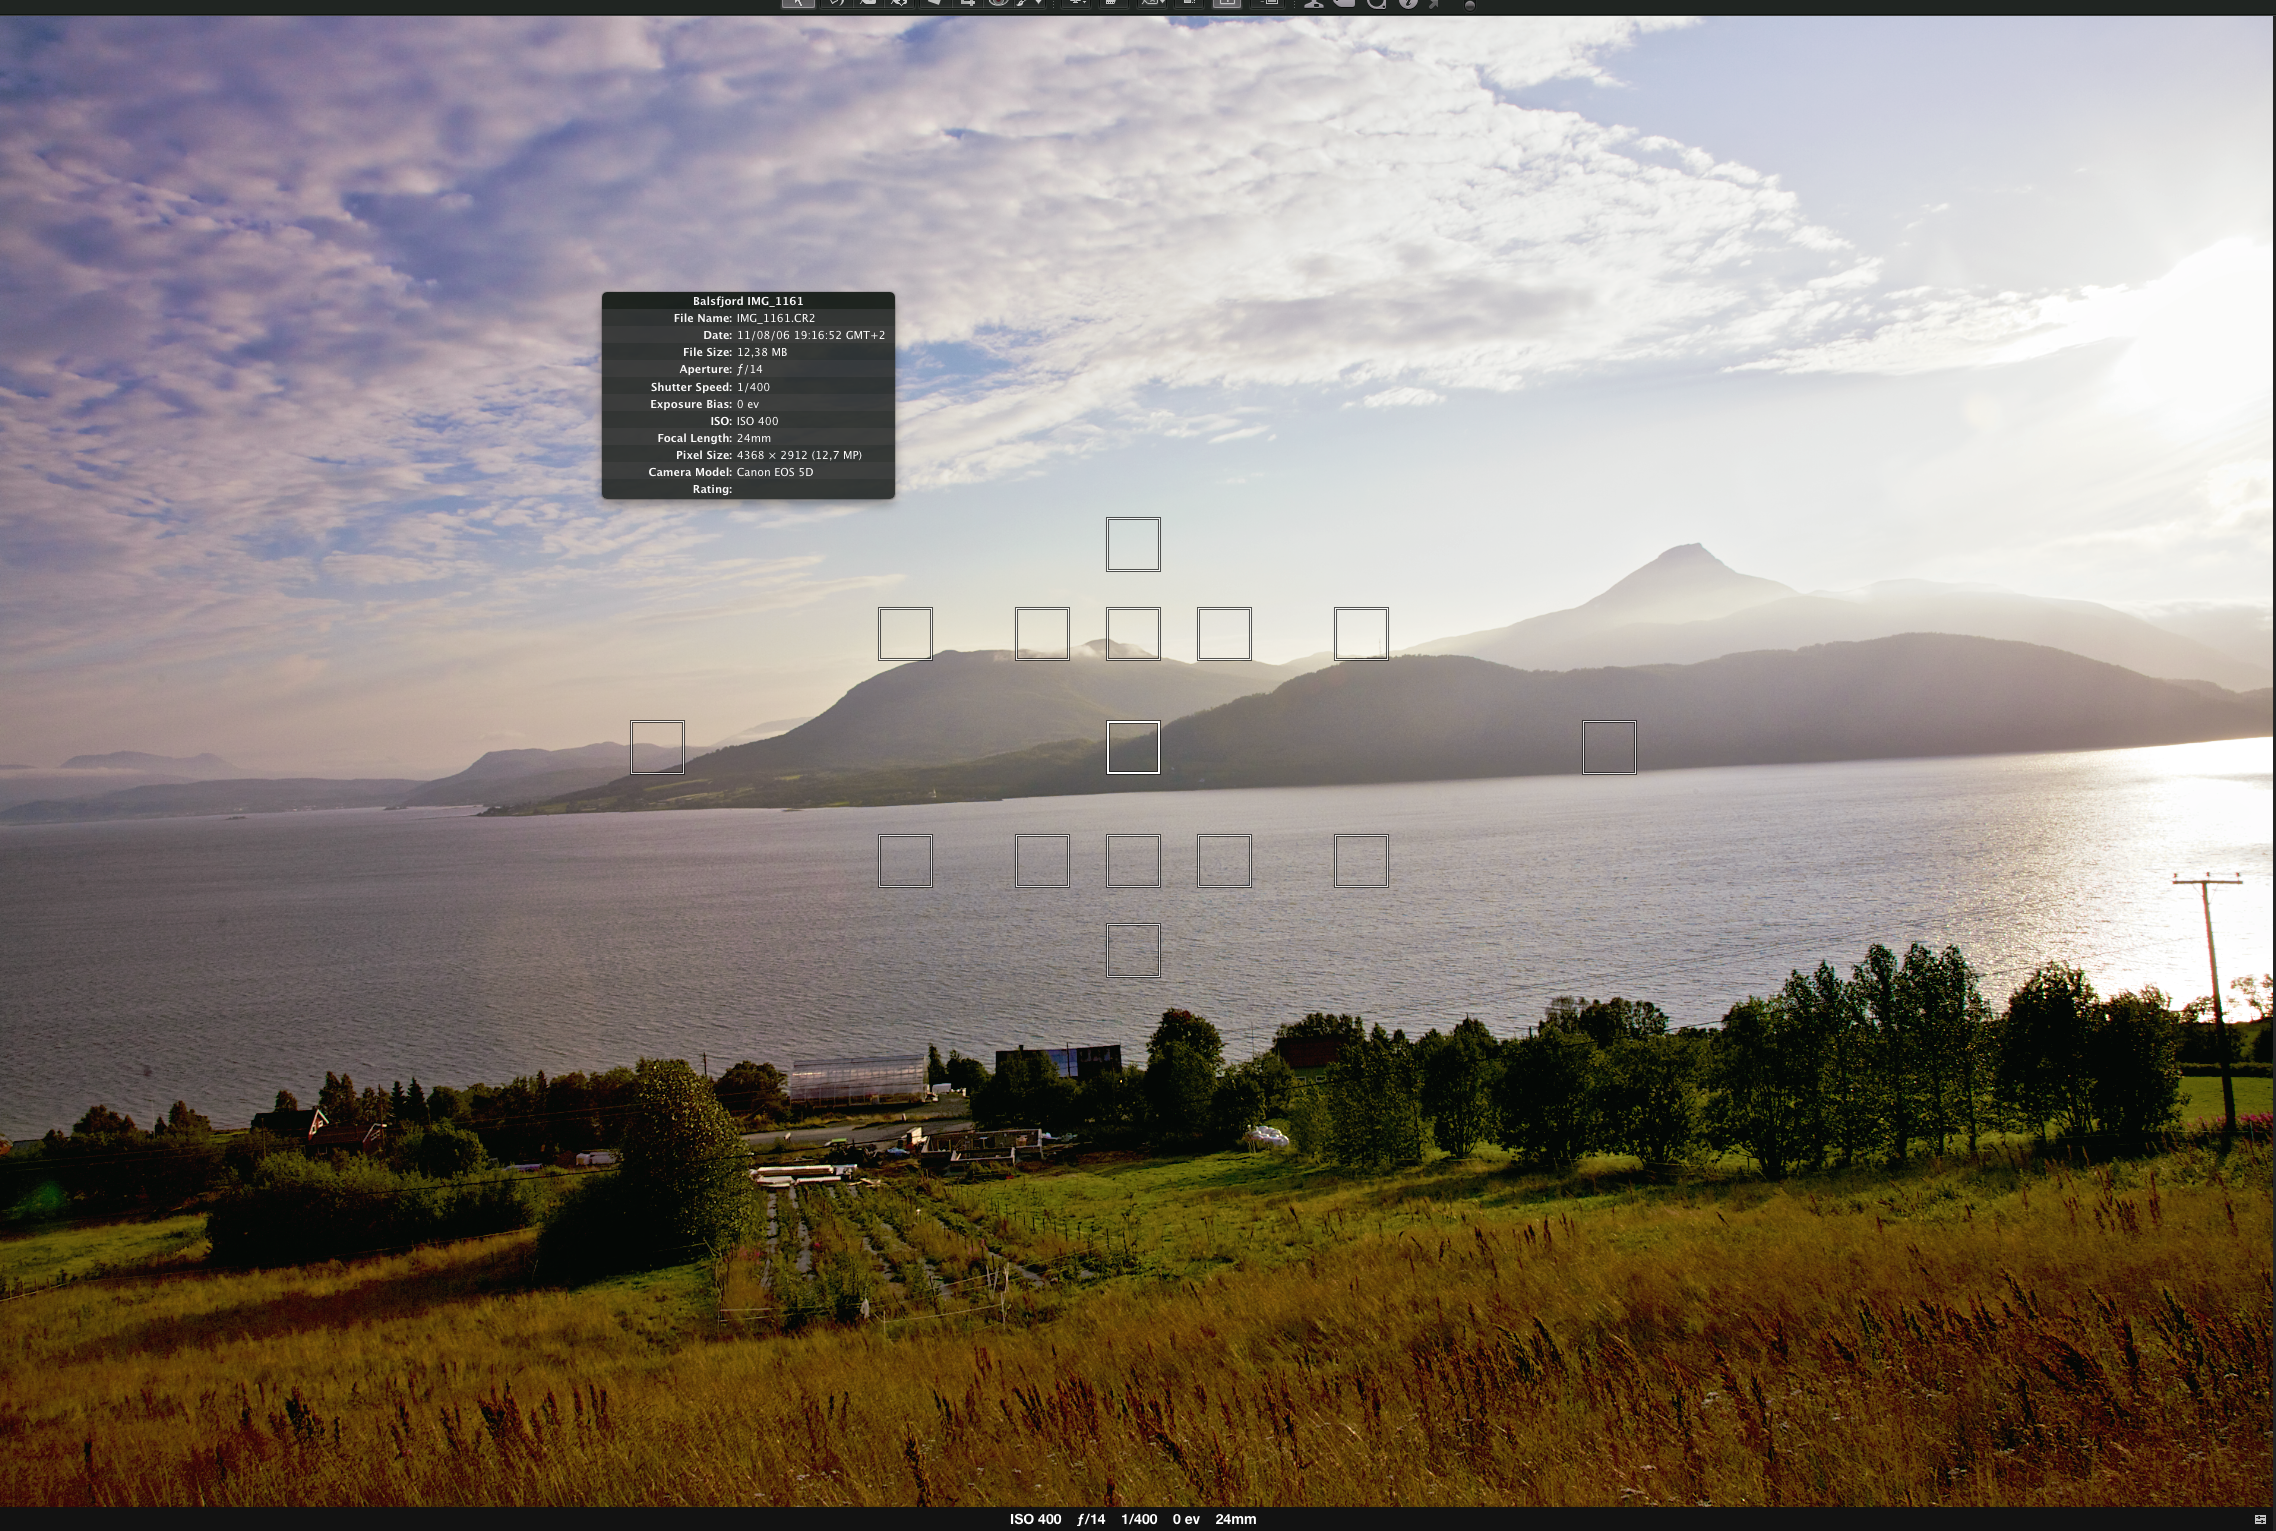
Now we're talking! See how much difference those few adjustments had?
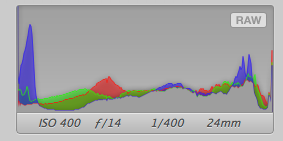
A little glance at the levels tells me I'm on the right track:
4. Finnishing touches
Straightening, sharpening and maybe go after the lens flares that showed up. I like lens flares, so I almost never edit them.
The disaster turned out pretty OK if you ask me. The fog that I stopped to play with is clearly visible and the autum colors come through crisp and strong.
.png)
This is how I work with cases like this. I'm a graphic designer and extremely pressed on time and budget. This method gives me the freedom to work fast and i get results that match the actual moment.
Additional adjustments to suggest:
- More saturation in the ocean
- lens flare
- selective contrast in the skies
But that is being very picky
To sum it up:
- Never throw RAW files like you would with jpeg and tiff
- Get the highlights locked in first. It leaves you with fewer additional adjustments
- It is almost like being there again!
Happy shooting!
RAW is the way to go... thanks for the tutorial!
Congratulations - Upvote #5!
https://steemit.com/contest/@otage/winner-reverse-acronym-contest-v
Downvoting a post can decrease pending rewards and make it less visible. Common reasons:
Submit
Damn! I could get used to those upvotes!
Downvoting a post can decrease pending rewards and make it less visible. Common reasons:
Submit
Nice tutorial and beautiful photography.
Downvoting a post can decrease pending rewards and make it less visible. Common reasons:
Submit
Tutorial is good and the picture is very good...
Downvoting a post can decrease pending rewards and make it less visible. Common reasons:
Submit