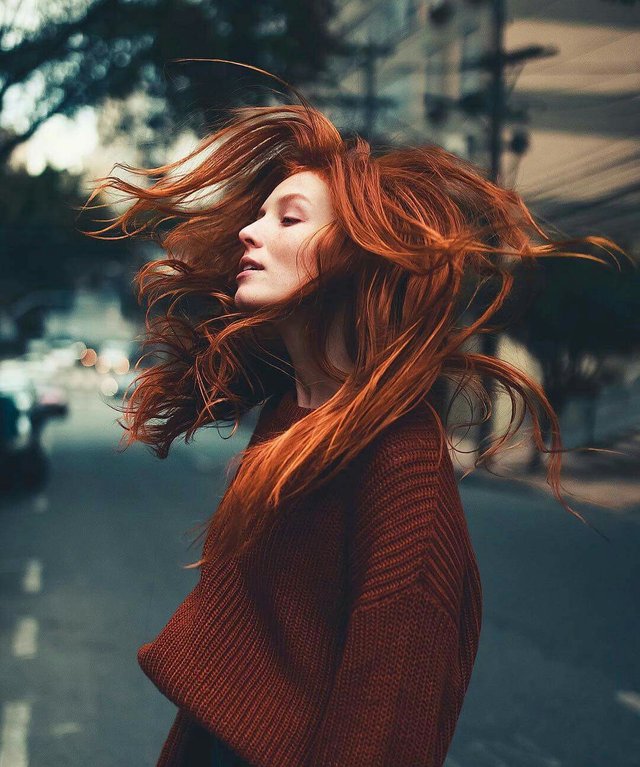
Step 1.Choose a picture to copy from the internet.

Step 2.Prepareyour art supplies
You will need:
1.Faber Castell 4B,6B
2.Eraser
3.Faber Castell Perfection 7056
4.Blending Stump
5.Soft Tissue
6.Cretacolor Nersoft 2
7.Mechanical Pencil 0.35, HB
8.Bristol Soft Paper
3.Draw the outline
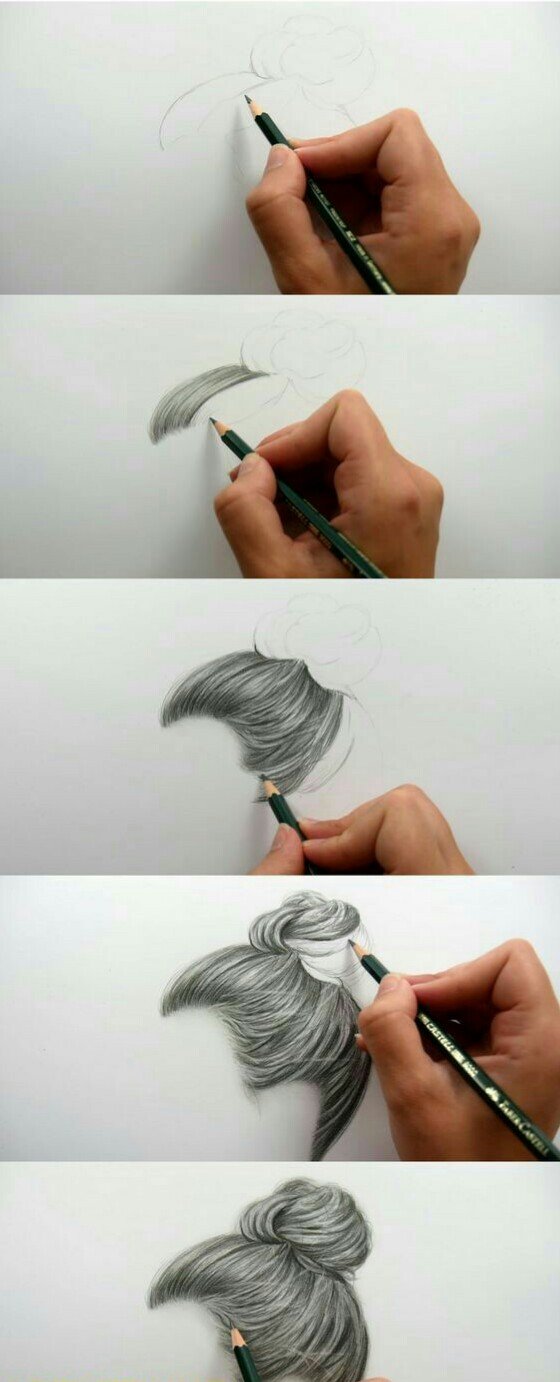
So once you picked the picture/photograph, draw the outline of the hair and the big strands for example on a bun, or in a hair. That will make it a lot easier for you to shade and draw all of the strands.
As you can see what I have done on the left, It is very rough and quick sketch, but do not forget to look at the original image that you are drawing. It is so important as this will prevent you from the drawing that you might be upset with. Focus on the image more than a piece of paper where you draw.
4.Sketch out dark and light parts of the hair.
Try to shade in with the 4B pencil in the areas where it is mid tone, draw in the direction of the hair strands. This is what actually is going to make the hair look very realistic. Even if you see that it will be darker or lighter, I still cover it all in mid-tone. The technique you use is up to you, but I work on the whole piece at once. I know some people who start with one part, perfect it and only then they move on to another
5.Blend

Blend the mid-tone colors with the blending stump. That is the trick which makes the hair look much much much easier to make it more realistic. Once I have blended it all in, it looks nothing like the hair. The next trick for making your hair now actually looking like the hair.
6.Make dark strands darker.
When you look at the hair, you will see where it is much darker. This is the perfect time to draw in the darker strands and shading ins. You do not have to draw line by line, but just some general shading in.
7.Highlight

Use the Faber Castell eraser to highlight very thinly. It is the greatest hack to use to get the desired effect of hyper-realistic hair. I do it even in the dark parts where it is not supposed to be but that is what makes my whole drawing much more realistic.
Also, use kneaded eraser to highlight the areas which are not white, but a bit of a slight highlight
8.Mechanical Pencil time
I use this pencil to show the precise details of the drawing. I use that to exactly follow all of the sticking out hairs. It makes my art look a lot more real
9.Now it is time for you to be your own boss.

Beautiful
Downvoting a post can decrease pending rewards and make it less visible. Common reasons:
Submit
Thanks for posting this ,you do it very well!
Downvoting a post can decrease pending rewards and make it less visible. Common reasons:
Submit