( )
)
- Always use the grid
When you take a picture with your iPhone it can happen that you get a somewhat skewed picture where the horizon is not exactly horizontal. You can prevent this by turning the grid on with the camera function. This causes vertical and horizontal lines to appear on the screen when you take a picture. This makes it very easy to straight-line the photo. This ensures that you can align the subject in the middle or at the edges. This depends entirely on your own creativity!
You can turn on the grid by going to the settings of your iPhone. There you go to Photos and camera and you set the grid option.
raster-iphone
- Turn on the automatic HDR function
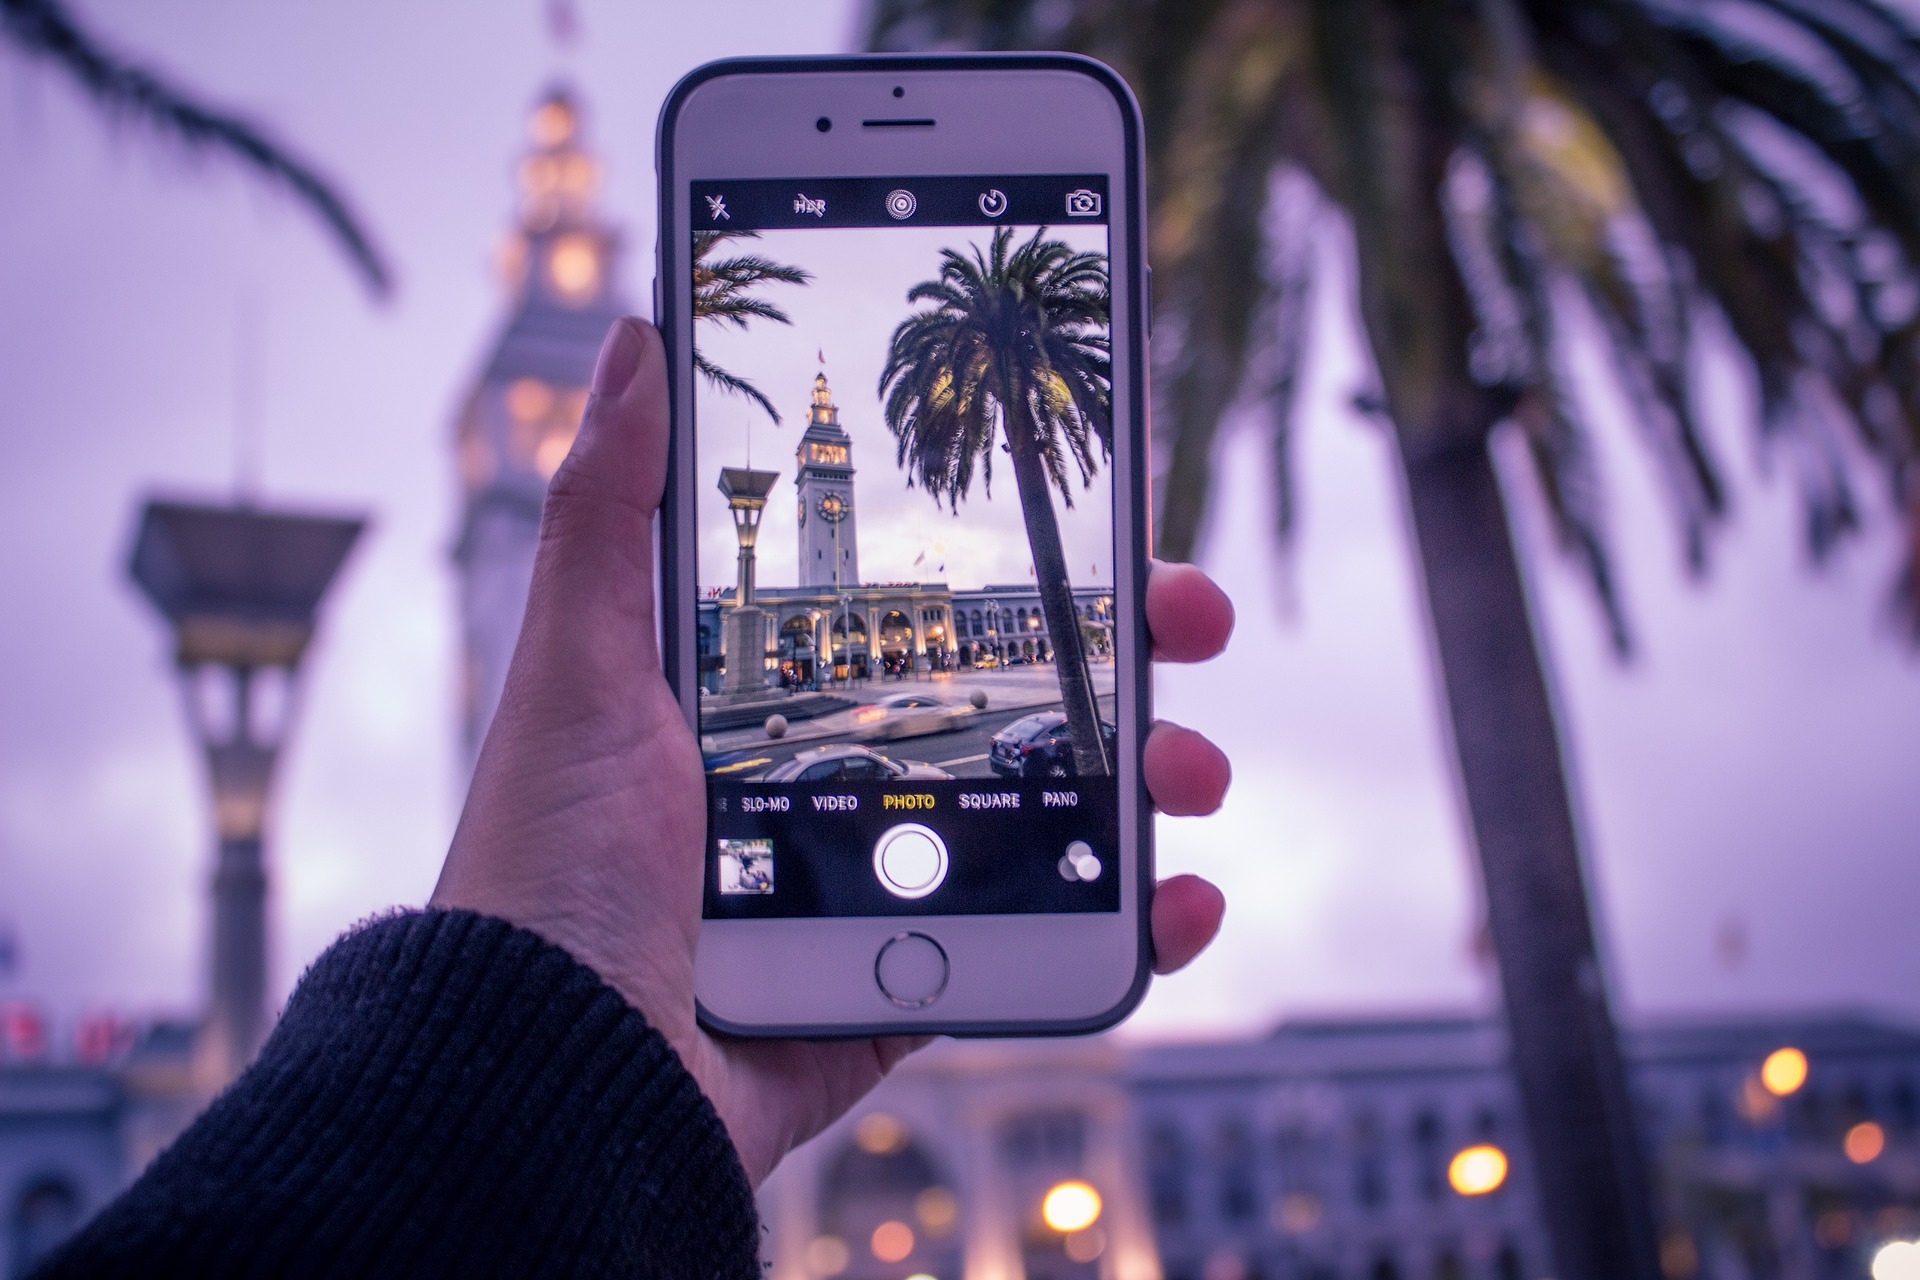
One of the easiest ways to improve photo quality is the automatic HDR function. HDR stands for High Dynamic Range, and is a setting that ensures that the exposure of the photo is ideal. This is achieved by combining three different exposures: a light, a dark and a normal exposure. These are combined in such a way that with the best parts of the three the lighting of the entire photo is top.
You can easily turn on this feature by opening the camera and clicking on HDR at the top. There you can choose from car, on or off. If you set it to auto, the camera determines whether it is necessary to activate the function.
Good photo with iPhone
Prevent zooming in and flashing with your iPhone
To make good quality photos, it is best to avoid using both the zoom and the flash function. The iPhone uses a digital zoom which usually results in blurred, grainy photographs. Instead, you better walk closer to the object or scene to be photographed. Another option is to crop the photo afterwards and possibly enlarge it. For this you have to ensure that you photograph in the highest possible quality. You can also ignore the flash function better. This often causes the photo to be overexposed and lacks detail. Instead, you can better search for natural light, or post the photo afterwards and adjust the lighting. You can also switch off the flash function at the top of the camera function.Be careful with 'Live' photos
A new feature on the iPhone 6S is the live option. This adds a few seconds of moving image before and after a photo. This function is enabled by default. However, this is not recommended. For scenes with movement, for example action photos, it can be fun, but with many photos it adds nothing. It uses a lot of storage space so your iPhone will also fill up much faster.
To deactivate the function, press the center icon with circles at the top of the camera. If this is white, hi is off, he is very then he is on.
Tips for a good photo iPhone
Take photos in the dark with your iPhone
The use of the flash had been discouraged earlier, and natural light could be used instead. That does not mean that you can not take good pictures with the iPhone in the dark. You can then use the exposure slider on your iPhone. It appears when you focus, and you can scroll left or right. Increasing the exposure will make the photo brighter, because the shutter speed becomes longer and more light comes through.The shutter button
A handy feature that is built into your iPhone is that your iPhone only takes the picture when you take your finger off the shutter button, the button you take the photo with. So not when you press. This ensures that you can determine exactly when you want to make the want, and that you sometimes have to be patient. It may be that this function does not work entirely for you, because you simply want to take photos quickly, but for creative people this can be a great function to discover further.Natural light
Photos can become overexposed very quickly during sunny days. It is therefore smart to look for a space where the light of a window illuminates the person. In photographer terms this is called 'Rembrandt light': where you use the light that shines through a window as the main light source. Especially when taking portraits it is good if you take a few photos behind each other, and also from different perspectives, so that you can take exactly that picture with the most beautiful light.
natural light iphone photo
- Camera apps
With the iPhone's standard app you can take beautiful photos, but there are many other apps that allow you to change many more settings, and therefore have many more options. This allows you to adjust the shutter speed, white balance and exposure in the free VSCO app. In addition, you also have all kinds of nice filters, which just lift your photos to that higher level! The Camera Obscura app (7 eur0 in the App Store) is also made especially for the people who are focused on it.
Congratulations @imali! You received a personal award!
Click here to view your Board
Do not miss the last post from @steemitboard:
Downvoting a post can decrease pending rewards and make it less visible. Common reasons:
Submit
Congratulations @imali! You received a personal award!
You can view your badges on your Steem Board and compare to others on the Steem Ranking
Vote for @Steemitboard as a witness to get one more award and increased upvotes!
Downvoting a post can decrease pending rewards and make it less visible. Common reasons:
Submit