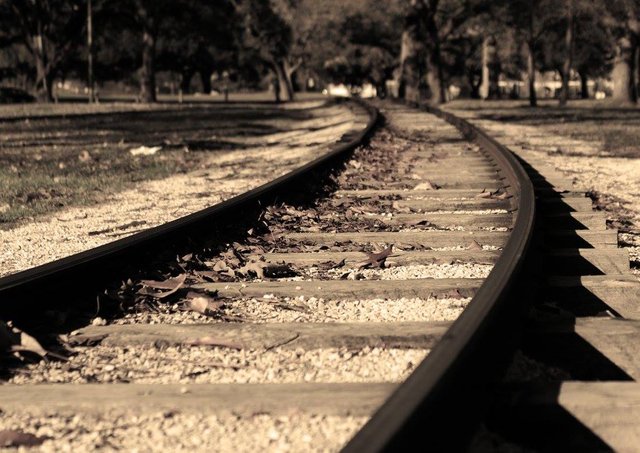
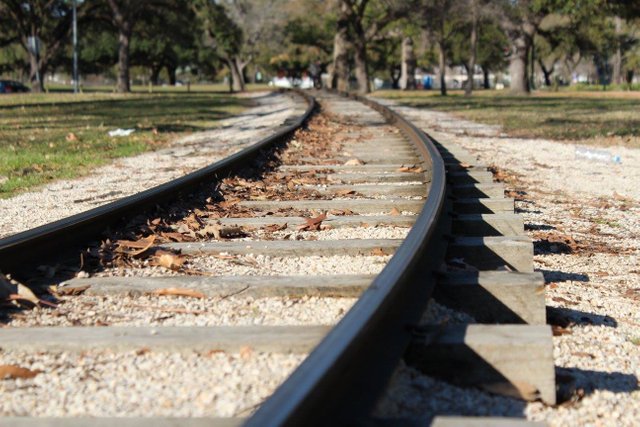
I took this photo at the Hermann Park, Houston Texas 3 yrs back. The photo is of the tracks of a train that runs through the park in a loop.

(a) Sepia tone

(b) Original image
This photo was taken under the following camera settings:
- Aperture: f/5.6
- Focal length/zoom setting: 55mm
- Shutter Speed: 1/400 sec
- ISO: 100
Camera used: Canon T3i, Lens used: 55-250mm basic, Tripod used: No
1. Aperture explained - f/5.6
f/5.6 aperture denotes a lens aperture setting which is rather big in size. Smaller the f-number means, larger the hole or aperture that permits the light onto the sensor. A larger aperture was chosen for this shot, as a larger aperture results in a small "Depth of Field", by which I could keep a part of the tracks in focus and blur out the tracks in the foreground and the background. Depth of field is nothing but the depth upto which things will appear in focus in a scene. Lower the depth of field, better it is for blurring out the surroundings and keeping only the main subject of the scene in focus.
2. Focal length explained - 55mm
55mm means my lens was completely zoomed out. This allowed me to compose the shot, filling up the scene with the tracks in the desired position in the frame and also as it produced the desired leading lines created by the tracks.
3. Shutter speed explained - 1/400 sec
Photo was taken in the evening with well lit surroundings. Also, since the aperture selected was of large size which would further increase the amount of light going through the lens, I had to increase the shutter speed to 1/400th of a second to ensure that the photo was not going to be overexposed.
4. ISO setting explained: 100
ISO 100 denotes nothing but the sensitivity of the camera's sensor being at its lowest value. This photo was being taken outside with good amount of light, therefore there was no need to increase the sensitivity of the sensor.
5. Sepia Coloring explained
I converted the image to sepia coloring using a photo editor for two reasons 1) The color and texture of the dried leaves suited the sepia tone better 2) The shadows casted by the railtracks became more enhanced in a monochromatic sepia tone.
Summary
1. Big aperture setting of f/5.6 used to create low depth of field to blur the foreground and background of the tracks.
2. Fully zoomed out lens at 55mm to get the right perspective and composition with the railway tracks creating leading lines in the center of the frame.
3. High shutter speed of 1/400th of a second to balance the high aperture of f/5.6 and well lit surroundings, to prevent the photo from getting overexposed.
4. Lowest ISO setting of 100 as the lighting conditions were good.
5. Sepia tone selected to match the color of the dried leaves and enhance the shadows produced by the railtracks.
---------------------------------------------------------------------------------------------------------------------------------
As a photographer who is always learning from others, I like to share the technique behind my shot with fellow enthusiasts and learners. Any comments/criticisms are most welcome.
I maintain my photography profile on the social site VIEWBUG.COM
Heres a link to my bio on viewbug - https://www.viewbug.com/member/Krishna_Kumar#/Krishna_Kumar/bio
This photo originally uploaded by me on Viewbug, May 2013 - https://www.viewbug.com/photo/3344671
---------------------------------------------------------------------------------------------------------------------------------