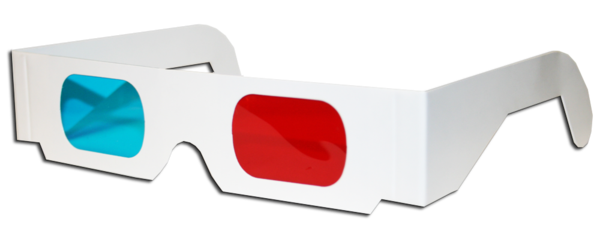
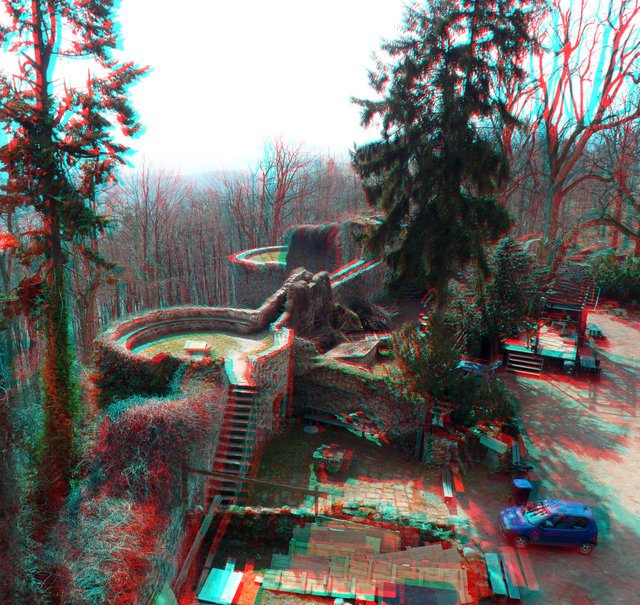
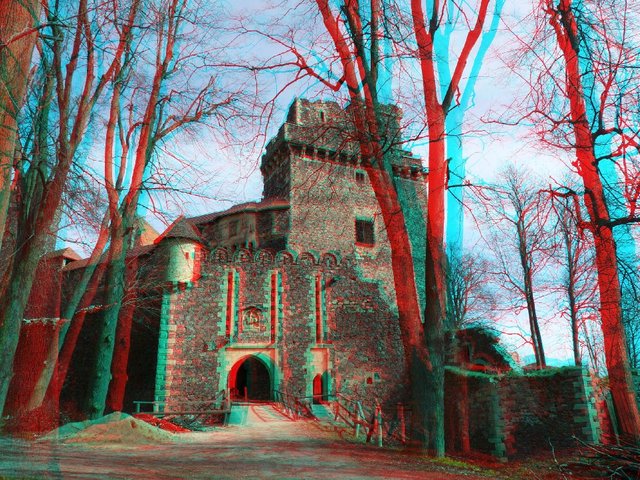
In this post I would like to present some of the 3D pictures I made with my standard compact camera and some instructions how to create your own. To properly see those pictures you need a red-cyan anaglyph 3D glasses. Such glasses can be easily bought online and they are cheap. In fact, the best choice is to pick the cheapest ones as they will probably be made of paper. Paper glasses can be easily worn on standard glasses (if you wear those) and won't get damaged in transport. What is more you will be able to buy few pairs of glasses that way to see the pictures together with your friends or family, not just single expensive ones. Just make sure that the "glass" colours are: red and cyan.
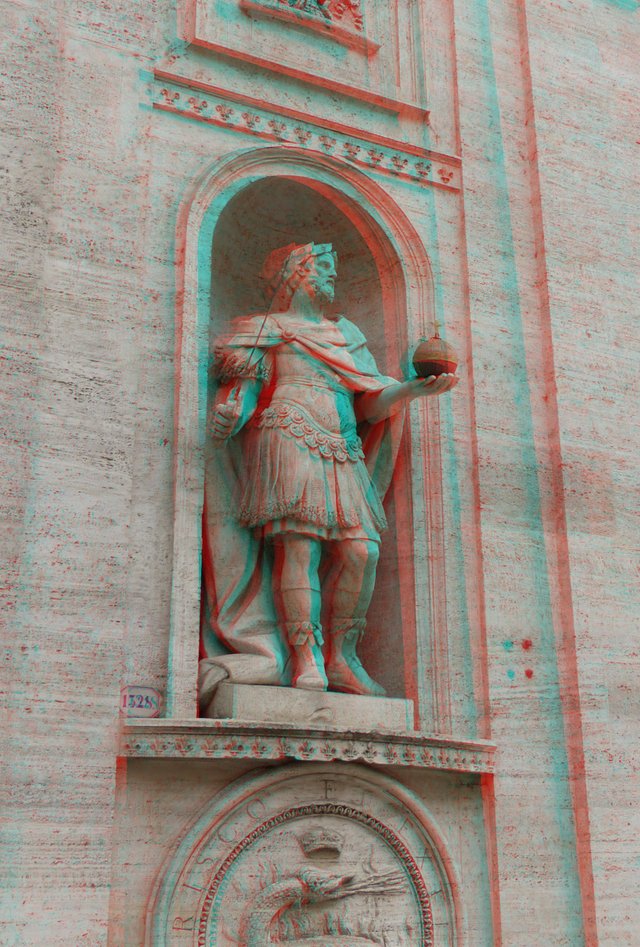
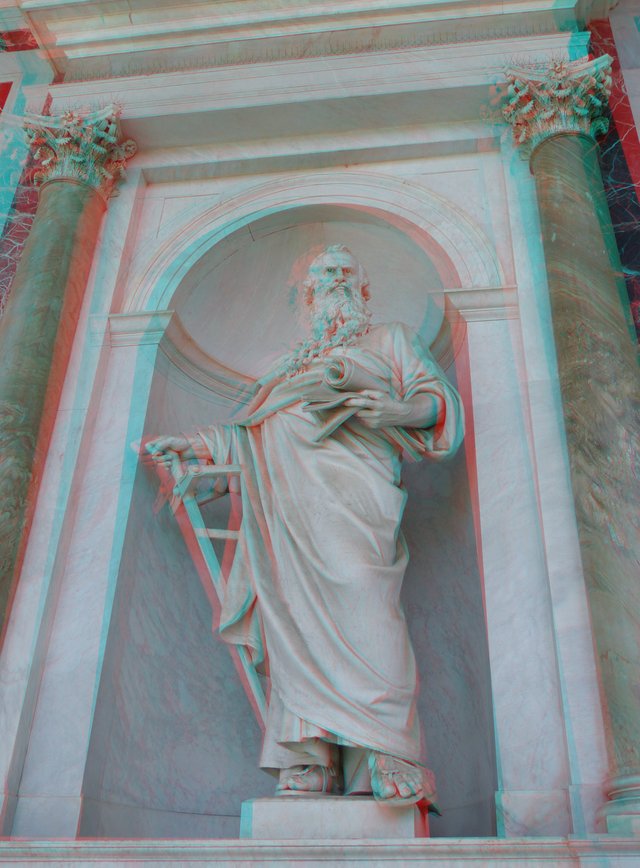
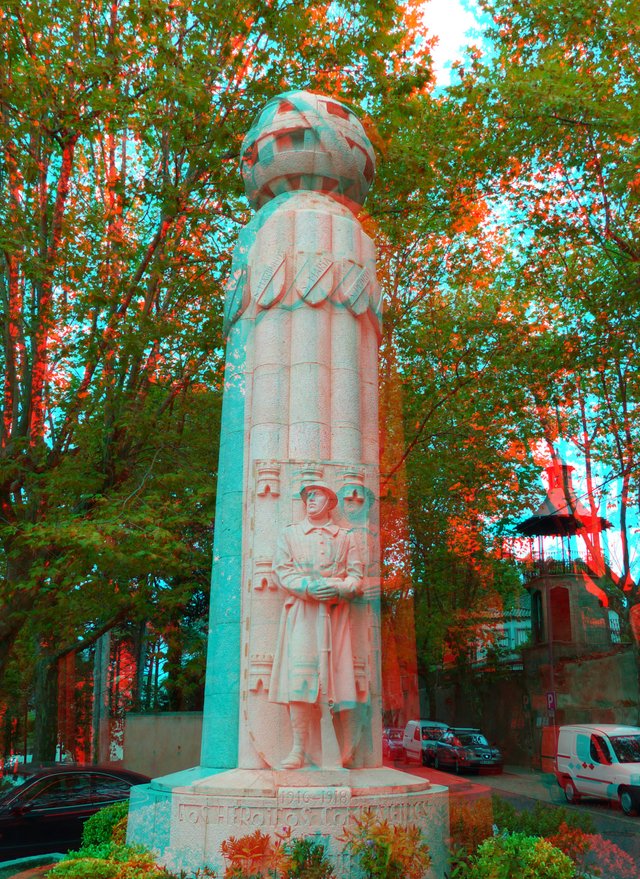
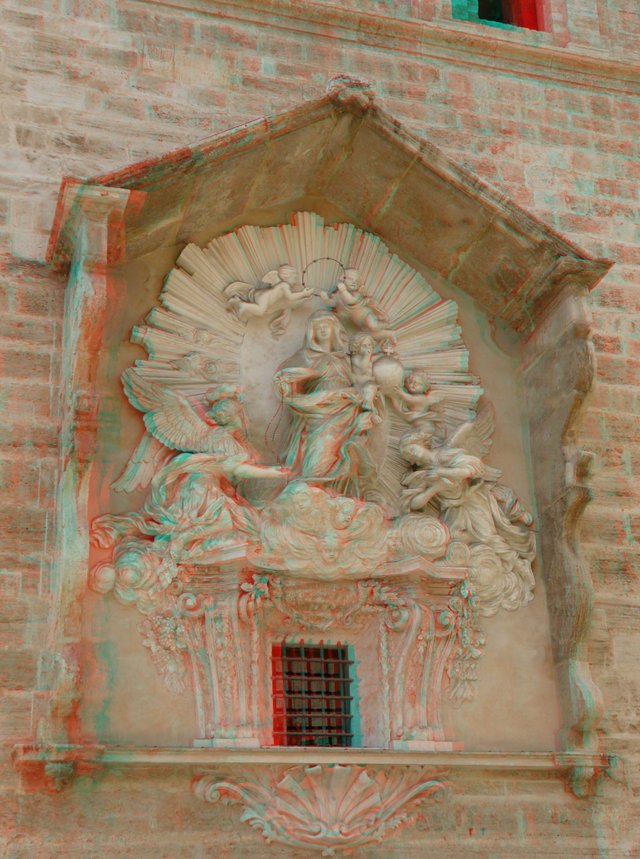
Some of my pictures
If you have some problems seeing the 3D depth in those pictures try to move around your head a little (left-right) while focusing your eyes on the picture. You can also move closer or further from the screen. Note that your browser surely has option to enlarge website you're browsing to make those pictures bigger or smaller to fill/fit on screen.
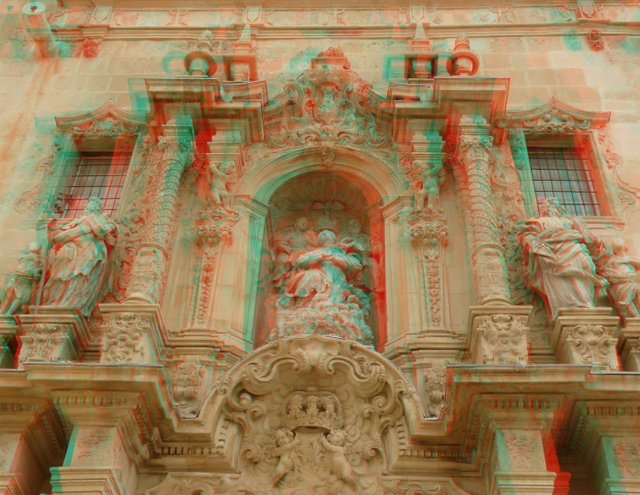
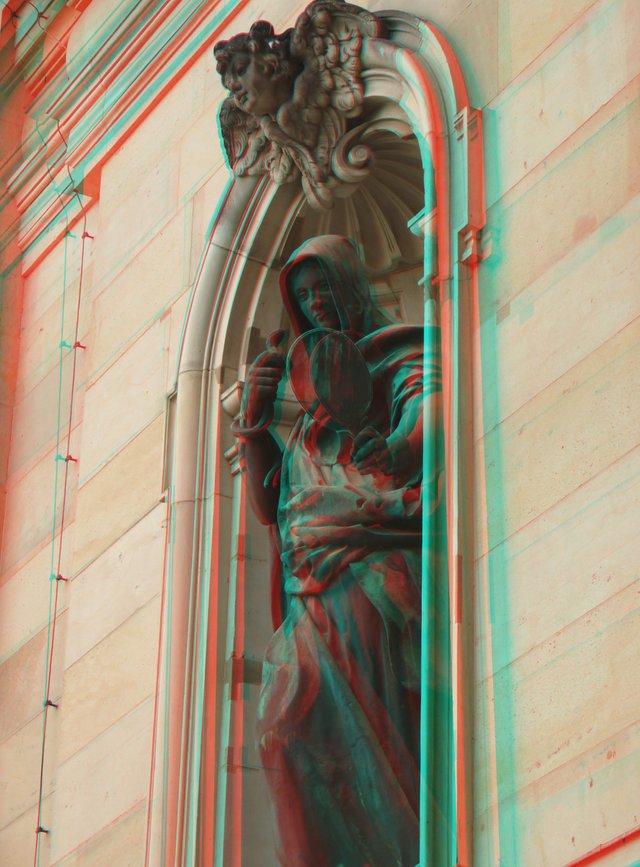
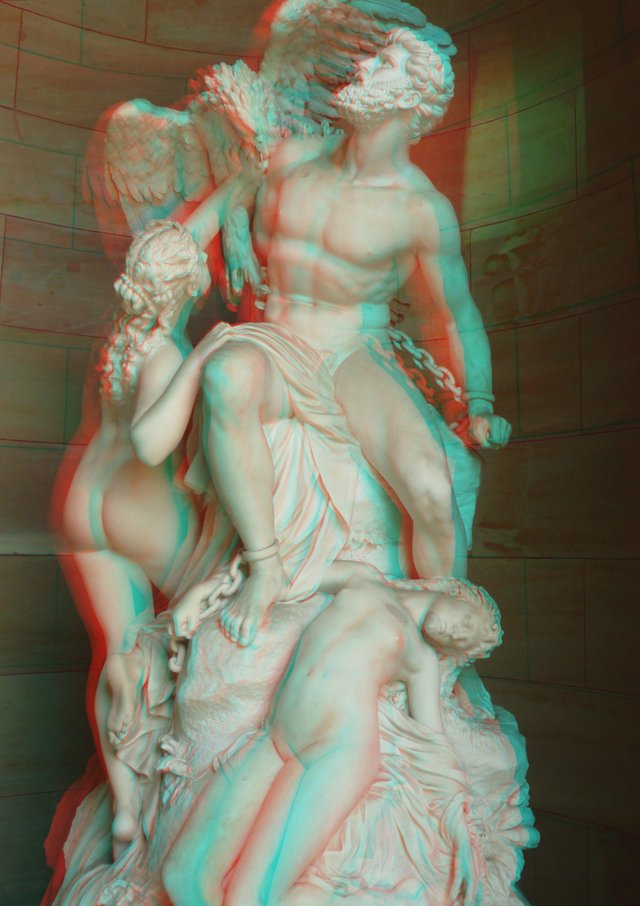
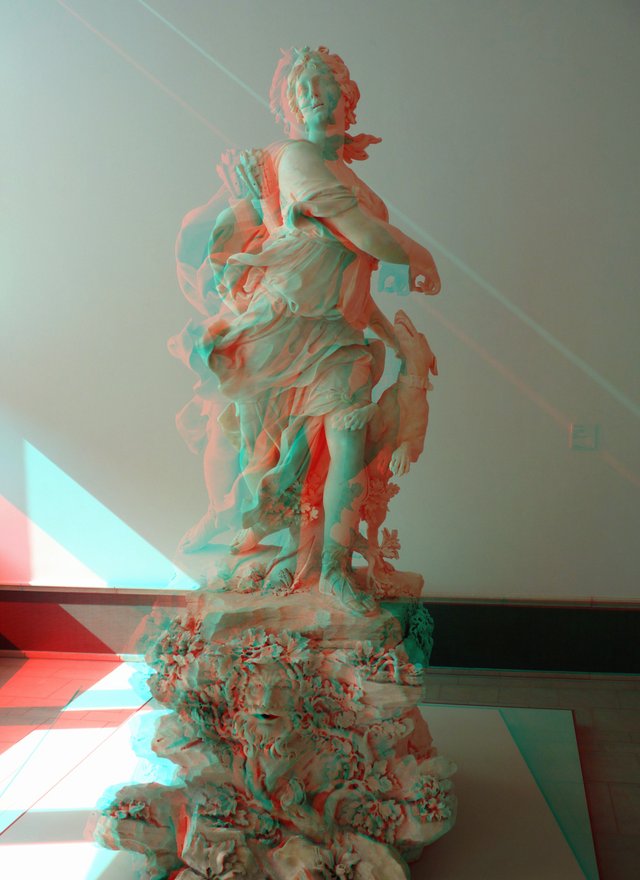
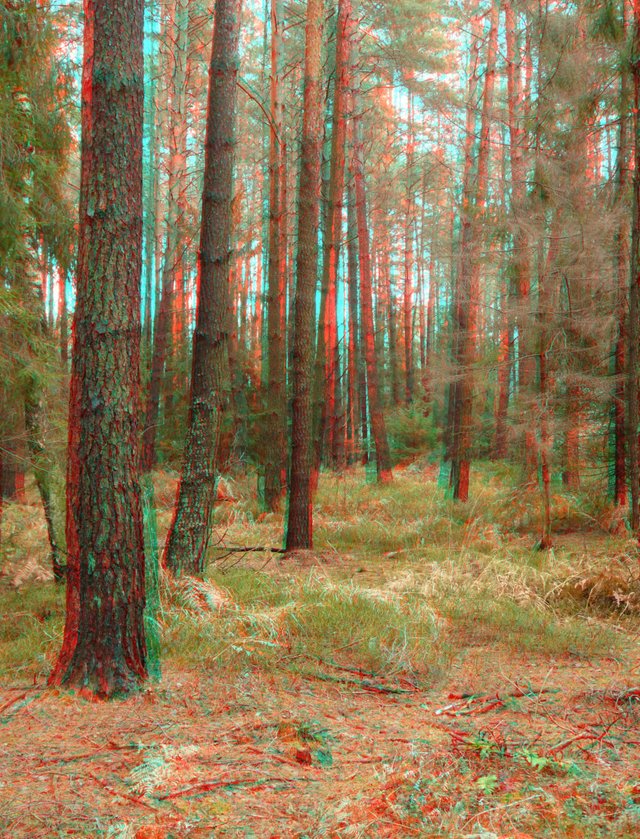
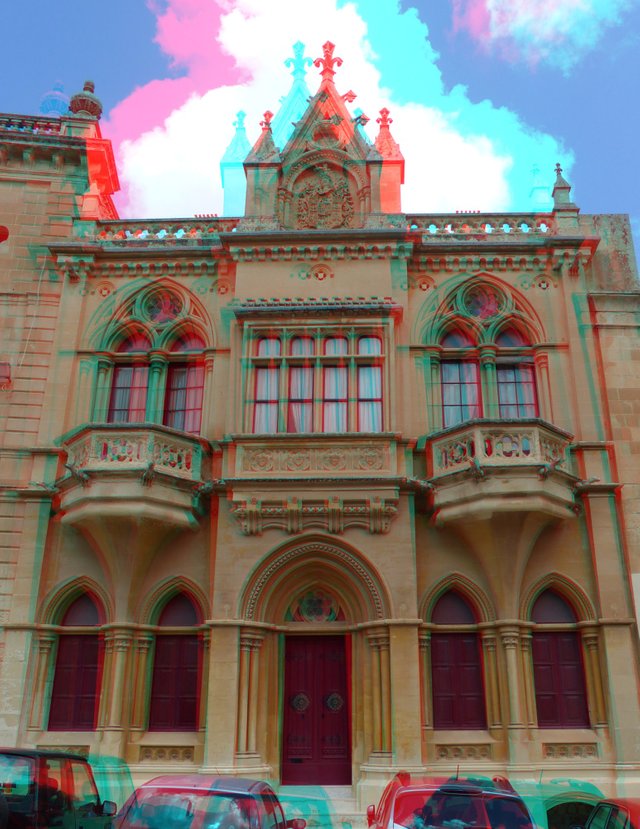
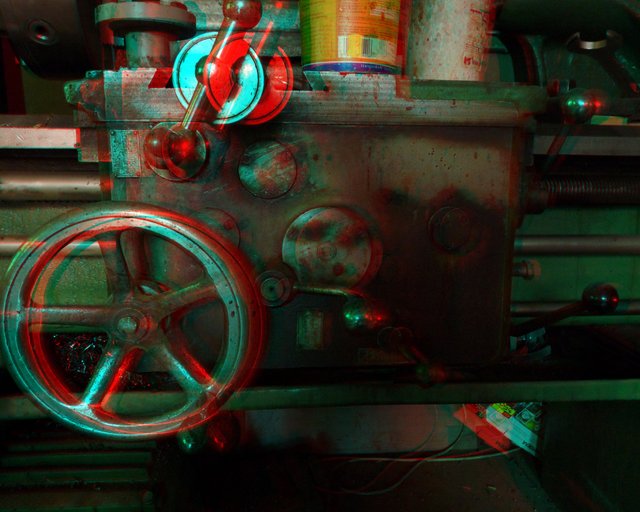
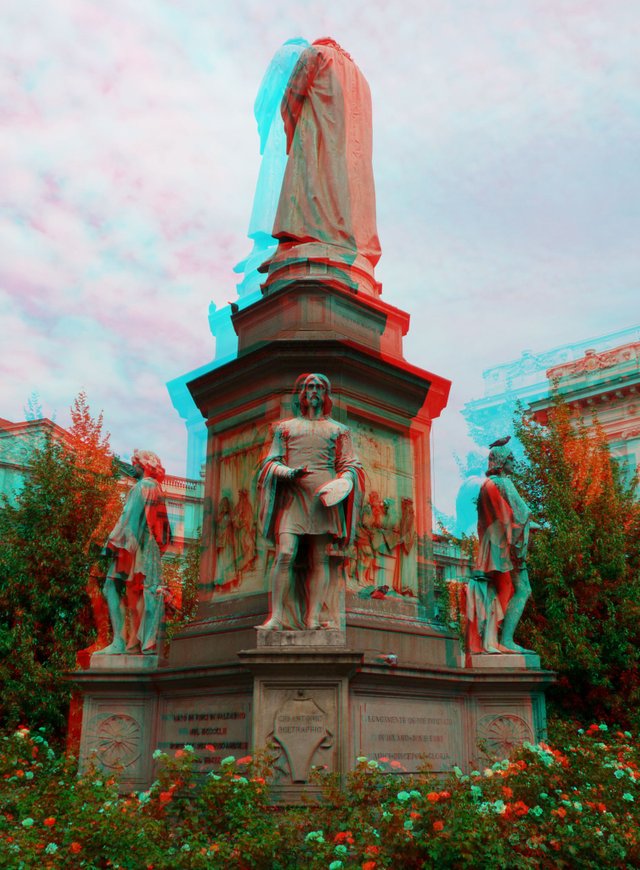
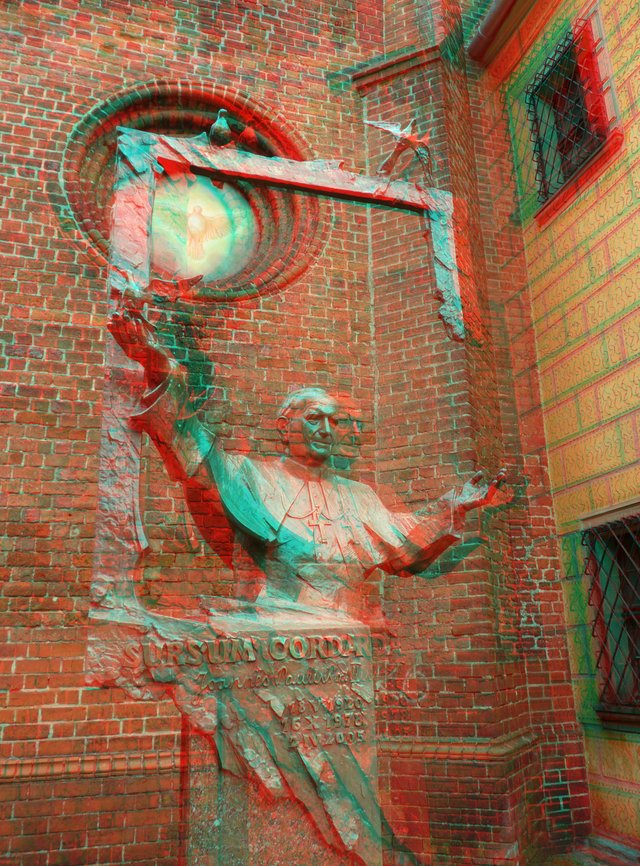
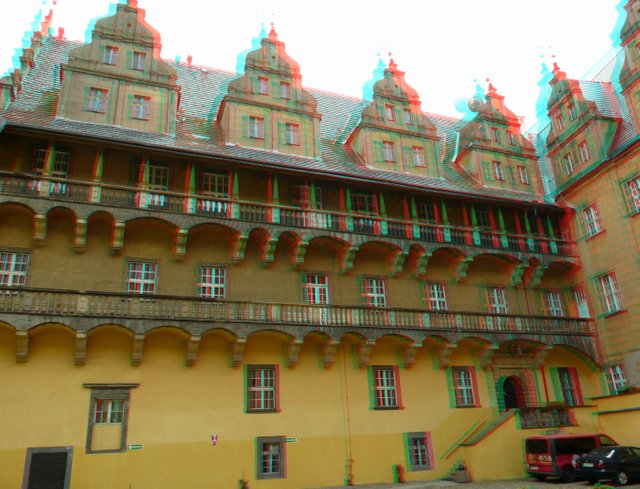
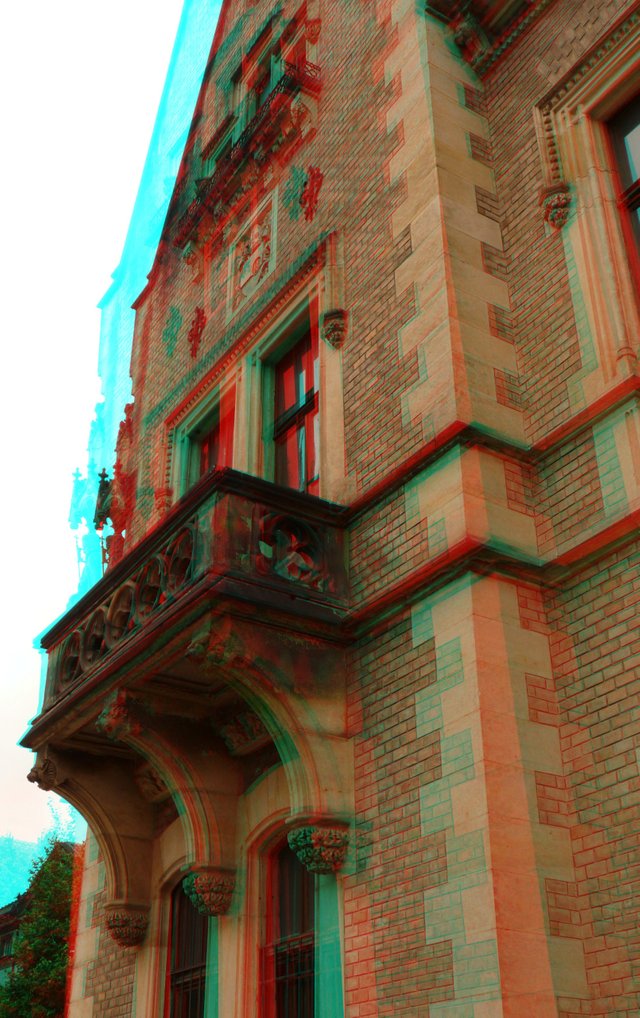
How to take such pictures
There are two techniques to take such 3D pictures:
- Use 3D option in your camera if it has one (see yours camera user guide if it has and how to use it).
- Take two pictures side by side in around half a meter or a meter distance from each other.
In this second way you just take a standard single picture and while still holding your camera pointing the same object take a step left or right and take another picture on the same camera settings.
Once you have the picture(s) you need to copy them to your computer and prepare them for viewing with red-cyan glasses. To do that download this free tool, unpack it somewhere on your hard drive and run it.
Depending on the technique you used you will need to open your single 3D photo or two pictures made side by side. If you choose the second option you'll first be asked for the left picture and once you select it another request will appear for the right one.
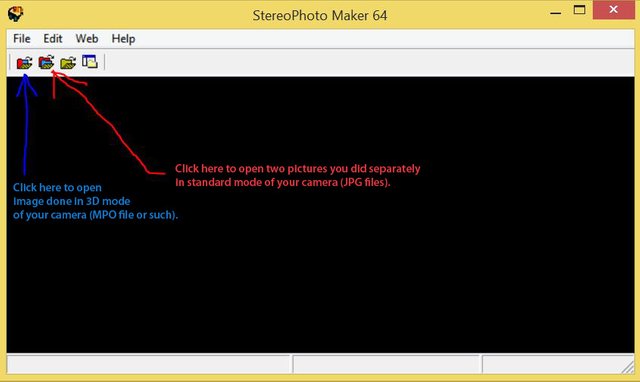
Once you load the picture(s) you need to select auto-alignment icon if it's active (a little icon with the "Auto" text on it).

Accept the dialog (if any).
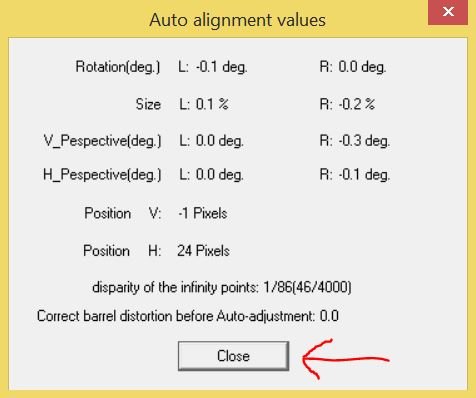
After this make sure you picked red/cyan anaglyph color output picture.

Now click on the anaglyph icon.

After a second you should see your picture ready so put on your glasses and take a look at it.
Red-cyan glasses tend to reduce brightness so if you find your picture too dark you can make it brighter by pressing Shift+K and increasing gamma on both pictures. 1.00 means the picture's original brightness. Higher value is brighter and smaller is darker. Once you make changes click OK and verify the results again.
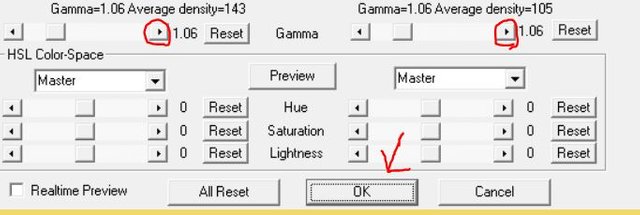
If you are happy with the result you can save the final picture by clicking on a disk icon.

In the save dialog pick a proper place and name for the picture, select JPG format and set additional options as shown below.
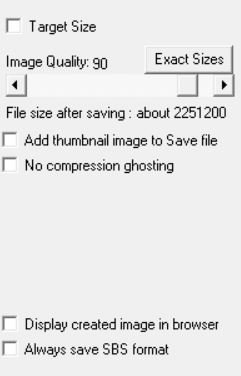
And you're done. You can now create your own gallery of 3D images!
Some additional hints
- If you take pictures side by side you can take more than just two and then pick proper two on your computer.
- The closer the photographed object is the smaller step you need to make.
- Don't get too close to the object you're photographing. I found one and a half meters as a minimum.
- The best looking objects in such pictures are usually sculptures and buildings (architecture).
- If there are many moving objects on your scene you won't get satisfactory results (objects will move between the pictures and create ghostly artefacts on your results). Try to get different angle or zoom-in to avoid having moving people or vehicles in your scene.
Hi, @m-san, you should invest in a fujifilm 3dw1 or 3dw3. No longer in production, but still the best 3d camera you can buy nowadays.
Downvoting a post can decrease pending rewards and make it less visible. Common reasons:
Submit
Hi, @whythehellnot. Thanks for the suggestion. I'll seek for this camera online to read about it. Maybe I will invest in my photo gear one day. For now I'm just having fun with cheap things that I already have and describing the cheapest ways to get some results. Maybe I will help somebody to find his new passion this way, who knows. Most of the people (including myself) like to try things first before investing more than a penny.
Downvoting a post can decrease pending rewards and make it less visible. Common reasons:
Submit
No doubt about that approach, @m-san. Take it just as a recommendation (with about 15 years experience in 3d, both analog and digital). Fun starts with "moving targets" . For that you need 2 lenses at the same time. But even 2 cameras released at the exact same time are a solution, if combined with a special bar as a good aand not too expensive starting point.
Downvoting a post can decrease pending rewards and make it less visible. Common reasons:
Submit
@originalworks
Downvoting a post can decrease pending rewards and make it less visible. Common reasons:
Submit
The @OriginalWorks bot has determined this post by @m-san to be original material and upvoted it!
To call @OriginalWorks, simply reply to any post with @originalworks or !originalworks in your message!
For more information, Click Here!
Special thanks to @reggaemuffin for being a supporter! Vote him as a witness to help make Steemit a better place!
Downvoting a post can decrease pending rewards and make it less visible. Common reasons:
Submit