Many people ask me "which setting you used for this or this photo" and the thing I always ask me is why because I think it's actually so easy to choose the right settings and there is only a little knowledge necessary, to set up the camera.
In the whole article I only write about the manual mode. In the automatic mode the camera is trying, to make the best setting by seeing and judging the image but the problem here is, that the camera doesn't knows, what the photographer actually wants to do. So sometime this can work very well sometimes it can give you horrible results. So, it's always good to know, how to work manually.
The three most important setting which are available to change manually in the most camera and is every interchangeable lens camera (DSLR/DSLM) are the ISO the aperture and the exposure time.
The ISO
The ISO is as far I know. The most popular setting. It is a standard made by the "International organization of standardization" for film speed. What it does it makes the sensor more responsive. The result is, that it makes the image brighter. The downside is, that it that is also increases the noise. Which is something we absolutely don't want.
Some people want to have this grainy film look which looks a bit like a photo made with an analog camera. The problem here is, that the noise we get from to high ISO looks different. In another post I will show you an amazing free plugin which can simulate this perfectly and gives you a lot of options if you trying to achieve this look.

The Aperture
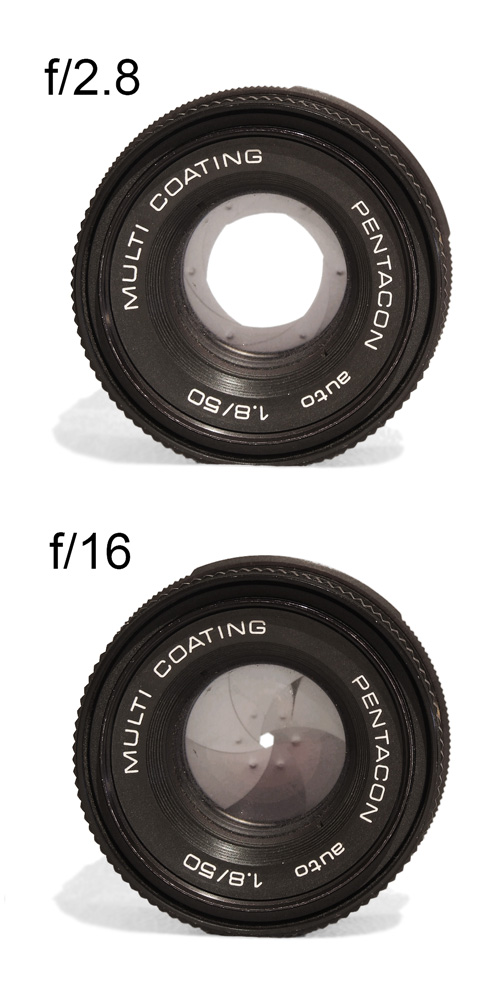
The aperture decides how big the cone of light is which get directed to the sensor so it's not part of the camera its part of the lens so if you feel to limited by the aperture you have to get a better lens. The influence on the image is, that if the aperture gets bigger or the aperture number which are numbers like F1.8 or F3.5 the image gets brighter. Which is most of the time a good thing. For example, if we want to make photos in low light situations or at the night cause then we can lower the ISO which also gives us a less noisy image.
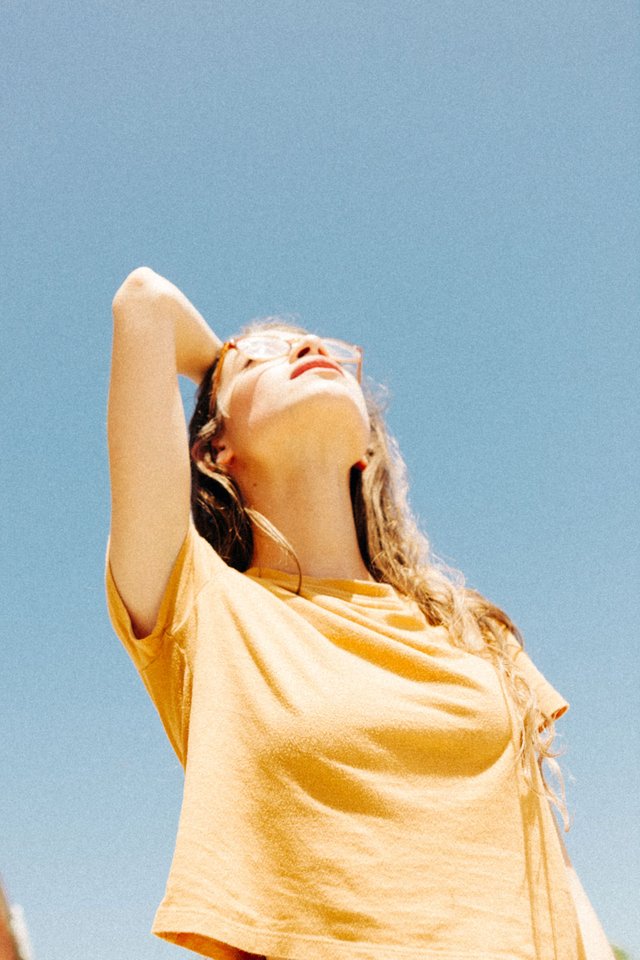
The other effects are that you get this blurry depth of field which gets often use in social media. Cause many people who don't know much about photography link a big depth of field to a high-quality camera which is a bit true cause with a bigger camera sensor the depth of field is much stronger on the same Aperture settings but mainly it gets influenced by the Aperture.
So, if you buy a good lens you have the possibility to set the aperture up to numbers like F1.8 or F1.4 which is also a technical the biggest aperture I ever saw was F0.95 so lower number means bigger aperture. My recommendation for beginners is to buy a 50mm also known as nifty fifty there you can get often good lenses with big apertures like F1.8 or even F1.4 for a very low price for all cameras. If you are interested in a buying guide the write it in the comments.

The Exposure time
A long exposure time has two effects on the image. The one is, that it makes the image bright which is good if we want to make photos in the dark for example cause then we can again go lower with the ISO to get less noise. The other effect is, because it exposes the whole time it captures the whole time an image. Which is really interesting. It can on one hand be a problem cause your image gets unsharp and blurry if you hold the cameras in the hand cause your hands are constantly shaking a even if you think they don't expect you are dead. So, if you want to use a high exposure time and want a really sharp image you have to use a tripod. Or just use a lower exposure time if it's possible.
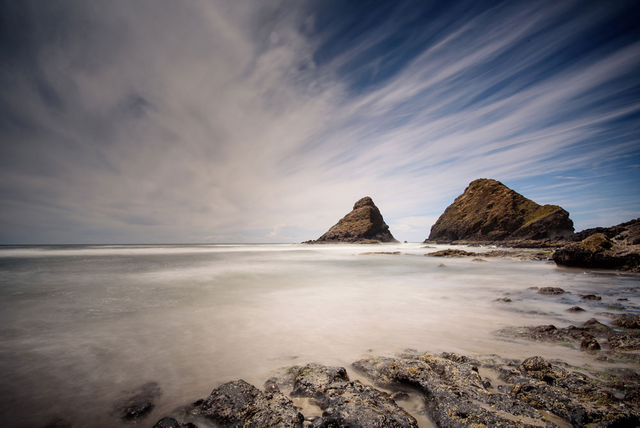
But it's also possible, to use this on an artistic way. So, in this case you need to put the ISO very low and set the Aperture number (F11 for example) very high. And if that's not enough an ND Filter.

Conclusion
High ISO= bright image and noisy images
Low ISO= dark image and low noise
Big Aperture (low Aperture number)= bright image and much depth of field
Small Aperture (high Aperture number)= dark image low depth of field
Long exposure time= bright image and shaky / unsharp images (if you don't use a tripod)
Short exposure time= dark image and more sharpness (doesn't make a visible image if a tripod gets used.)