A friend recently challenged me to take six photos, all in black and white. I’d never really done anything with black and white in mind, except a recent disposable camera test where almost all of the photos turned out completely black.
I didn’t want to waste a roll of film or the hassle of development just for six photos, so I used my Canon EOS80D with a 18–55mm lens.
The first photo I went out to take was one I had tried to take with the disposable camera, but had come out too dark. Determined to get the shot, I went back and made my boyfriend pose again for me.
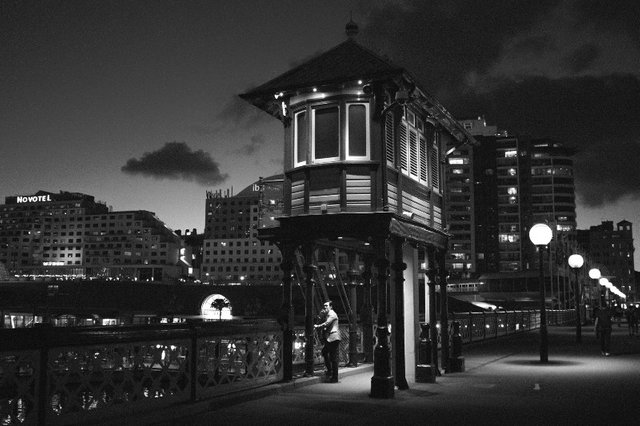
Admittedly, I exported these photos in an Instagram appropriate size, as that’s where I was supposed to post my challenge. I tried making this image look like film, and it was my first time Photoshopping black and white, but otherwise pretty happy with how it came out compared to what I had in my head.
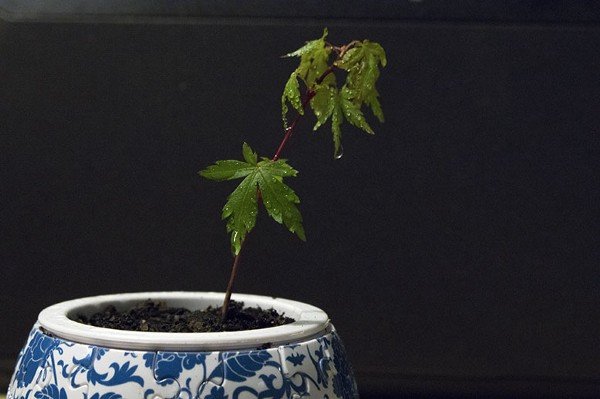
Before editing
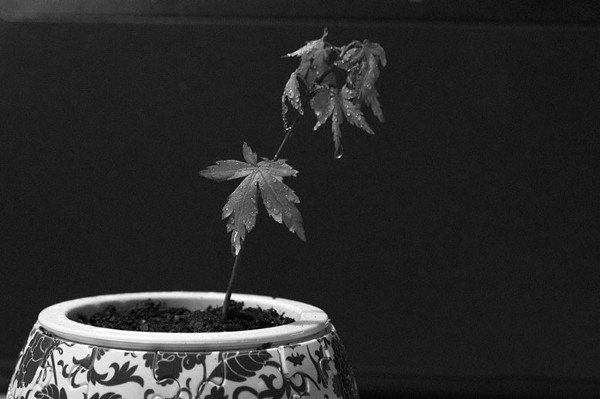
After editing
The second photo was this Japanese maple sapling that I had just gotten on the weekend. Admittedly it looks not as healthy right now, but my aim with this image was to have a very plain background and contrasting foreground .
If I were to revisit this one, I’d definitely get rid of the lines from the background (my backdrop was a speaker…) and make it much more black.
I also cropped this on Instagram, though I prefer the uncropped version.
I wanted to explore light a bit more, as I really liked how my first image came out, and I was invited to go to the Night Noodle Markets with some friends so decided to see what neon signs I could find.
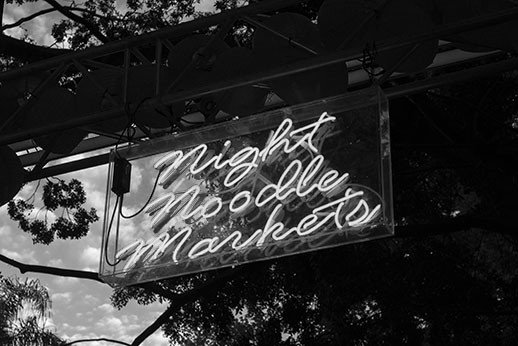
This sign was at the entry to the market, and while it was difficult to get close to it because of the crowds, I was happy with the angle and clarity of the letters that I got. All in all, I think this is the photo I like the least. I was also thinking of doing a super close up crop for Instagram, but saved it in too small of a resolution and then didn’t like it enough to open the file back up to fix it.
If you know Pyrmont Bridge in Sydney, you’ll know that the next two images were taken in the same location as the first image up the top, just different ends of the bridge.
I had initially gone to this spot to get a different road that runs under the bridge, but the bridge itself was swaying and blurring my pictures.
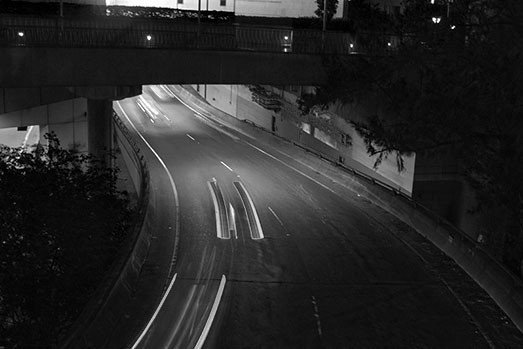
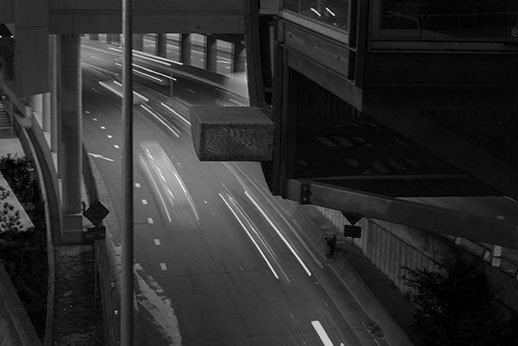
I ended up not being able to choose between these two photos and posted them both.
My original idea was a much longer exposure (these were both 1 second, I wanted ~3 seconds to get longer lines) with a long straight road rather than these bendy ones.
Unfortunately it just wasn’t happening, so I had to give up after I got the second shot that was decently in focus.
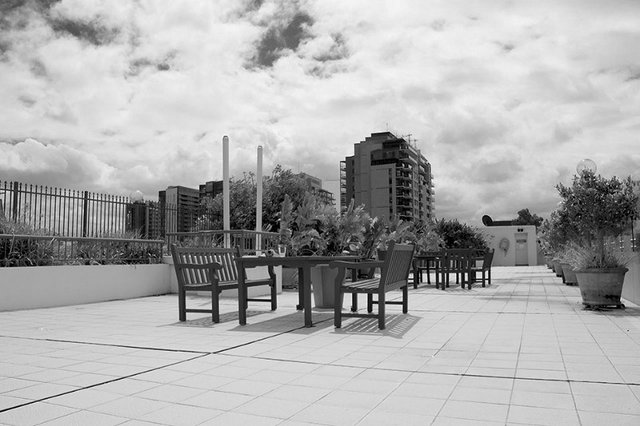
Second last, I went up to the rooftop of my building to try a different style. Full daylight, lots of white rather than black, and a not very Instagram-y vibe. This was actually one of the photos I really liked, my Instagram followers not so much.
Finally, I had wanted to try a portrait throughout the whole challenge but my boyfriend hates being in front of a camera and I didn’t really get the opportunity to ask anyone.
With no other options, I awkwardly sat on my bed and posed while controlling my camera from my phone (a truly great feature I have to add) and trying to look like I was not incredibly outside my comfort zone.
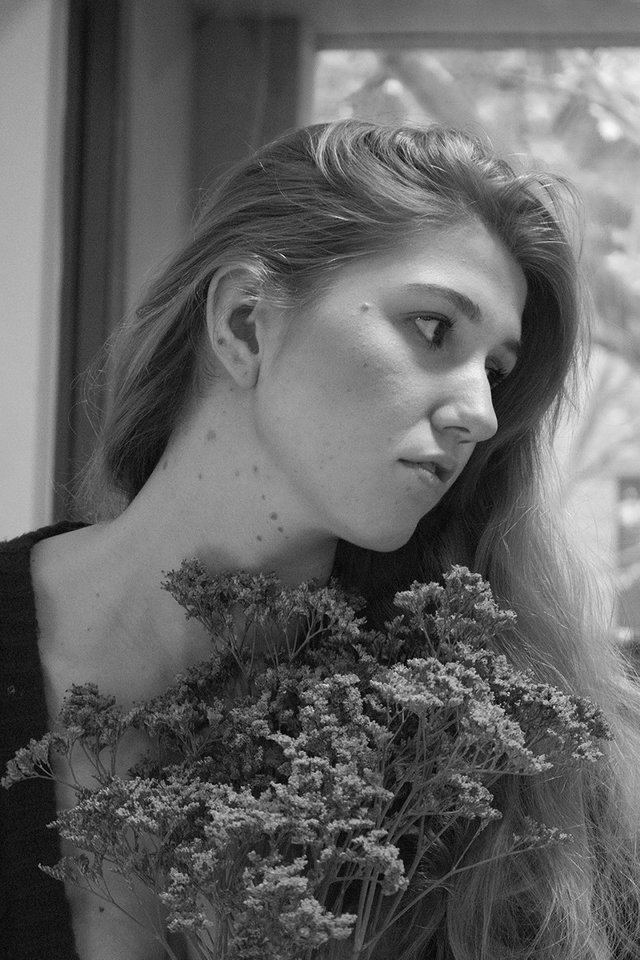
I actually got my boyfriend to pick which shot he liked most, and there was the end of my challenge. I don’t mind this as much as I thought I would, but I do like it more in colour.
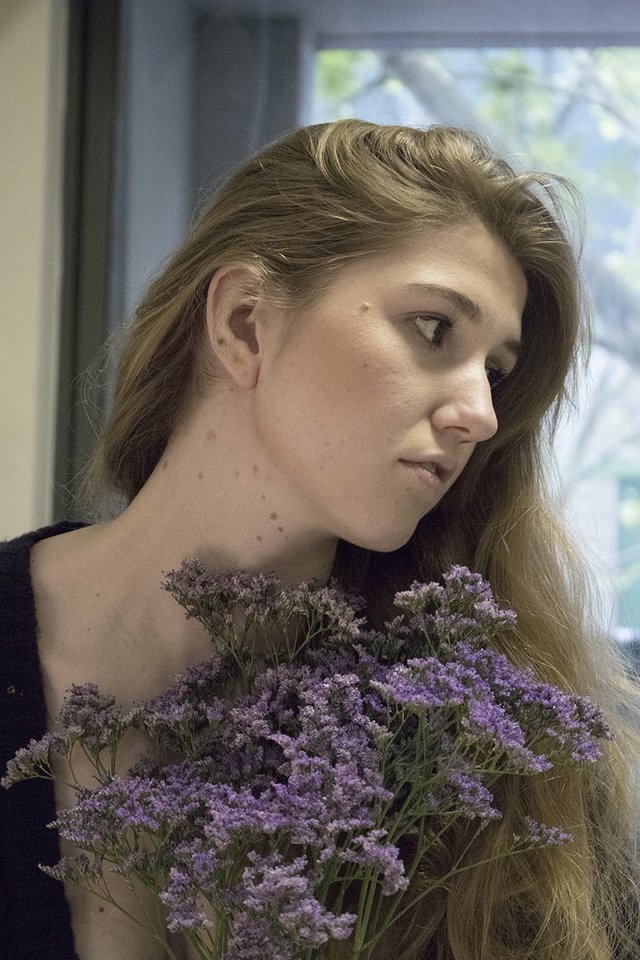
I have never really post-processed portraits, as I would usually do them on film, so I found this quite difficult. It seems almost half way to where I wanted it.
All in all I liked the experimentation of doing something I normally wouldn’t think to do. It has also shown me I definitely want to do more portraits (with film of course) and more set up and thought out shots.