You will surely agree if I tell you that highlighting the subject is one of the keys to a successful photo. However, even with an interesting subject, the viewer's gaze can be quickly diverted if you do not pay attention. A background too visible, an approximate composition or the presence of an undesirable element are classic examples that can mitigate the strength of a photo.
In this article, I will present 3 tips to sublimate your subject and get photos with a stronger impact. I will rely on pictures of frogs and you will see that from a similar subject, it is possible to get a different rendering.
Background Blur

Looking at this picture, you can see that the subject stands out right away in the frame. There is no need to look long or have a keen eye to understand that the point of interest of the photo is a frog balancing on a branch. This is the main advantage of having a fuzzy background: the subject stands out and is highlighted.
If you want to get a blurry background you have to work on the depth of field. Here, the conditions for the depth of field is low: the frog is clear but everything around is drowned in the vagueness. In this case the area of sharpness is very short, it is limited to 2 or 3 cm around the subject.
To achieve this result, use a large aperture (f / 5.6), and approached the subject (about 50 cm) chose a long focal length (105 mm). The combination of these settings allowed me to obtain a shallow depth of field and detach the subject from the background.
By using a small aperture (f / 16, for example), photographing from a distant position and choosing a short focal length (for example, 24mm), the depth of field would have been greater. Finally, for the background to be fuzzy and uniform you must also watch another important detail: the background should not be too close behind the subject. In this example, it is the foliage of plants located several tens of meters that constitutes the background. With a close background, the rendering would have been very different. The leaves and branches would have been much more visible and the result would have been immediately less aesthetic.
Blurred foreground

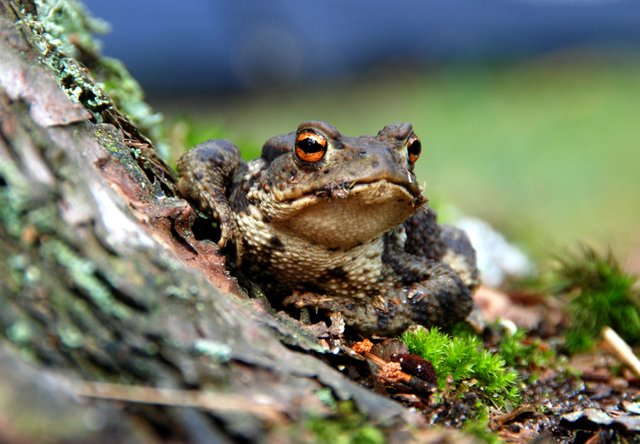
This photo was also taken with a shallow depth of field. You can see by looking at the shooting parameters that I used a large aperture (f / 5.6) and a very long focal length (500 mm). The conditions were met for the sharpness area to be short and focused around the subject.
But if you look at the picture, you must have noticed something. This time it is the foreground that is blurred and no longer the background. To achieve this result made sure that foliage was present between camera and the subject. As the depth of field is weak, this foliage appears blurred.
The main difficulty was to integrate foliage into the frame, without hiding the subject. It takes a bit of practice, but with a minimum of perseverance, you can quickly find the right angle of view!
The foreground blur makes it possible to emphasize the subject because no element comes to divert the attention of the spectator. It also has two other benefits: it brings softness and it guides the look of natural way to the subject. When the viewer enters the image, his gaze goes spontaneously towards the subject.
Flash Lighting

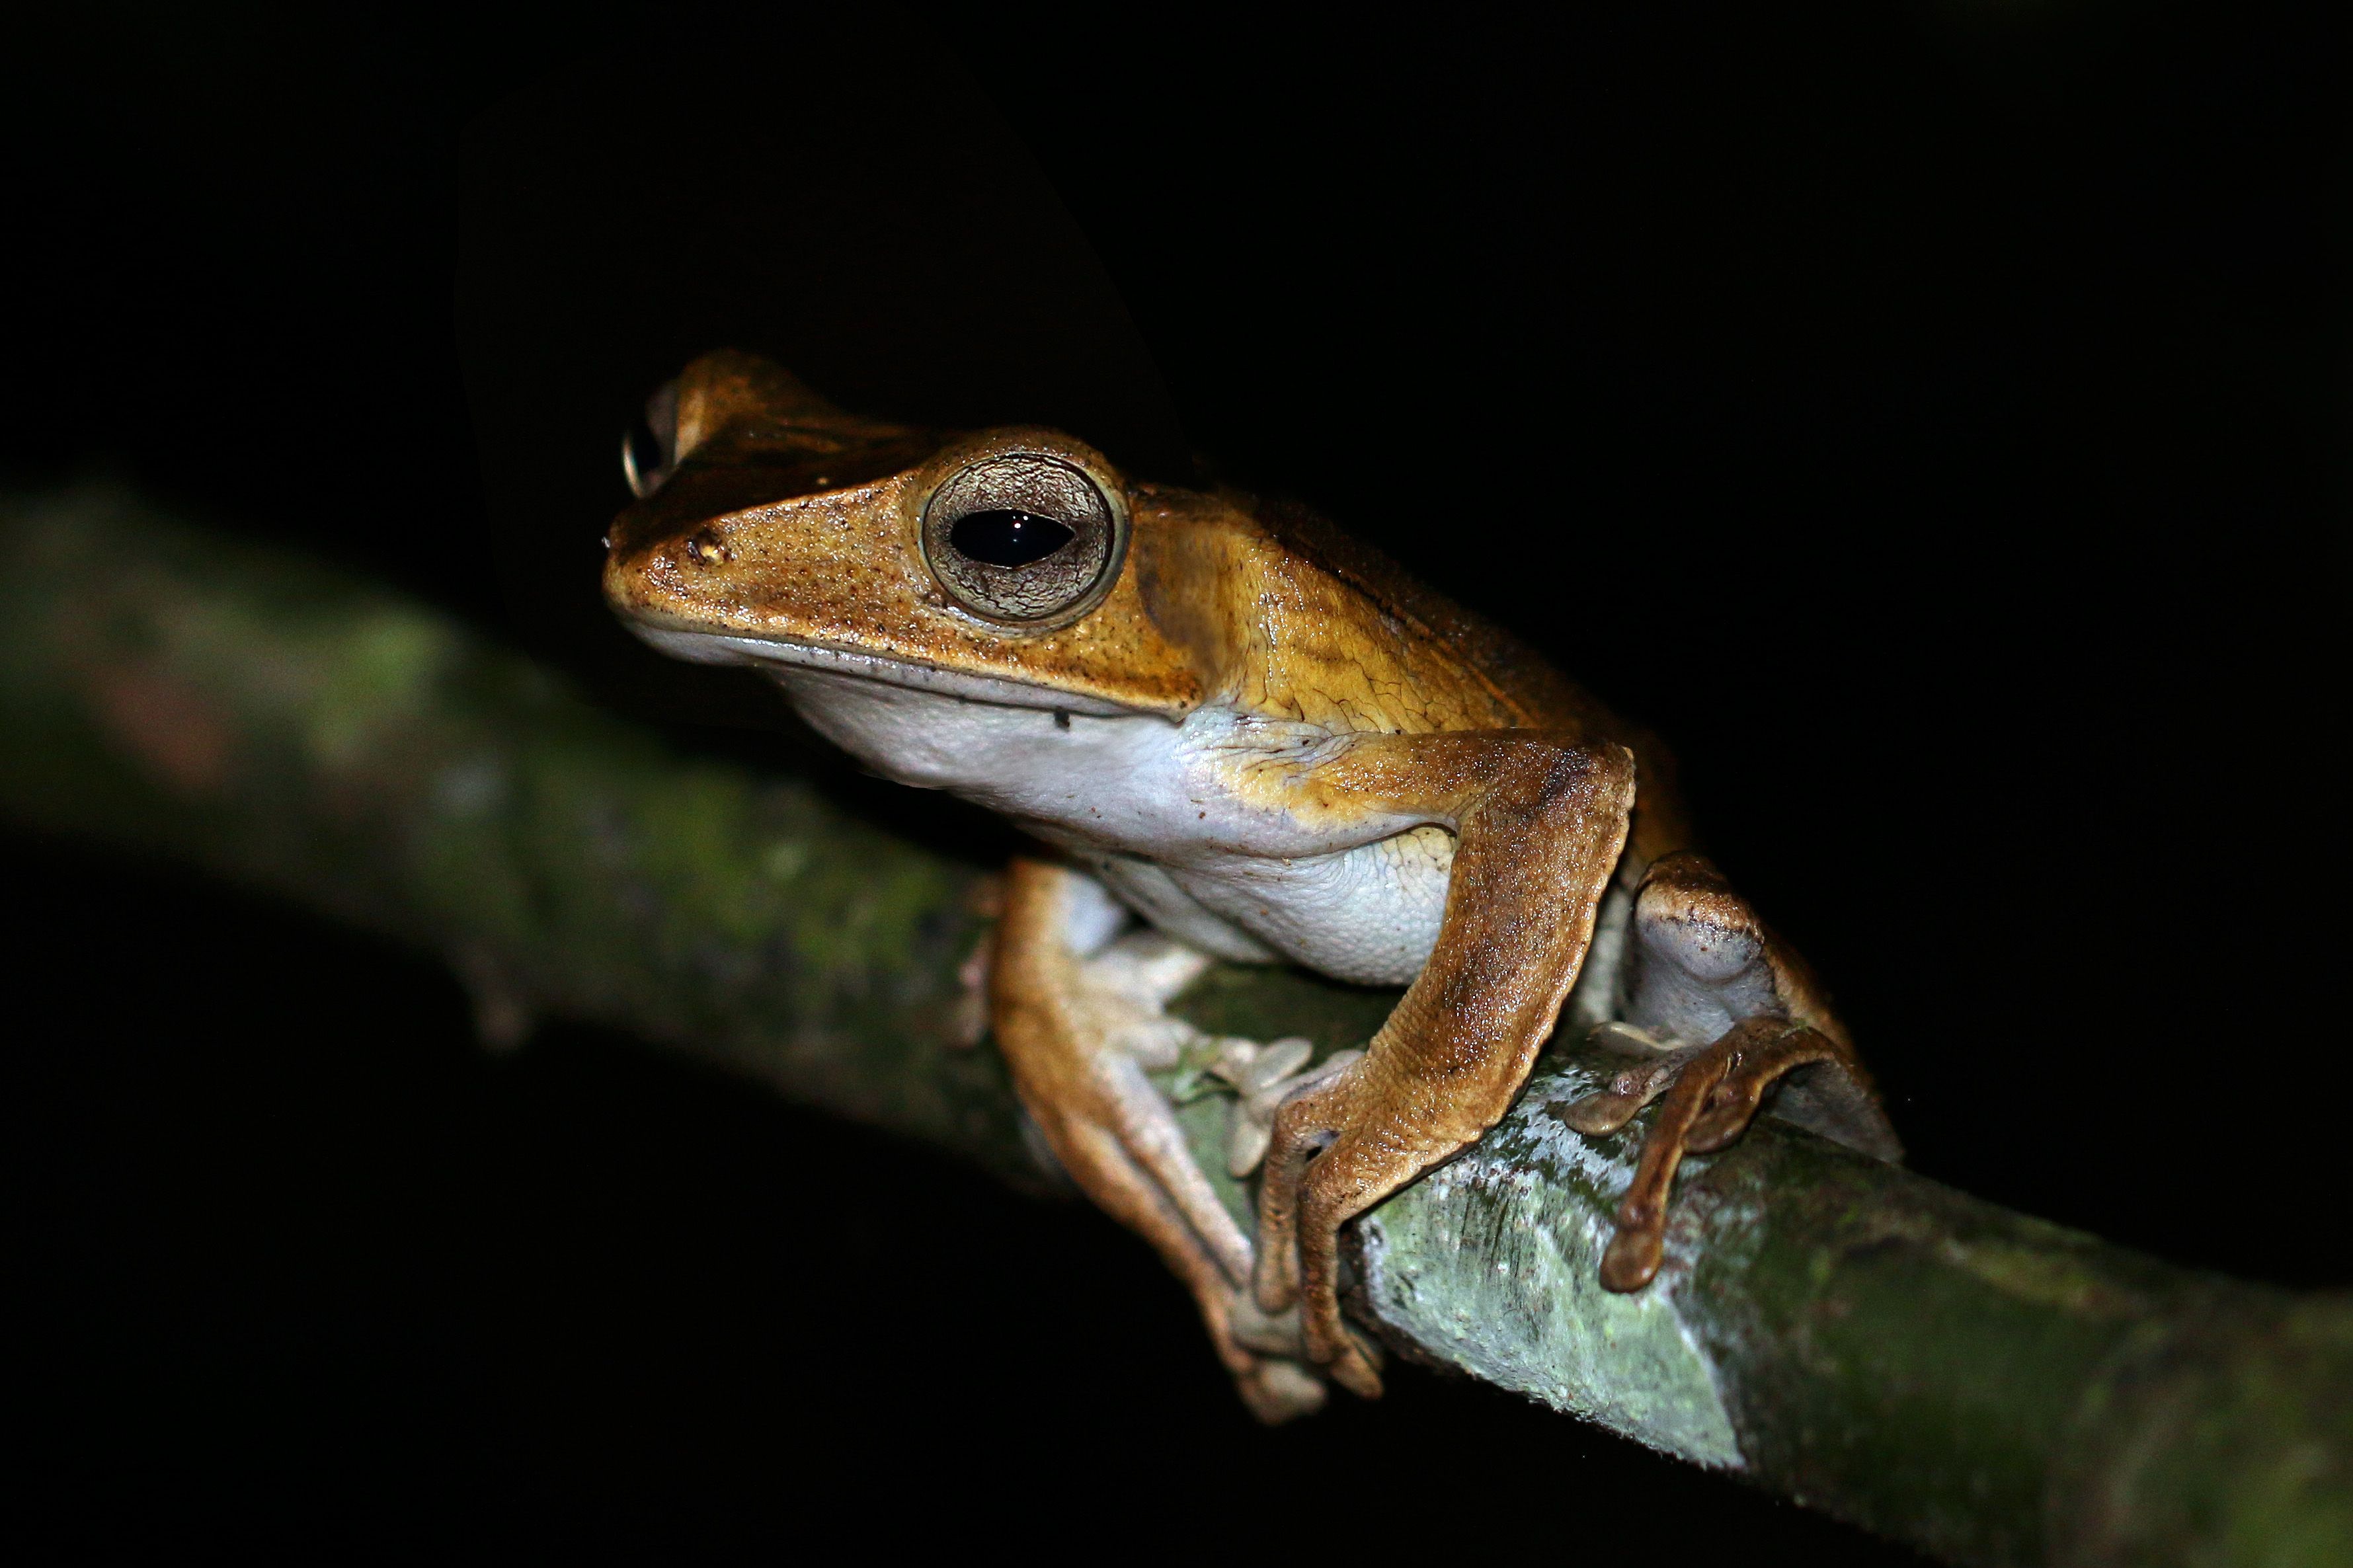
When we think of flash, we often imagine that it is only used at night or when the brightness is low. In short, when conditions require additional light to illuminate the subject. When I took this picture it was not really the case, the light was in sufficient quantity to ensure proper exposure of the subject.
You wonder then why photographer used a flash to take this picture. Well simply because the background was really not great! It consisted of a messy foliage and it was mostly too bright compared to the frog. Even by changing my point of view or reducing the depth of field, my subject was struggling to come out.
So this time, photographer chose a different approach: photographer decided to illuminate subject only with the light of the flash. Photographer did not need to resort to a complex device consisting of several flashes, photographer simply used a flash cobra. Photographer just had to choose a small aperture (f / 16) and a fast speed (1/200 s) so that the light coming from the background does not appear on the photo and that the background becomes all black.
To have a homogeneous lighting of my subject, photographer positioned a diffuser of light on my flash cobra. By increasing the size of the light source, photographer was able to obtain a softer light. In a second time, photographer deported flash over the frog for better lighting. By illuminating the subject from the front, the light would have been flatter. And especially, photographer would have brought light on the background while photographer wanted to make it disappear.
I hope you enjoyed this article and that it gave you ideas for your next shots.