My long time friend and HDR photography guru Trey Ratcliff(If you don't his work I'll drop a link to his site at the bottom of this post) has been a devoted user of Aurora HDR for about a year now. It's a product from Macphun and as the companies name might imply, they focus on products for Mac's. They have finally ported Aurora over to PC so I decided to download the Trial and give it a go.
First off, it's a 14 day trial instead of the 30 day trail like most photography programs. From my point of view 14 days is too short to live with a program before buying. Especially a program that is a niche most users aren't going to use on every photo. On top of that, I had downloaded the Mac version a year ago by accident because Macphun's website didn't really make it clear it was Mac only. When I went to try this trial it told me my trial period had already expired. Say what? It took a week and two different techs to get a 14 day trial.
Once I got to try it out it work fairly well. The one glaring omission is the lack of any form of spot removal or healing brush. I realize this isn't meant to be a Photoshop replacement but it'd be nice to be able to do some simple clean up so you don't have to run every image through another program.
To get started you open either a single image or a set of bracketed images to be used to create an HDR image. Once the image or images are loaded a scroll bar at the bottom appears with the presets. And on the right hand side is a very long list of sliders and other tools. Start at the bottom with the presets. Just keep trying them out till you find the one you like the most. Each preset has a slider for the strength of it's effect that goes from 1% to 100%. Often all you need to do is pick a preset then use the slider. Sometimes a few adjustments on the right are also needed. I would say the most often needed adjustment on the right is to give a little negative on the yellow slider to cure toxic greens. Now how about three examples
Example 1: The Intentional HDR
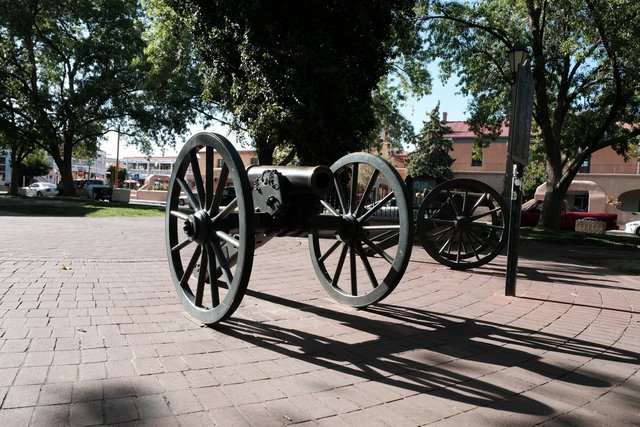
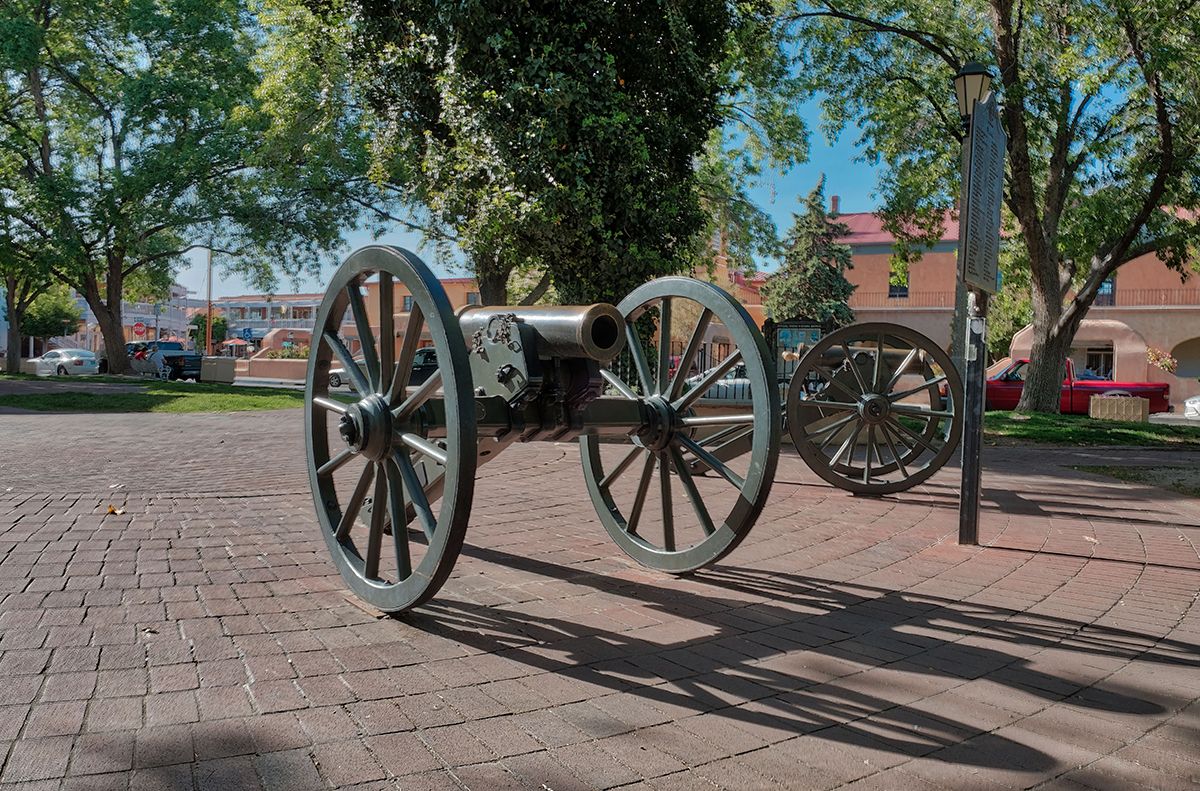
This is an image of the memorial canon at Old Town in Albuquerque, New Mexico. The Sun was setting behind it making it hard to get a decent shot in the back lit conditions. I took a three bracket set of shots at +2, 0, -2 EV. The first image is a JPG of the 0EV RAW without processing and the second image is the JPG of the processed HDR image.
Example 2: Let's Make It Pretty
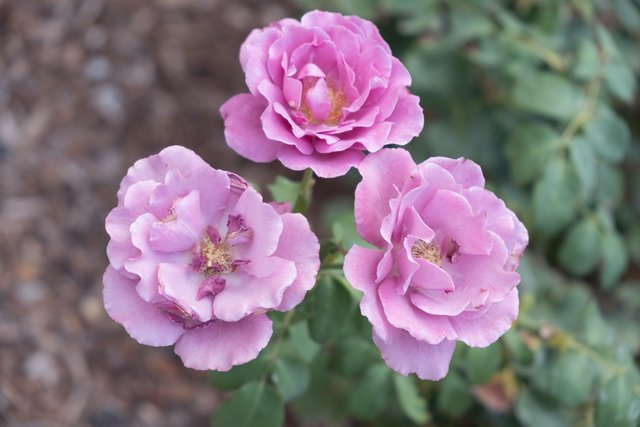
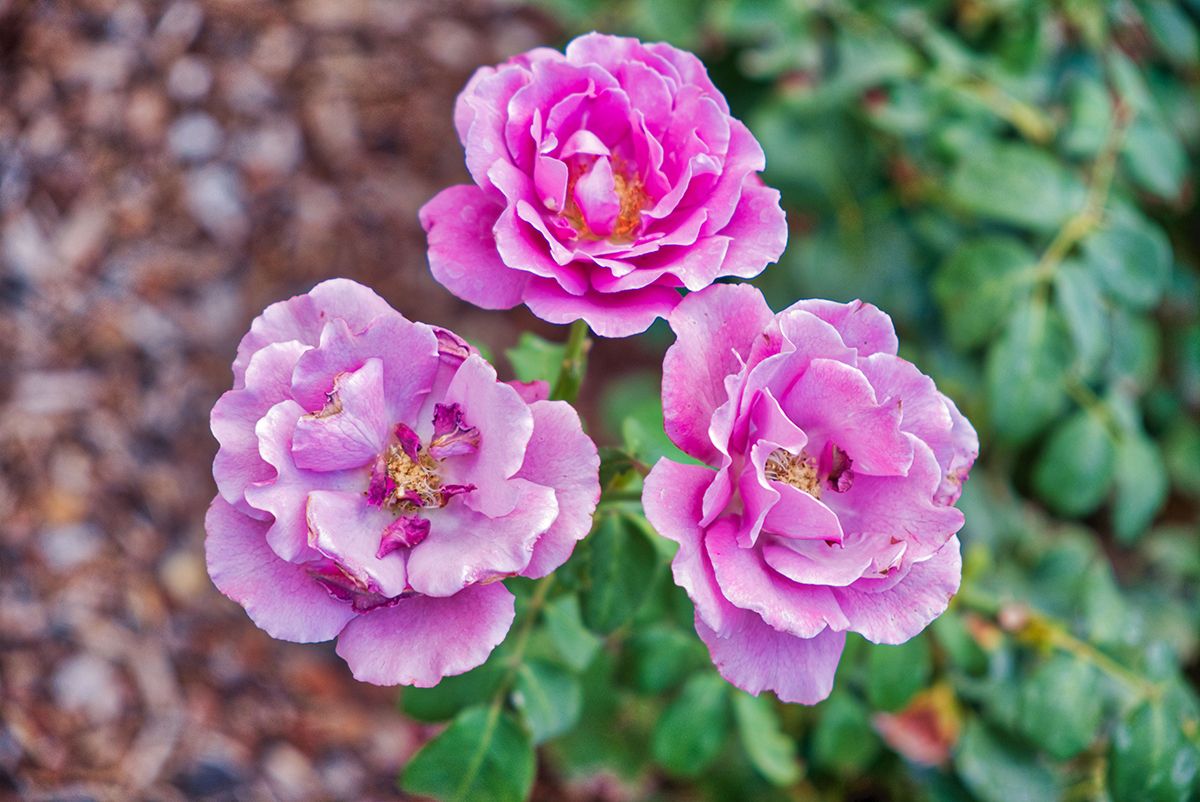
Here we have a well exposed well lit photograph of some flowers that we HDR'd just to make it “pretty”. As we can see it takes them over the top. In my opinion this kind of image can be created better in Photoshop using layers and masks. Then you can really amp up just the flowers without also amp'ing up the background. First photo is the original and the Second is the HDR boomified one.
Example 3: Save Me O' Great HDR
Here we see an image I shot a little under exposed. I had been shooting time lapses earlier in the day as well so I was still accidentally set on jpeg as well. Now I'm asking the program to process a single image, a jpeg, and an underexposed image. Those are the three hardest things to do from a post processing standpoint. I think it did a pretty good job. The first image is the original out of the camera and the second is after Aurora worked it's magic on it.
Trey Ratclif's website: https://www.stuckincustoms.com

@mrainp420 has voted on behalf of @minnowpond.
If you would like to recieve upvotes from minnowponds team on all your posts, simply FOLLOW @minnowpond.
Downvoting a post can decrease pending rewards and make it less visible. Common reasons:
Submit
Downvoting a post can decrease pending rewards and make it less visible. Common reasons:
Submit
@originalworks
Downvoting a post can decrease pending rewards and make it less visible. Common reasons:
Submit
I bought the first version of this way back when it was first released. I still don't know what I think. It does make HDR easy and gives relatively tame (not too overbaked) effects by default, so it has that going for it. I don't often use HDR these days but when I do I still tend to go to Photomatix. I like separating making the basic tonemapped image from doing the major editing in photoshop, so Photomatix is just perfect for my workflow. Having said that, for folks who don't have access to photoshop, this is a fine option for them.
Downvoting a post can decrease pending rewards and make it less visible. Common reasons:
Submit
I think you're right. This is the easiest to use. Photomatix is probably the best, but photoshop does a good enough job. Thanks for the well thought out comment @dbooster
Downvoting a post can decrease pending rewards and make it less visible. Common reasons:
Submit