Wildlife Photography can seem very challenging and expensive to pursue, however, it can also be very rewarding if this is what inspires you!
Here’s a simple post on how to get started with Wildlife Photography!
By the way, just to keep things simple, I will be referring to the equipment I’m most familiar with, however, other camera companies have equivalents that are also available with similar abilities.
Here we go:
Step 1 - Get the gear - You will need a camera and preferably a telephoto lens with a decent maximum aperture and also a monopod if necessary. Here are some examples but not limited to:
High quality affordable setup with good reach = Nikon D7200 + Nikon 70-300 VR lens (£780 + £420 = £1200)
Very high quality fun setup with incredible reach = Nikon D500 + Nikon 200-500 f5.6 + any carbon fibre monopod (£1730 + £1120 + £80 = £2930)
Ok and just for fun:
Over the top insane setup with incredible reach = Nikon D5 + Nikon 600 f4E VR + TC14EIII + Gitzo carbon fibre tripod + Carbon fibre gimbal head (£5200 + £10000 + £430 + £1100 + £1000 = £17,730)
Note - You will also need fast memory cards, batteries and a camera bag if the above wasn’t expensive enough already :)
I personally use a Nikon D810 or D750 with a 70-200 f2.8 VRII or Nikon 300 f4D + TC14E II + Sirui carbon fibre monopod
It is very possible to put together a kit for much less but you will probably want to upgrade soon
Step 2 - Understanding your camera - You will need to understand how to use your camera without looking e.g.
You will need to know how to change your shutter speed, ISO, aperture etc without taking your eye off the camera when shooting
Knowing the ISO limits of your camera, for example, a D7200 may look great up until ISO 12,800 whereas a Nikon D5 may look great up until ISO 102,400
Knowing which type of autofocus works best for you with the subject you’re planning to shoot
Knowing some tricks - These can be life savers! Ok maybe not that drastic but they can really help in getting the shot! - Some of these tips and tricks I’ve uncovered the hard way but I know them now and would like you to know too
Underexpose - I tend to do this quite often by approx 1 stop. The reason is, instead of getting a shot with an ISO 6400, I will now have a slightly underexposed shot with less noise at ISO 3200 that I can easily pull up in post. Cameras today have incredible dynamic range which give lossless ability to shift exposure a few stops over or under
Observation - Keep one eye looking through the viewfinder and occasional keep the other eye opened looking around for other wildlife! Sometimes a random dog may come and lick you. Yes, I’ve learnt the hard way
Autofocus Fine-Tuning - Sometimes we take a photo and we knew we got the focal point right on target but when we look at the shot it seems as though the focal point was slightly behind or in front of the point we were actually focusing on! This is because not all lenses are made equally therefore, we need to fine tune the lens (if your camera is able to do this) before we go on a wildlife adventure!
Monopod arm - If I don’t have a monopod or tripod, I usually shoot waiting in a stooped position with one arm balancing on one of my knees (elbow on top of my knee) and this acts as a monopod. My arm seems quite solid in this position, therefore this works great!
Step 3 - Location - Sometimes we think we need to go to the other side of the world to take great wildlife shots but think about it, the people on the other side of the world are probably thinking the same :) Wildlife is everywhere and it is important to practise on wildlife that is readily available to us so that we gain experience before taking a trip and not knowing what to do! The zoo is also a good place you can practise
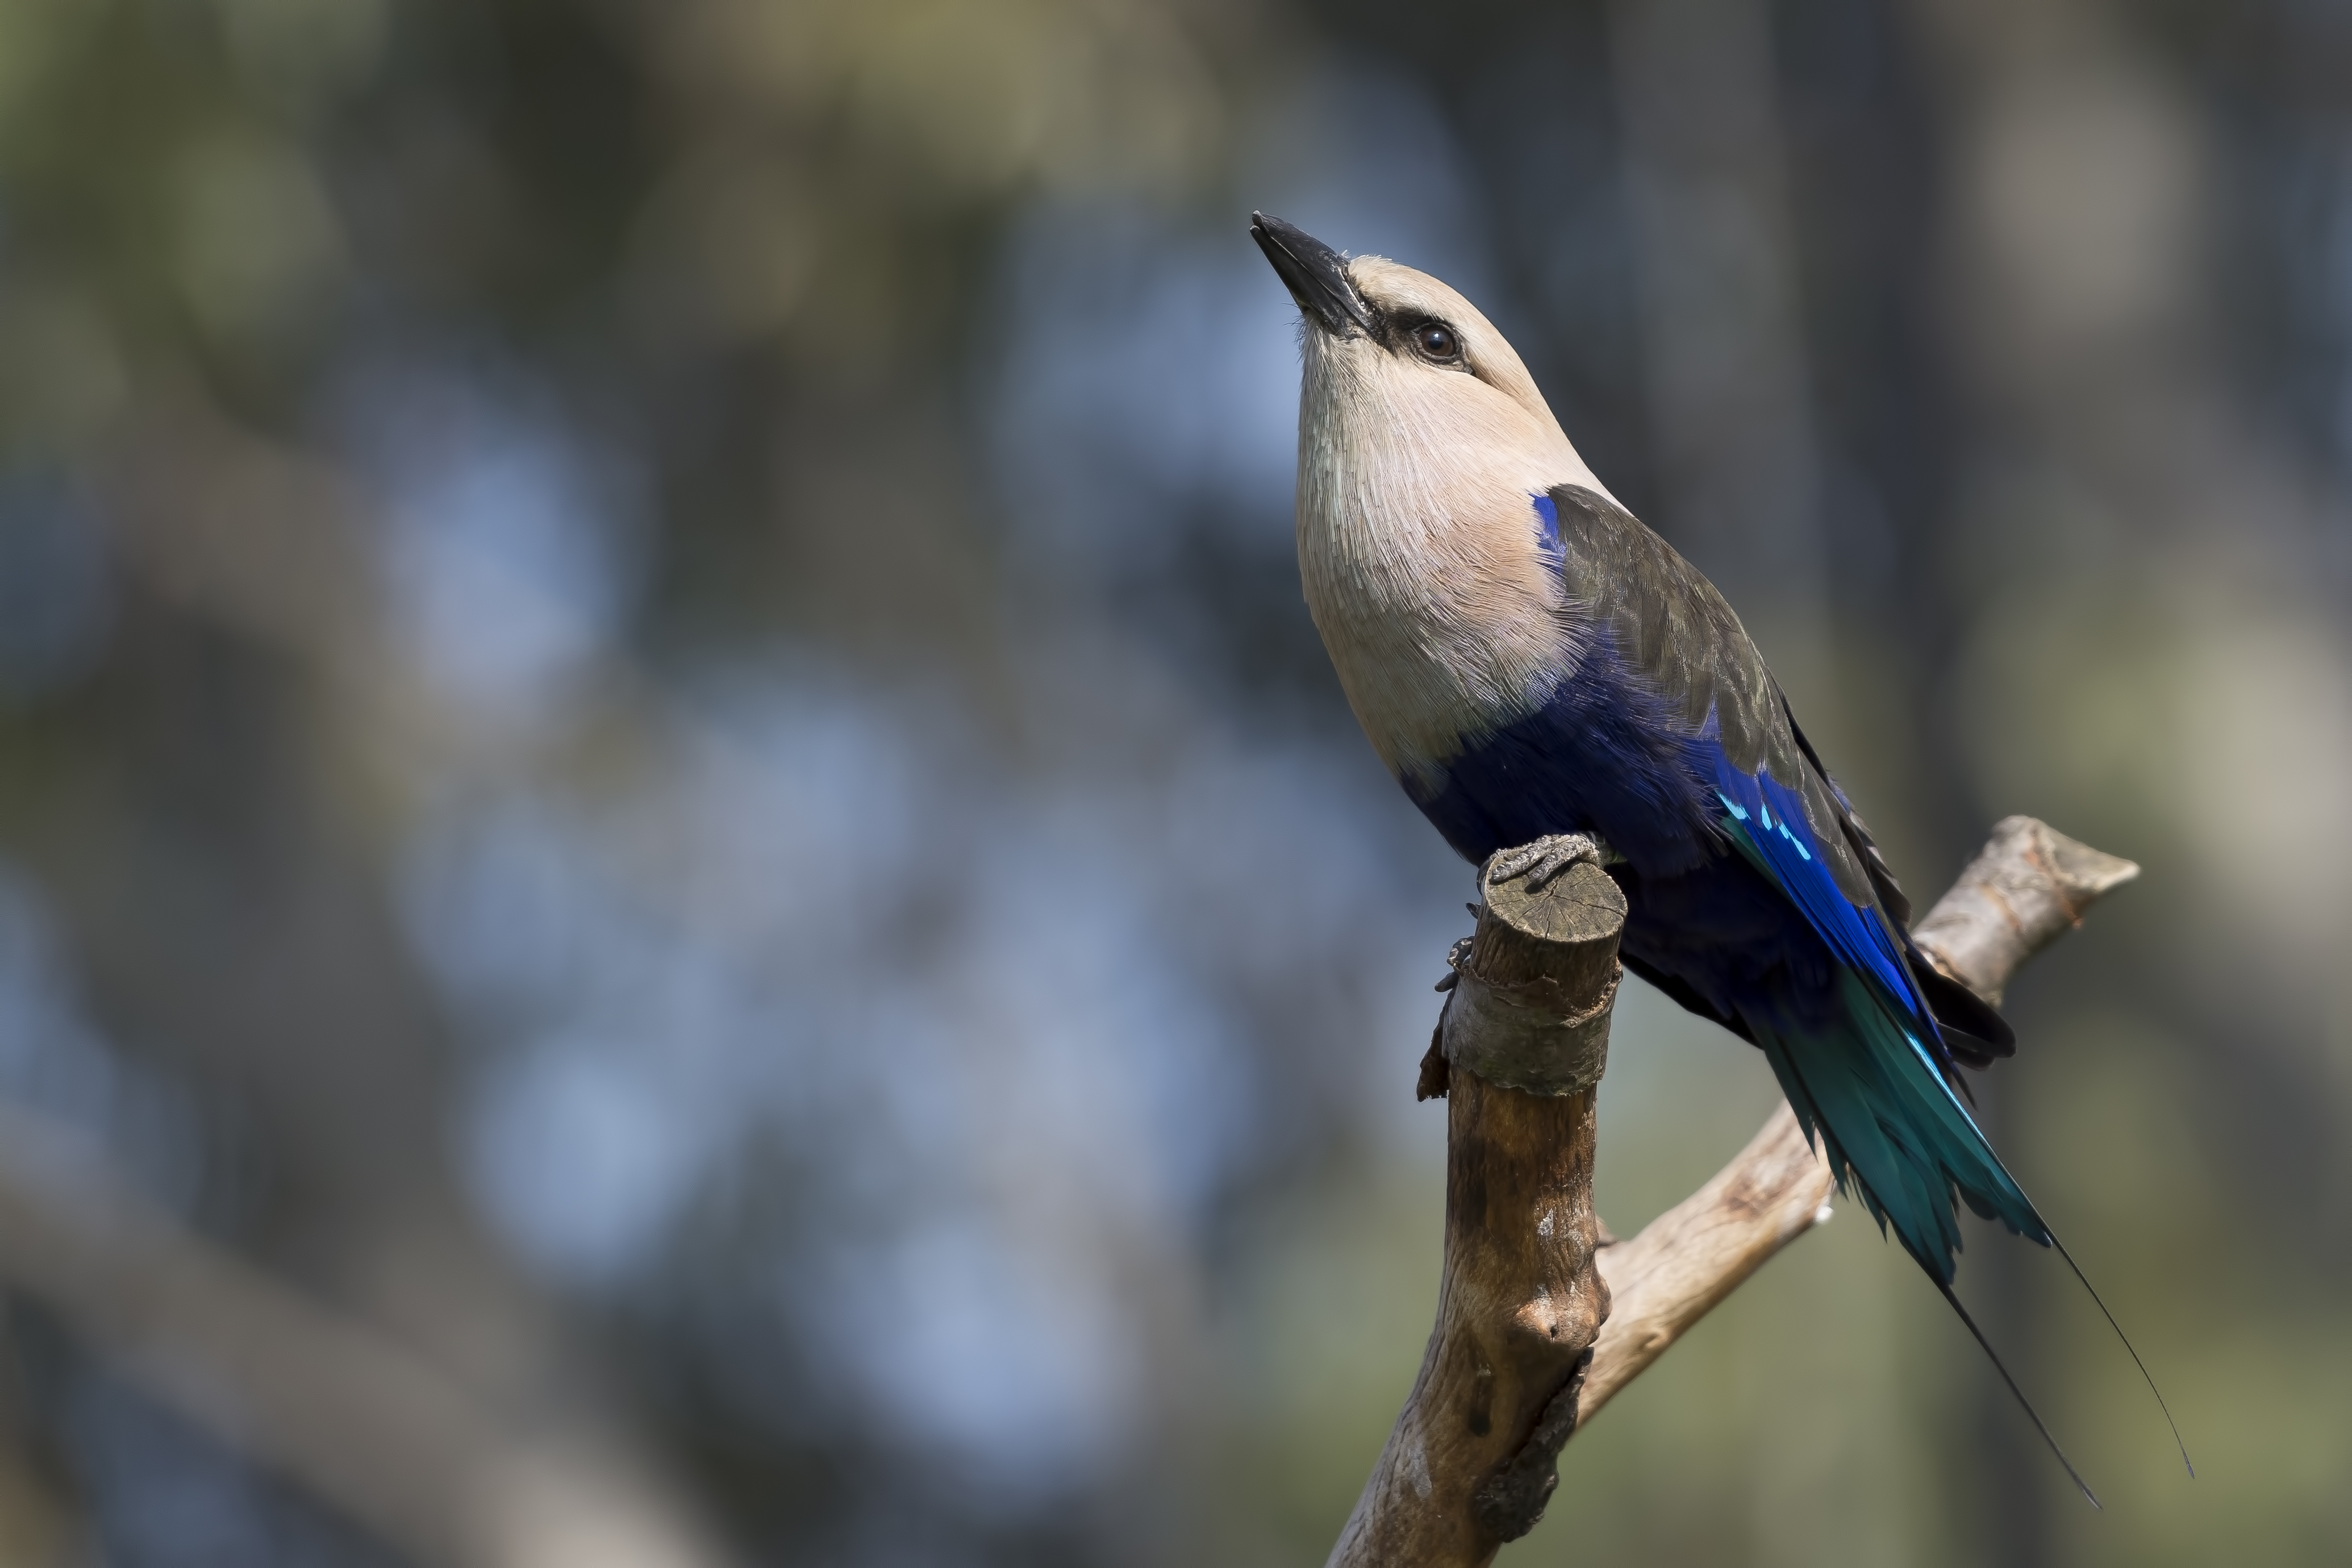
Step 4 - Settings - Here are my typical settings for wildlife photography
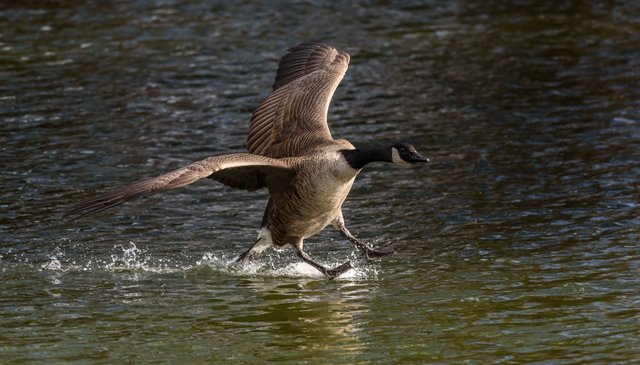
Shutter Speed - As fast as I can get for the subject I’m shooting without taking the ISO beyond it’s acceptable capabilities
Shoot in high burst mode - I prefer firing off 3-5 shots in high burst mode just so I have a selection to choose from
Aperture - Wide open unless there’s a lot of light
ISO - I use Auto ISO - This means the ISO is automatic dependent upon the scene
Autofocus type - Continuous single point or Continuous group autofocus
Step 5 - VR - I usually keep VR on even though there is evidence to support it’s not necessary with shutter speeds above 1/500s - 1/1000s. I personally haven’t noticed a different and just leave this on unless I’m using a tripod
I hope this tutorial helps you get better shots even if you have already started wildlife photography or are thinking about it
Have an incredible time shooting and would like to know if you have some tips and tricks to share as well
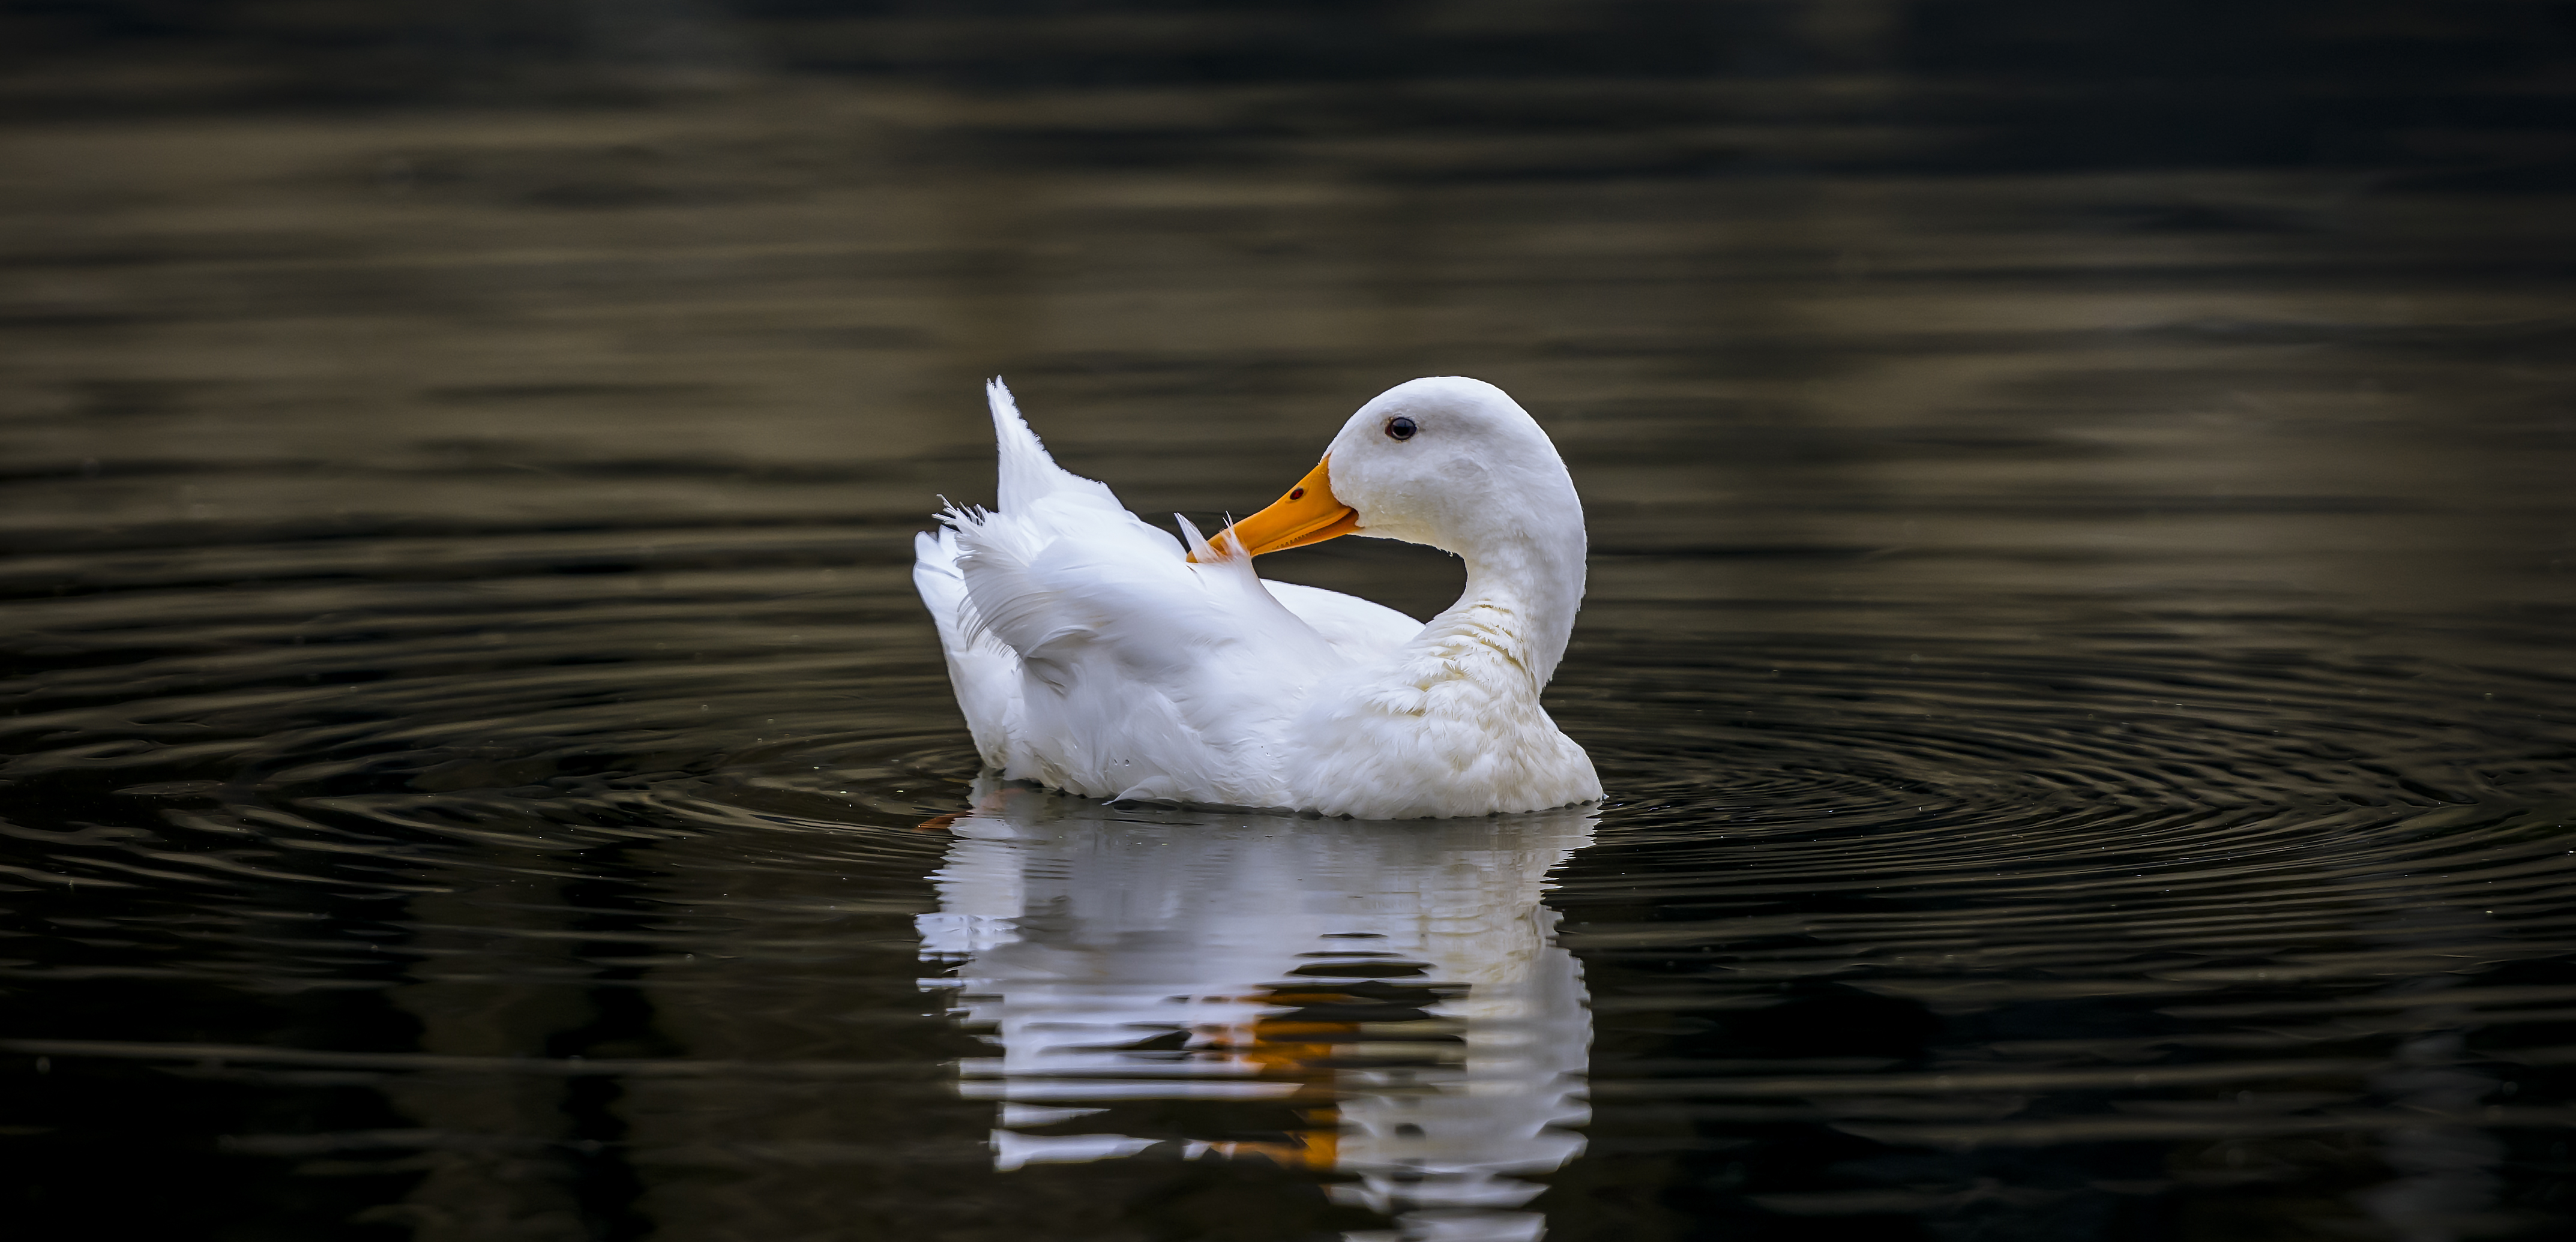
Thank you so much for reading!
Congratulations! This post has been upvoted from the communal account, @minnowsupport, by pratickr from the Minnow Support Project. It's a witness project run by aggroed, ausbitbank, teamsteem, theprophet0, and someguy123. The goal is to help Steemit grow by supporting Minnows and creating a social network. Please find us in the Peace, Abundance, and Liberty Network (PALnet) Discord Channel. It's a completely public and open space to all members of the Steemit community who voluntarily choose to be there.
If you like what we're doing please upvote this comment so we can continue to build the community account that's supporting all members.
Downvoting a post can decrease pending rewards and make it less visible. Common reasons:
Submit
Beautiful photos :)kinda expensive for just anybody to afford great camera gear to take nice pictures for everyday fun.
Downvoting a post can decrease pending rewards and make it less visible. Common reasons:
Submit
Thank you jerry12! Yes this type of photography is on the expensive side but there are even options like the Nikon P900 which zooms further than any of these setups and can be had for £400. Of course the quality will be different but there is something for everyone :)
Downvoting a post can decrease pending rewards and make it less visible. Common reasons:
Submit
Love the insane setup. Very nice article and very detailed. thank you for sharing.
Downvoting a post can decrease pending rewards and make it less visible. Common reasons:
Submit
Thank you pratickr!!
Downvoting a post can decrease pending rewards and make it less visible. Common reasons:
Submit
Informative post and a great source of inspiration. The photos are fantastic! Resteemed:-)
Downvoting a post can decrease pending rewards and make it less visible. Common reasons:
Submit
Thank you kerlund74!! I appreciate you comments :)
Downvoting a post can decrease pending rewards and make it less visible. Common reasons:
Submit