Hey everyone!
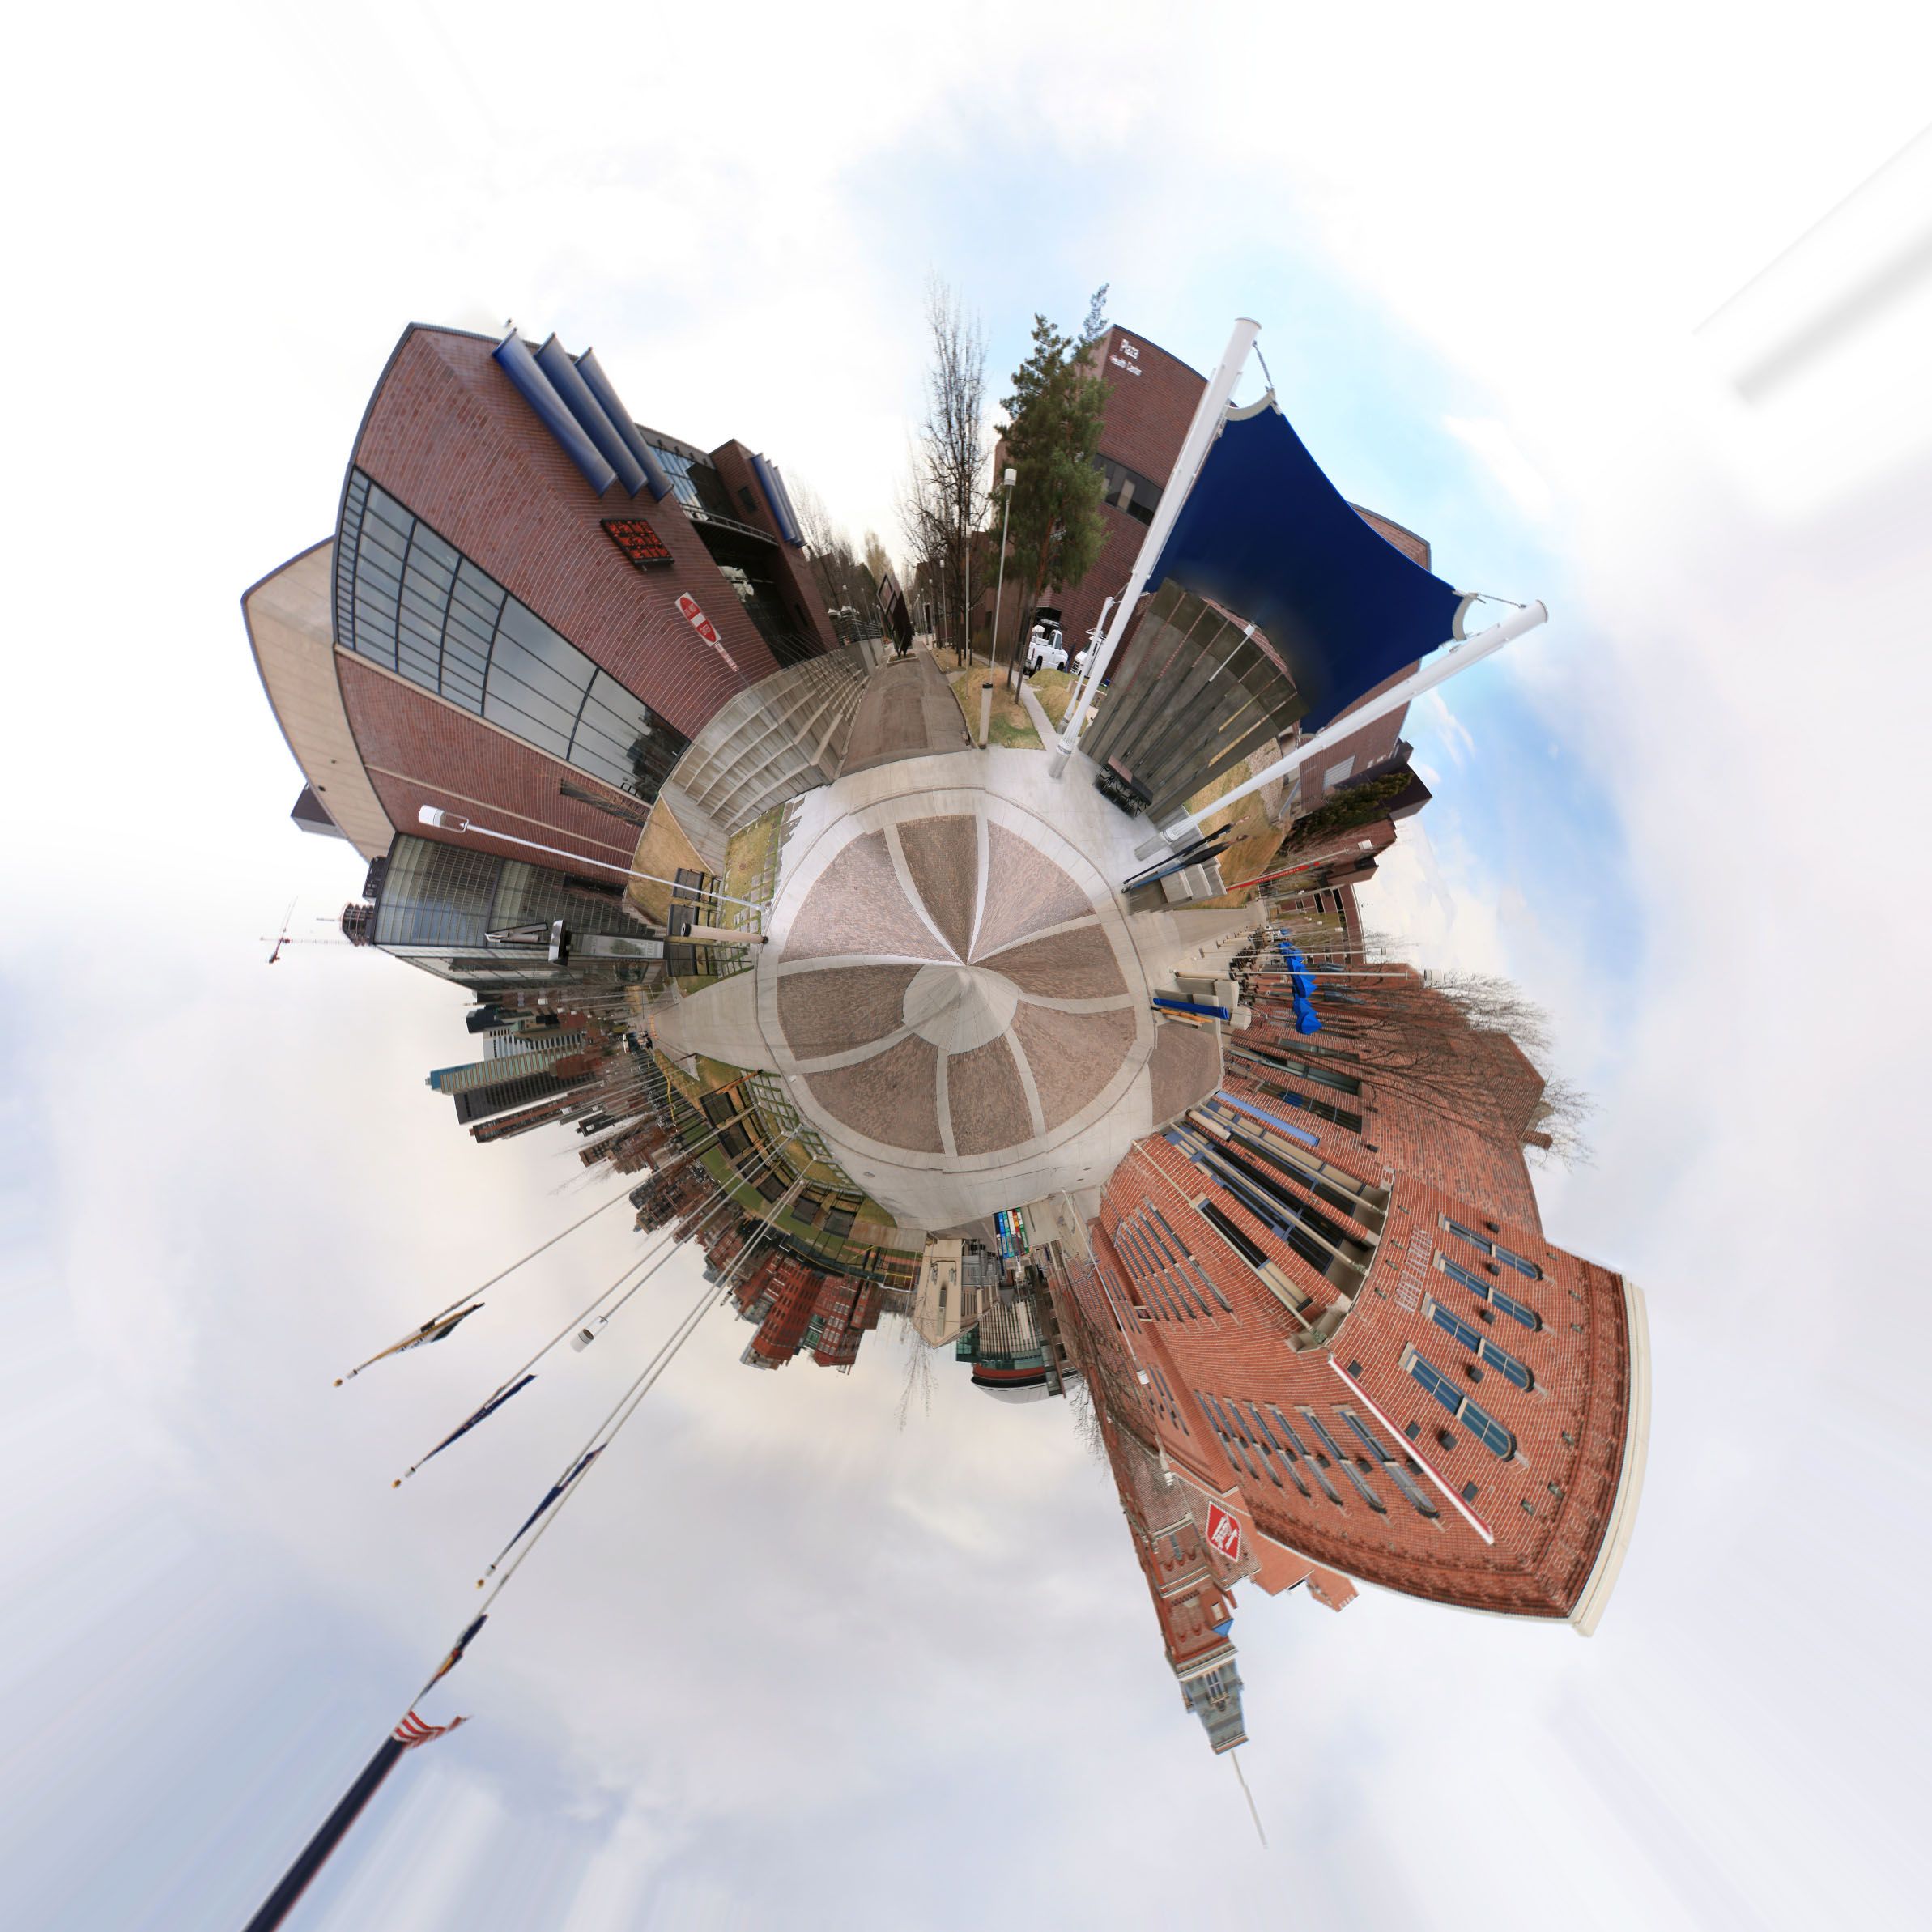
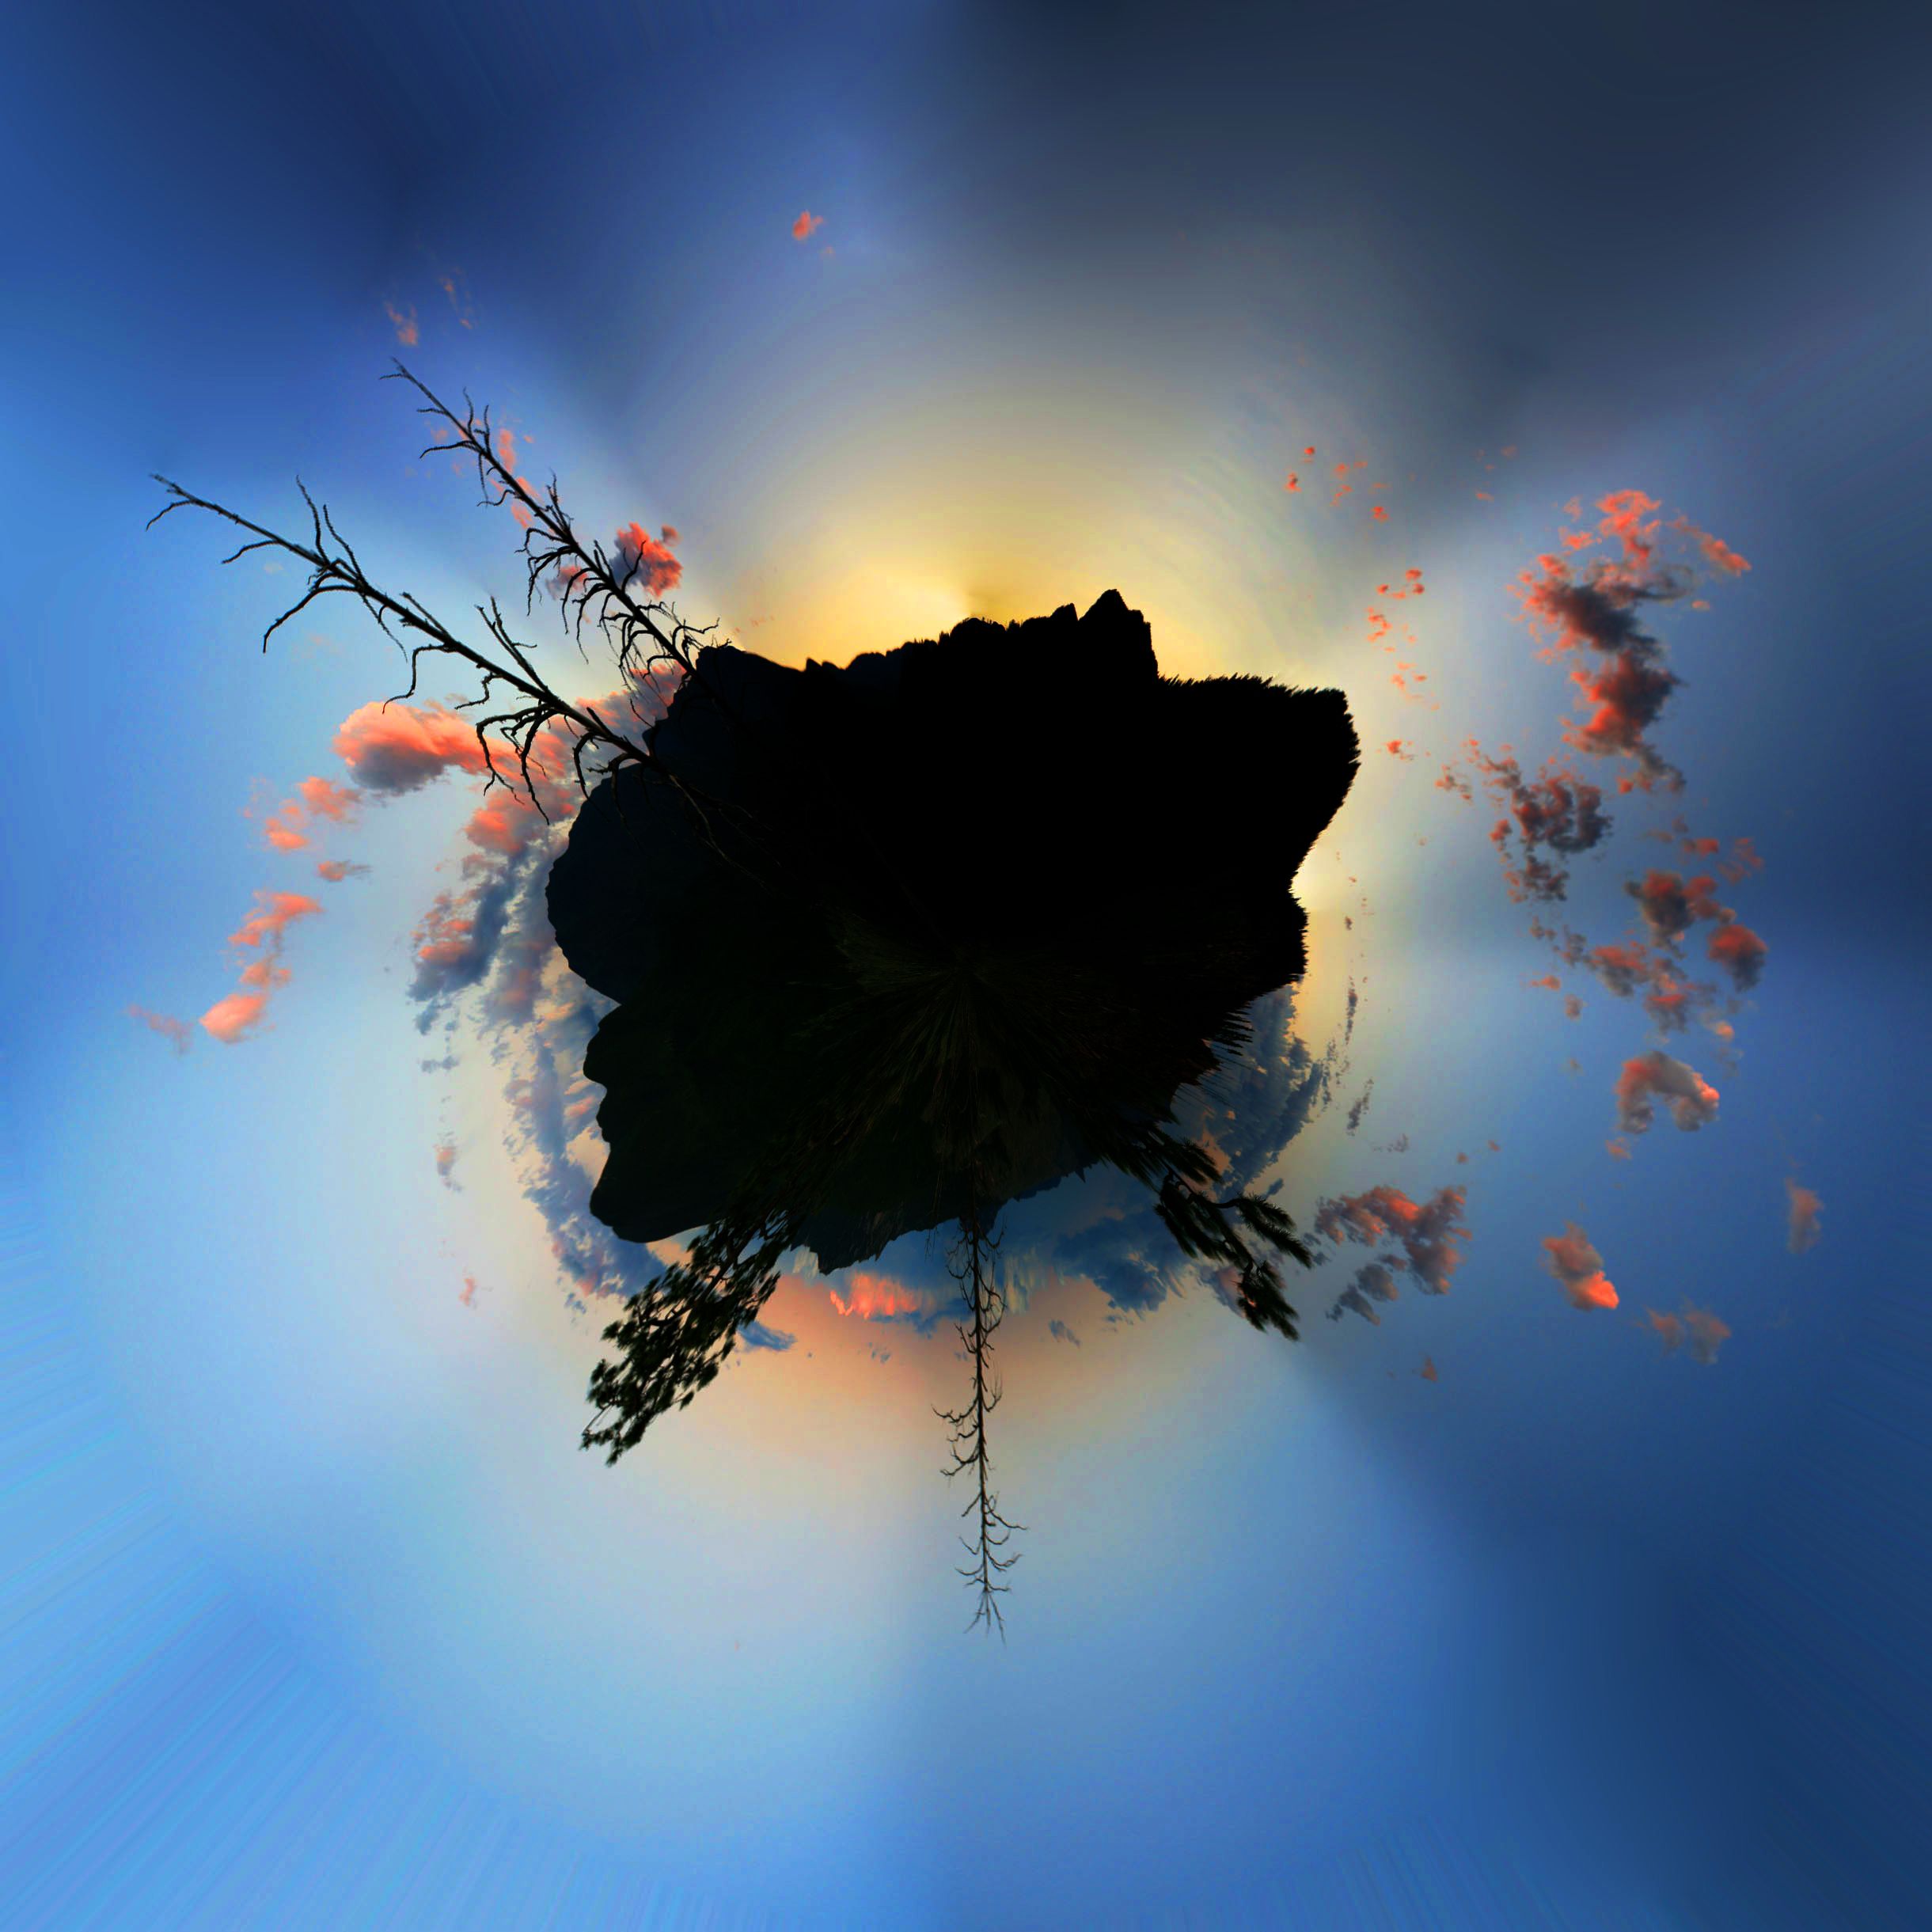
It's time for another random photography technique mini-tutorial. Early in my photography career, (as I made the transition to the digital medium) my shiny new DSLR encouraged me to experiment in the realm of "photomanipulation". I loved discovering all the interesting things I could do to my photos in Photoshop; one technique that I still have a particular affinity for is "Little Planets" (technical term is 'stereographic projection', for my fellow geeks out there). This is a very simple method, which can result in surprisingly striking images. Ok, here's what you're going to need:
-DSLR Camera
-Computer with Photoshop (or similar program)
-Tripod optional, if you have a steady grip
You will want to start by finding a nice open-air shooting location. I am a huge fan of landscapes, so I generally go for aesthetically pleasing locations that seem like they would make for a good 360 degree panorama. Try to employ your rule of thirds here, generally this works best if none of the subjects extend past the top of the frame. As my favorite professor would say "Shoot from the edges in".
Start by taking a 360 panorama. If you haven't done this before with a DSLR, simply line up your first shot, (make a mental note of the edges) rotate such that your next shot will include part of the first shot, and shoot again. Continue until you're back to position one. Import these images into Photoshop, simultaneously stitching them using Photomerge. I'm sure GIMP and other image manipulation software has this option as well, but Adobe is the nomenclature I'm familiar with.
Stereographic Projection works by defining the center of an image and projecting the polar image outward around that point. Because of this, you need to start with a square, 1:1 image ratio. In PS, go to Image > Image Size and uncheck "constrain proportions". Modify the larger of the two values (presumably width) to equal the smaller. Take this new squished image and flip it upside down. Next, you will want to apply the Polar Coordinates filter. Photoshop: Filter > Distort > Polar Coordinates. Make sure "Rectangular to Polar" is selected and hit "OK". That should do it, check out your new planet!
Here are some of my favorites that I've shot over the past few years:
On Auraria campus in Denver-


Conifer-

I have a lot more of these I need to transfer over... look out for part two >.<
Hope you all liked this one! Let me know if you have any questions.