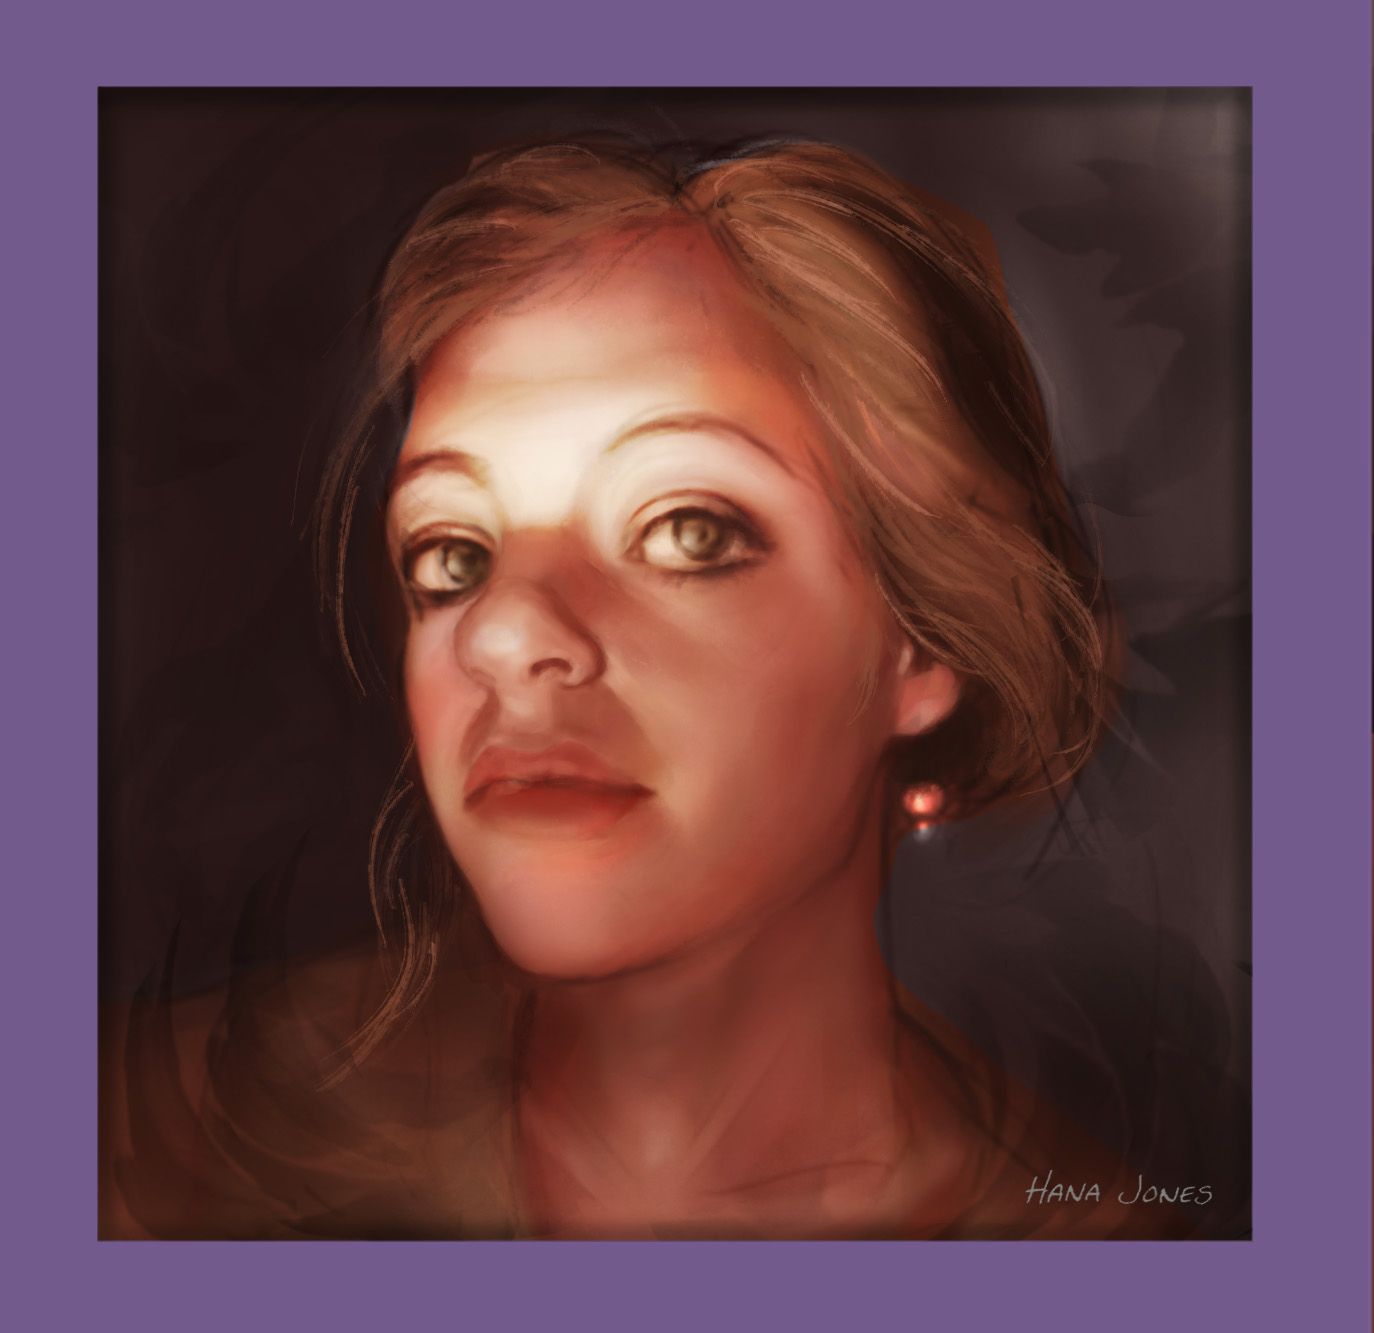
Just finished this portrait using adobe photoshop. I'm no photoshop wizard, but if you'd like to see how I did it, just keep reading down, :)
Step 1 | Sketch
Begin with a rough sketch from your photo. Never trace! You lose valuable skills tracing.
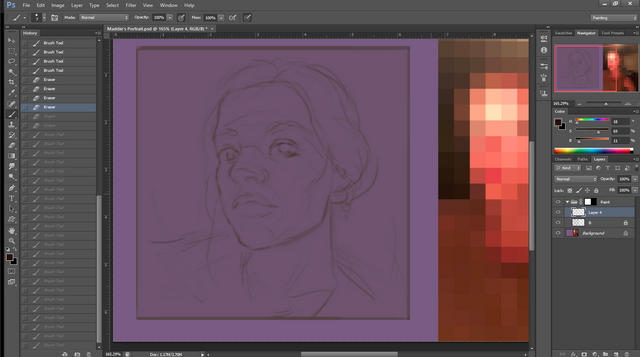
If you look on the side, I turned my reference picture into a color palette.
This can be done through Filter > Pixelate > Mosaic, and adjust the squares to a comfortable size.
Step 2 | Proportion Check.
A good trick to help you "look" at your sketch is to flip the canvas.
Image > Image Rotation > Flip Canvas Horizonal.
This will reveal to you any funky proportions. Keep flipping the canvas until the person looks good.
Step 3 | Tinkering.
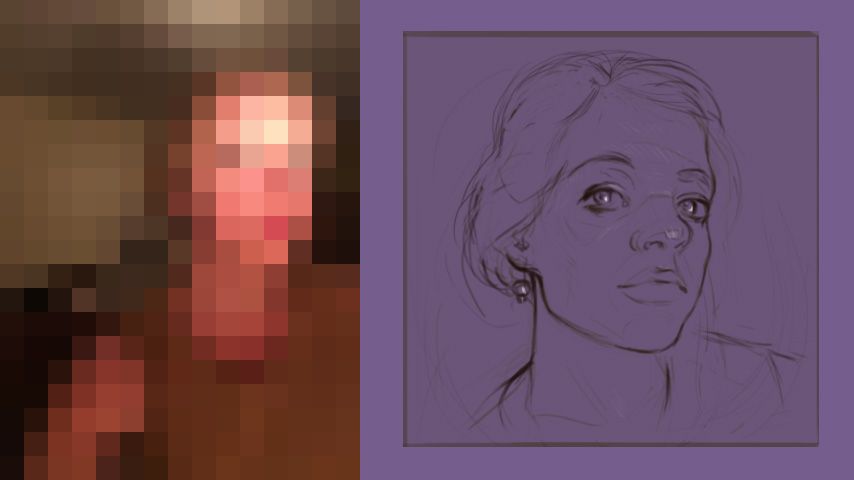
It's important to look away from your reference for a moment, and tinker your drawing based on your own intuition.
Accent/darken what you feel is most important, and smooth up some edges and corners, like the jaw and around
the eyes.
Something I like to do is to darken my darkest spots, and add tiny white highlights, for the brightest area.
This way I know before I start painting where I want my contrast will be.
(If you clean this up, this is also a nice sketch to show people who want to see it before you invest too much time into rendering)
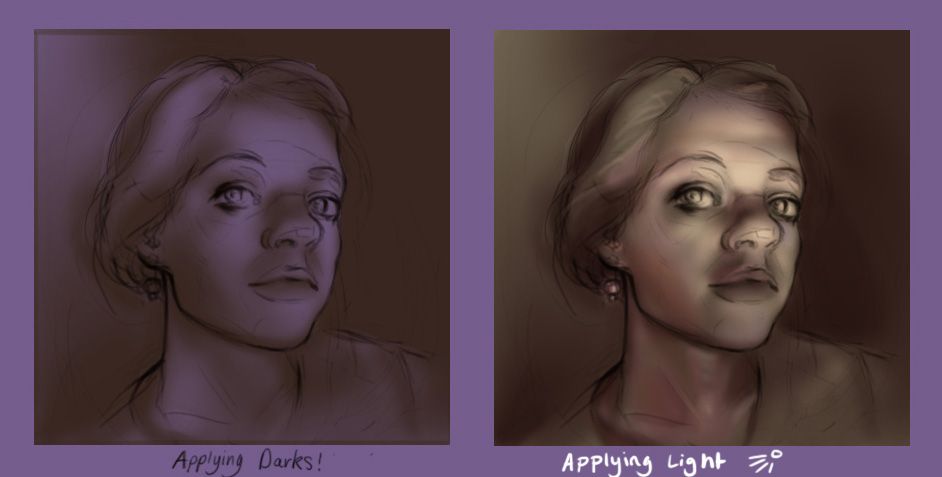
Step 4 | Lock your layer that has your line, put it as your top layer, and change the mode to "Multiply".
This means no matter what you paint, You won't lose sight of your lines.
(When you think you don't need them anymore, just hide this layer.)
.png)
- Values.
With a loose hand, place the dark then lights as accurately as you can, don't be afraid of being messy.
I like to use the default soft airbrush for the face, it helps getting those soft blending tones.
- Color Layer.
To warm the piece or unify it under one color. Create a new layer, and setit to "color".
(Same place where I adjusted my line layer to multiple.)
.png)
Walah! You have your base! Now is the painting and polishing *twinkle twinkle.
From this phase, to usually make sure my resolution is good, I go to,
Image > Image Size
And make sure that the resolution is at least 200. Helps getting those juicy details ;)
Anywhere between 200-300 is good for high res or printing.
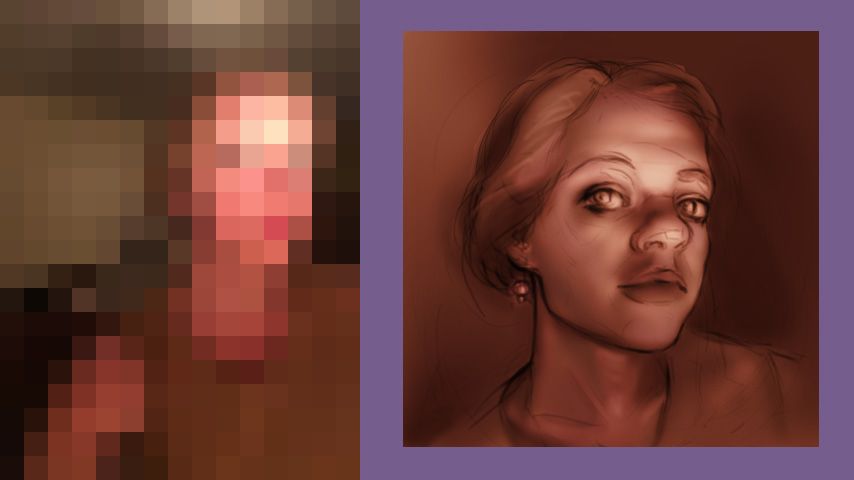
Step 7 | Paint paint paint.
There's no real secret, just practice. Get warm red colors around the nose and chin, makes it look more human.
Have fun with texture brushes! Its better to use a brush with a bit of grit for skin, otherwise they look too airbrushed!
Be careful not to paint over your values, and change the lighting! Check with your lines and previous value layer.
It doesn't matter how pretty you paint it, light direction and proportions are a big deal!
Step 8 | Checkpoints.
Layers are your checkpoints. Avoid painting and erasing too much on one layer.
Imagine your in a game, and you power through an entire area without saving once?
Making layers gives you a milestone to fall back on.
I create a layer every 20 minutes, to catch myself from painting in circles.
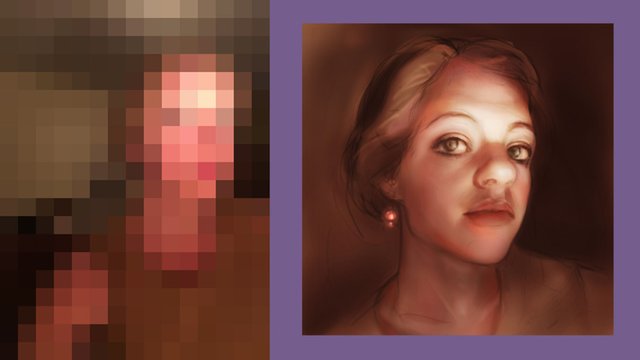
Step 9 | Go away and come back.
A good thing to do, is leave the drawing alone for a bit of time. I like to do a day, but if you're in a rush, it can be shorter.
Just know that the longer and more distance you put, the more unbiased your eyes will be when you return.
Like in the drawing phase, I look away from the reference, and just at the drawing, see what I can improve.
Most people when having their portrait done like to be flattered, if they have a bit of double chin or cross eyed even if it's in the ref, skimming that up will make them very happy costumers!
In this case I think I drew her nose is too big and shiny.
If you don't want to spend too much time repainting, a good trick to use is Filter > Liquidfy.
Moving your picture subtly you can alter the size and ratio of things. Careful not to make it too distorted!
Or your artwork will look like those fishy facebook selfies with questionable Photoshop skills.
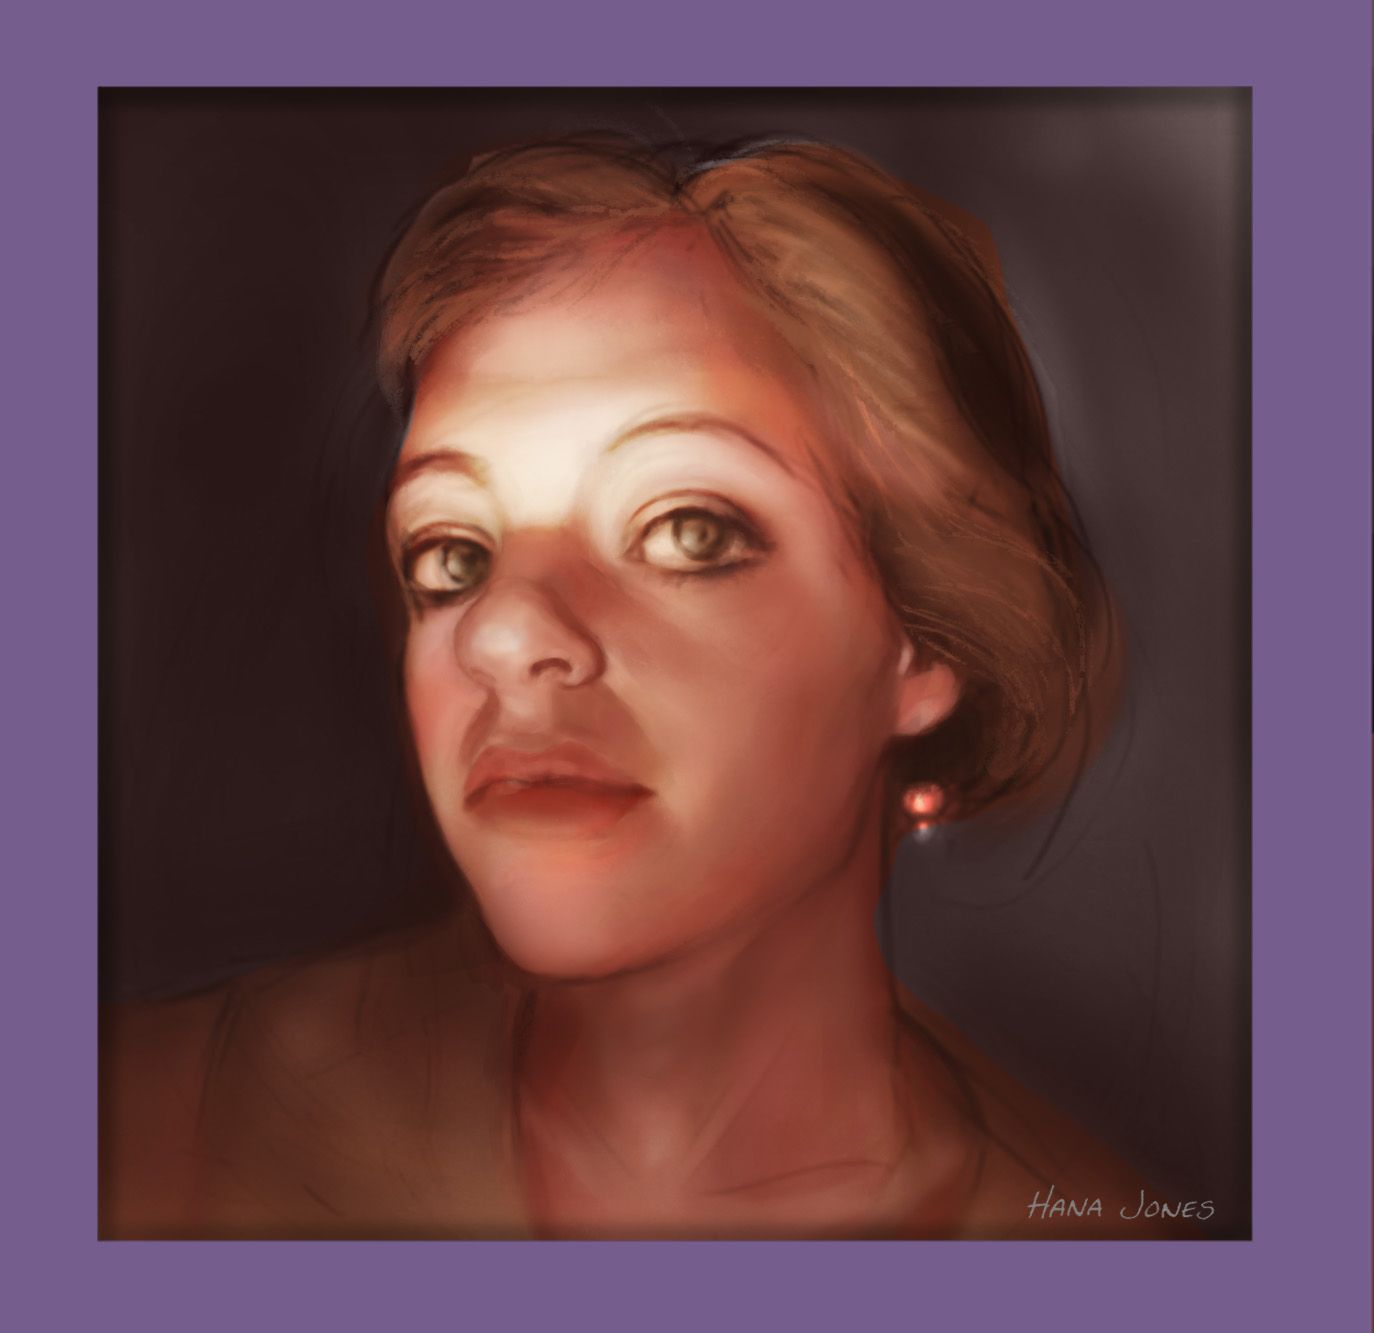
Side note | Posture!
During this piece I was working on three other things, and due to my strong grip and long hours, I have worn out my hand,
and get terrible pain in my knuckles and back whenever I draw. So as much as you don't want, loosen your grip and occasionally get up to stretch!
Final Step 11 | Hair / Details
Make sure the base for your hair is at its darkest value... its much easier to draw on lighter hairs, then to
paint in darker ones. As the light hair sits on top in real life too. Just do a few strokes that capture the personality/mood of your character.
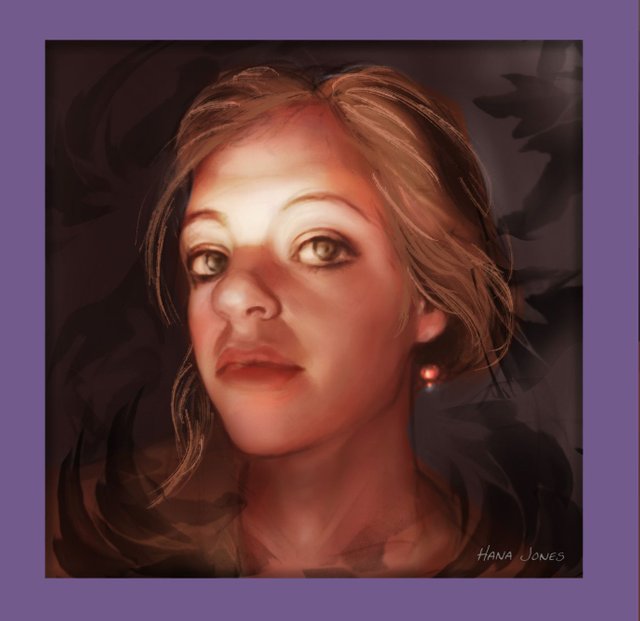
Then go nuts (Creatively)! in this case I choose to do weird shapes cause I think they suit her, she's into patterns and embroidery (not that mine does hers justice but ah well). I just lowered the opacity of the shapes I made, and erased some corners to help it blend in.
And walah!
Make sure to sign your work. Tip - Avoid scribbly handwriting in default brush. Take time to make a signature which you can just copy in all your works.
Make Jpegs along the way, when you discover cool settings, moods, contrasts or colours! Perhaps itll give you inspiration/direction for other ideas. :)
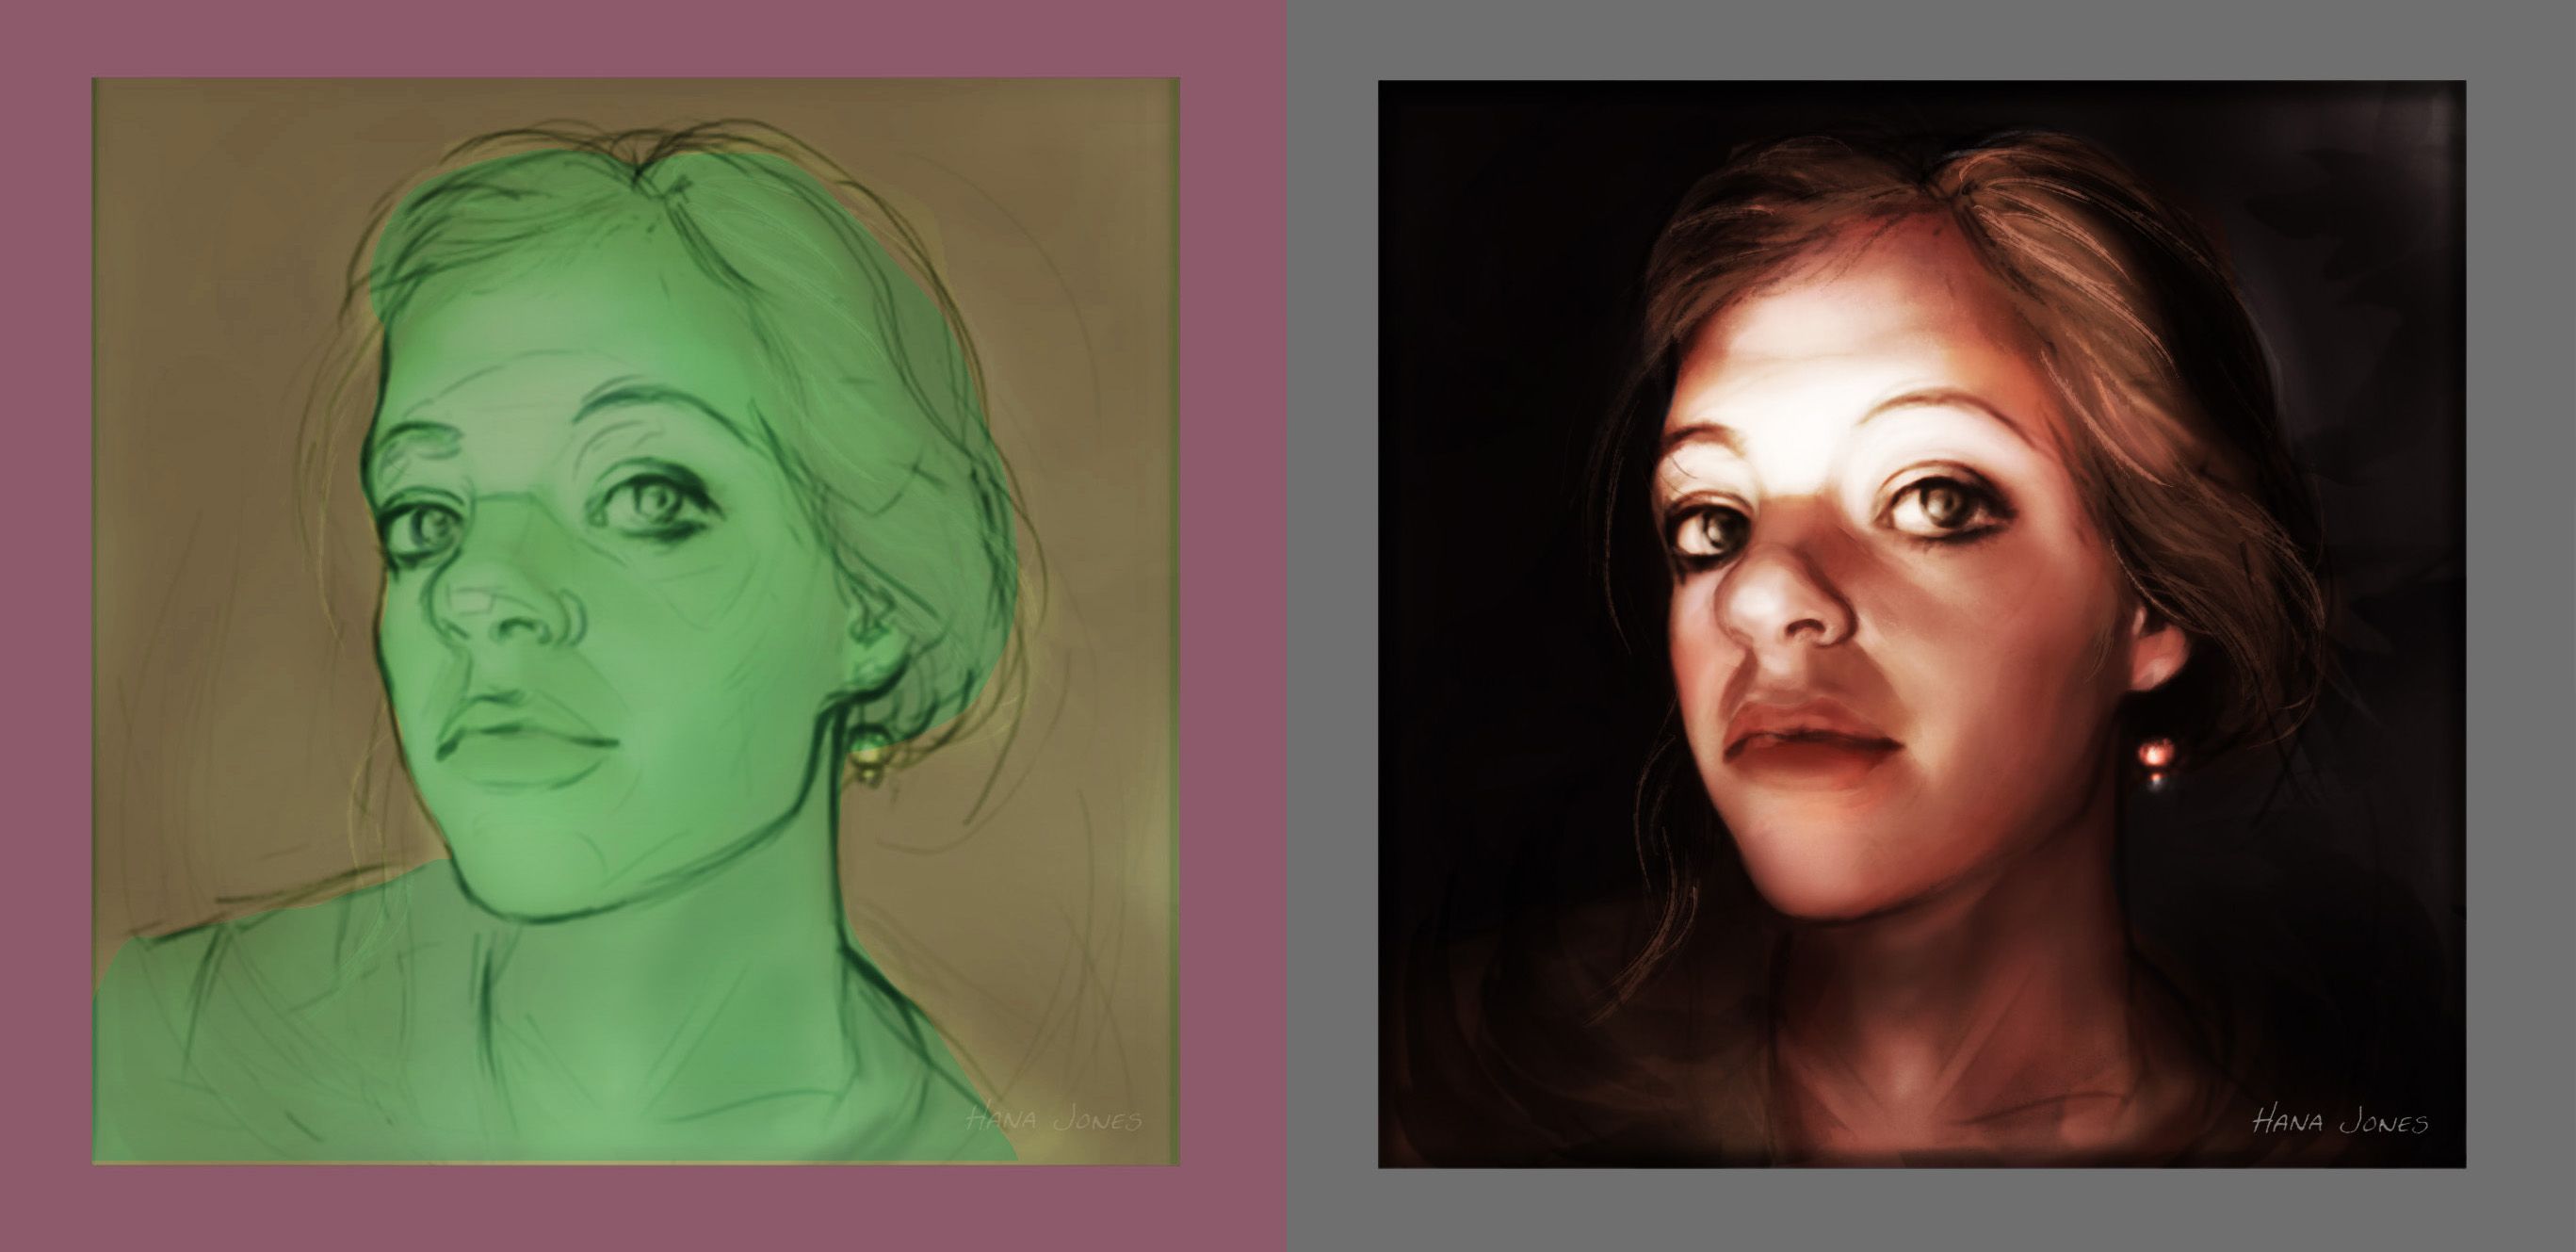
Thanks for reading if you read all the way. Hope this was useful! If you have questions feel free to ask!
Outstanding!
Downvoting a post can decrease pending rewards and make it less visible. Common reasons:
Submit
Thank you ^^
Downvoting a post can decrease pending rewards and make it less visible. Common reasons:
Submit
You're welcome. Are you on Twitter? https://twitter.com/Soul_Eater_43/status/858817542630014976
Downvoting a post can decrease pending rewards and make it less visible. Common reasons:
Submit
Disclaimer: I am just a bot trying to be helpful.
Downvoting a post can decrease pending rewards and make it less visible. Common reasons:
Submit
I appreciate the share, thanks!
Downvoting a post can decrease pending rewards and make it less visible. Common reasons:
Submit
Excellent work!! :)
Downvoting a post can decrease pending rewards and make it less visible. Common reasons:
Submit