Hellow,
I've been making paper negatives for some time now and I started learning the oil print process to turn them into positive images serving my taste.
I would like to explain what the process steps are so here they are:
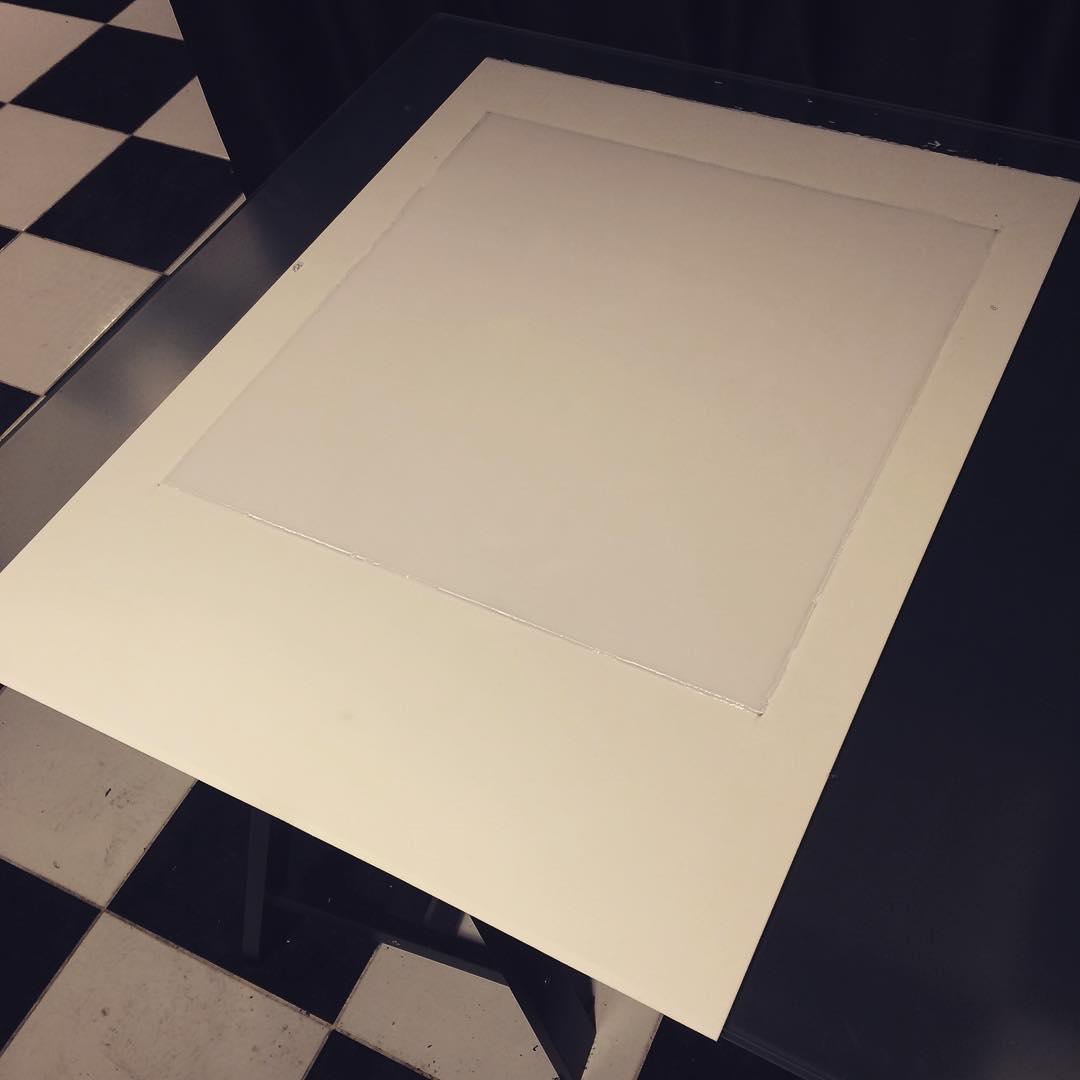
A watercolour paper in this case is being used. This print was made on a Fabriano Artistico Extra White Hot Pressed.
Hot pressed papers have smoother surfaces so more detail is revealed in the print.
Paper is first coated with gelatin mix that includes Gelatin, Chromium Potassium Sulfate and Sugar or Glycerin or none. A substance like Starch and Maltodextrin can be used as well to make the initial surface a matte one.
I usually coat a slightly larger area than the image area.

Then the paper is left to dry for at least 3 or 4 days in my case. It can take more time in other conditions.
After the paper has dried it is now time for coating it with Ammonium Dichromate. Percentages of Ammonium Dichromate solution differs according to the negative being used but mostly 3 percent in my case. Still learning!
It is left to dry down again in my case for an hour or so.
Then the paper is exposed in a Uv light source in contact printing method inside a contact printing frame. I am hoping to post more about this and provide images on every step.
After the exposure is done paper is gone to wash stage. Which is 15 minutes in cold water, then 15 in 27-28 celcius degrees of water and then the last wash face down this time in 33 celcius degrees of water. This makes the gelatin swell and create a matrix on the surface of the paper. Later on the spots that holds water in them will push the oil based ink and other spots with adhere the oil based ink.
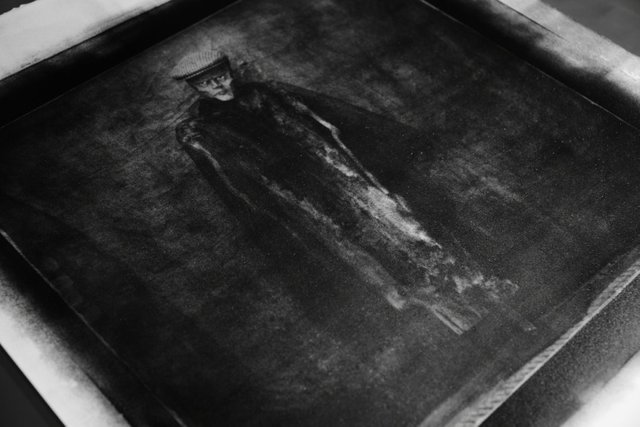
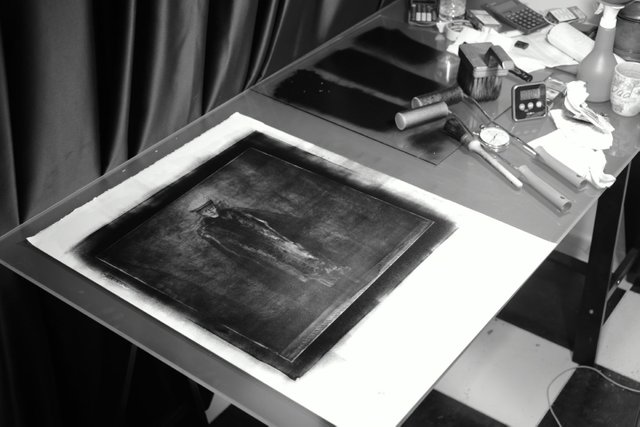
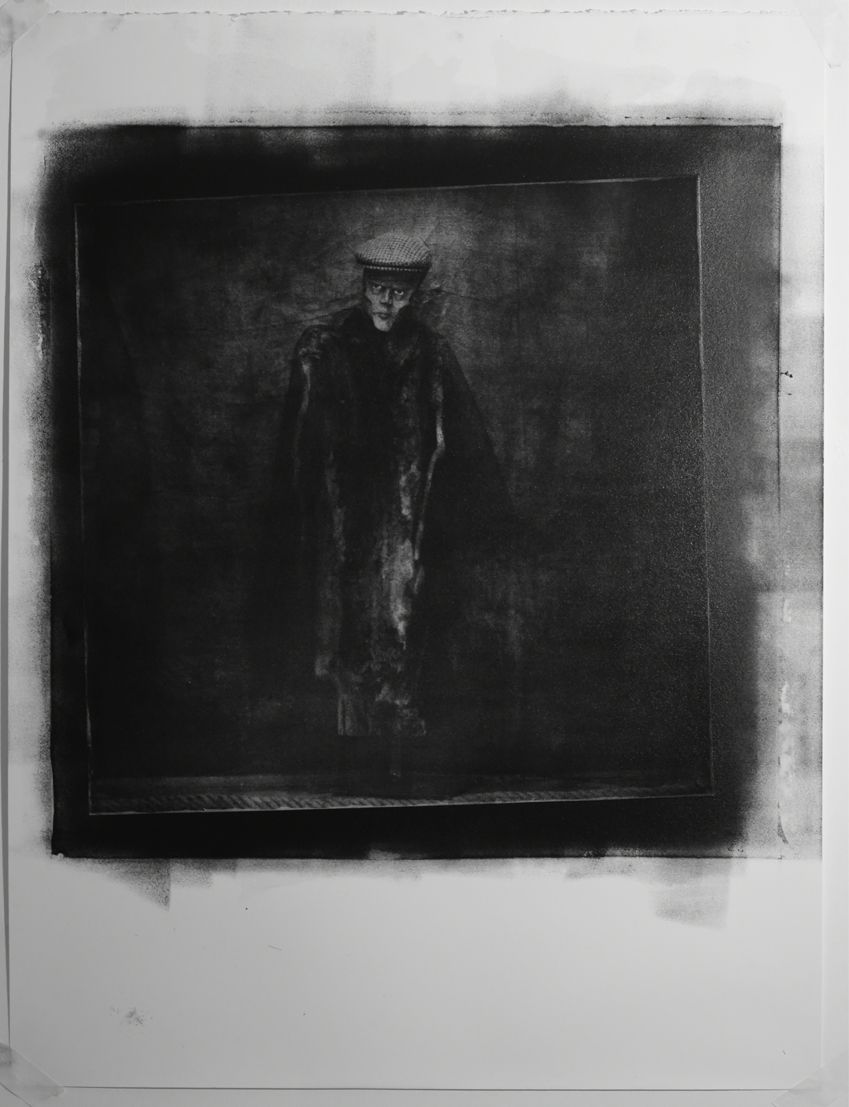
So in here you can see the one and only big size oil print Ive done so far.
I used rollers here to apply the ink just to see if the exposure and everything is correct without getting into brushed and the variables they would create.
I will be going on with brushes from now on as its a technique that I want to have experience in.
Here are the photographs of the print. It is a mess as I am still a primary school student in this.


World of Photography Beta V1.0
>Learn more here<
Thank you for participating in #portraitphotography, the weekly selection will be released on Saturday.
You have earned 5.05 XP for sharing your photo!
Daily photos: 1/2
Daily comments: 0/5
Multiplier: 1.01
Server time: 09:33:16
Total XP: 20.25/100.00
Total Photos: 4
Total comments: 0
Total contest wins: 0
Follow: @photocontests
Join the Discord channel: click!
Play and win SBD: @fairlotto
Learn how to program Steem-Python applications: @steempytutorials
Developed and sponsored by: @juliank
Downvoting a post can decrease pending rewards and make it less visible. Common reasons:
Submit
@Originalworks
Downvoting a post can decrease pending rewards and make it less visible. Common reasons:
Submit
Your Post Has Been Featured on @Resteemable!
Feature any Steemit post using resteemit.com!
How It Works:
1. Take Any Steemit URL
2. Erase
https://3. Type
reGet Featured Instantly – Featured Posts are voted every 2.4hrs
Join the Curation Team Here
Downvoting a post can decrease pending rewards and make it less visible. Common reasons:
Submit
Congratulations! This post has been upvoted from the communal account, @minnowsupport, by muratsariyar from the Minnow Support Project. It's a witness project run by aggroed, ausbitbank, teamsteem, theprophet0, someguy123, neoxian, followbtcnews, and netuoso. The goal is to help Steemit grow by supporting Minnows. Please find us at the Peace, Abundance, and Liberty Network (PALnet) Discord Channel. It's a completely public and open space to all members of the Steemit community who voluntarily choose to be there.
If you would like to delegate to the Minnow Support Project you can do so by clicking on the following links: 50SP, 100SP, 250SP, 500SP, 1000SP, 5000SP.
Be sure to leave at least 50SP undelegated on your account.
Downvoting a post can decrease pending rewards and make it less visible. Common reasons:
Submit