How to Design a Cup
Welcome to this creative journey where we will design a cup using the powerful and user-friendly SelfCAD software. Whether you're a seasoned designer or a complete beginner, this step-by-step guide will walk you through the process of bringing your cup design to life, from conceptualization to the final 3D model.
SelfCAD stands out as a versatile and accessible tool, offering a seamless experience for both beginners and experts alike. Through this tutorial, you'll harness the potential of SelfCAD to unleash your imagination and create a cup that not only serves its purpose but also reflects your unique style and creativity.
The interactive tutorial for this article can be accessed here; https://www.selfcad.com/tutorials/6n706dg5342534512696da5f64o1a491z4b5
To access the software, visit https://www.selfcad.com/,
Once you’ve launched the editor;
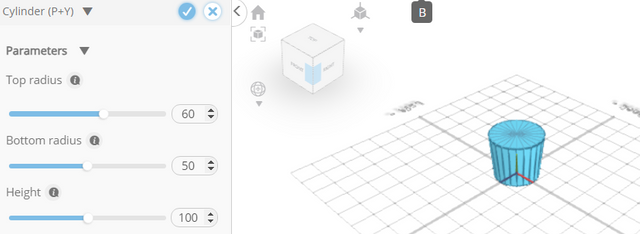
From the 3D Shapes Category on the Toolbar choose Cylinder
Set Top Radius to 60
Click to finalize Cylinder
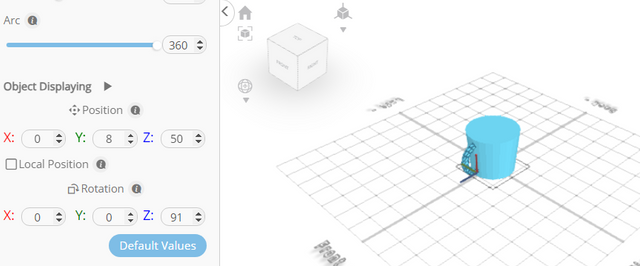
From the 3D Shapes Category on the Toolbar choose Torus
Set Ring Radius to 34, Tube Radius to 8, Position Y to 8, Position Z to 50, Rotation z to 91
Click to finalize Torus
Click on mesh-4 to select it
Click Stitch & Scoop on the Toolbar
From the tool panel choose Difference
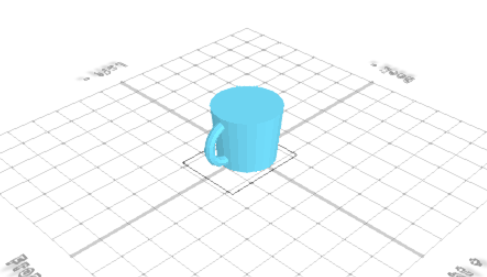
Choose mesh-4 to subtract and set keep Subtracted Object to true
Click to finalize Difference
Click on difference-1 to deselect it
Click to activate Polygon Selection
Click on highlighted region to select it
Click Delete Button to delete selected object
From the Modify Category on the Toolbar choose Add Thickness
Set Use Mirrored Thickness to True
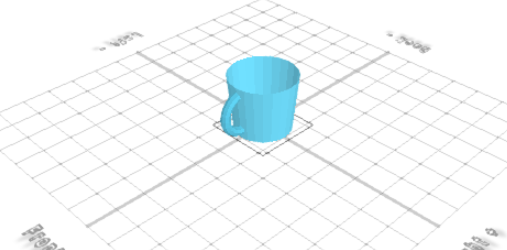
Click to finalize Add Thickness
Click highlighted part on selection cube to turn off region selection
Click on difference-1 to select it
Click Stitch & Scoop on the Toolbar
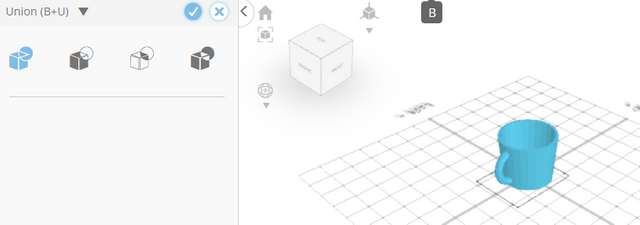
From the Tool Panel choose Union
Click to finalize Union
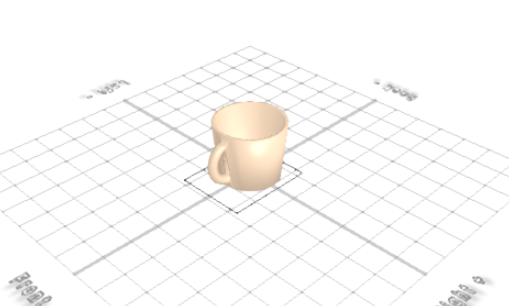
Click Smooth Button to enable smooth rendering
Click color picker button to change color of selected object
Click Apricot button to change color of selected object
Click OK button to confirm color change
