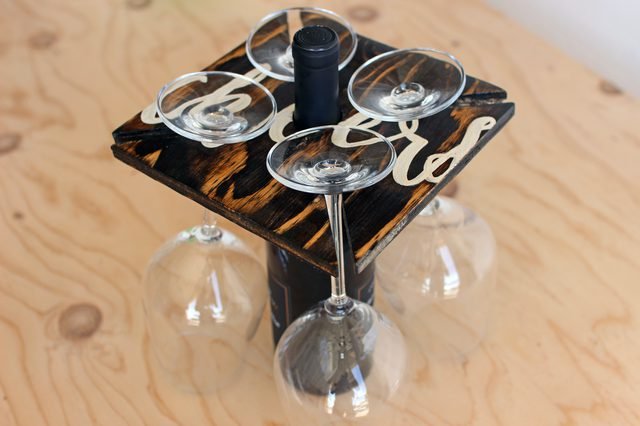
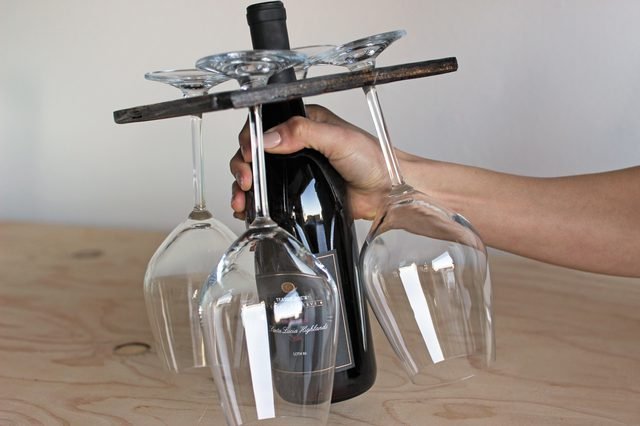
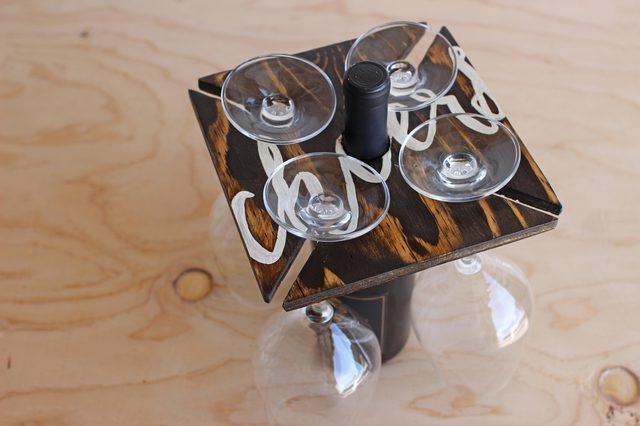
If you've ever found yourself struggling to carry everything at once when hosting a nice evening with fellow wine lovers, this DIY is exactly what you need! Here's a quick and easy tutorial for a wine glass holder that you can customize to your personal taste. It carries four glasses and a wine bottle–perfect for entertaining.
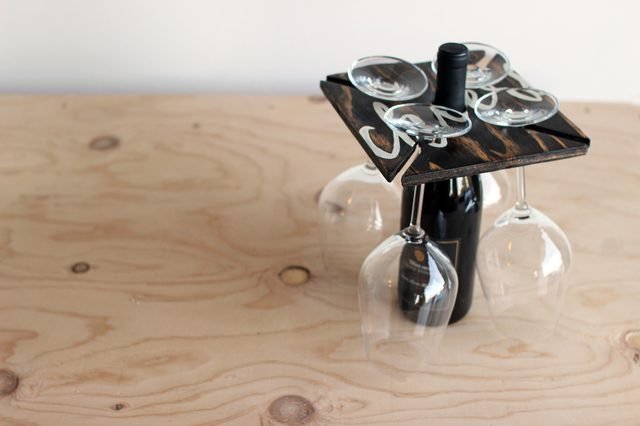
Things You'll Need
- Jigsaw
- Sander
- Sand paper
- Power drill
- 1 1/4 inch hole saw
- 5/8 inch drill bit
- Clamps
- Pencil
- Measuring tape
- 7 1/2 inch x 7 1/2 inch piece of wood
- Level or something with a hard edge to draw straight lines
- Stain (optional)
- Paint (optional)
- Paint brushes (optional)
- Tracing paper
- Tape
- Printer to print design
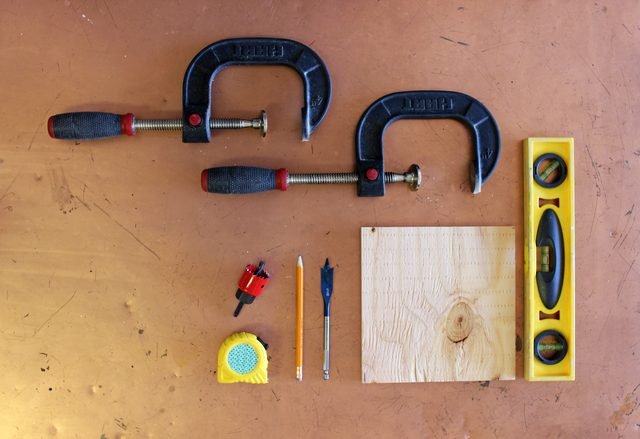
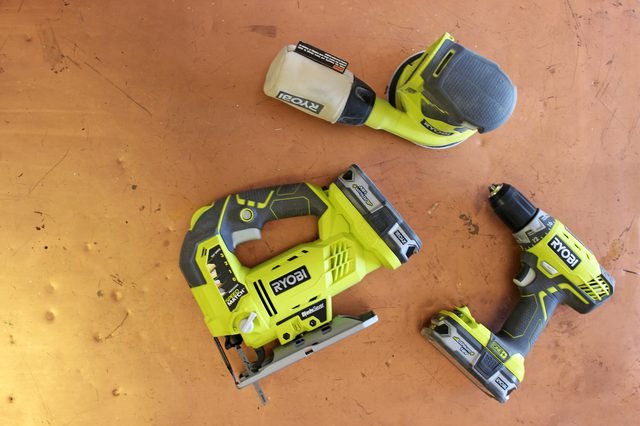
Step 1: Cut Your Wood
Cut your wood down to 7 1/2 inches by 7 1/2 inches using a circular or table saw. Some hardware stores sell pre-cut pieces (check their scrap wood section).
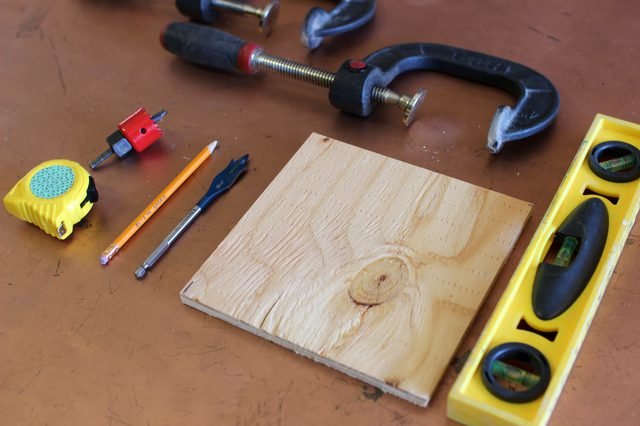
Step 2: Find the Center for Your Wine Bottle Hole
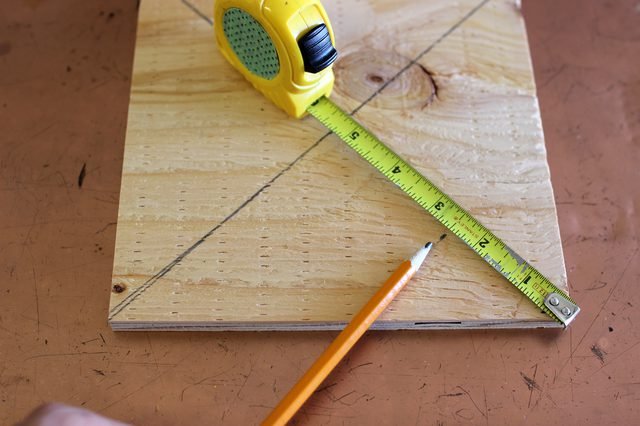
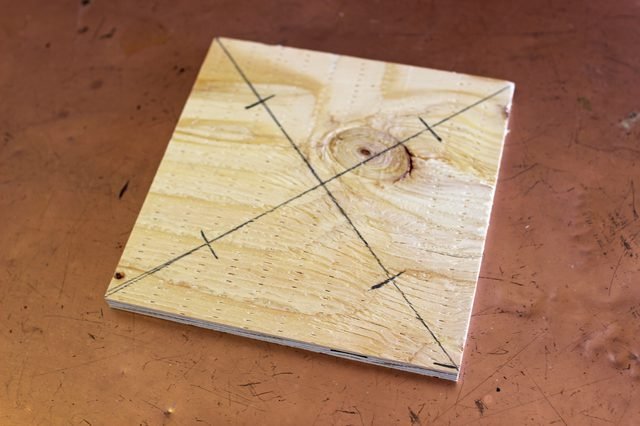
Draw a straight line from corner to corner using using the level to connect them.
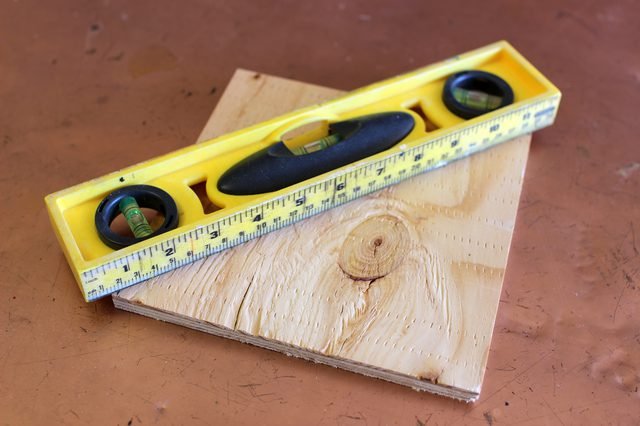
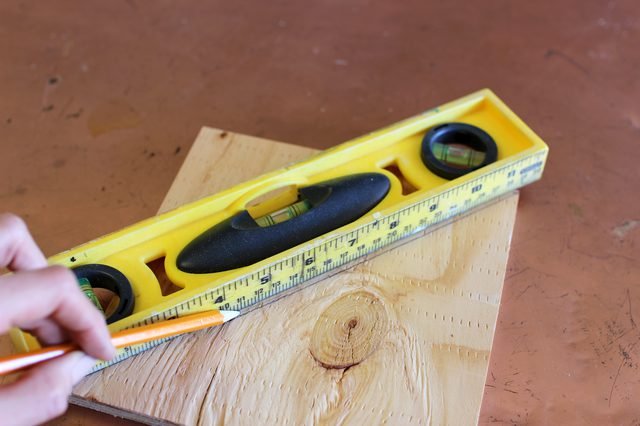
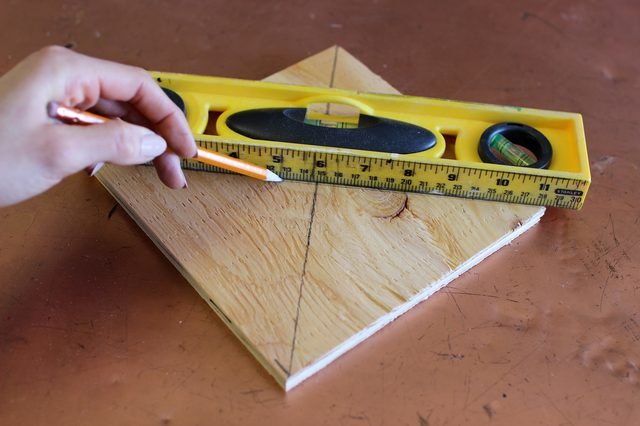
Where the lines meet in the center is where you will drill the 1 1/4 inch hole for the neck of the wine bottle to slide into.
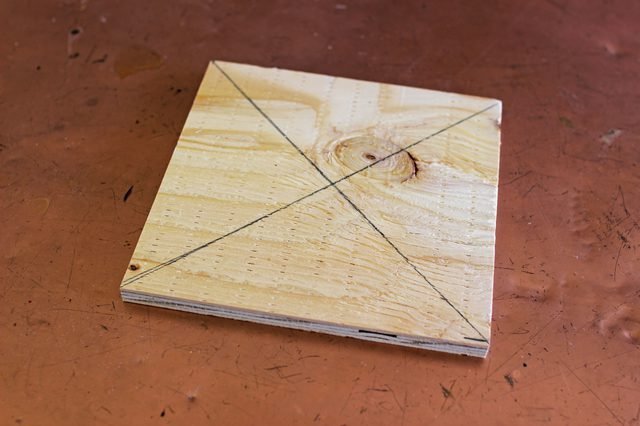
Step 3: Measure for Your Glassware Holes
Measure and mark 2 1/2 inches in from each corner along the lines you just made. This is where you'll drill your smaller holes that will hold your stemware.
Step 4: Drill Your Center Hole
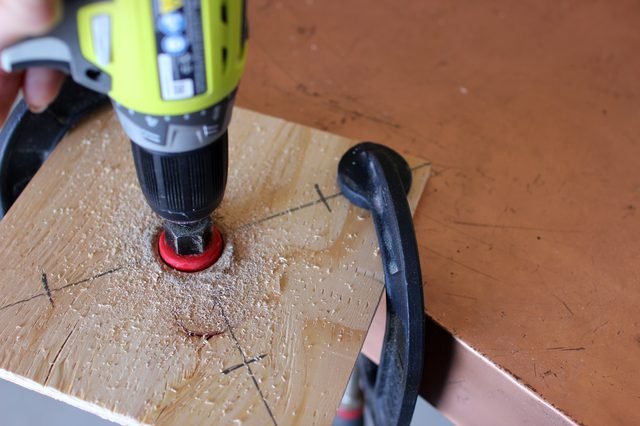
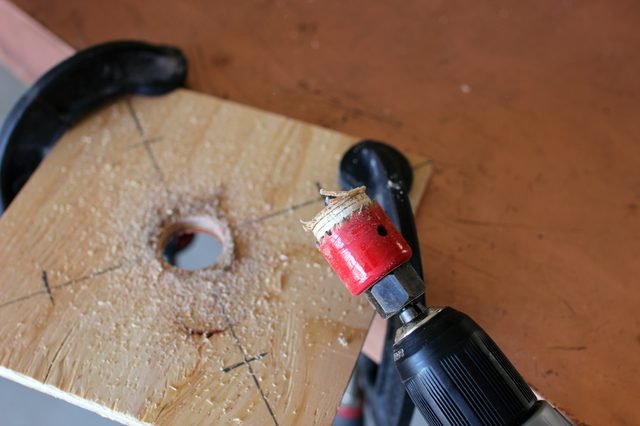
Clamp your wood down before drilling your hole. Grab your power drill and 1 1/4 inch hole saw bit, then drill through the center.
Step 5: Measure Out Your Slits for Stemware
Before drilling the smaller holes, measure and mark the diagonal lines from the 2 1/2 inch marks to the corners to be 3/8 inch wide. This is where the slits for the stemware are going to go.
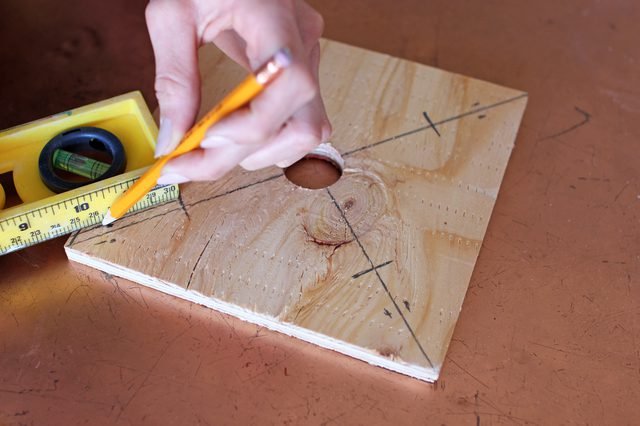
These will be your guidelines when you go in with your jigsaw.
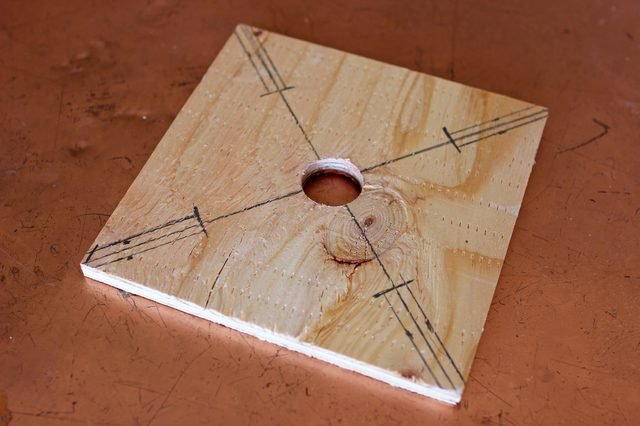
Step 6: Drill Your Smaller Holes for Stemware
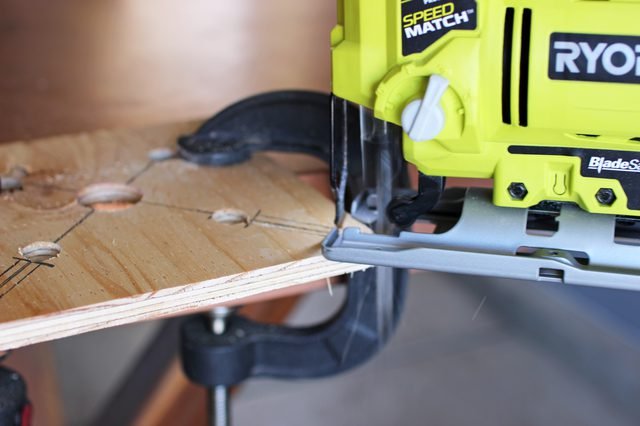
Be sure to clamp down your wood before drilling and using your jigsaw. Take your power drill and 5/8 inch drill bit, then drill four smaller holes.
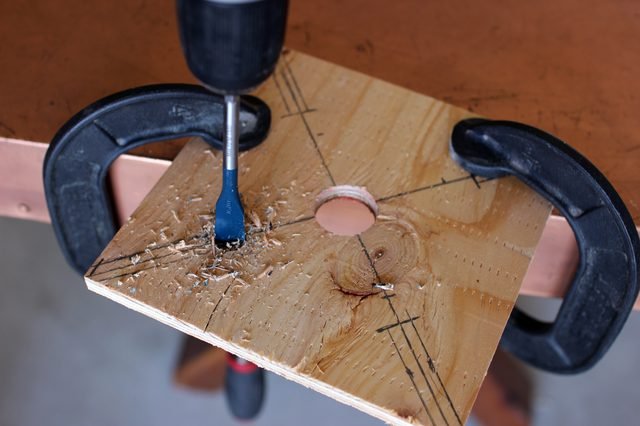
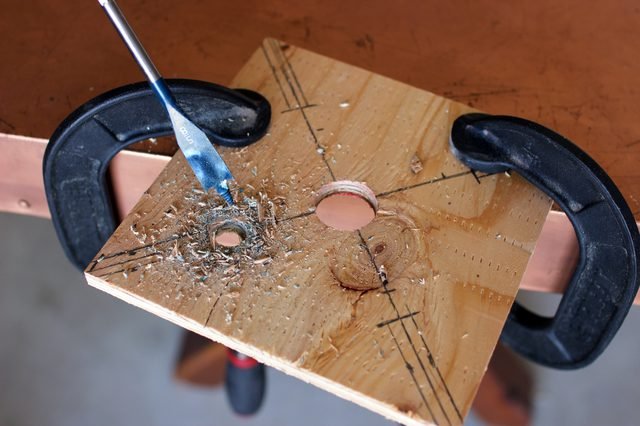
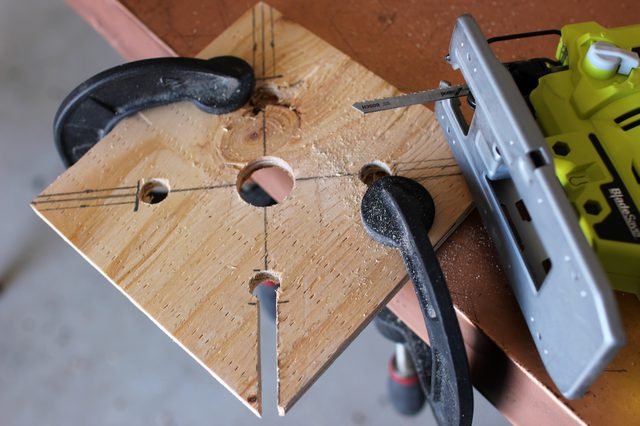
Step 7: Cut Your Stemware Slits
While your wood is clamped down, use your jigsaw to cut along the slit marks you made earlier.
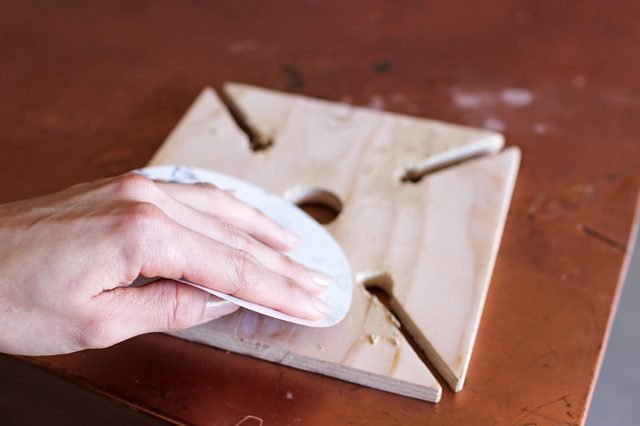
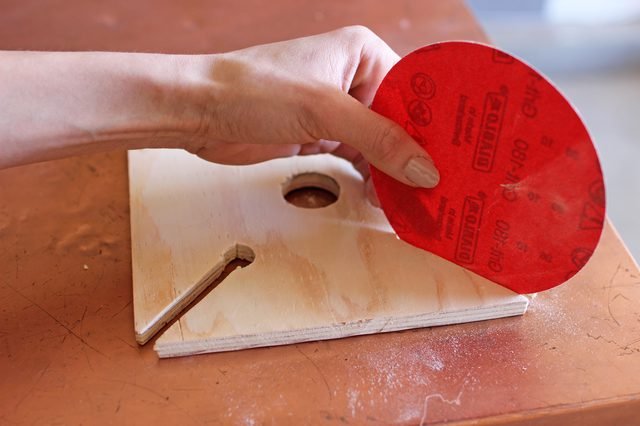
Step 8: Sand Down Your Wood
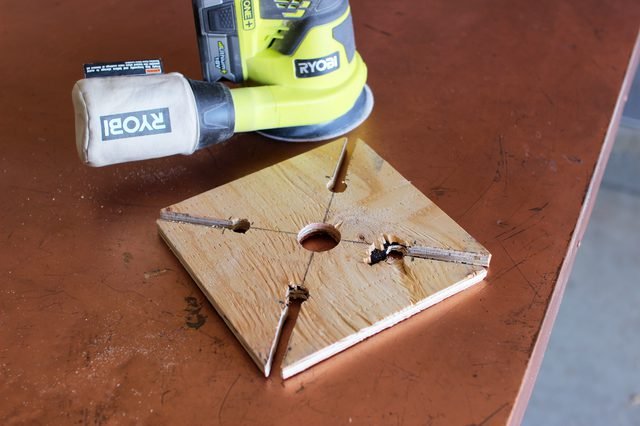
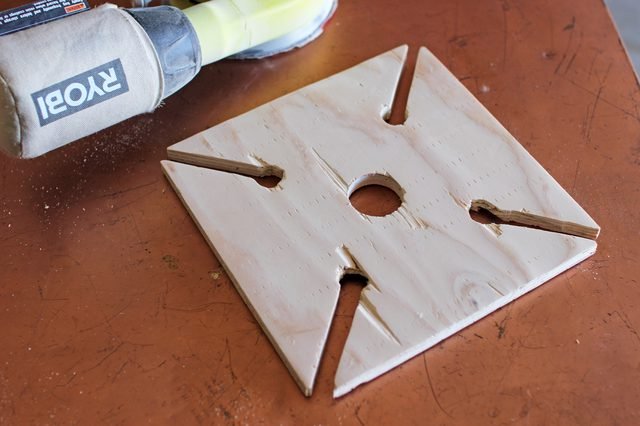
I used a circular saw with 80 then 220 grit, but you can also do this by hand.
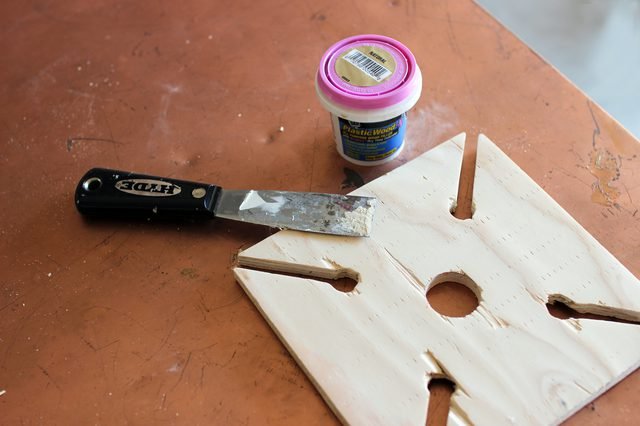
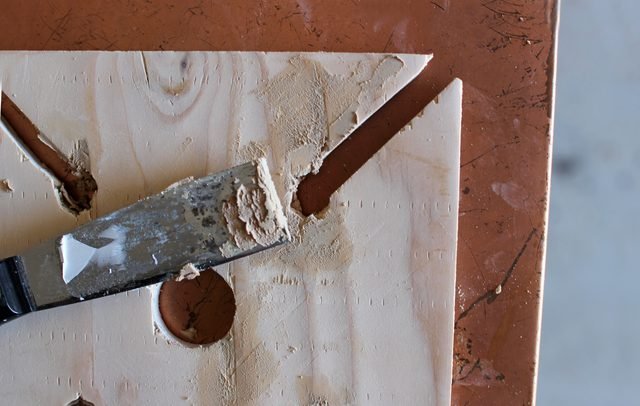
Step 9: Fix Imperfections if Needed
I filled in the crevasses with filler, let that dry and sanded it down to smooth it out.
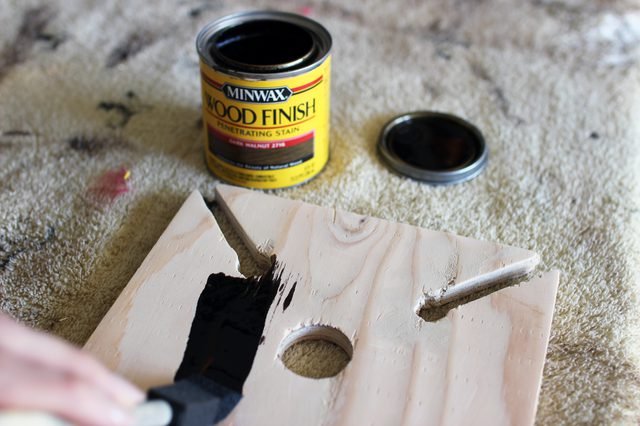
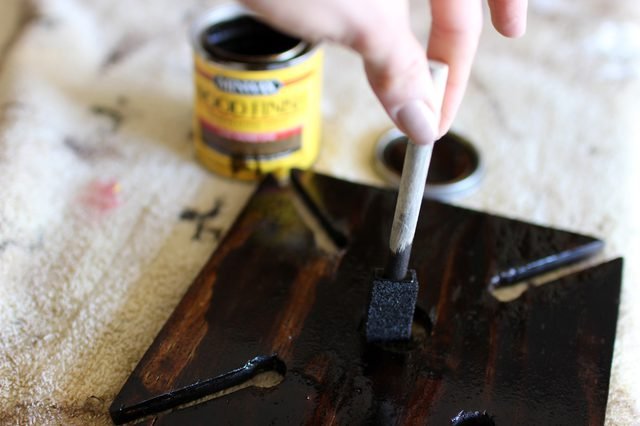
Step 10: Stain or Paint the Wood
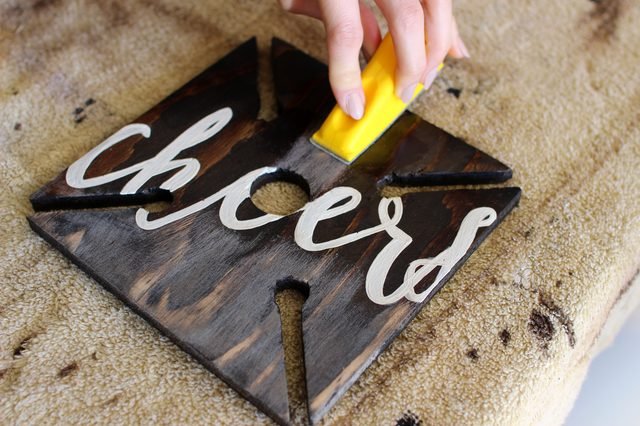
Take it a step further and make it match your aesthetic! I grabbed some stain and painted a coat on.
Step 11: Add a Personal Touch
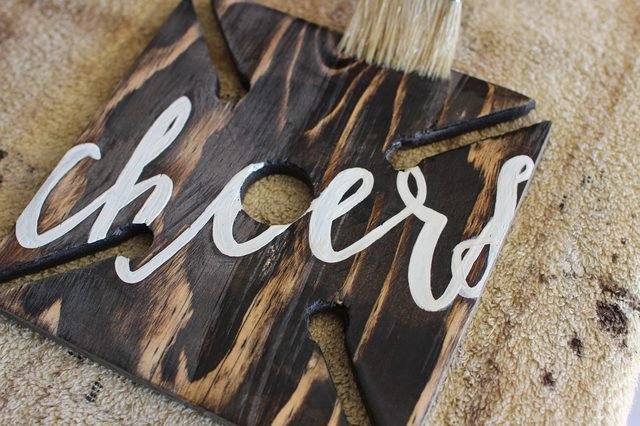
Personalize the holder with a fun saying or an initial. I decided to go with "CHEERS!

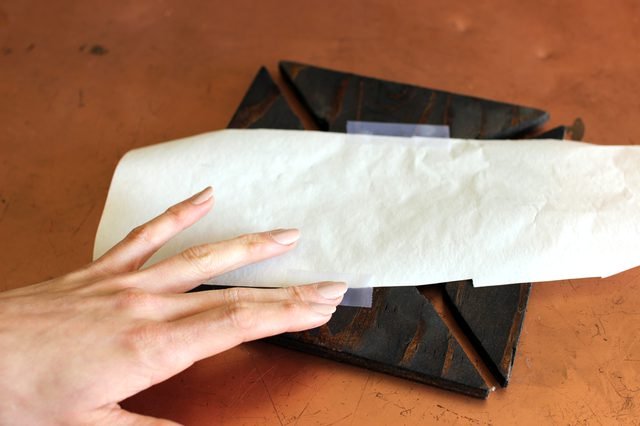
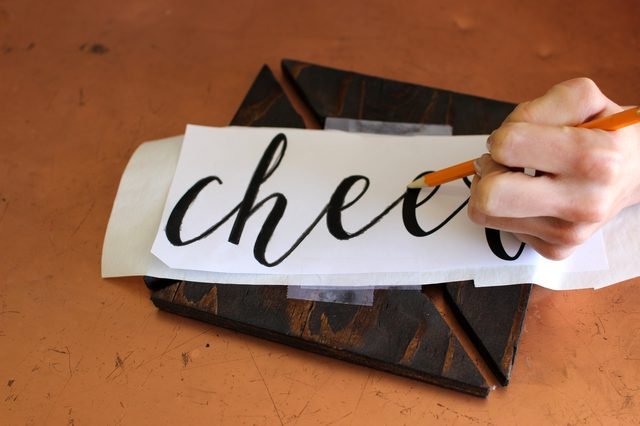
Place your tracing paper on top (powder side down) and tape it down where you like it.
Add the design on top. I am not good at any sort of calligraphy so I printed a font I love (Marigold).
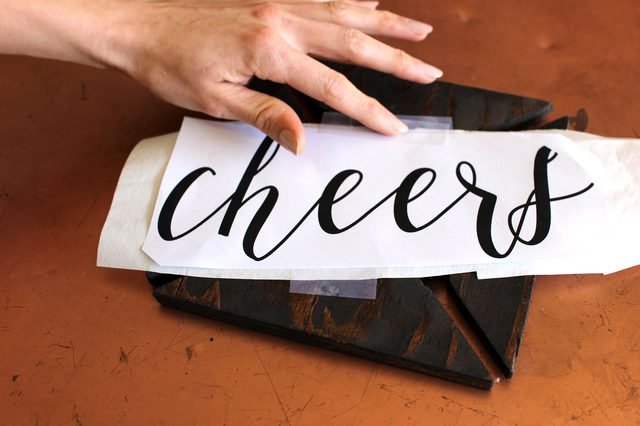
Trace over it with a pencil.
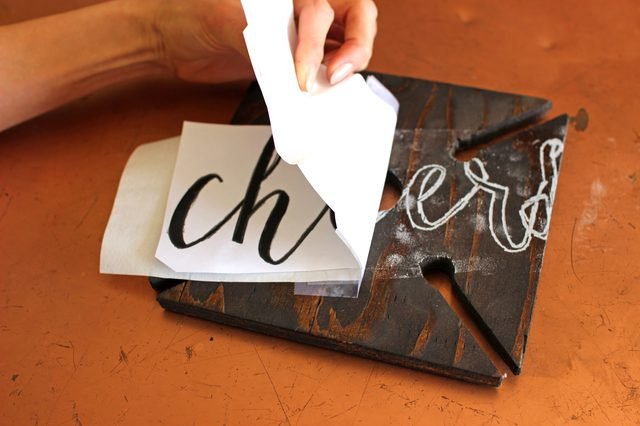
Peel it off!
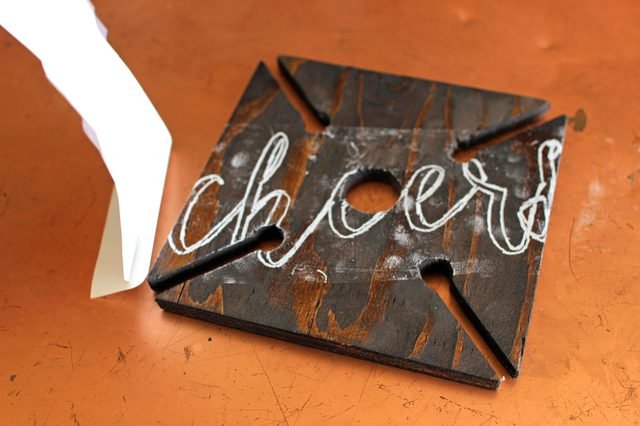
Fill in the outline with a paint color of your choice and let it dry.
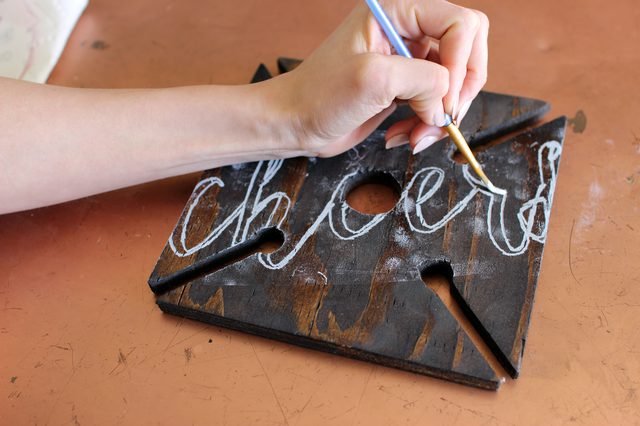
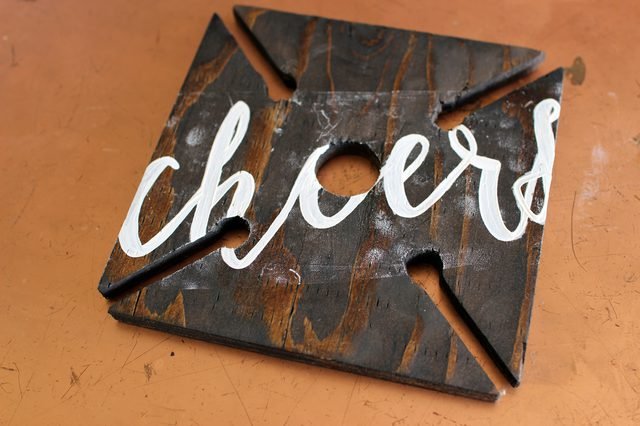
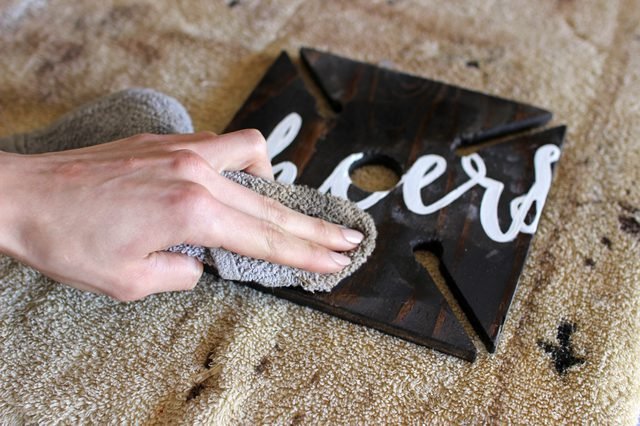
The powder wipes off easily with a damp cloth.
Step 12: Add Sealant
Be sure to brush a sealant all over the wood, in the nooks and crannies. You want to make sure that your new DIY wine glass holder will withstand the weather, spills, wear and tear.
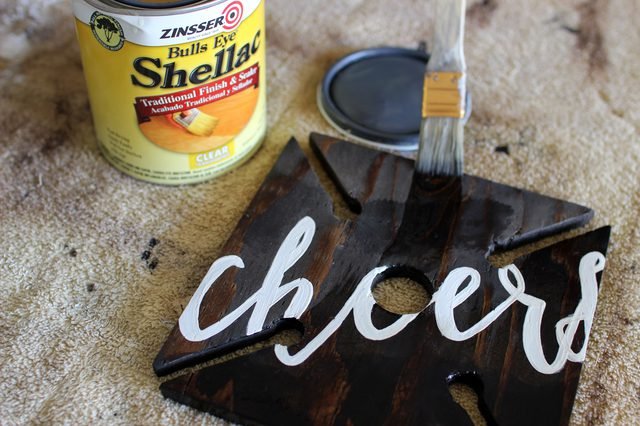
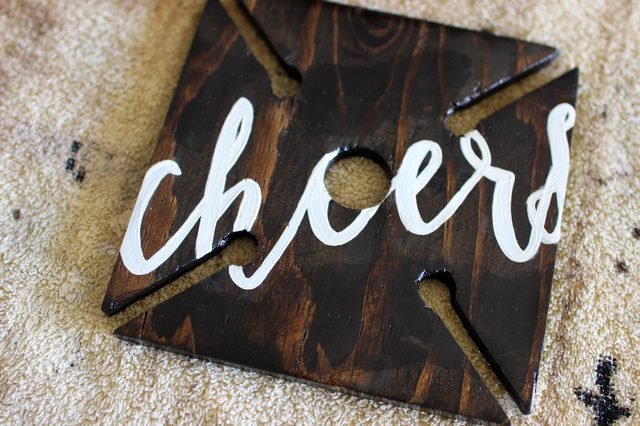
Per instructions on the package, I put one coat on, let it dry for an hour, sanded it down and added a second coat.
The possibilities are truly endless to customizing this for the wine lover in your life! I never knew I needed one until I made my own.
Ha ha)), interesting idea!
Downvoting a post can decrease pending rewards and make it less visible. Common reasons:
Submit
Congratulations @wdl232887467! You received a personal award!
Click here to view your Board
Downvoting a post can decrease pending rewards and make it less visible. Common reasons:
Submit
Congratulations @wdl232887467! You received a personal award!
You can view your badges on your Steem Board and compare to others on the Steem Ranking
Vote for @Steemitboard as a witness to get one more award and increased upvotes!
Downvoting a post can decrease pending rewards and make it less visible. Common reasons:
Submit