For lovers of speed and cars 🚔
Hello to all happy day and start of the week today I will share with you something really incredible, and although they do not think it is very easy to do, and know that sometimes the advertisements and advertisements have these resources to make your products more allusive and is that ilustrator turns everything into an incredible reality.Today, the world of the vector is very broad, that is why I teach them every day what I like to do, Vectorize, if they do it they will surely love it, and for those who like cars and are passionate about it speed will enjoy this tutorial, you will say how we make this car so sophisticated, here I will show you step by step how to put the effects, you will see that it is very simple.
You have to put a little imagination to the things we do, since that is about passing neustras proprietas espectativas when I began to study the race I never imagined getting to do the things that today I say firmly thank God that gave me the talent I do with all the love in the world, for people who are just entering the world of design, let me explain a little bit that is vectorize: Vectorizing an image "by hand" can be a complicated job if you are not an expert or you have experience with advanced editing software. A vector image is completely different from a bitmap image. The former are formed by independent geometric objects (vectors) and the latter are formed by pixels. When we vectorize an image, all the contours and fills are drawn in a perfectly defined way and can be enlarged or reduced to any size without losing quality.
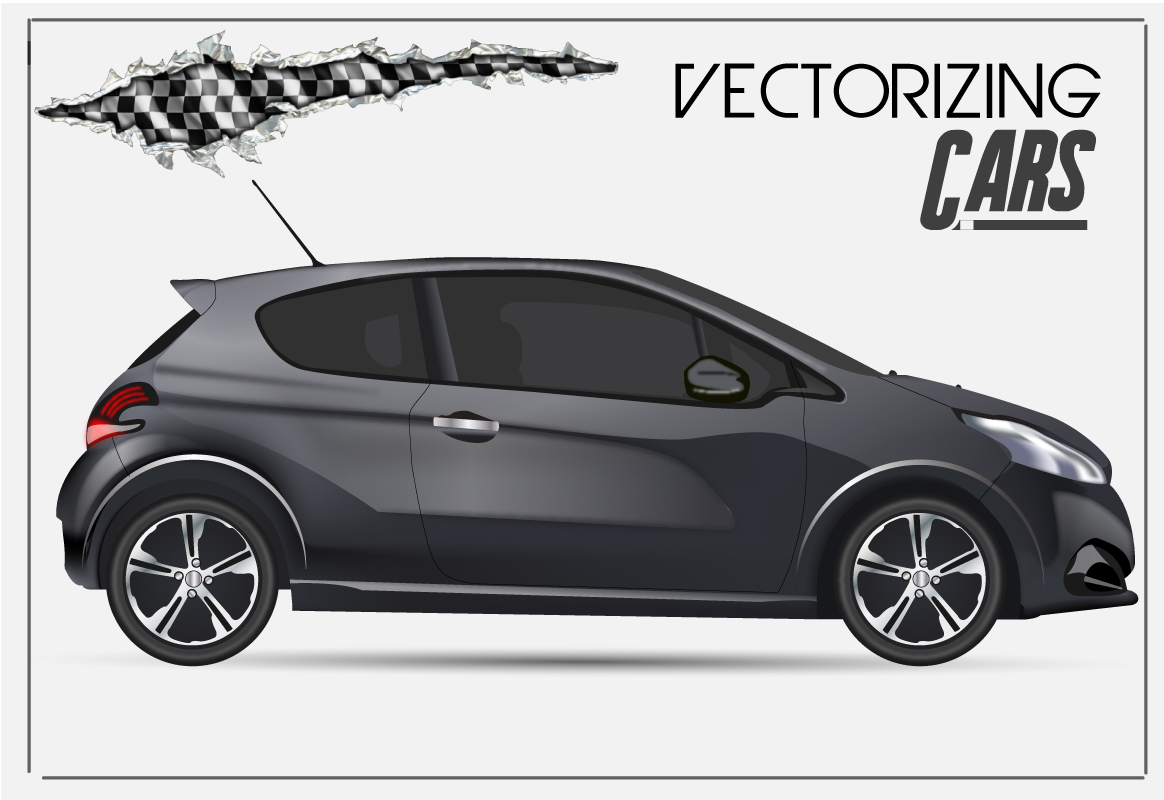
Car vectorized

Here I leave step by step and tips that will help a lot when vectoring an image.
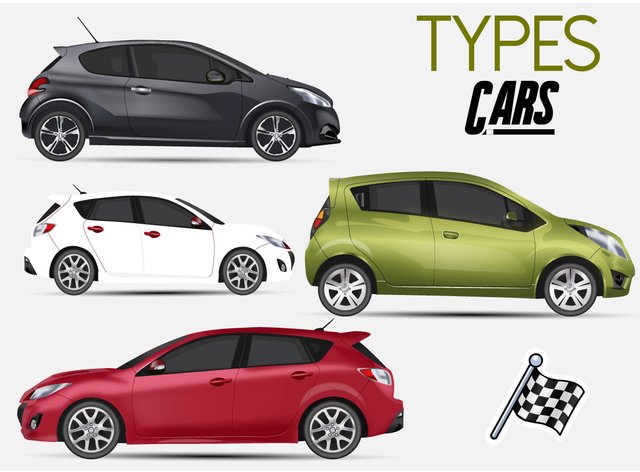
Here I present the types of cars that I dared to do, please like

The colors used for the vectorization of the same were, RGB (green, red black and white)

1.The stroke
The stroke is very important in the image, so an image will call much more attention if it has a consistent stroke, than another in which the stroke is poor. For this we will ink using shapes instead of simple paths.

2. Polishing the shapes
The next step is to polish the forms created, so that no peaks remain, round the edges that we see that appear, so the set will work much better and give the feeling of a real inking.

3. Add details
Now we will add the details, these details if they can be strokes, if you use strokes better to create another layer only for strokes, at the time of selecting them all will go much better. If we use forms we can continue in the same layer.

4. The coloring
Now it is the turn of the coloring, for the base color, we will use not very bright but intense colors, so our illustration will be striking.
Having turned off the option multiply and left the layer in normal mode, as we have done a powerful inking, we will not have problems when coloring, since the areas that are free to color, will not be too large.

5. Lights and shadows to give volume
We will add small shadows to give a little volume to the final result. For this, we will create a new layer and place it between the layer of the inking (stroke) and the color, we will put it in multiply mode and we will lower the opacity to 40%

Tell me if I'm not very nice, I hope you liked this tuturial and that it is very useful for you to take the juice out of your creativity, good vibes for all .Phrase of the day: No one likes to see beautiful eyes on someone else's face, so stay away from toxic people, be yourselves and you will see that they will succeed in life, happy Monday for all.
I hope you enjoyed this delicious tutrorial, and do not forget to celebrate the colleagues of graphic designers in your day, greetings to all!
@artzone @slothicorn @creativecommons @ocd-resteem @steemgigs
Creative Commons License
The information on this page is licensed under an international Creative Commons Attribution 4.0 license.


Eestás On FIRE!
¡Arándanooooo! Felicitaciones, veo que tu blog ha crecido muchísimo! me vas a tener que dar ahora tips tú a mi xD.
Nos vemos por aquí, ya volvía activarme, pásate y ve lo nuevo de mi blog. Saludos!

Downvoting a post can decrease pending rewards and make it less visible. Common reasons:
Submit
HEEYYY , que pasoo señor eymarr me alegra verte por aca, buenoo jeje perseverando, ya me paso por tu blog
Downvoting a post can decrease pending rewards and make it less visible. Common reasons:
Submit