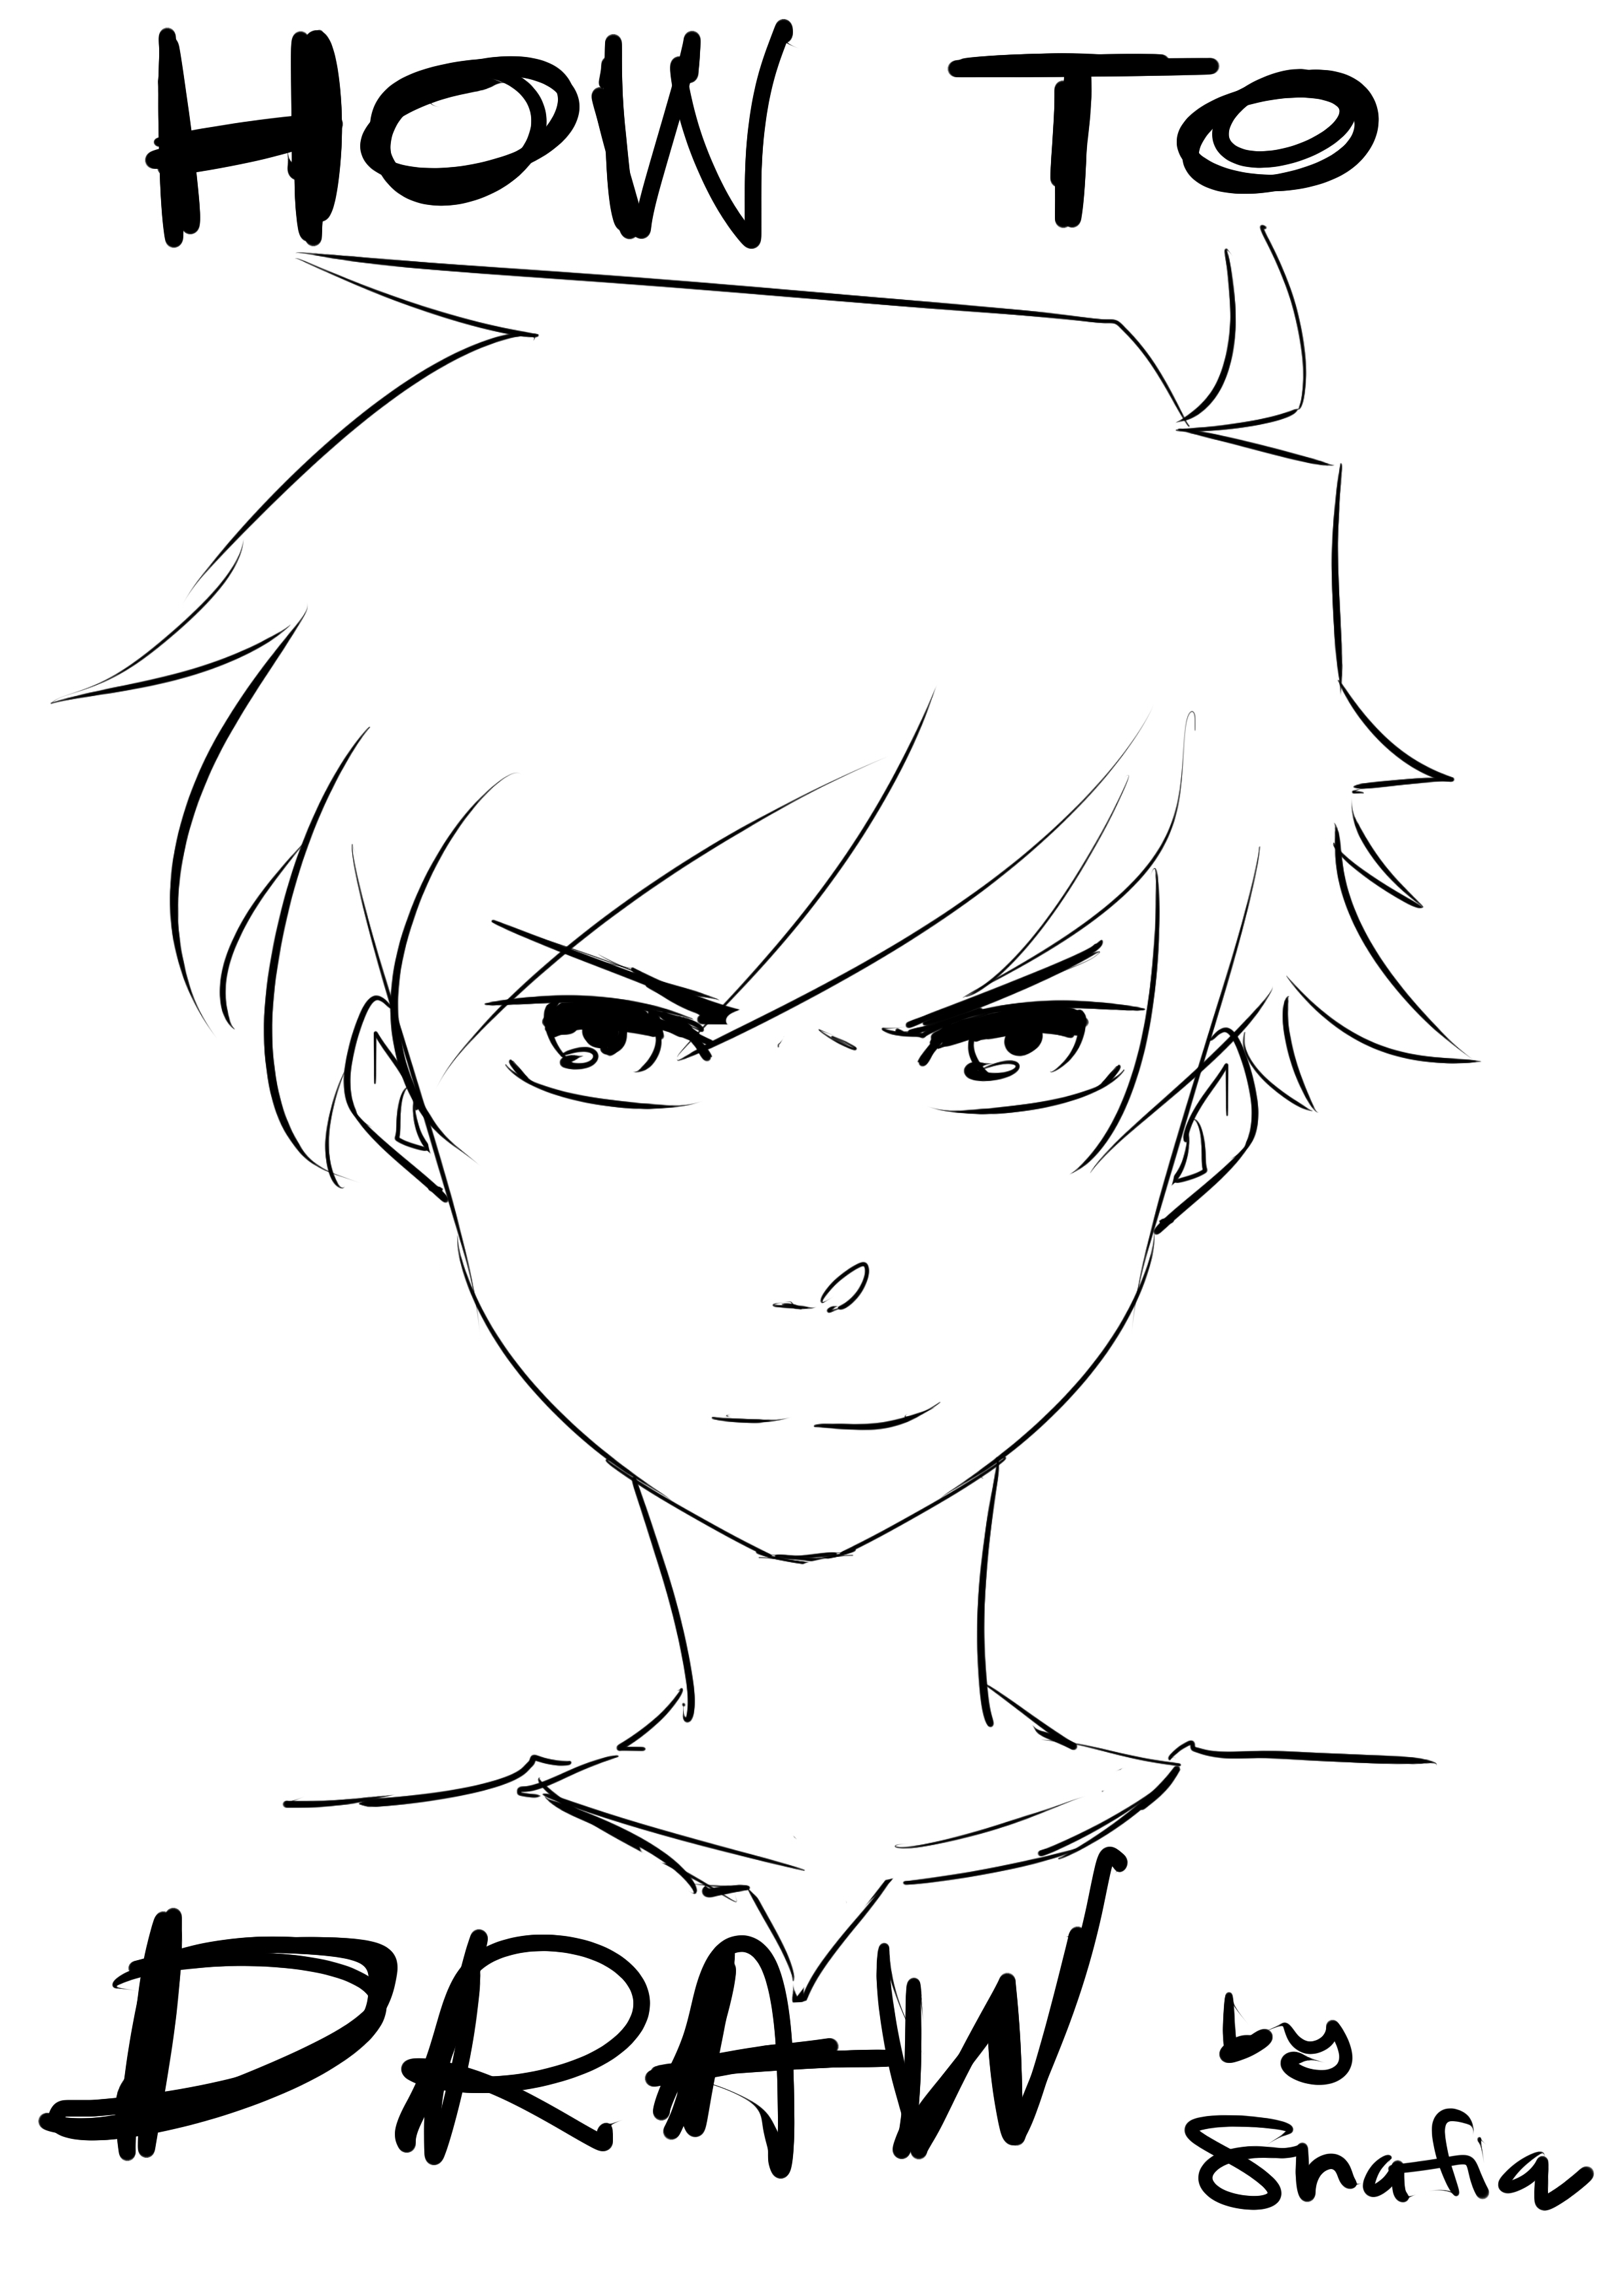
Hello guys!
This is Shafiq,
Today I want to give a free lesson about "How to Draw Head" in cartoon or anime style.
For this lesson, I am using Wacom tablet and also Sai Tool to draw but you also can used a pencil and a piece of paper for this learning session.

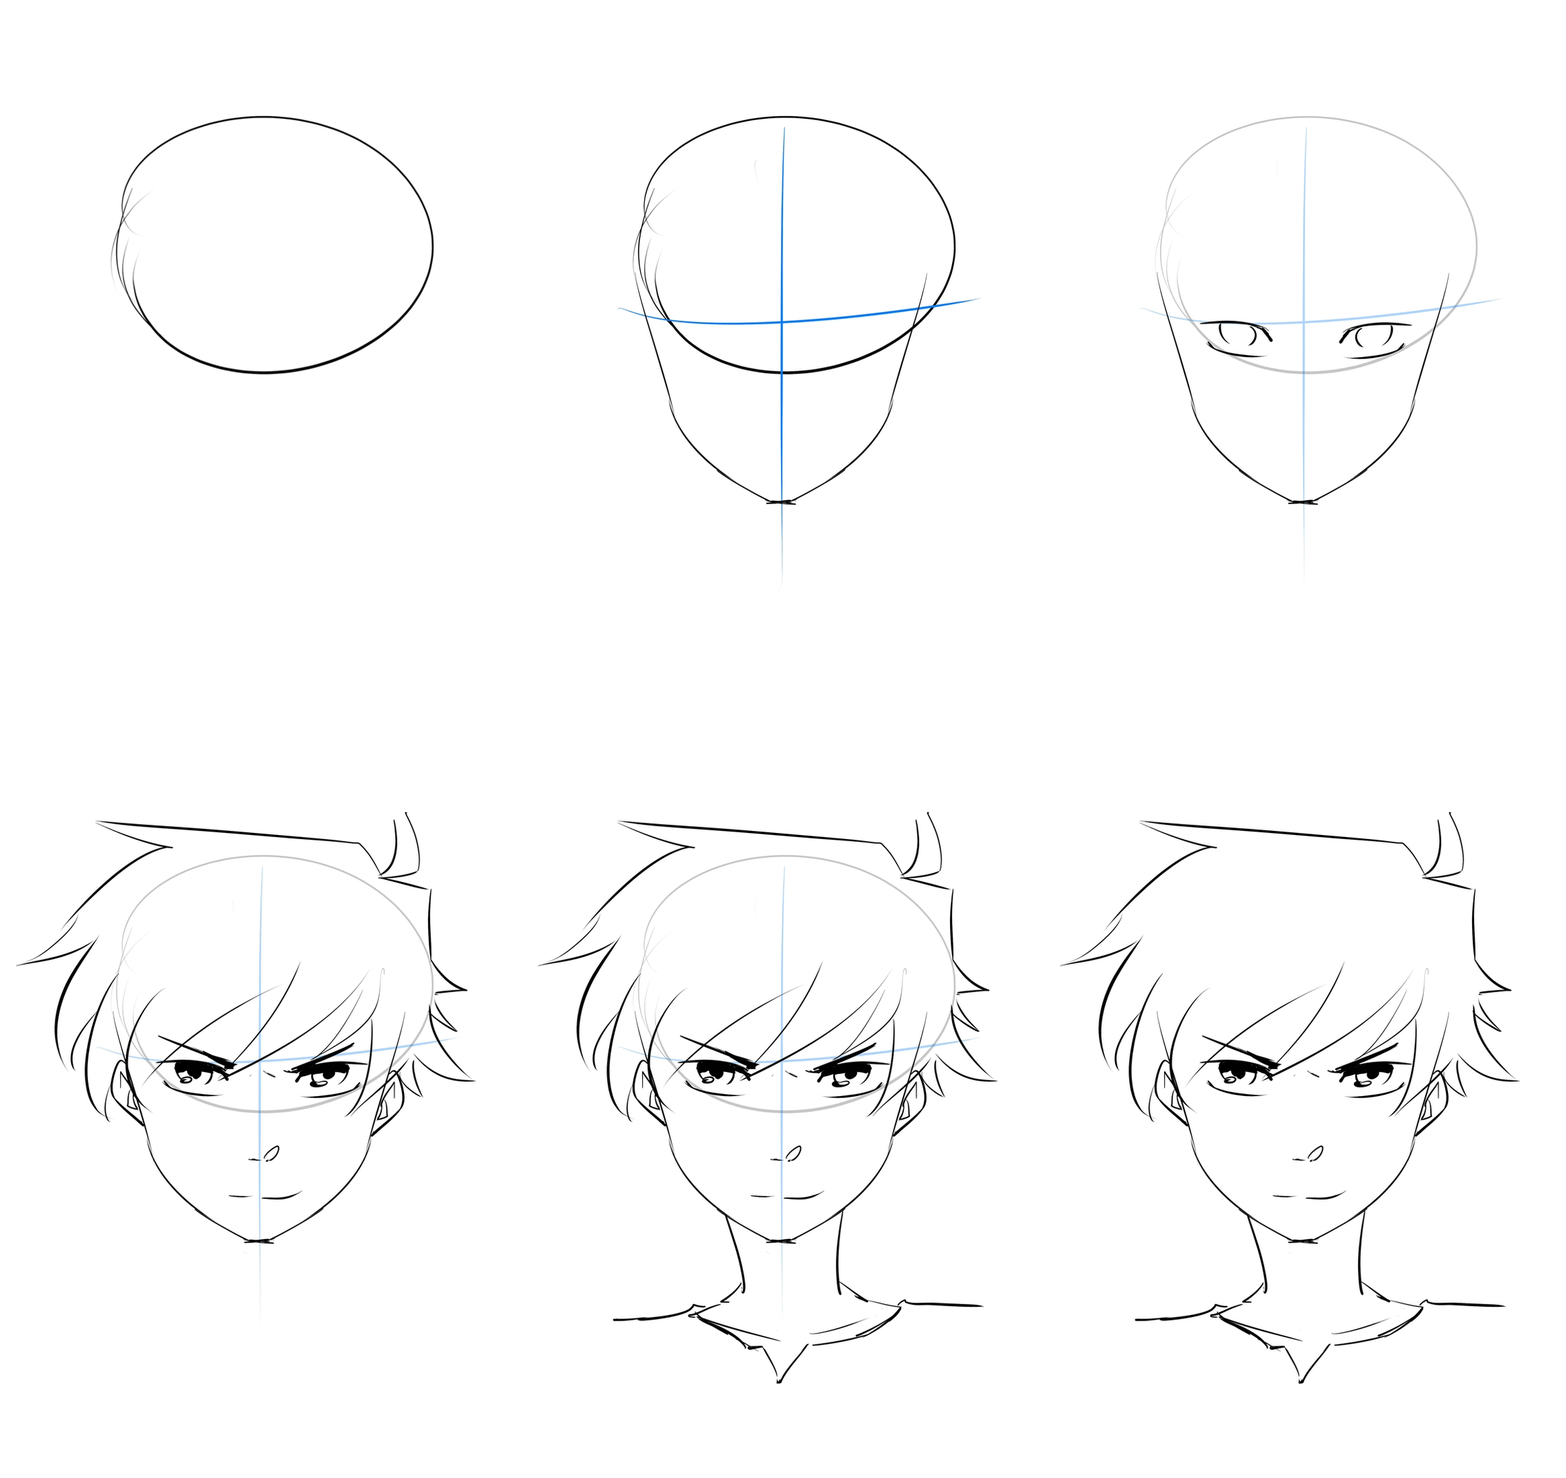
First, draw a circle, don't take much time for this first step, just draw it, if it look like a circle, then you done, you don't even need to draw a perfect and precise circle, OK?
Then, you need to draw a cross just like the picture shows.
Circle and cross are used as your guideline for you to determine the position of eye, nose, mouth, and also cheek.

Once you done with circle and cross, you can start drawing a cheek for your character, start from top to bottom, create a nice curve. Follow the arrow that I have put as your guideline.
Then, repeat the same step for the opposite side. BUT, if you are using Pain Tool Sai or Photoshop, you can easily duplicate and flip horizontal the cheek.

And now, you can start drawing an eye for your character. Start it with a line for your upper eyelashes. Then, a circle and also another eyelashes below the circle.
Repeat the same step for the opposite side.

Now draw nose and mouth. You also can custom any shape or type of nose and mouth for your character. It's up of your creativity and imagination.

Now you can refine your eye by adding shadow and pupil. And also, put you character EYEBROW.

Draw simple ear shape. Then repeat at the opposite side.

Now, the hardest part to draw is hair. But actually, it is not really that hard. For drawing HAIR, you are free to draw, which I mean, you just need to follow the flow of the hair, as you can see, my character hair is started from the above then it go down. So just randomly draw it until it forms shape of hair. If you keep failing to draw a nice hair, don't give up, just keep practice until you understand the flow of the hair.
Another tip is imagine a waterfall, flow from the above to bottom. Draw the line of the waterfall, and you will see it.

Now proceed with neck with simple line.

Now put simple cloth for your character if you want.
After you are done with this tutorial, you can start by drawing your own original character, with different eye shape, different hair style and also different cloth.
After you finished drawing your character, don't ever forget to put your watermark or signature. Then show it to your parent, tell them that at least you are capable to do something.

Hey, Thanks for reading! I hope this simple tutorial can guide you to draw.
If this post get Upvotes, I will continue the next lesson with side angle and 3/4 angle (head).
Thanks again!
nice post, thanks
Downvoting a post can decrease pending rewards and make it less visible. Common reasons:
Submit
Thanks bro~!
Downvoting a post can decrease pending rewards and make it less visible. Common reasons:
Submit
sama2, tinggal dimana?
Downvoting a post can decrease pending rewards and make it less visible. Common reasons:
Submit
Sekarang ni duduk dekat cyberjaya bro, tapi asal dari perak la.
Downvoting a post can decrease pending rewards and make it less visible. Common reasons:
Submit
perak di malaysia ya? salam kenal aku di aceh, indonesia
Downvoting a post can decrease pending rewards and make it less visible. Common reasons:
Submit
Ya betul! Salam kenal~
Downvoting a post can decrease pending rewards and make it less visible. Common reasons:
Submit