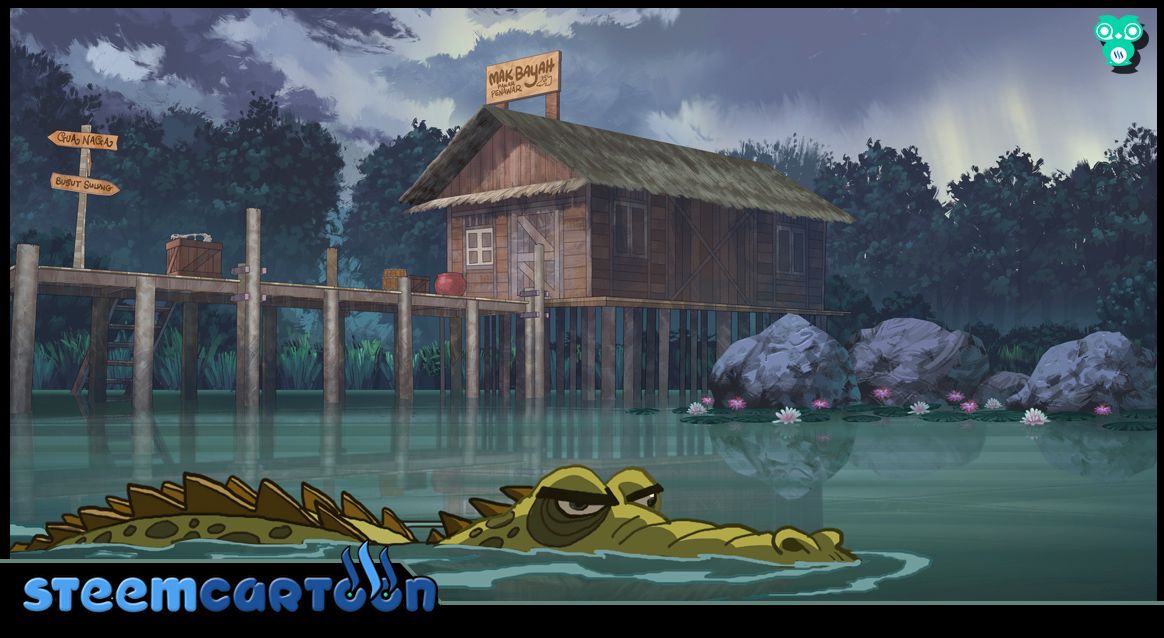
This process I would want to share how I create a shot for background 2d animation. I will bring you to a swap that is filled with wild creatures. As a background artist, it is my job to make a shot really lifelike to the audience. Therefore I have to find the right mode.
This particular scene is a scene at location after a rain. I will try to find all types of references and book to identify the colour that is suitable.
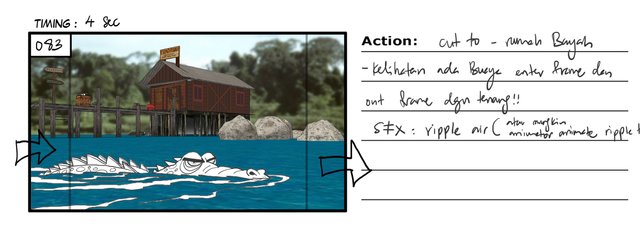
After reading the description from the storyboard I will adjust my composition and reduce it from the storyboard into a layout.
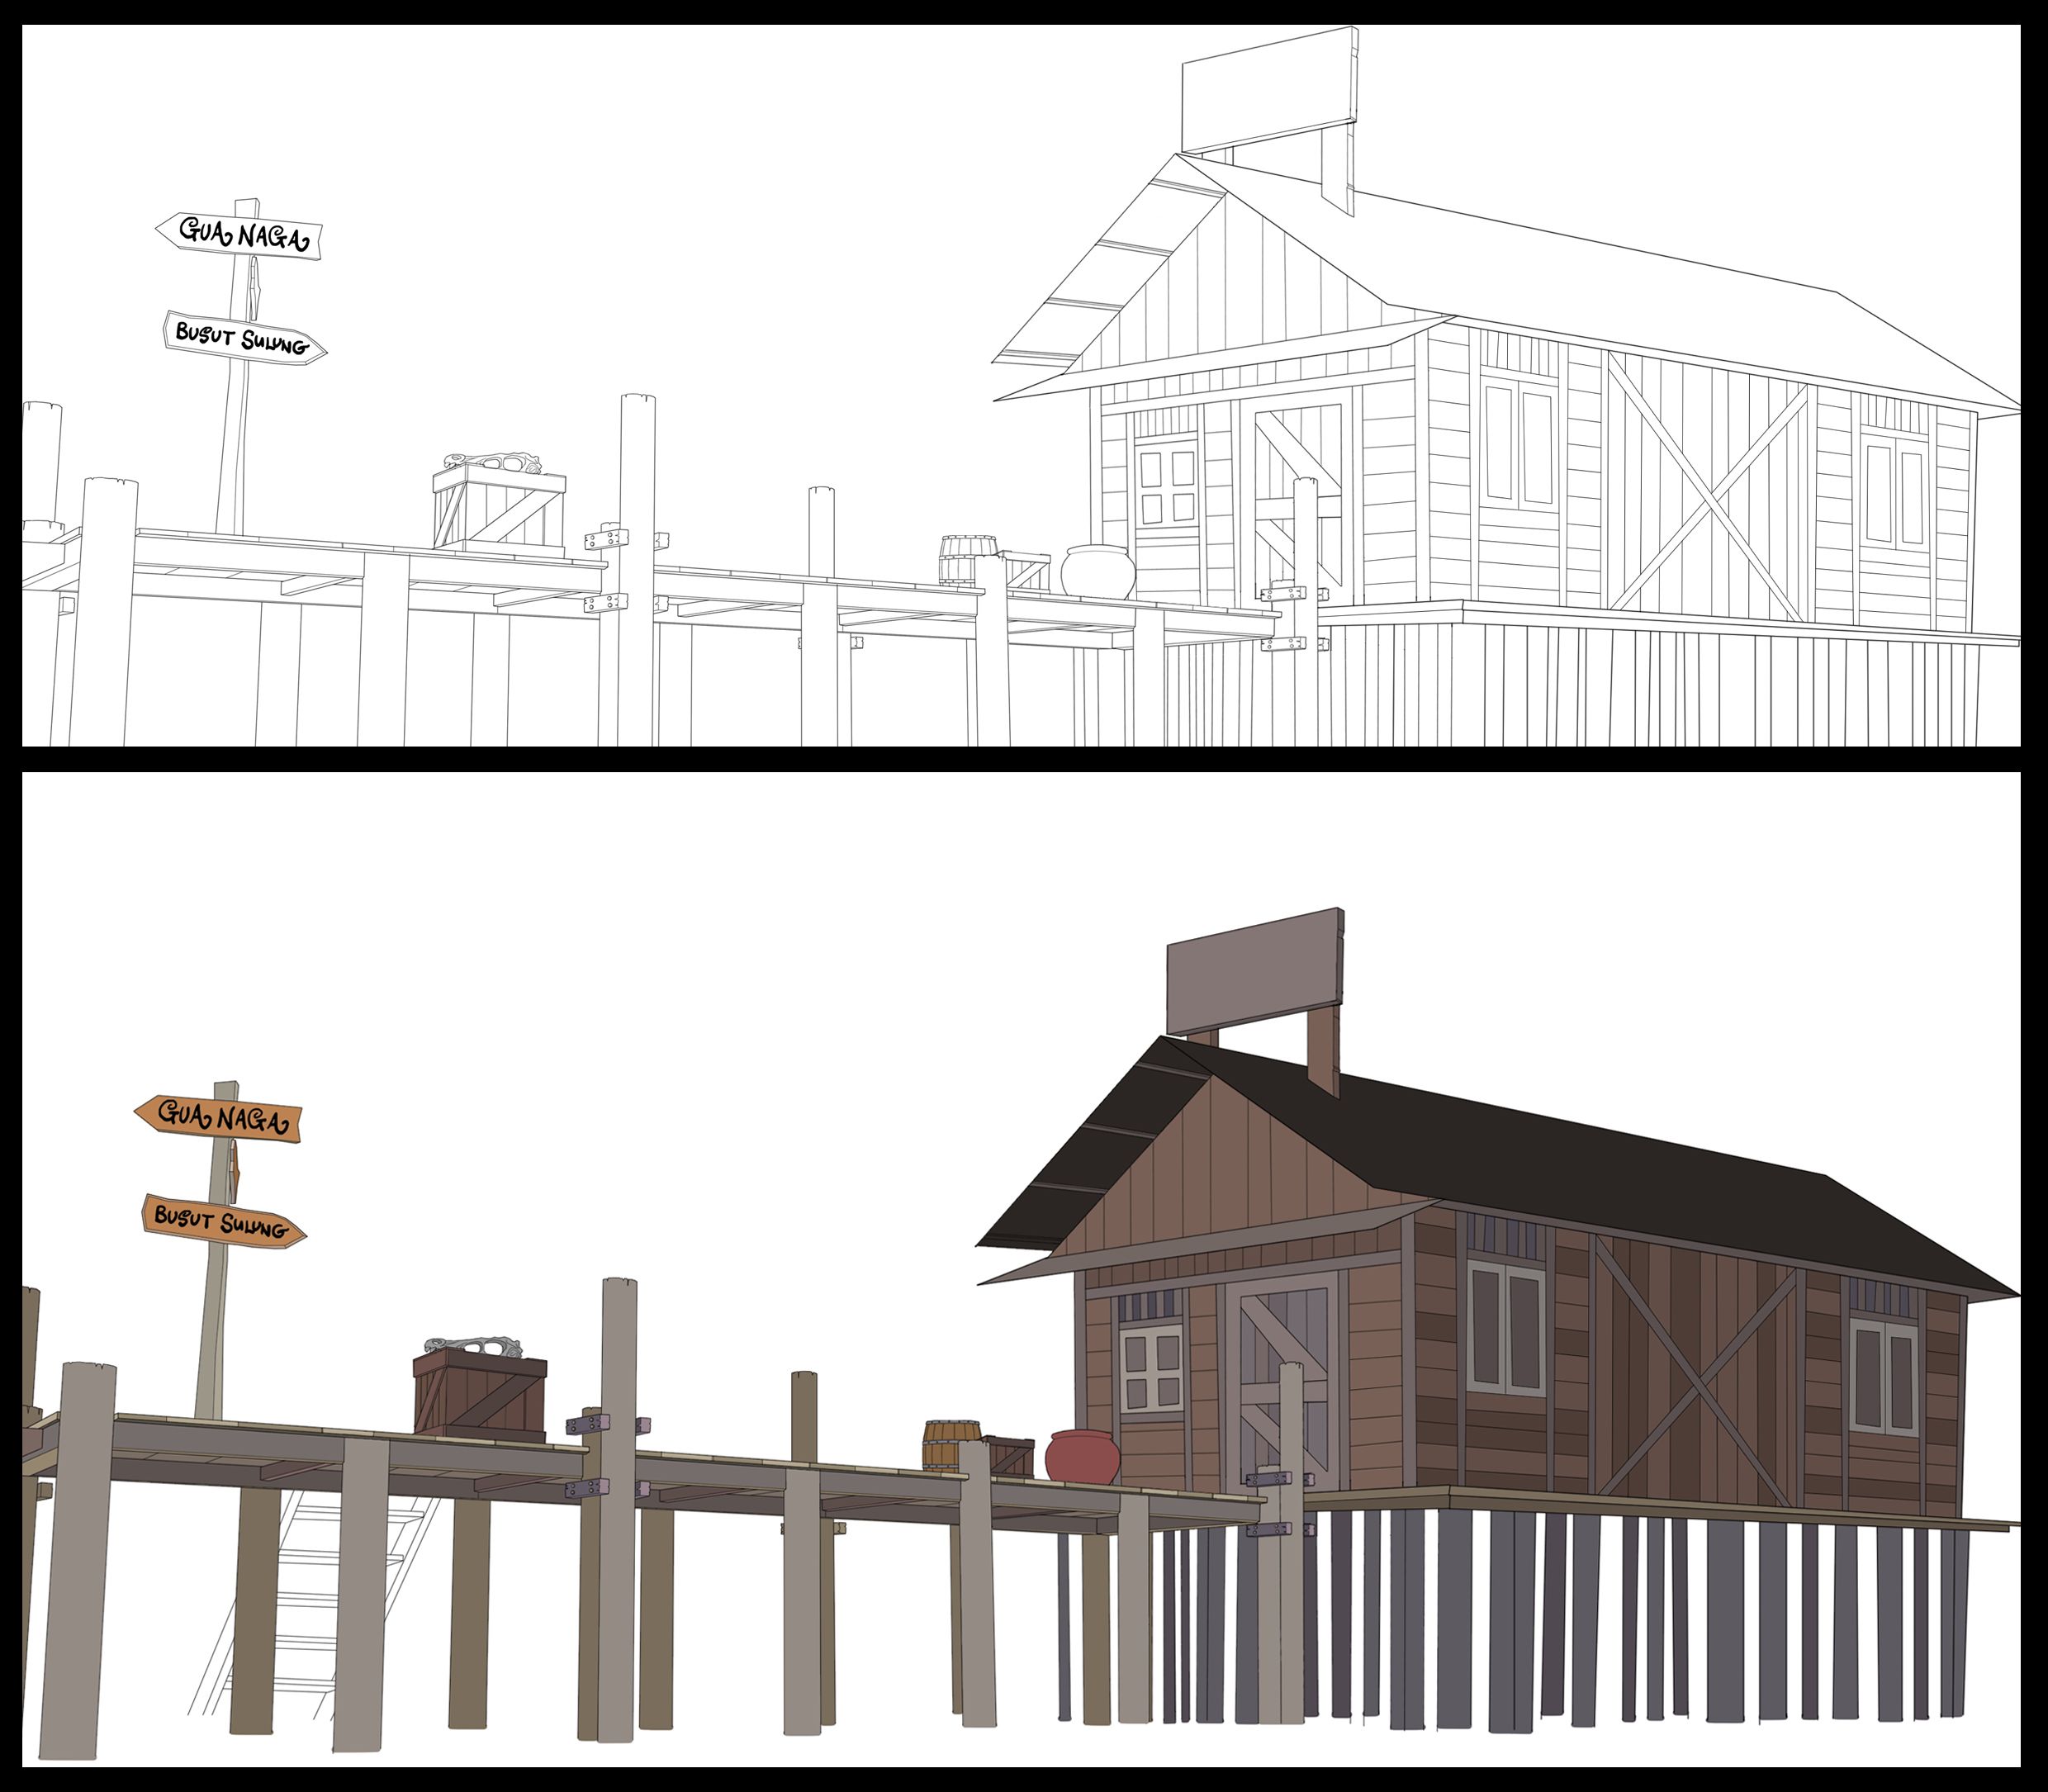
this is the layout using the photoshop software. After creeating the outline I will start with using the basic colour on the wooden stilts. To get the colour of the wooden stilts, I will use the brown with a mixture of grey to get the feeling that it is old. This process does not have to be detailed, it is just more colour information.
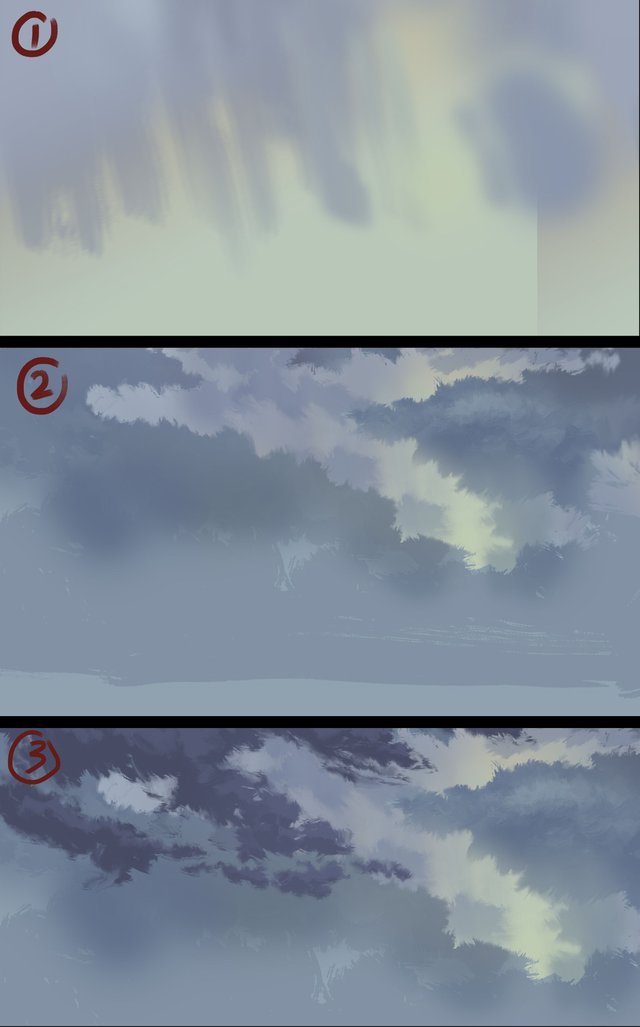
Here I create a cloudy sky. I use 3 separate layers to make it easier for the movement of the clouds when the compositor animation comes into picture.
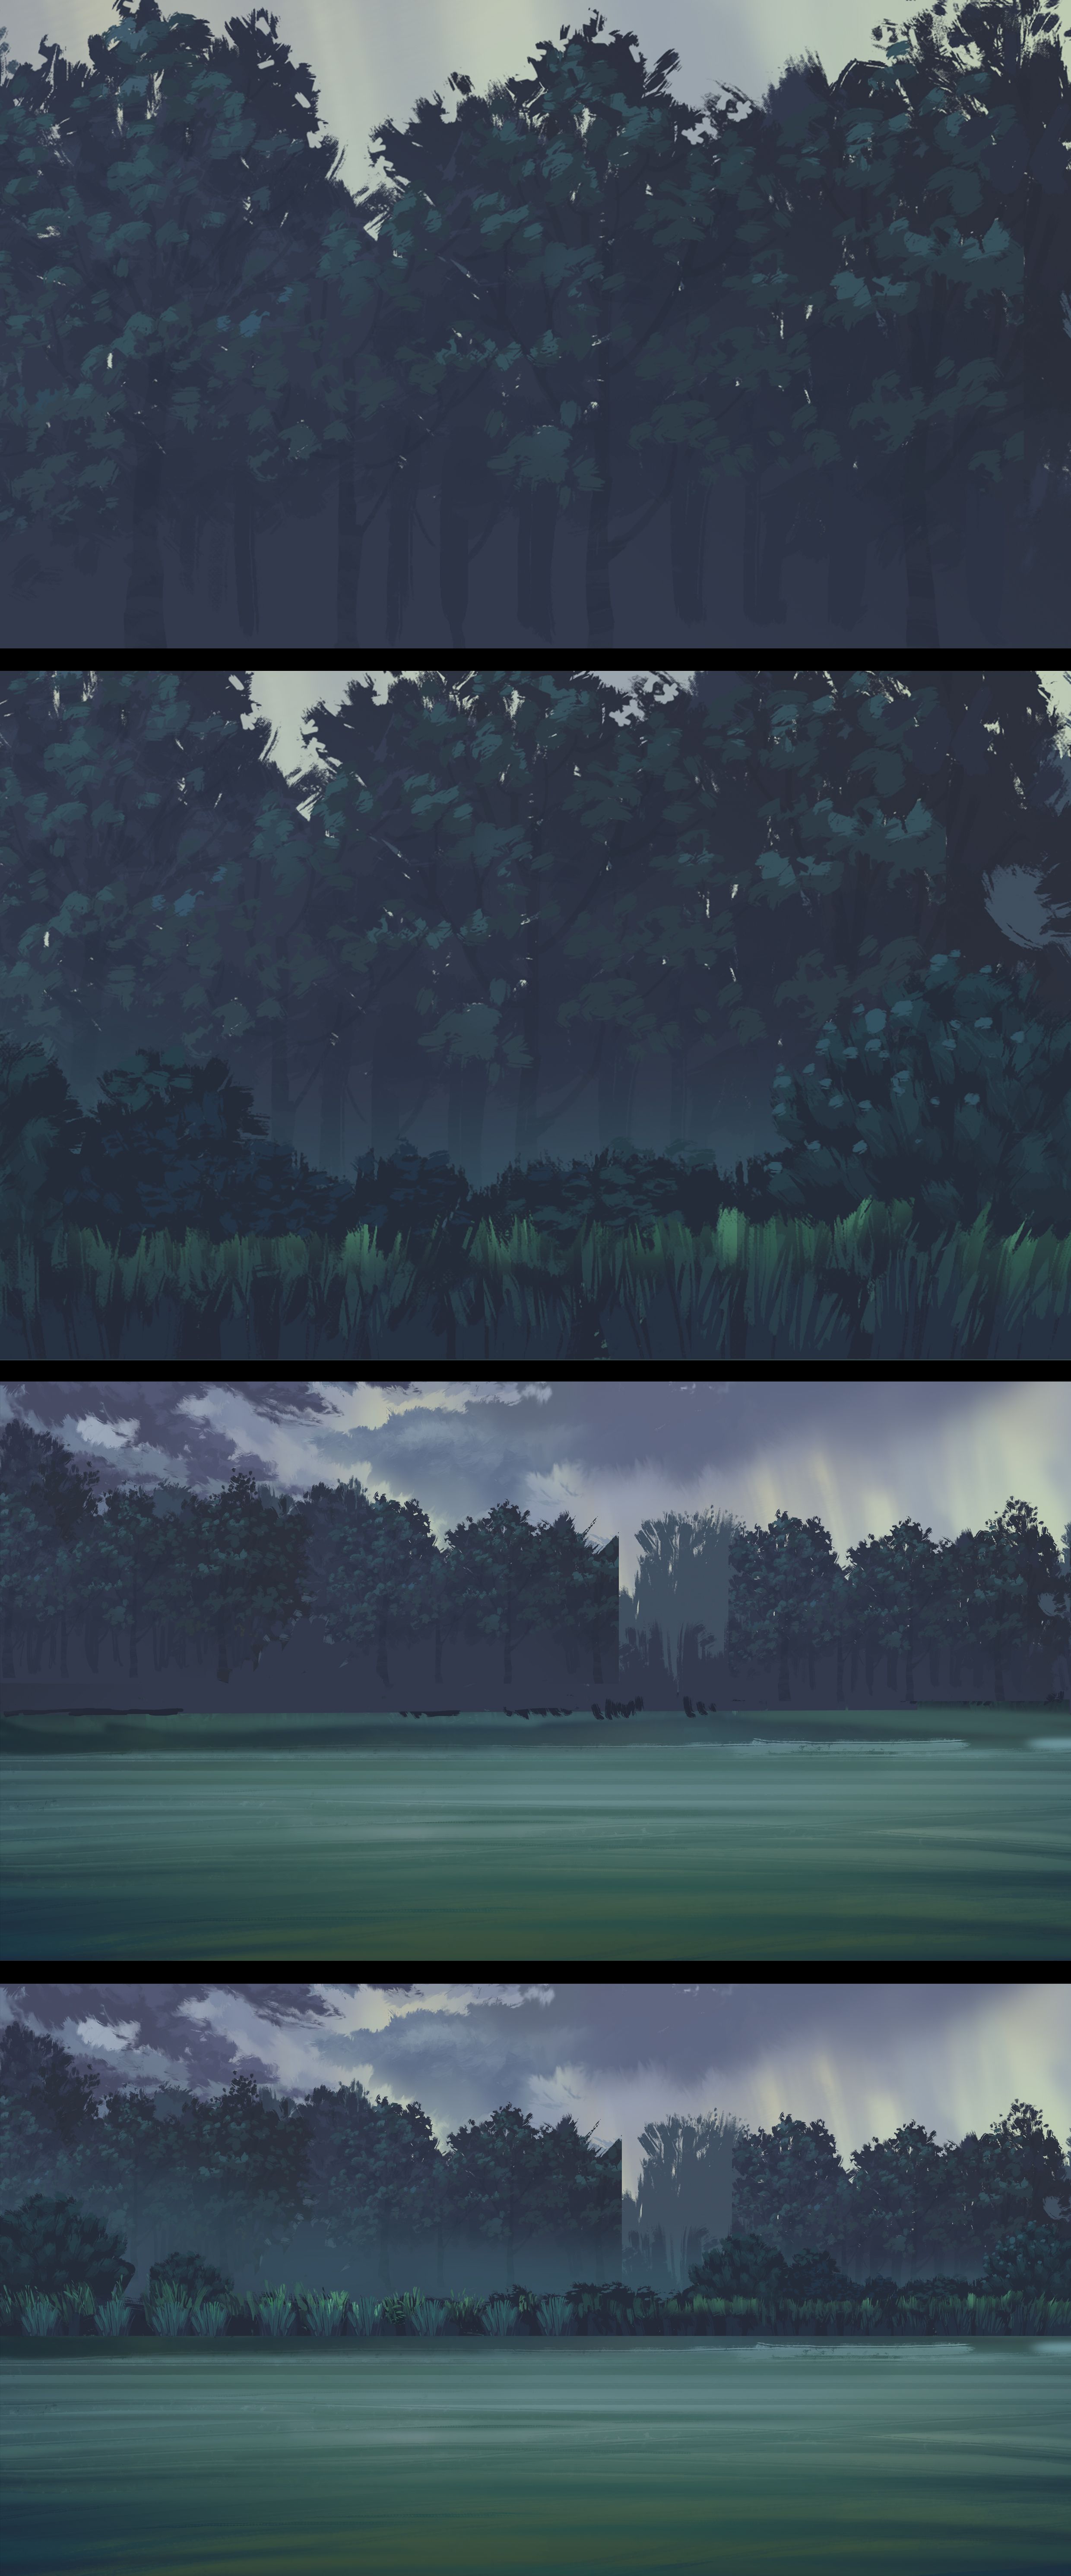
Once completed I will get the key colour of the situaton of the clouds and I will use the process for the middleground. The colour of the tree is important. I have to get the situation after a rain and for this effect I play with the colours seagreen, grey and navy blue. That is the same colour I use for the water. I use the brush for the water and I will do it horiontally to get the stroke texture of the water ripple.
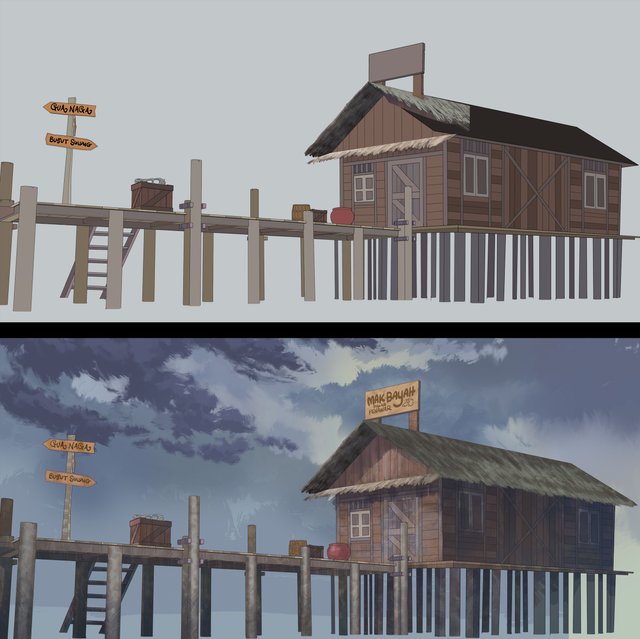
Then I move to the wooden stilts. From the colour source that I created earlier, I mix a bit of the basic colour with navy blue as a shadow and I increase the contrast by adjusting the hue saturation by using brush opacity. I use low opacity and I will use the texturing process on each part of the wood.
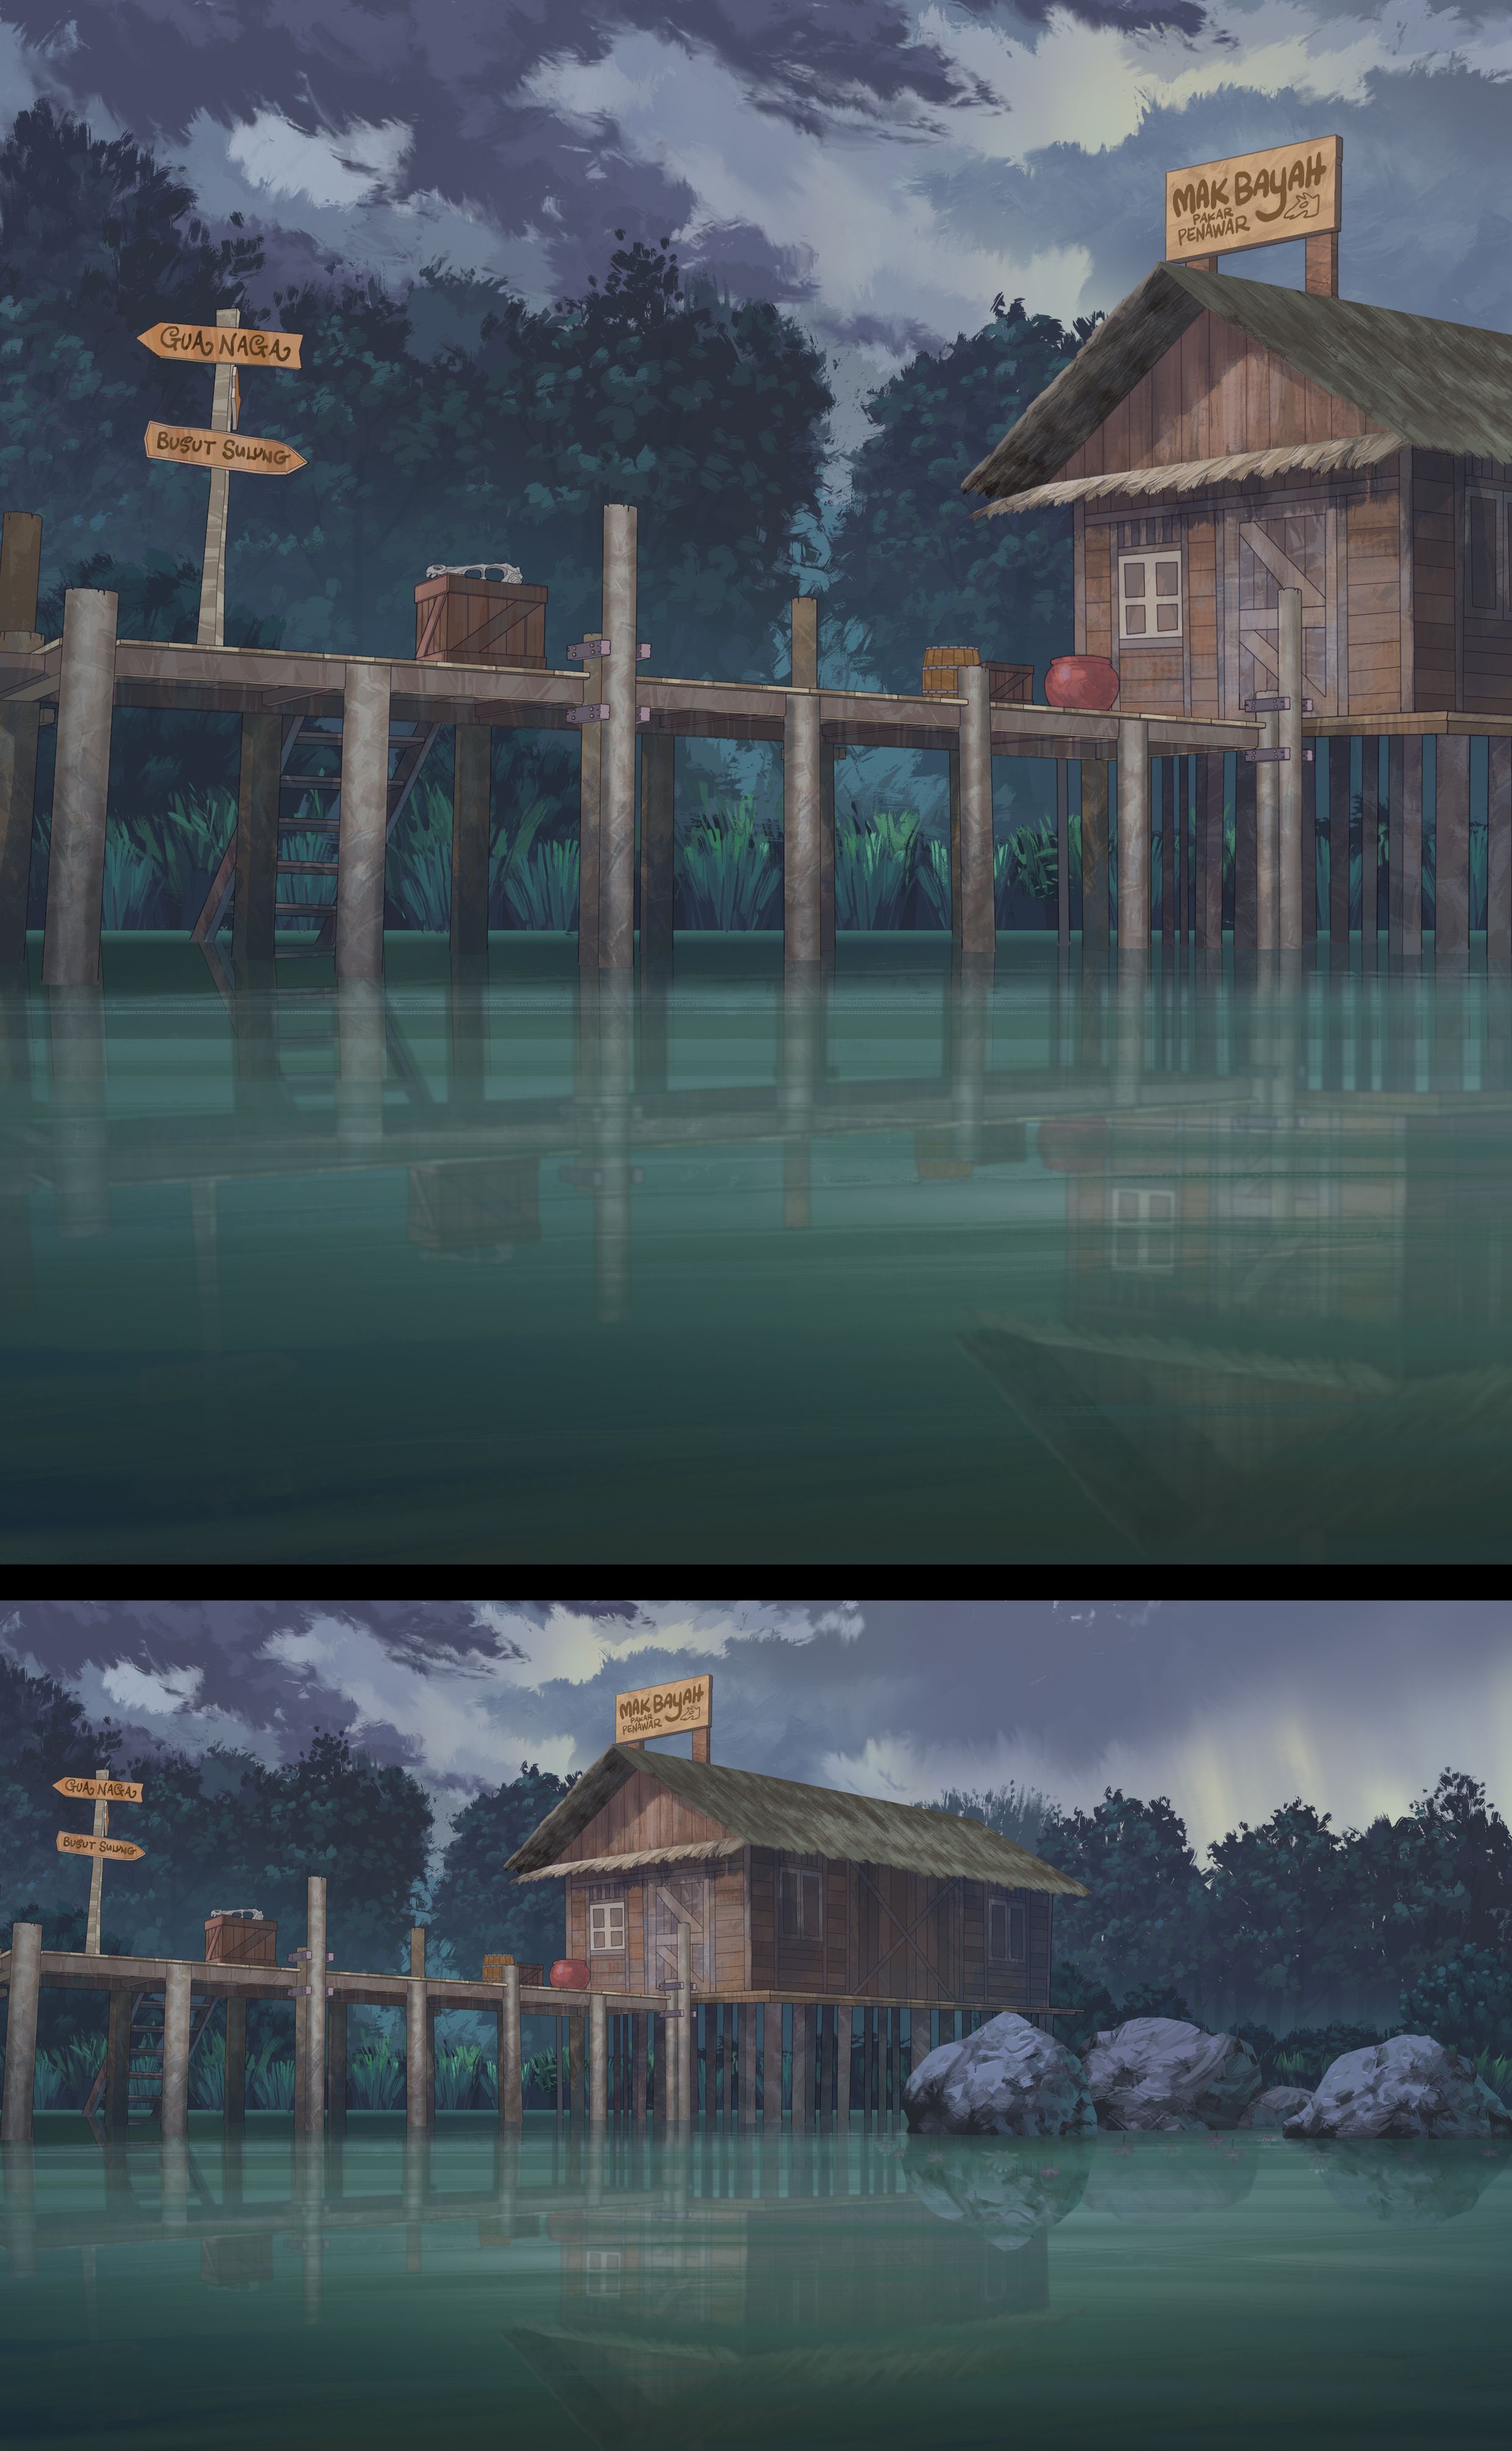
After I am completed with the process, I will use a reflection on the surface of the water. I will then cut and paste the normal layer and the opacity I will reduce to get the perfect reflection on the water.
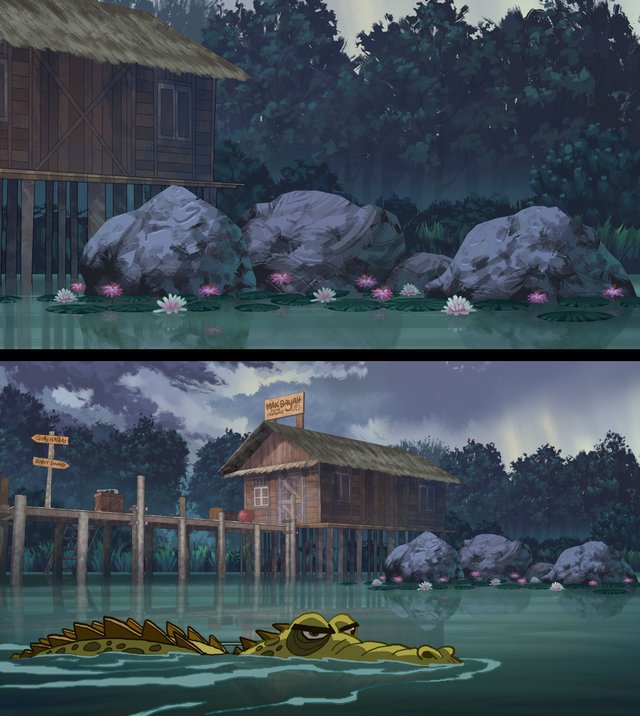
This is the final process where I will include some small plants to give the idea that there is a thriving ecosystem in this swamp area. The entire background I will use the colour on the crocodile that is in the storyboard. This is to ensure that I get the colour key that is suitable for the animator. This is all for the time being. Adios.


credit to @zomagic

noiceeee...
Downvoting a post can decrease pending rewards and make it less visible. Common reasons:
Submit
Thanks mr rambai 😉
Downvoting a post can decrease pending rewards and make it less visible. Common reasons:
Submit
Downvoting a post can decrease pending rewards and make it less visible. Common reasons:
Submit
hahaha nasib baik aku tak reti nak buat giff cam ni ..tq bro
Downvoting a post can decrease pending rewards and make it less visible. Common reasons:
Submit
setiap masa jedi pawer..kemah keming! :)
Downvoting a post can decrease pending rewards and make it less visible. Common reasons:
Submit
haha habis perah dah ni boh😆..Tq Dan
Downvoting a post can decrease pending rewards and make it less visible. Common reasons:
Submit
Congratulations @aurah! You have completed some achievement on Steemit and have been rewarded with new badge(s) :
Click on any badge to view your own Board of Honor on SteemitBoard.
For more information about SteemitBoard, click here
If you no longer want to receive notifications, reply to this comment with the word
STOPDownvoting a post can decrease pending rewards and make it less visible. Common reasons:
Submit
It is a very friendly tutorial.
It would not have been easy to work with.
Downvoting a post can decrease pending rewards and make it less visible. Common reasons:
Submit
yup it's not easy . to set up this background i have been use 100 of layers to create all of this things.haha Thank you @soyo for dropping by 🖖.
Downvoting a post can decrease pending rewards and make it less visible. Common reasons:
Submit
Live long and prosper to your artist life
Downvoting a post can decrease pending rewards and make it less visible. Common reasons:
Submit
Bahagian jejantas tu buatkan saya menangis dek kesyahduan yang terlampau.
Downvoting a post can decrease pending rewards and make it less visible. Common reasons:
Submit
haha buaya lalu terus tak syahdu afique
Downvoting a post can decrease pending rewards and make it less visible. Common reasons:
Submit
Biutipul so naisss
Downvoting a post can decrease pending rewards and make it less visible. Common reasons:
Submit
thank you en @cartoonistbinjai
Downvoting a post can decrease pending rewards and make it less visible. Common reasons:
Submit
Bravo @aurah 👏🏼👏🏼👏🏼
Enjoy reading and looking at then process. So awesome . I wished, I know how to do it.
Downvoting a post can decrease pending rewards and make it less visible. Common reasons:
Submit
Thank you @abgmie for your support.haha kena gi ngeteh dulu nanti saya boleh ajar basic.
Downvoting a post can decrease pending rewards and make it less visible. Common reasons:
Submit
This is cool.. How long did it take to do this?
Downvoting a post can decrease pending rewards and make it less visible. Common reasons:
Submit
Thanks bro,for the whole process, it takes 4 hours
Downvoting a post can decrease pending rewards and make it less visible. Common reasons:
Submit
awesome. I hope can create artwork like this as well. please give guidance, Master
Downvoting a post can decrease pending rewards and make it less visible. Common reasons:
Submit
Tq..no problem bro.as i know,you can do better than this 😉
Downvoting a post can decrease pending rewards and make it less visible. Common reasons:
Submit