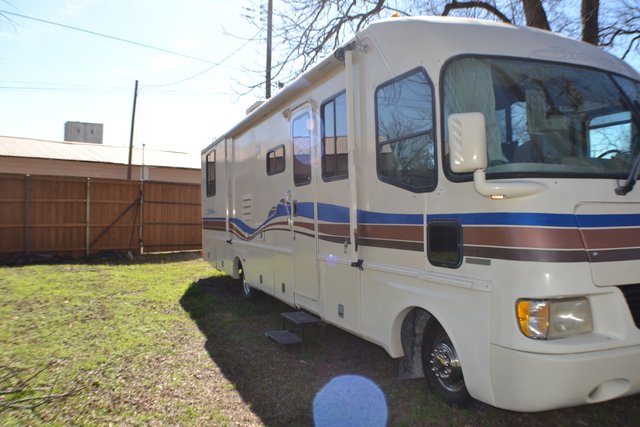
Windy looks pretty good (On the outside)for her age. She's a '95 Fleetwood.
The inside needed, and still needs a lot of cosmetic work. If you've been following this series, you know where we started. If you want to catch up:
Part 1
Part 2
Part 3
Part 4
We finished the cabinets and spent the weekend undoing the bolts on the captain's chairs and the sofa. We still have to move them to the storage area while we replace the floors.
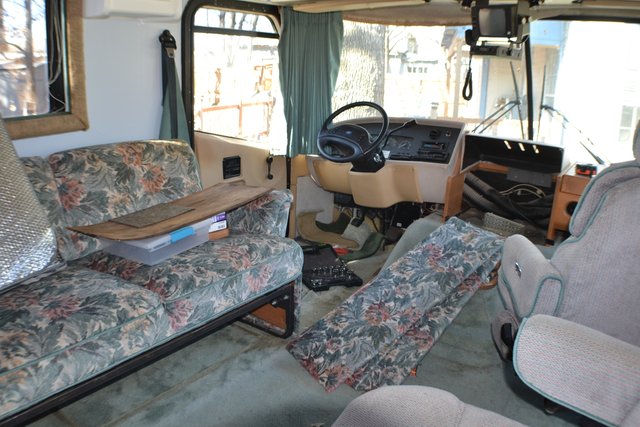
The driver's seat is already out and in storage. Del ended up laying on the ground holding the nuts in place while I undid the bolts from the top. We did it the same way for the passenger seat, But when we got to the Back passenger recliner, we had two regular nuts and bolts and then two things that we didn't recognize.
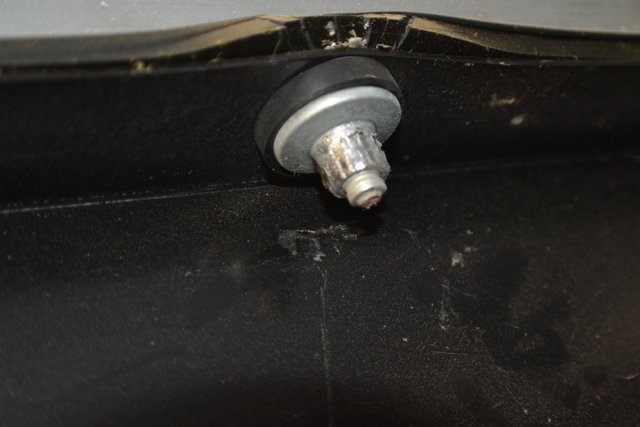
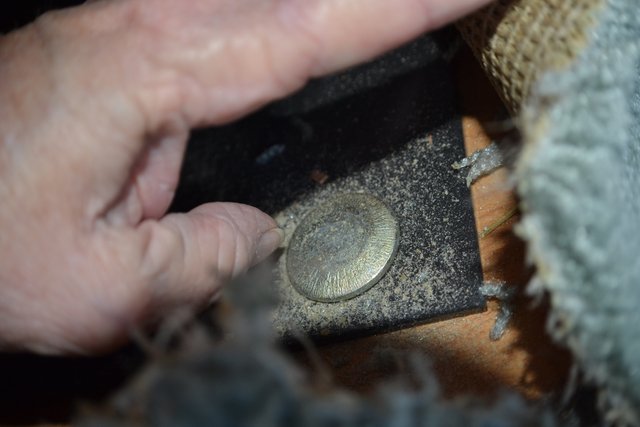
We've pretty much decided that we will put the new floor down around this seat anchor because we don't have a clue how to get it loose. lol
We have about a week and a half before our trip to Glen Rose for the first ParaCon of the season. We desperately need to get the floor going, so we can get the captains chair back in. We have a seat with a seatbelt at the booth for the passenger. But the driver really needs that driver's seat.
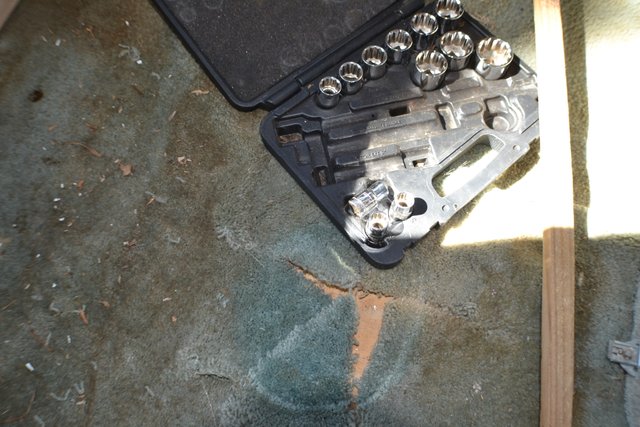
That's where the drivers seat goes.
Last time I said I was painting the top of the window treatments black.
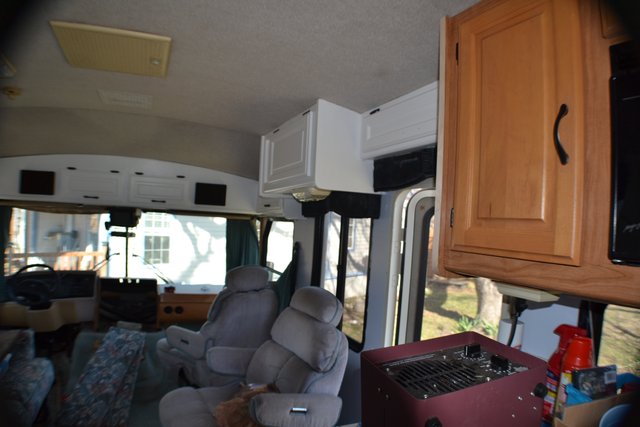
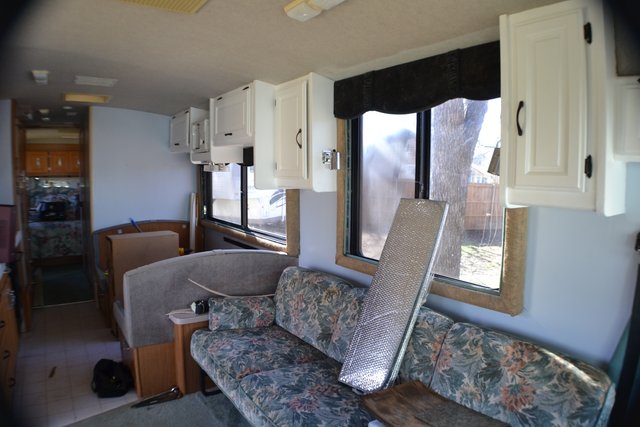
I did have to use a lot of plastic, and I was so glad I did. Chalk paint is extremely runny. It's like the consistency of water. It was dripping everywhere. But, it's simple to make. I used Behr's paint with primer and mixed 1 part paint to 2 parts water. Make sure to stir it up really good. Plan on it dripping... on you, on the floor... on anything within 3 ft of what you're painting.
Next, we rip out this 20-year-old carpet and put down some???? We haven't decided between vinyl tile or wood. They are about the same weight. Hard to believe, I know.
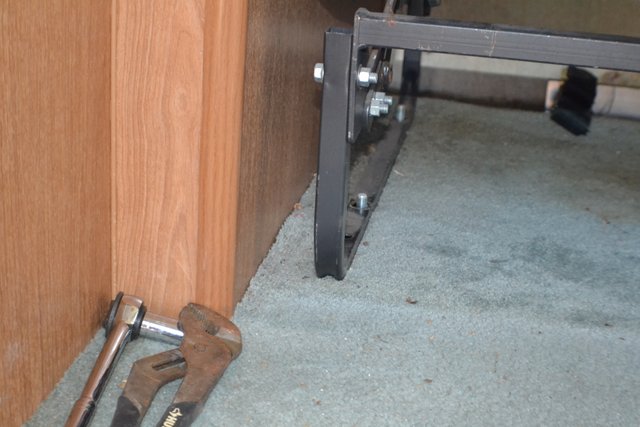
While we have everything torn out, we're going to add an electrical outlet probably here. That is the base of the sofa/bed. It, hopefully, comes out today. The bolts are out. It's just a matter of carrying it. I'm a wimp.
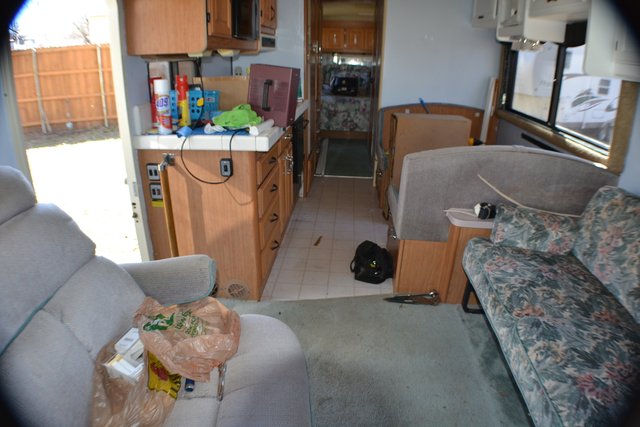
Tomorrow is carpet ripping day. YAY!!!!!!!
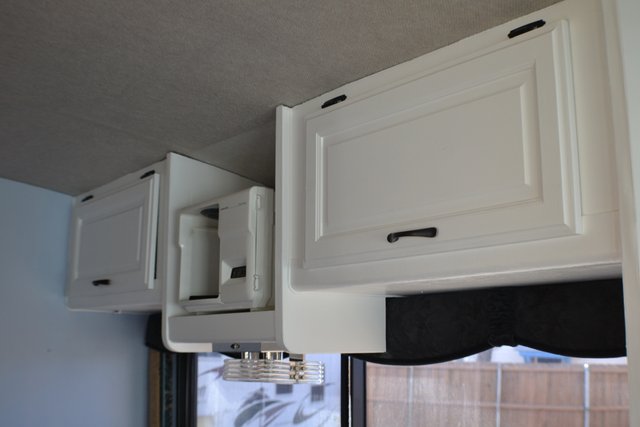
We still need to create a new top to attach the suspended coffeemaker. The old shelf was so water damaged it was difficult to extract it in one piece. But, we managed, so, we have a template! More Yay!
I have a book signing this Saturday in Lewisville at the library, but I hope we have made some progress by Sunday and I will post more at that time.
Meanwhile, Keep posting and voting and commenting and encouraging each other. Remember, Steem is slowly changing the world and YOU are part of that.

Ah, I've done a couple RV remodels. It's always a bit more work than you expect, and sometimes it can be pretty tricky finding the right thing to fit when you have to replace something.
I did vinyl plank tile in mine, for what it's worth. I really like how it turned out, and being waterproof is a huge plus.
Downvoting a post can decrease pending rewards and make it less visible. Common reasons:
Submit
You seem to love your RV that much. It shows in the excitement with which you talk about it
Downvoting a post can decrease pending rewards and make it less visible. Common reasons:
Submit
What a fun restoration project! I love the look of your cabinets. I might have to paint mine in my house to spruce them up.
Downvoting a post can decrease pending rewards and make it less visible. Common reasons:
Submit
We watched some youtube videos before we tackled it, but it was worth it. They look good and feel cleaner. removing all the hardware is tedious and putting about 6 or 8 coats of paint is no joy(especially when your sensitive to paint, like me) I'm happy with our progress.
Downvoting a post can decrease pending rewards and make it less visible. Common reasons:
Submit
Stop upvoting. you vote is worth about the same as when you started and your SP is 6 times higher
Downvoting a post can decrease pending rewards and make it less visible. Common reasons:
Submit